Learning how to make homemade yogurt without a yogurt maker is easier than you might think, and it’s a rewarding way to enjoy traditional yogurt right from your own kitchen. Perfect for beginners trying it for the first time, this simple method uses just milk, a small amount of plain yogurt, and a warm spot like your oven with the light on.

Not only is homemade yogurt cost-effective compared to grocery store or store-bought varieties, but it also allows you to control the ingredients and achieve the flavor and consistency you love. Whether you prefer thick and creamy or light and tangy, this process delivers great yogurt every time--without the need for another kitchen gadget!
Table of Contents
This post contains affiliate links, which means I make a small commission at no extra cost to you. See my full disclosure here.
What is the best milk to use for homemade yogurt?
- Fresh Raw Milk (if legal in your area) is the number one best type of milk to use.
- Contains natural enzymes and bacteria
- Can result in slightly thinner yogurt unless you heat it first
- Not Ultra-Pasteurized Milk- This means that the milk has been heated to a lower temperature than ultra-pasteurized (UHT) milk, preserving more of its natural proteins — which is important for making good yogurt.
- Pasteurized Milk- also can be used to make non-heated yogurt, however I would not recommend ultra-pasteurized milk because it denatures proteins too much and won't set properly.

Can you make yogurt without heating it?
Yes, yogurt can be made without heating it. It just needs to stay at the magical temperature of 110 degrees to ferment properly and for getting the good bacteria to multiply.
Is it really cheaper to make your own yogurt?
Making your own yogurt at home is almost always more cost-effective than buying it from the store, especially if you make it regularly. A quart of homemade yogurt typically costs between $1.10 and $1.60, using just milk and a few tablespoons of starter (which you can save from a previous batch). In contrast, a quart of high-quality, plain store-bought yogurt usually ranges from $3.50 to $5.00 -- and even more if you prefer organic. Over time, the savings really add up. Plus, homemade yogurt has the added benefits of being free from additives, thickeners, and hidden sugars. You can customize the flavor and consistency, make thick Greek-style yogurt by straining it, and reduce waste by storing it in reusable jars. So not only is homemade yogurt cheaper, it’s also healthier, more sustainable, and more flexible for your kitchen.

Instructions for Creamy Homemade Yogurt
- 1 quart (4 cups) whole raw milk, or pasteurized milk --organic milk is always best! (not ultra-pasteurized milk)
- 3 tablespoons plain FULL FAT yogurt with live active cultures (as your starter)
(use store-bought or from a previous batch--SEE TIPS)
Instructions for Your Own Homemade Yogurt

STEP 1: Place 3 tablespoons of organic full-fat yogurt into a clean glass jar.

STEP 2: Pour cold milk directly over the yogurt. No need to heat it.

STEP 3: Then, stir the milk and yogurt until fully combined.

STEP 4: Cover the container loosely with a lid, plastic wrap, or a clean thick towel. Place the glass jars inside your oven with the light turned on (but no heat). The light bulb provides gentle warmth (usually 100–110°F), the right temperature for culturing. Do not turn on the oven itself or you will catch your dish towel on fire and cook your ferment!

STEP 5: Next day (12 to 24 hours later), once the yogurt has thickened, move it to the fridge for at least 4 hours to fully set for best results. It will firm up more as it chills. (The recommended time to ferment the yogurt is between 12 to 24 hours. I highly recommend tasting the yogurt at 12 hours and seeing if you like to tartness. SEE TIPS)

STEP 6: (OPTIONAL) Strain through cheesecloth or a fine mesh strainer overnight to remove the whey for a thick Greek yogurt. Remove the whey but do not throw it away! Use it to make Fermented Strawberry Lemonade or Lacto Fermented Lemonade.
Tips for the Yogurt-Making Process
- If you are choosing to make this yogurt with raw milk, then keep in mind that since it is non-homogenized milk, you will need to shake the milk to incorporate the cream prior to pouring the amount you need in a container. Likewise, after the culturing process and the yogurt has set, you will once again notice a cream line and will need to stir that in before serving.
- You can make flavored yogurt by adding your favorite chopped fresh fruit, vanilla extract, maple syrup, or honey before the fermentation process.
- Don't forget to remove a couple of tablespoons of your homemade yogurt for the next batch before enjoying!
- You can use a candy thermometer if you'd like but I find that the oven light works great so I don't stress too much about it.
- The recommended time to ferment the yogurt is between 12 to 24 hours. I highly recommend tasting the yogurt at 12 hours and seeing if you like the tartness. Just keep in mind that the longer it goes the more fermented it gets and the more sour it becomes. We usually prefer it at the 24 hour mark.
- Strain through cheesecloth or a fine mesh strainer overnight to remove the whey for a thick, Greek-style yogurt.
What do you do with leftover whey? Try these recipes!


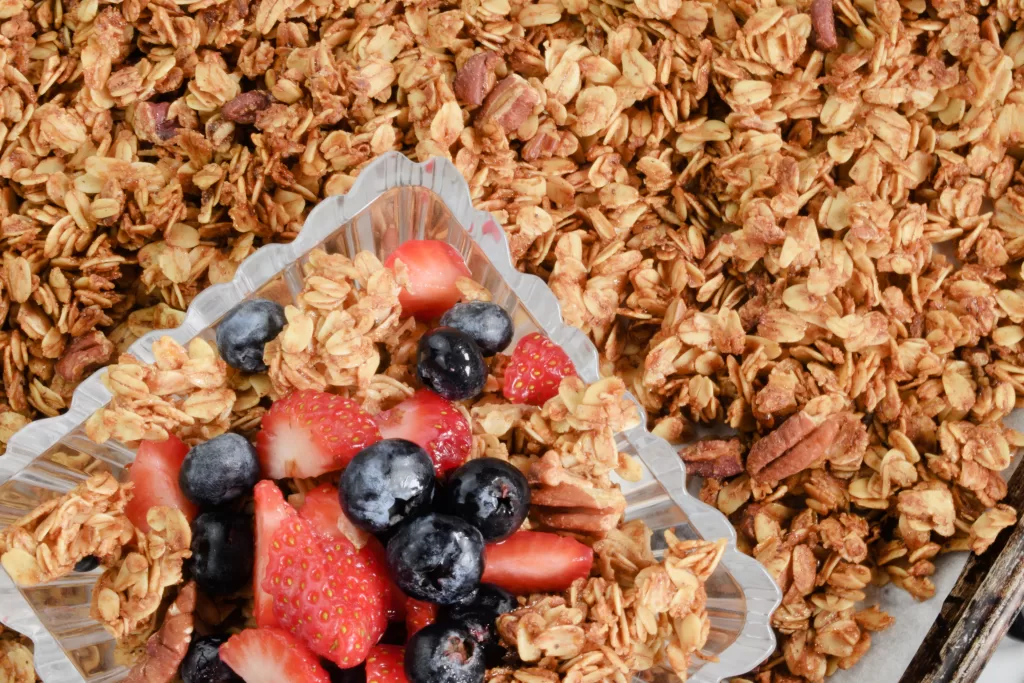
Homemade Granola Recipes


How to Make Homemade Yogurt Without a Yogurt Maker
Ingredients
- 1 quart 4 cups whole raw milk, or pasteurized milk --organic milk is always best! (not ultra-pasteurized milk)
- 3 tablespoons plain FULL FAT yogurt with live active cultures as your starter use store-bought or from a previous batch--SEE TIPS
Instructions
- Place 3 tablespoons of organic full-fat yogurt into a clean glass jar.
- Pour cold milk directly over the yogurt. No need to heat it.
- Then, stir the milk and yogurt until fully combined.
- Cover the container loosely with a lid, plastic wrap, or a clean thick towel. Place the glass jars inside your oven with the light turned on (but no heat). The light bulb provides gentle warmth (usually 100–110°F), the right temperature for culturing. Do not turn on the oven itself or you will catch your dish towel on fire and cook your ferment!
- Next day (12 to 24 hours later), once the yogurt has thickened, move it to the fridge for at least 4 hours to fully set for best results. It will firm up more as it chills. (The recommended time to ferment the yogurt is between 12 to 24 hours. I highly recommend tasting the yogurt at 12 hours and seeing if you like to tartness. SEE TIPS)
- (OPTIONAL) Strain through cheesecloth or a fine mesh strainer overnight to remove the whey for a thick Greek yogurt. Remove the whey but do not throw it away! Use it to make Fermented Strawberry Lemonade or Lacto Fermented Lemonade.
Notes
-
- If you are choosing to make this yogurt with raw milk, then keep in mind that since it is non-homogenized milk, you will need to shake the milk to incorporate the cream prior to pouring the amount you need in a container. Likewise, after the culturing process and the yogurt has set, you will once again notice a cream line and will need to stir that in before serving.
-
- You can make flavored yogurt by adding your favorite chopped fresh fruit, vanilla extract, maple syrup, or honey before the fermentation process.
-
- Don't forget to remove a couple of tablespoons of your homemade yogurt for the next batch before enjoying!
-
- You can use a candy thermometer if you'd like but I find that the oven light works great so I don't stress too much about it.
-
- The recommended time to ferment the yogurt is between 12 to 24 hours. I highly recommend tasting the yogurt at 12 hours and seeing if you like the tartness. Just keep in mind that the longer it goes the more fermented it gets and the more sour it becomes. We usually prefer it at the 24 hour mark.
-
- Strain through cheesecloth or a fine mesh strainer overnight to remove the whey for a thick, Greek-style yogurt.