DIY Dried Orange Slices (Easy Method for Holiday Decor!)
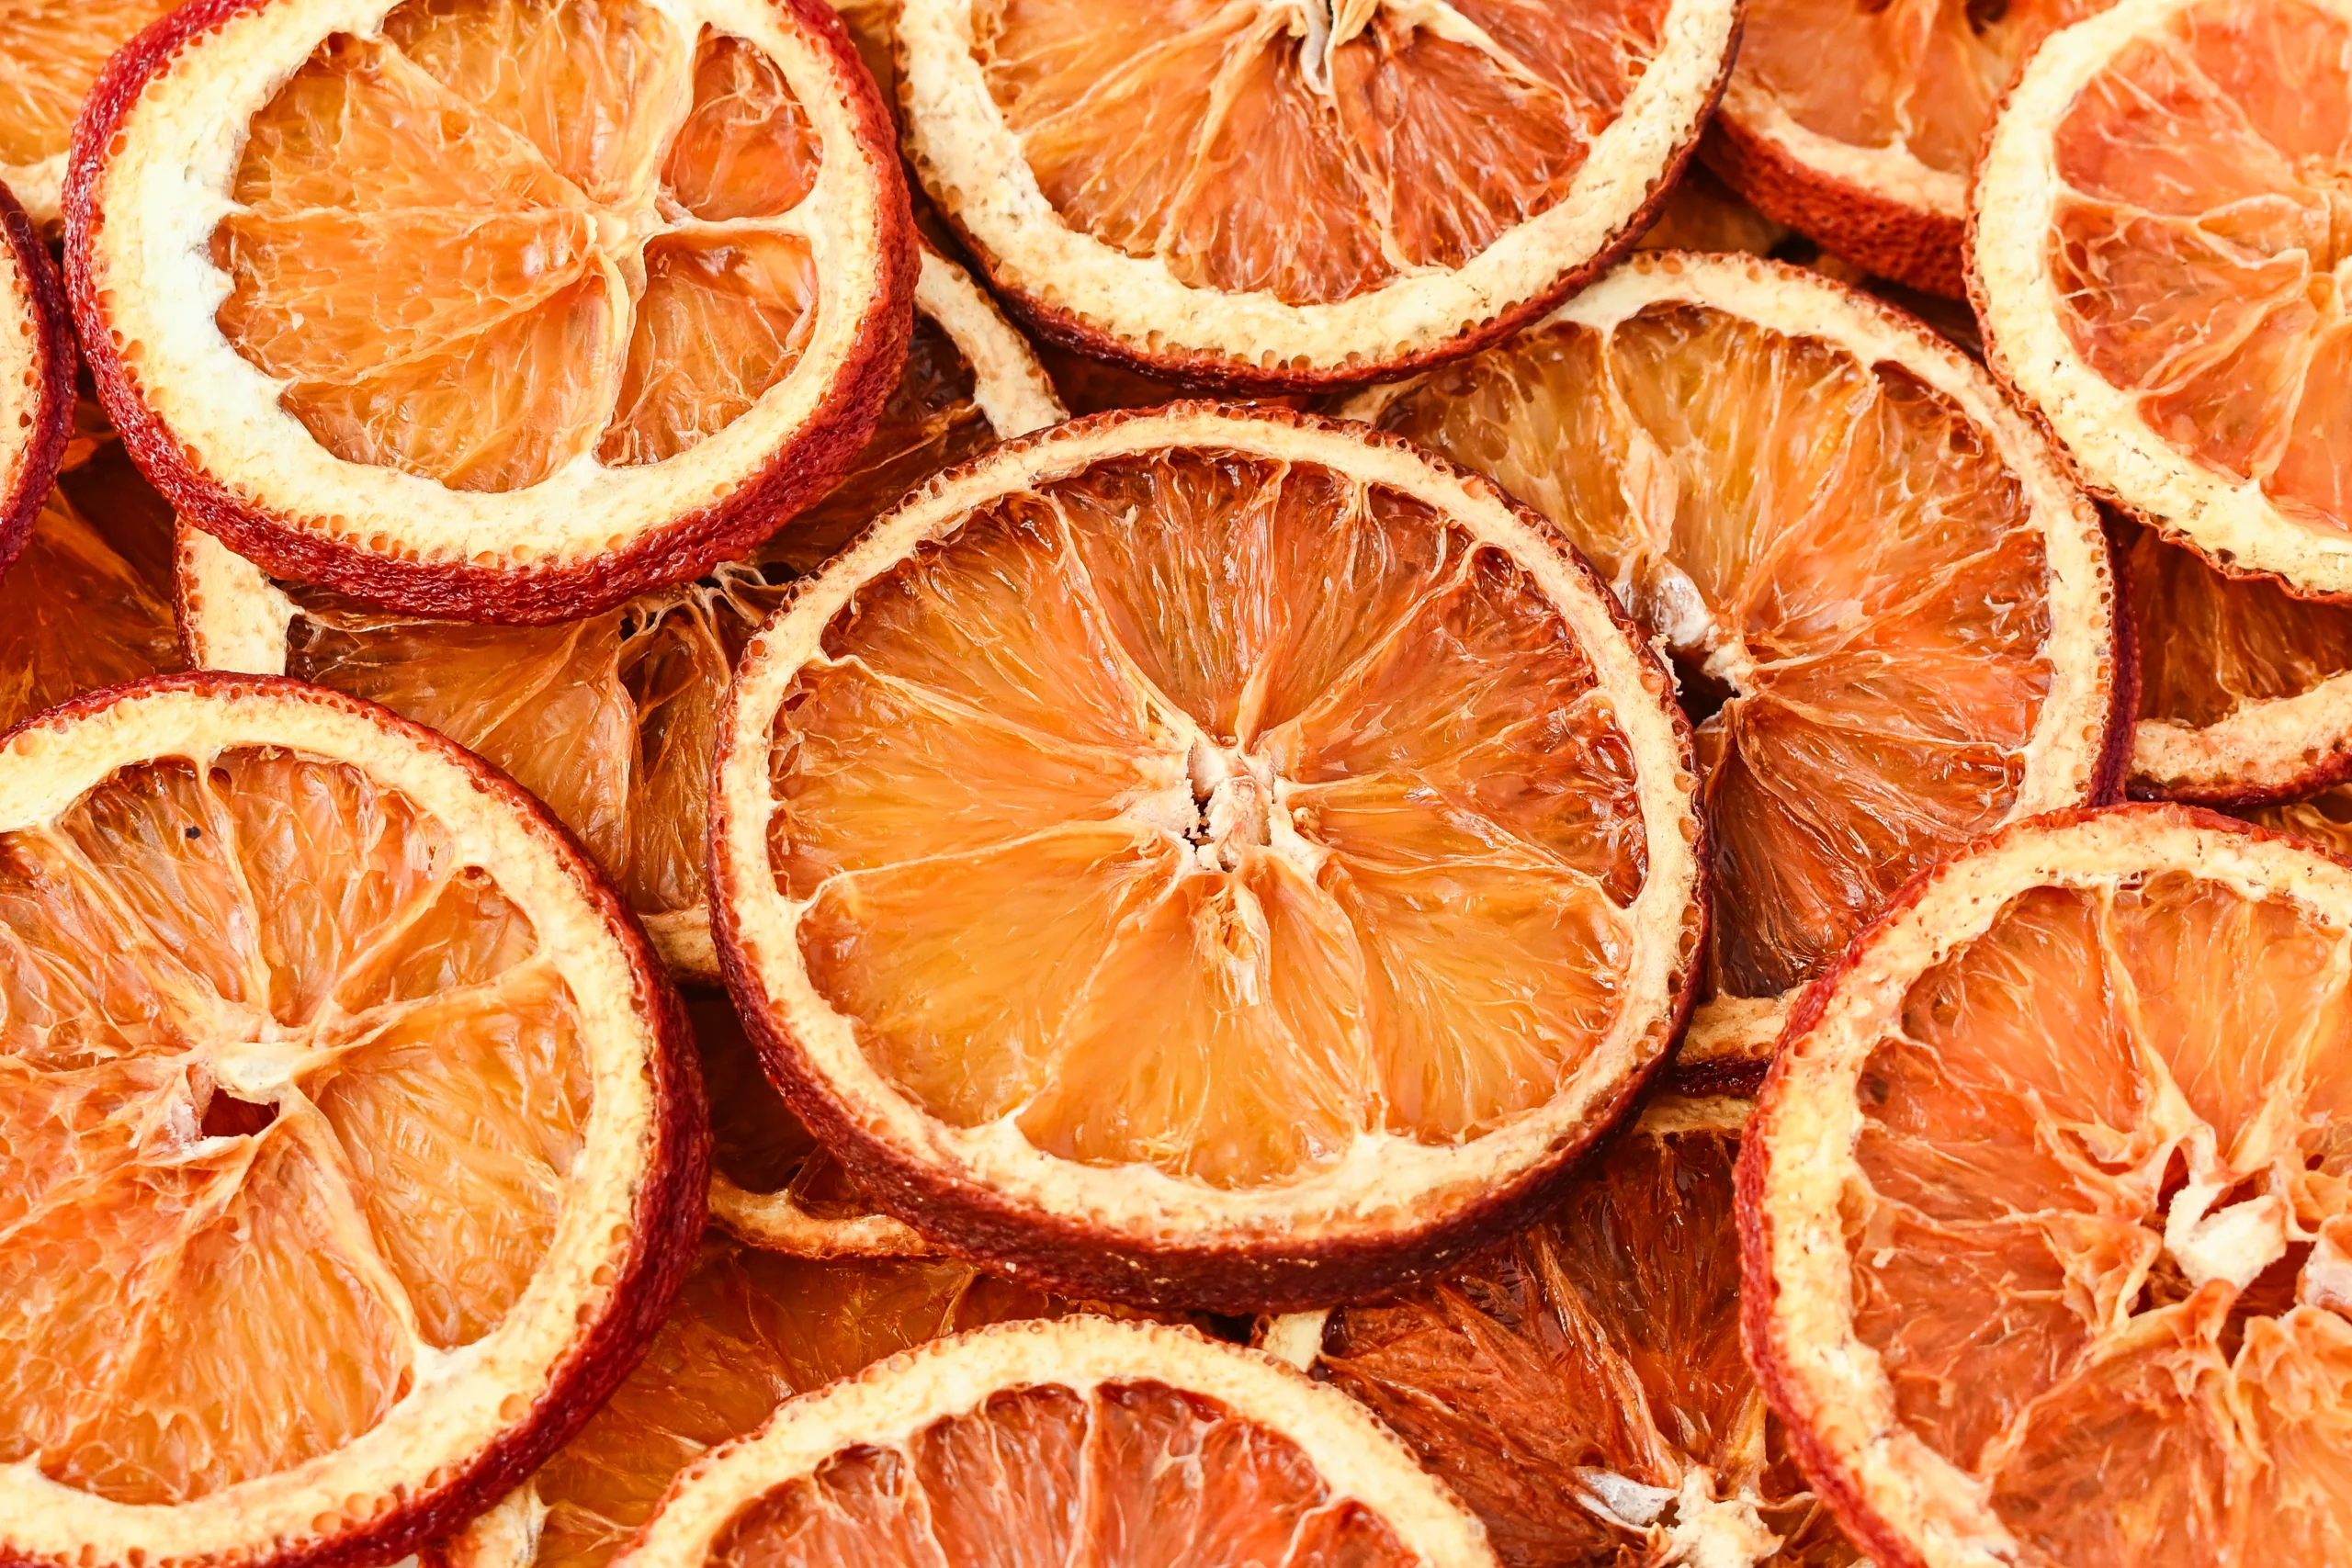
Learn how to make beautiful dried orange slices at home using the oven, dehydrator, or even an air fryer. Perfect for holiday decor, simmer pots, cocktail garnishes, or adding a natural touch to Christmas trees and wreaths. Easy, budget-friendly, and filled with festive citrus aroma!
Print
Pin
Servings: 0
Equipment
- Fresh oranges navel or blood oranges work beautifully
- Sharp knife
- Paper towel to remove excess moisture
- Parchment paper or silicone mat
- Baking sheet for the oven method
- Airtight container for storage
Instructions
- Using a sharp knife, carefully cut the oranges into ¼-inch slices. Try to keep the slices even so they dry at the same rate.
- Lay the slices out on a paper towel and gently press to absorb excess moisture. This step helps prevent sogginess and speeds up drying.
- Preheat the oven to 200°F (90°C). Line a baking sheet with parchment paper and place orange slices in a single layer. Bake for 2–3 hours, flipping every 30 minutes, until the dehydrated orange slices are dry and slightly crisp at the edges.
Notes
Quick Tips for Success
- Slice evenly with a sharp knife to avoid burning thinner edges.
- Always remove excess moisture with a paper towel before drying.
- Don’t crowd your baking sheet or dehydrator trays—keep slices in a single layer for even airflow.