Dried oranges are one of my favorite ways to bring natural elements into our home during the holiday season. Their bright, translucent color looks beautiful on Christmas trees, tied into garlands, or added to homemade crafts like my Rustic Fall Broom with Natural Branches & Dried Flowers. They’re also perfect for Homemade Hot Apple Cider, a garnish for Homemade Apple Brandy Recipe, or even as an everyday touch of homestead coziness.
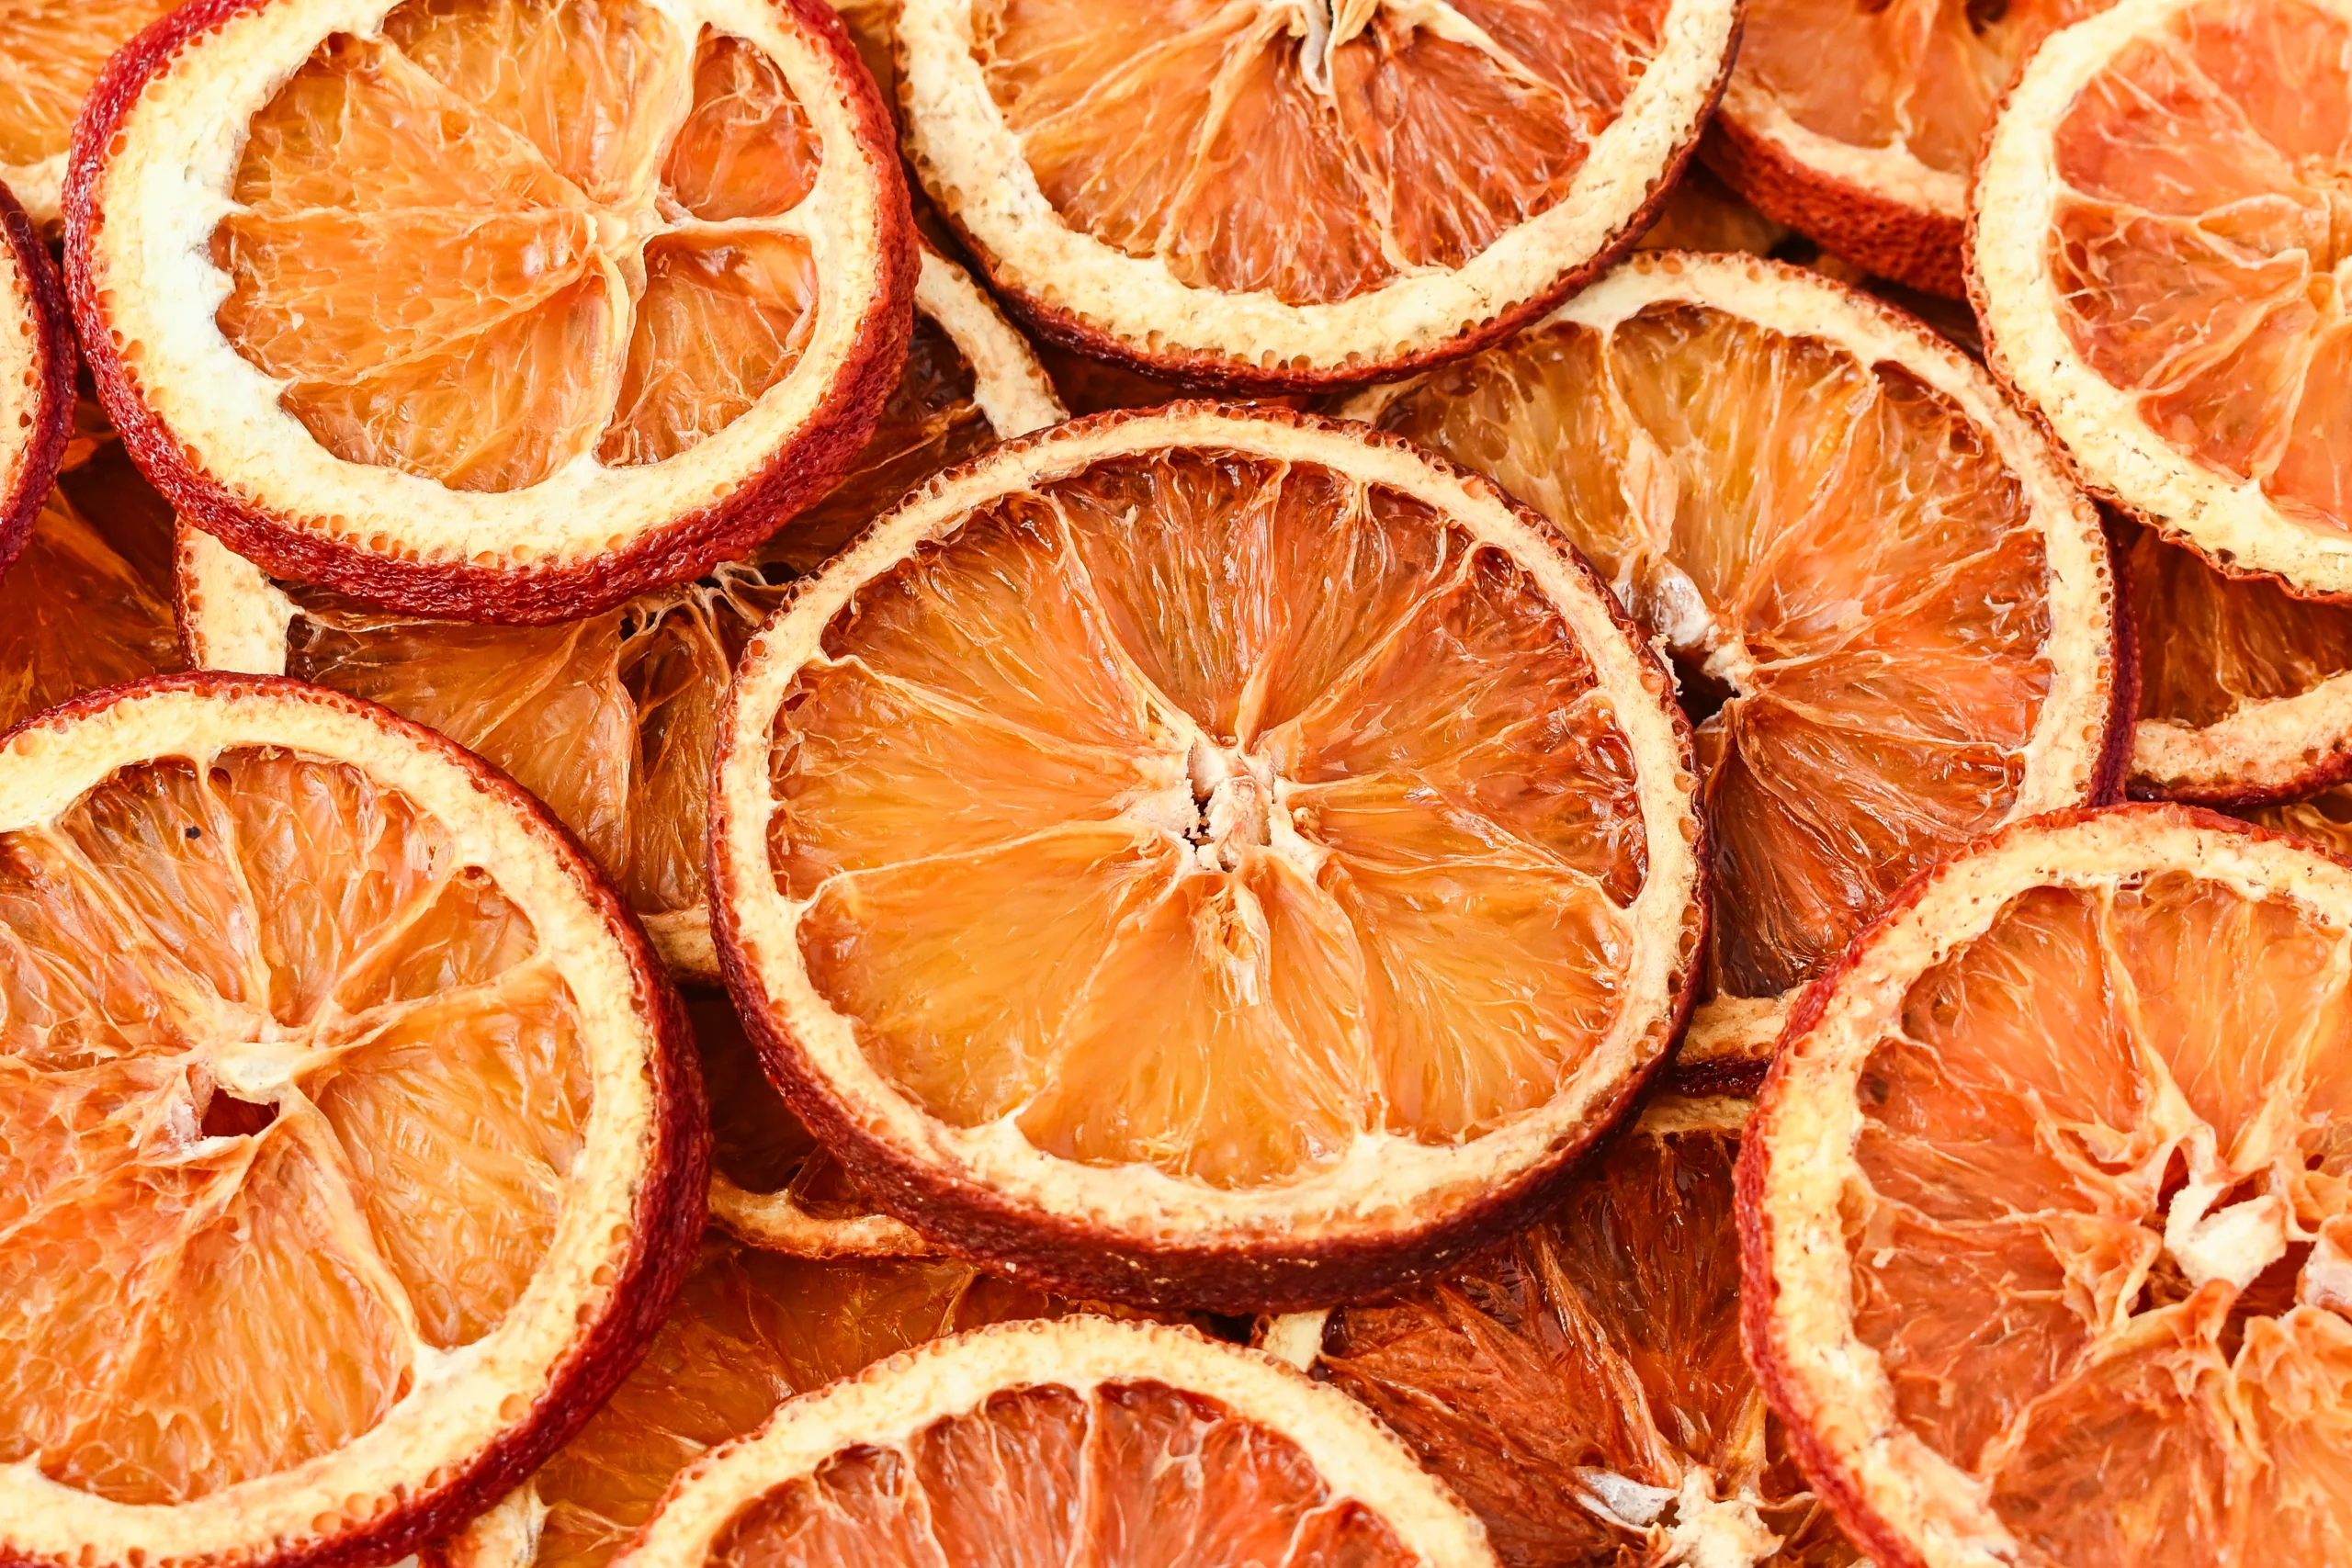
The best part? You can make dried orange slices at home with just a few simple tools—whether you use the oven method, a food dehydrator, or even an air fryer.
Table of Contents
This post contains affiliate links, which means I make a small commission at no extra cost to you. See my full disclosure here.
Ingredients & Supplies You’ll Need
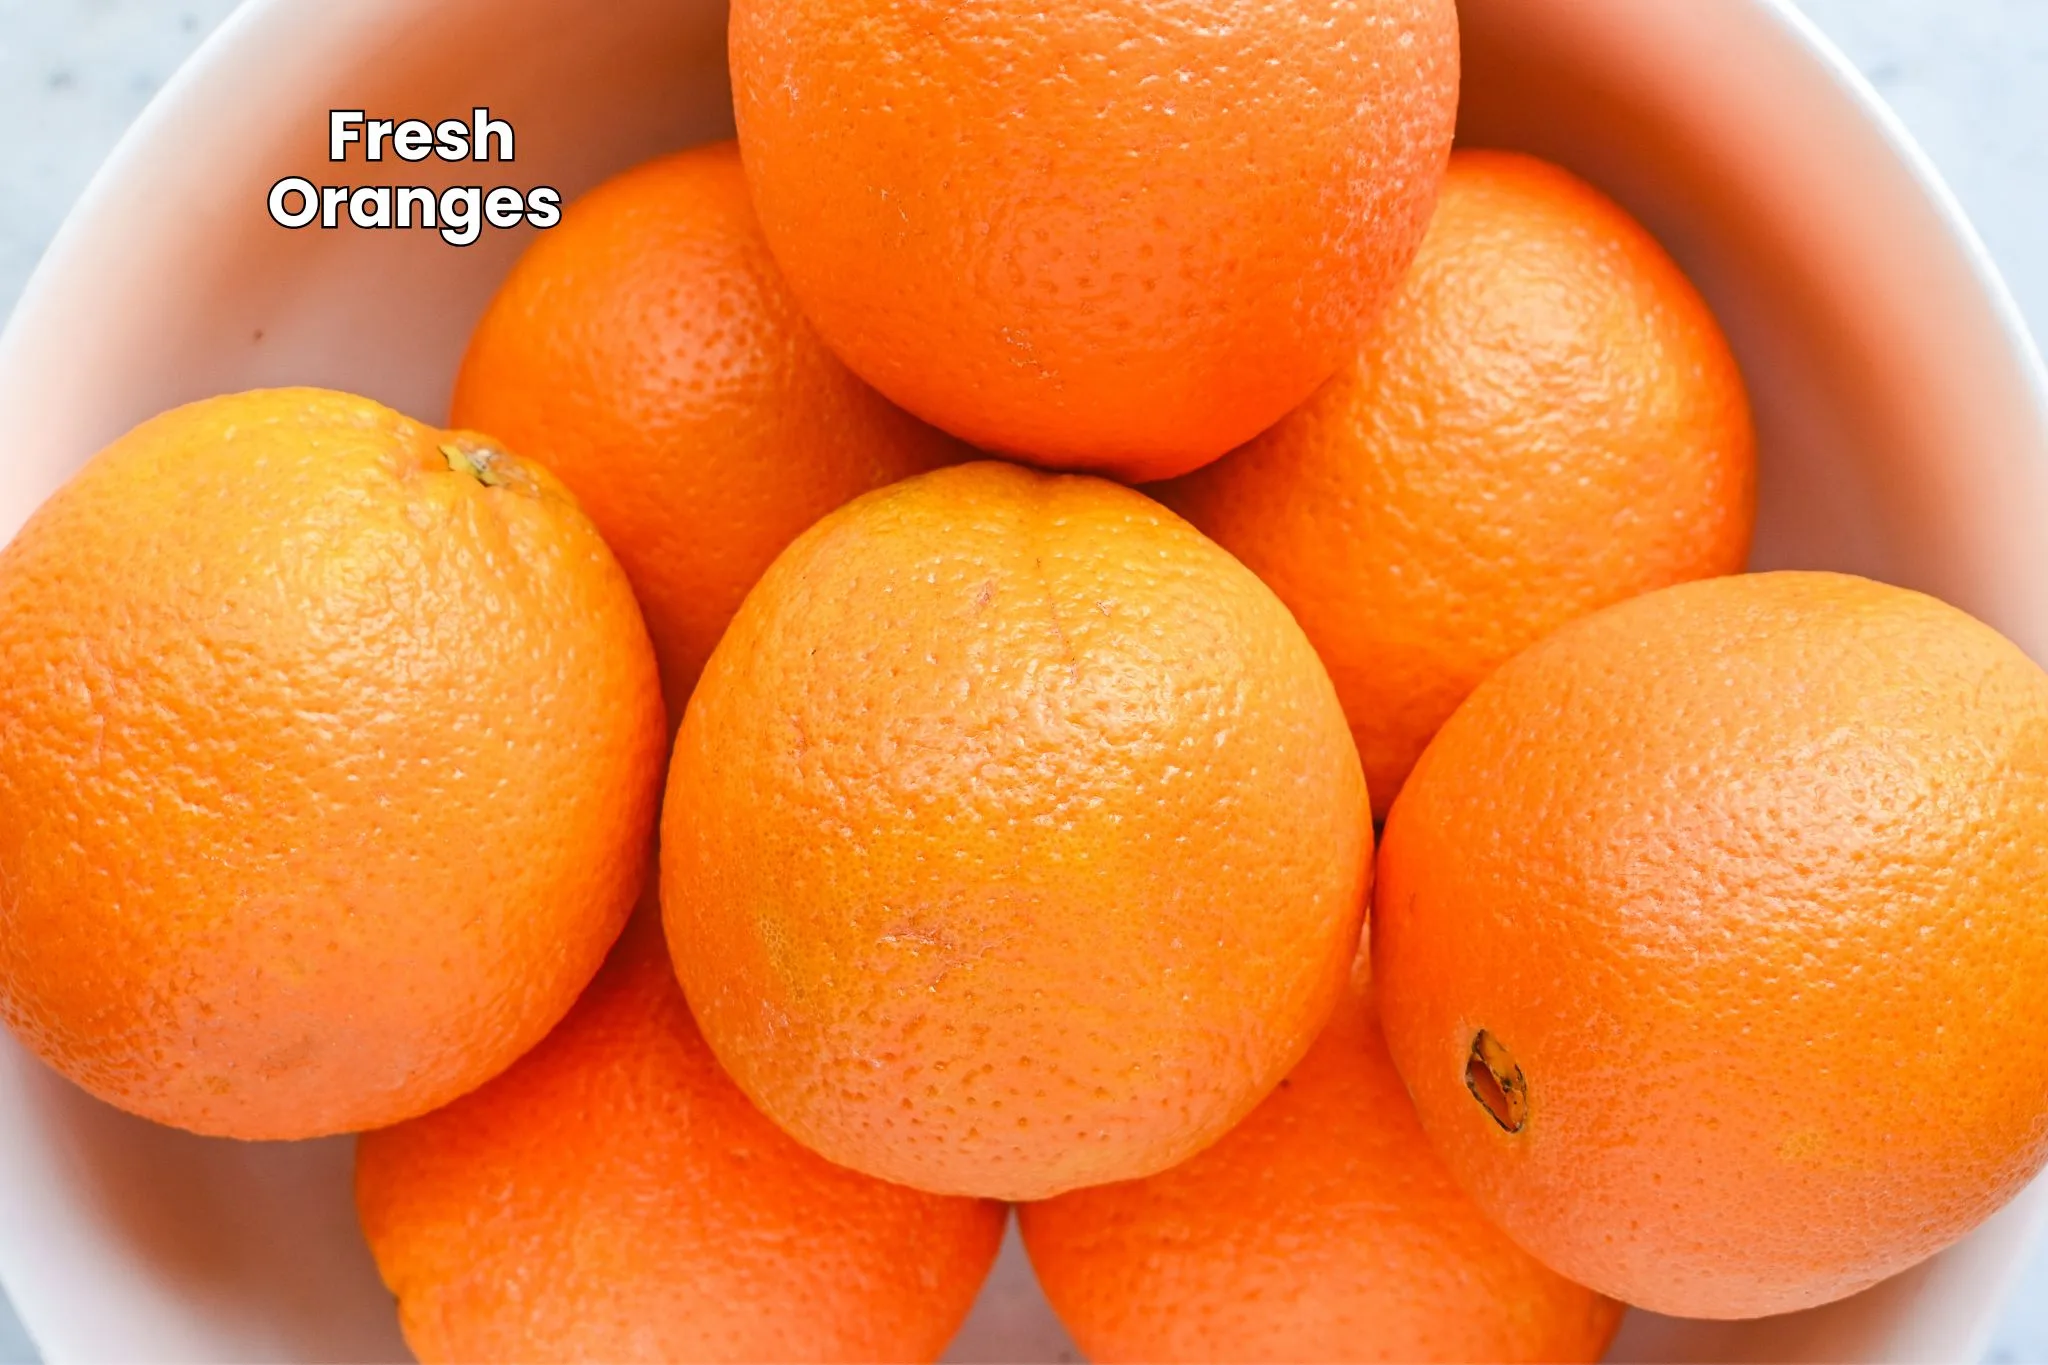
- Fresh oranges (navel or blood oranges work beautifully)
- Sharp knife
- Paper towel (to remove excess moisture)
- Parchment paper or silicone mat
- Baking sheet (for the oven method)
- Airtight container (for storage)
Optional add-ins: cinnamon sticks, star anise, or cloves for simmer pots and décor.
How to Make Dried Oranges
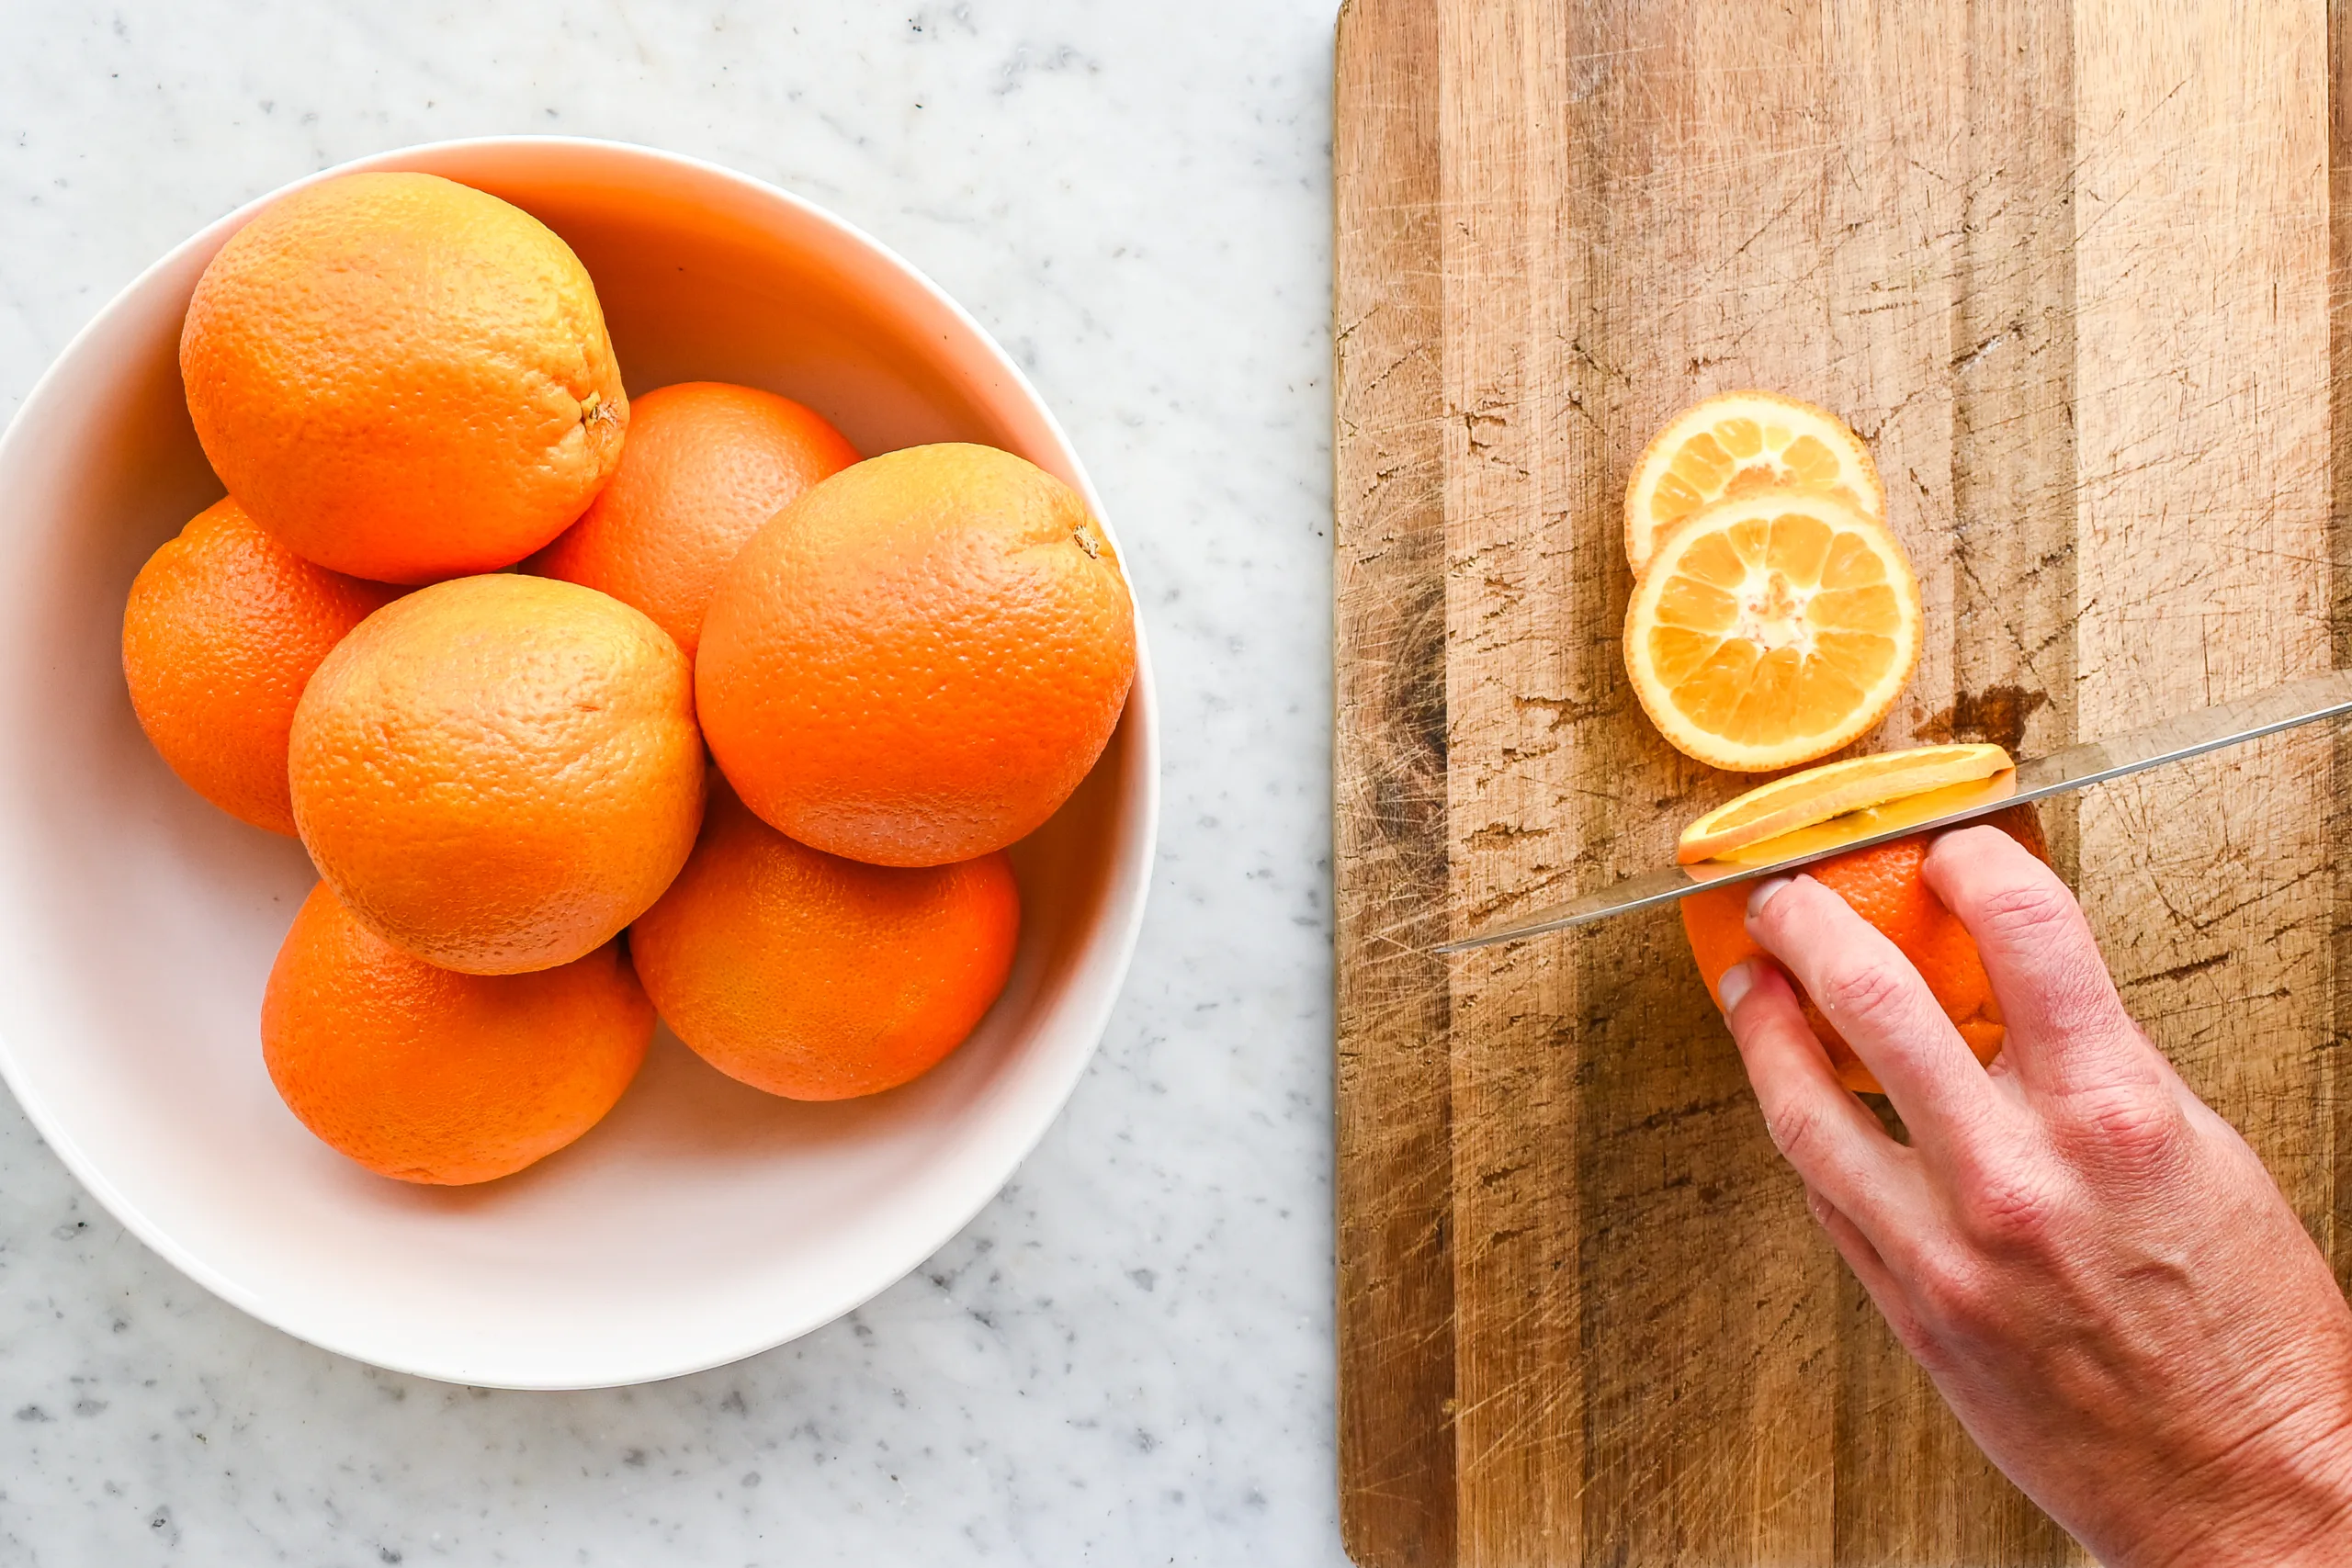
Using a sharp knife, carefully cut the oranges into ¼-inch slices. Try to keep the slices even so they dry at the same rate.

Lay the slices out on a paper towel and gently press to absorb excess moisture. This step helps prevent sogginess and speeds up drying.
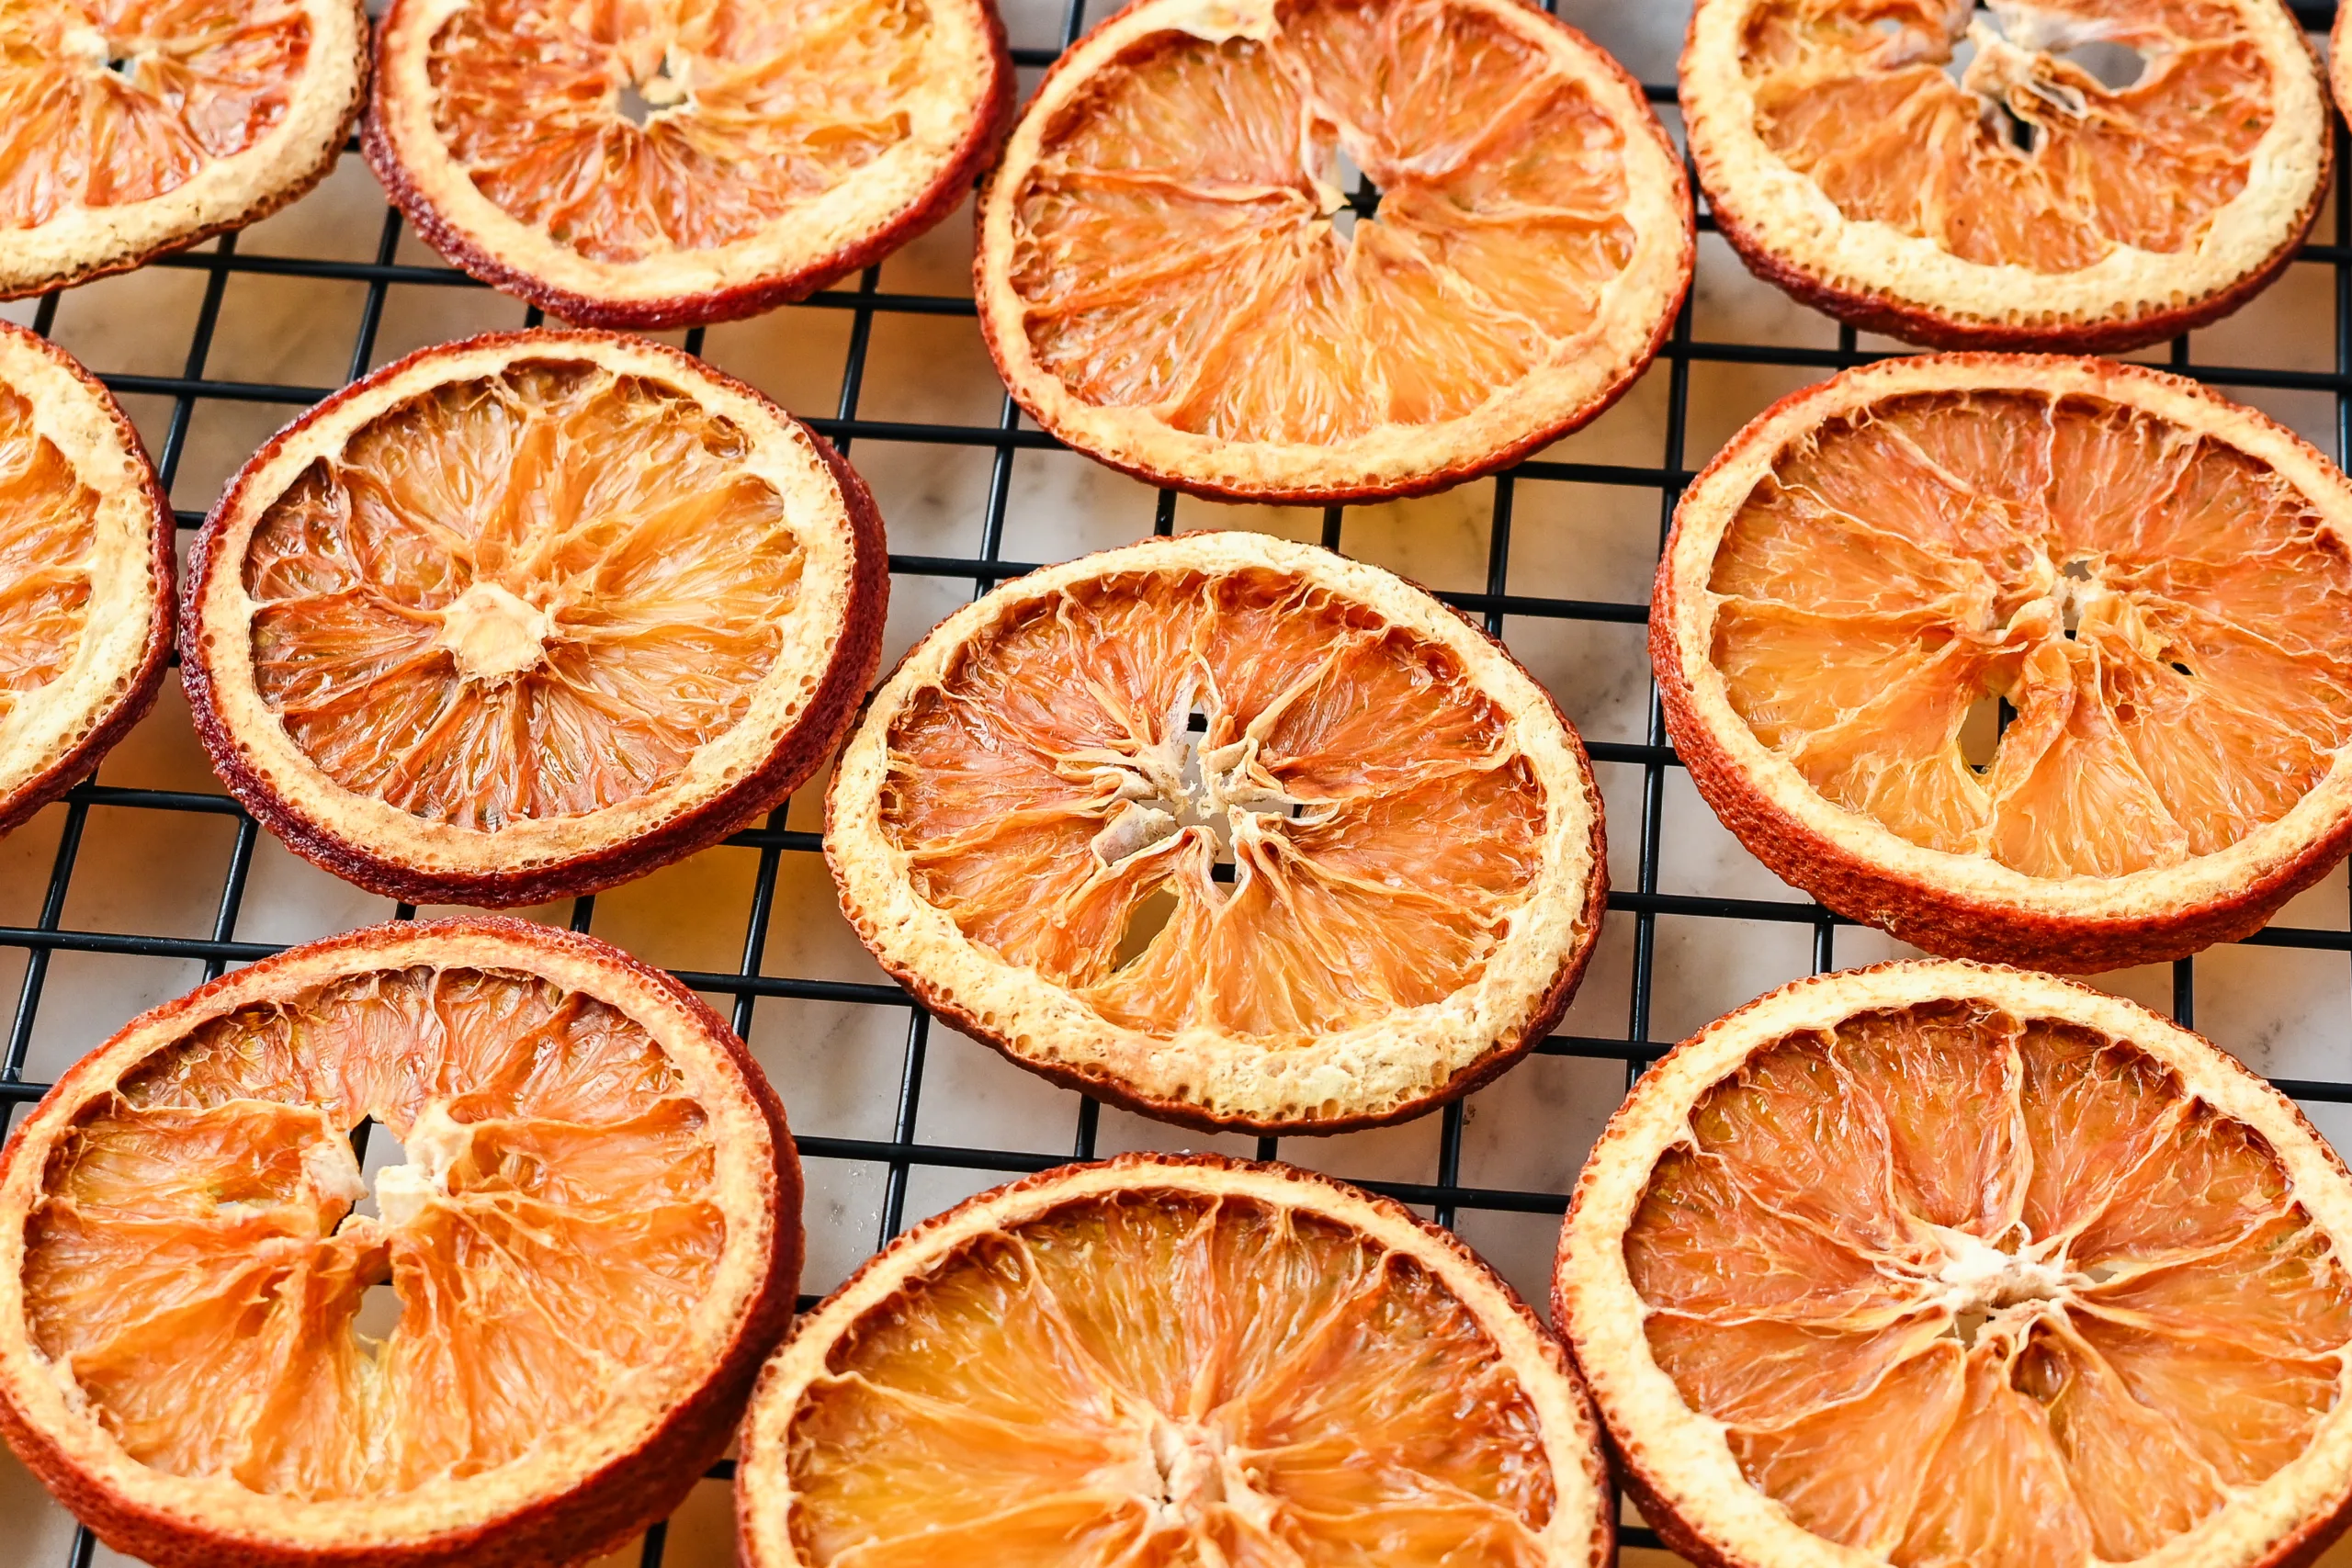
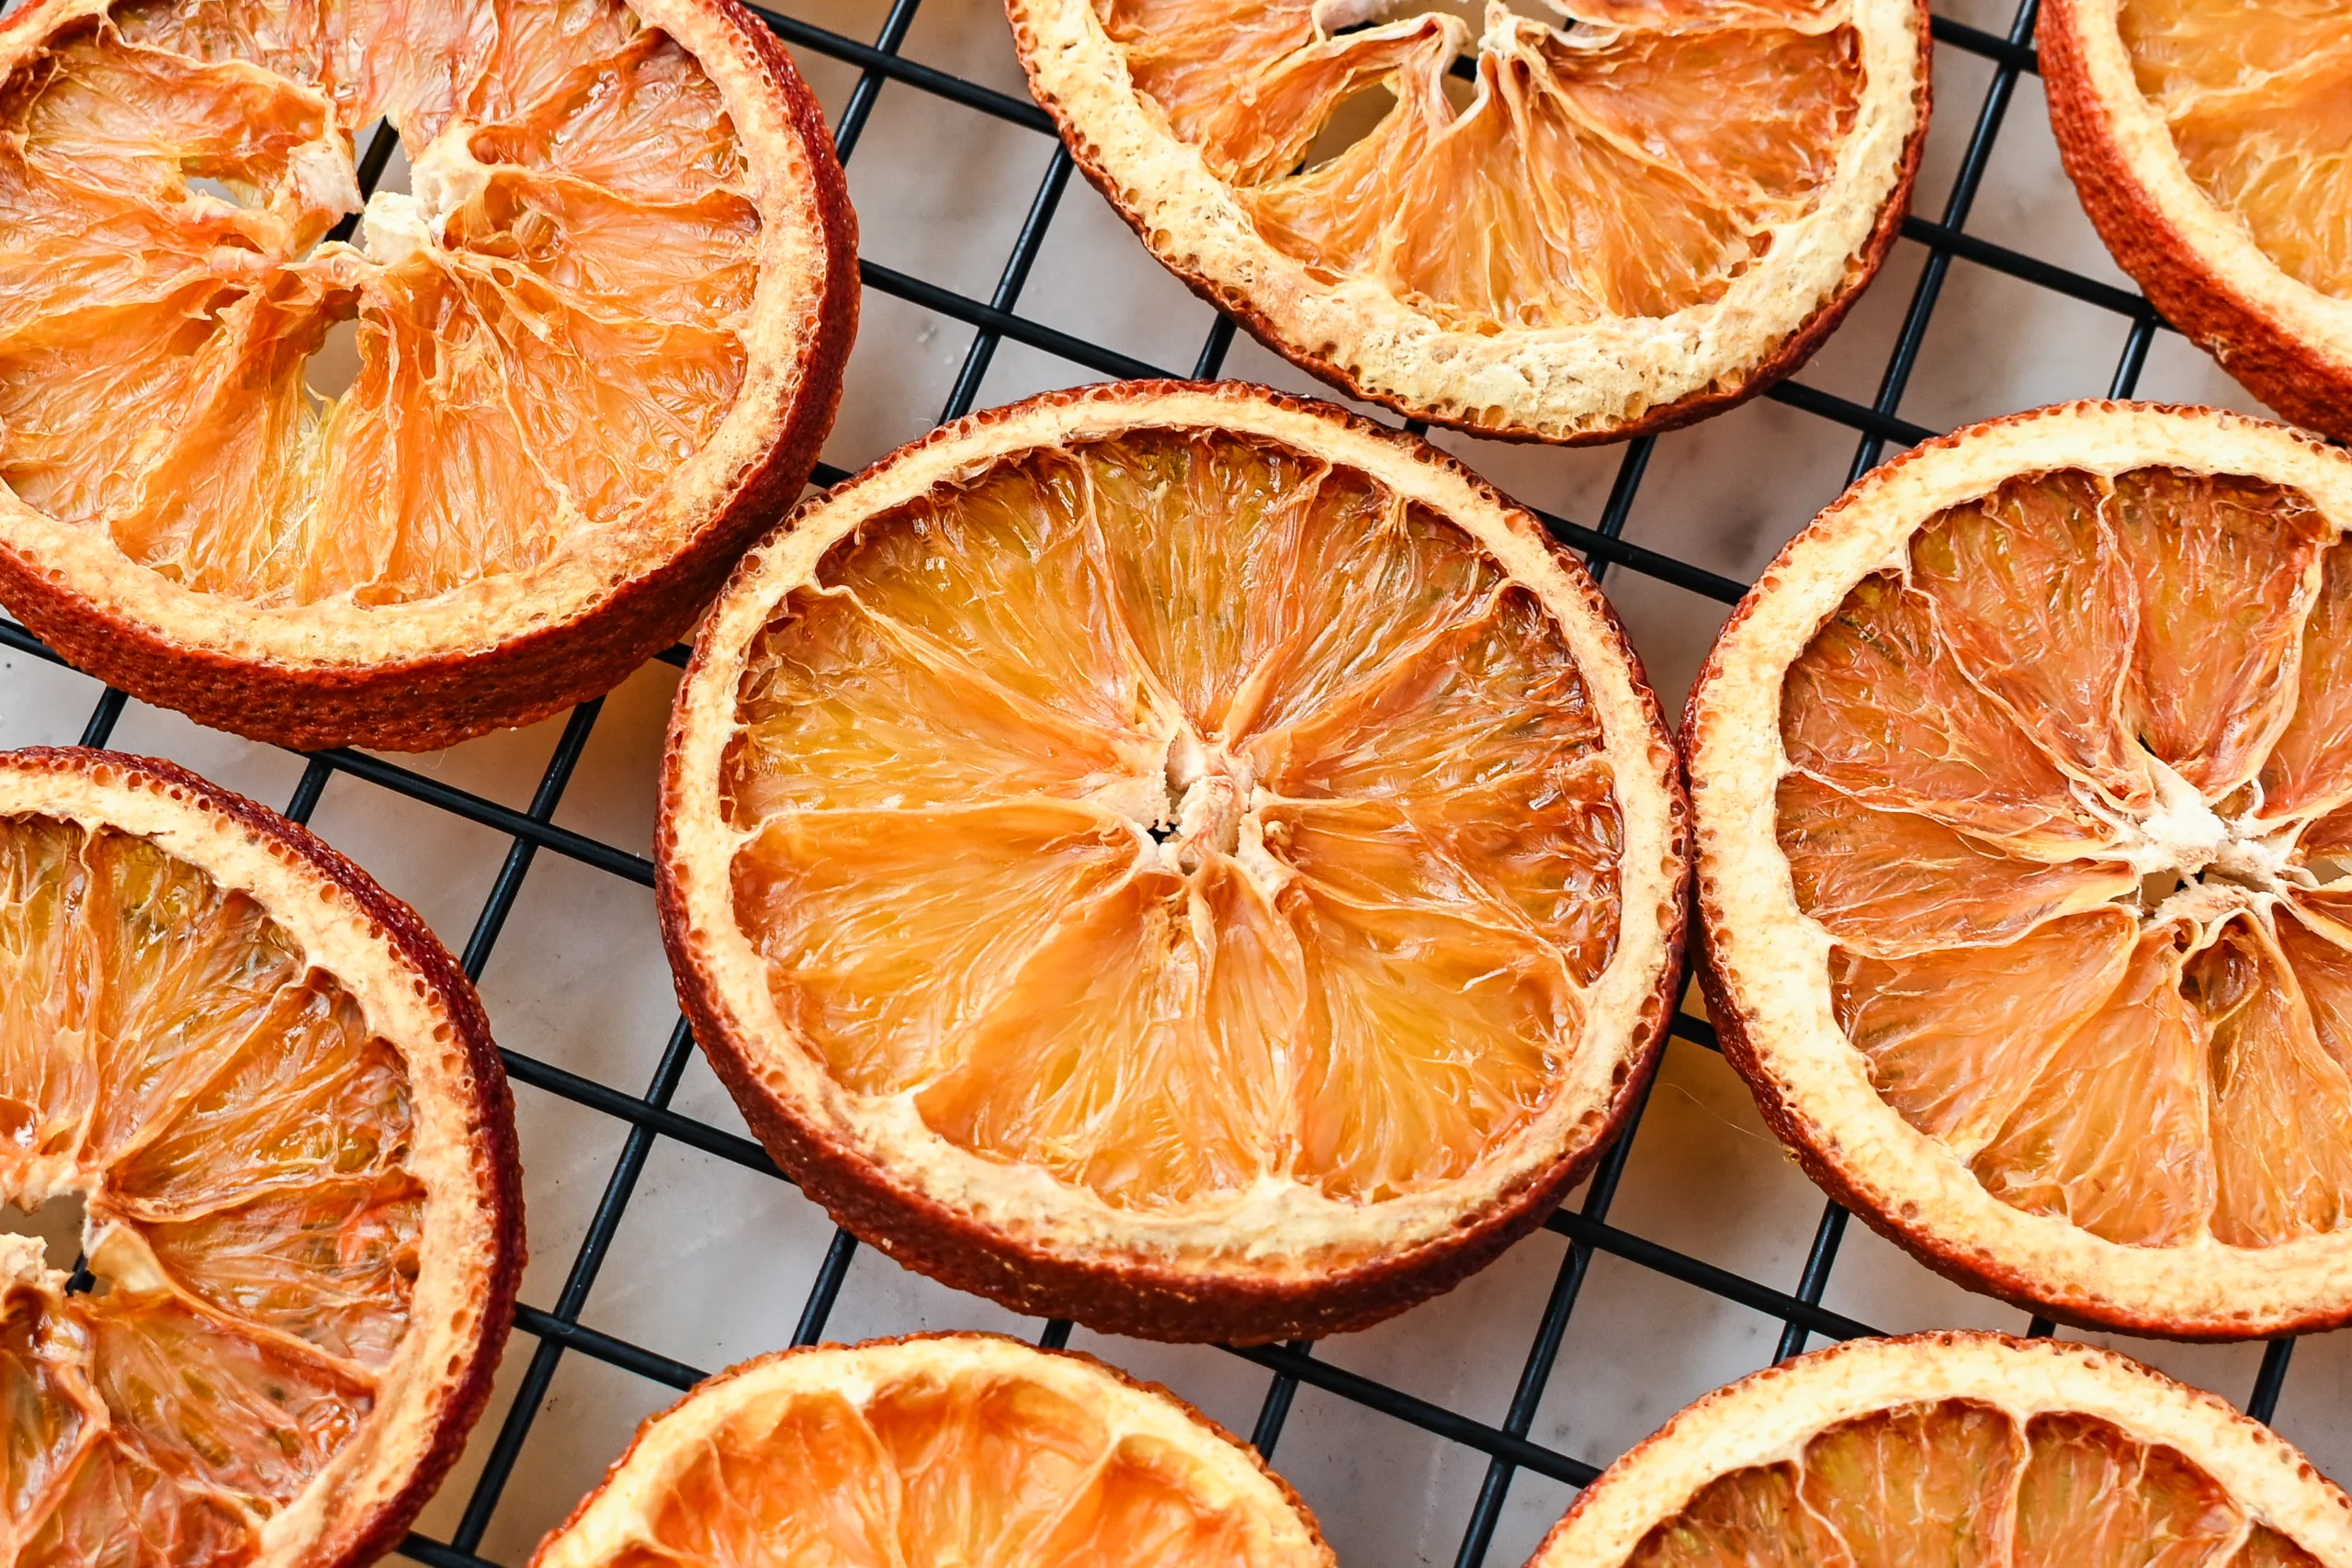
Preheat the oven to 200°F (90°C). Line a baking sheet with parchment paper and place orange slices in a single layer. Bake for 2–4 hours, flipping every 30 minutes, until the dehydrated orange slices are dry and slightly crisp at the edges.
Ways to Use Dried Orange Slices
- Holiday Decor – Hang on Christmas trees, string into garlands, or tuck into wreaths.
- Fall Crafts – Add dried oranges to homemade fall brooms, centerpieces, or seasonal arrangements.
- Simmer Pots – Combine with cinnamon sticks, cloves, and star anise for a cozy stovetop fragrance.
- Cocktail Garnishes – Dress up holiday drinks or even mulled cider with a slice or two.
Storing Dried Oranges
Once cooled to room temperature, keep dried orange slices in an airtight container in a cool, dry place. Properly dehydrated oranges can last for several months, making them perfect to prepare ahead of the busy holiday season.
Quick Tips for Success
- Slice evenly with a sharp knife to avoid burning thinner edges.
- Always remove excess moisture with a paper towel before drying.
- Don’t crowd your baking sheet or dehydrator trays—keep slices in a single layer for even airflow.
DIY dried oranges are a simple, beautiful way to bring natural elements into your home. Whether you hang them on Christmas trees, tuck them into holiday crafts, or simmer them with cinnamon sticks in a pot on the stove, these little slices of sunshine are a homestead favorite.
Frequently Asked Questions
How do you dry oranges without a dehydrator?
The oven method is the easiest way. Slice the oranges evenly, blot away excess moisture with a paper towel, and bake them on a parchment paper–lined baking sheet at 200°F for 2–3 hours, flipping every 30 minutes.
Can I use an air fryer to make dried orange slices?
Yes! Place slices in a single layer in the air fryer basket and set to 180°F. Check and flip every 30 minutes until they are fully dried.
How long do dehydrated oranges last?
When stored in an airtight container in a cool, dry place, dehydrated oranges can last 6 months or more. Be sure they’re fully dried before storing to prevent mold.
Do dried oranges attract bugs?
If stored properly, dried oranges won’t attract pests. Always cool to room temperature before storing in airtight containers. For décor (like on Christmas trees), avoid hanging them in humid areas.
Can you eat dried orange slices?
Yes! Dried orange slices are edible and make beautiful cocktail garnishes. They’re also delicious tucked into a Hot Apple Cider Recipe or a holiday simmer pot with cinnamon sticks and cloves.
Why are my dried oranges sticky?
Sticky slices usually mean they weren’t fully dried. Try returning them to the oven, food dehydrator, or air fryer until no moisture remains in the centers.


Tried this recipe?
I would love to see it! Tag me on Instagram @idiesfarm and #idiesfarm so I can share your beautiful creation!
DIY Dried Orange Slices (Easy Method for Holiday Decor!)
Equipment
- Fresh oranges navel or blood oranges work beautifully
- Sharp knife
- Paper towel to remove excess moisture
- Parchment paper or silicone mat
- Baking sheet for the oven method
- Airtight container for storage
Instructions
- Using a sharp knife, carefully cut the oranges into ¼-inch slices. Try to keep the slices even so they dry at the same rate.
- Lay the slices out on a paper towel and gently press to absorb excess moisture. This step helps prevent sogginess and speeds up drying.
- Preheat the oven to 200°F (90°C). Line a baking sheet with parchment paper and place orange slices in a single layer. Bake for 2–3 hours, flipping every 30 minutes, until the dehydrated orange slices are dry and slightly crisp at the edges.
Notes
Quick Tips for Success
- Slice evenly with a sharp knife to avoid burning thinner edges.
- Always remove excess moisture with a paper towel before drying.
- Don’t crowd your baking sheet or dehydrator trays—keep slices in a single layer for even airflow.