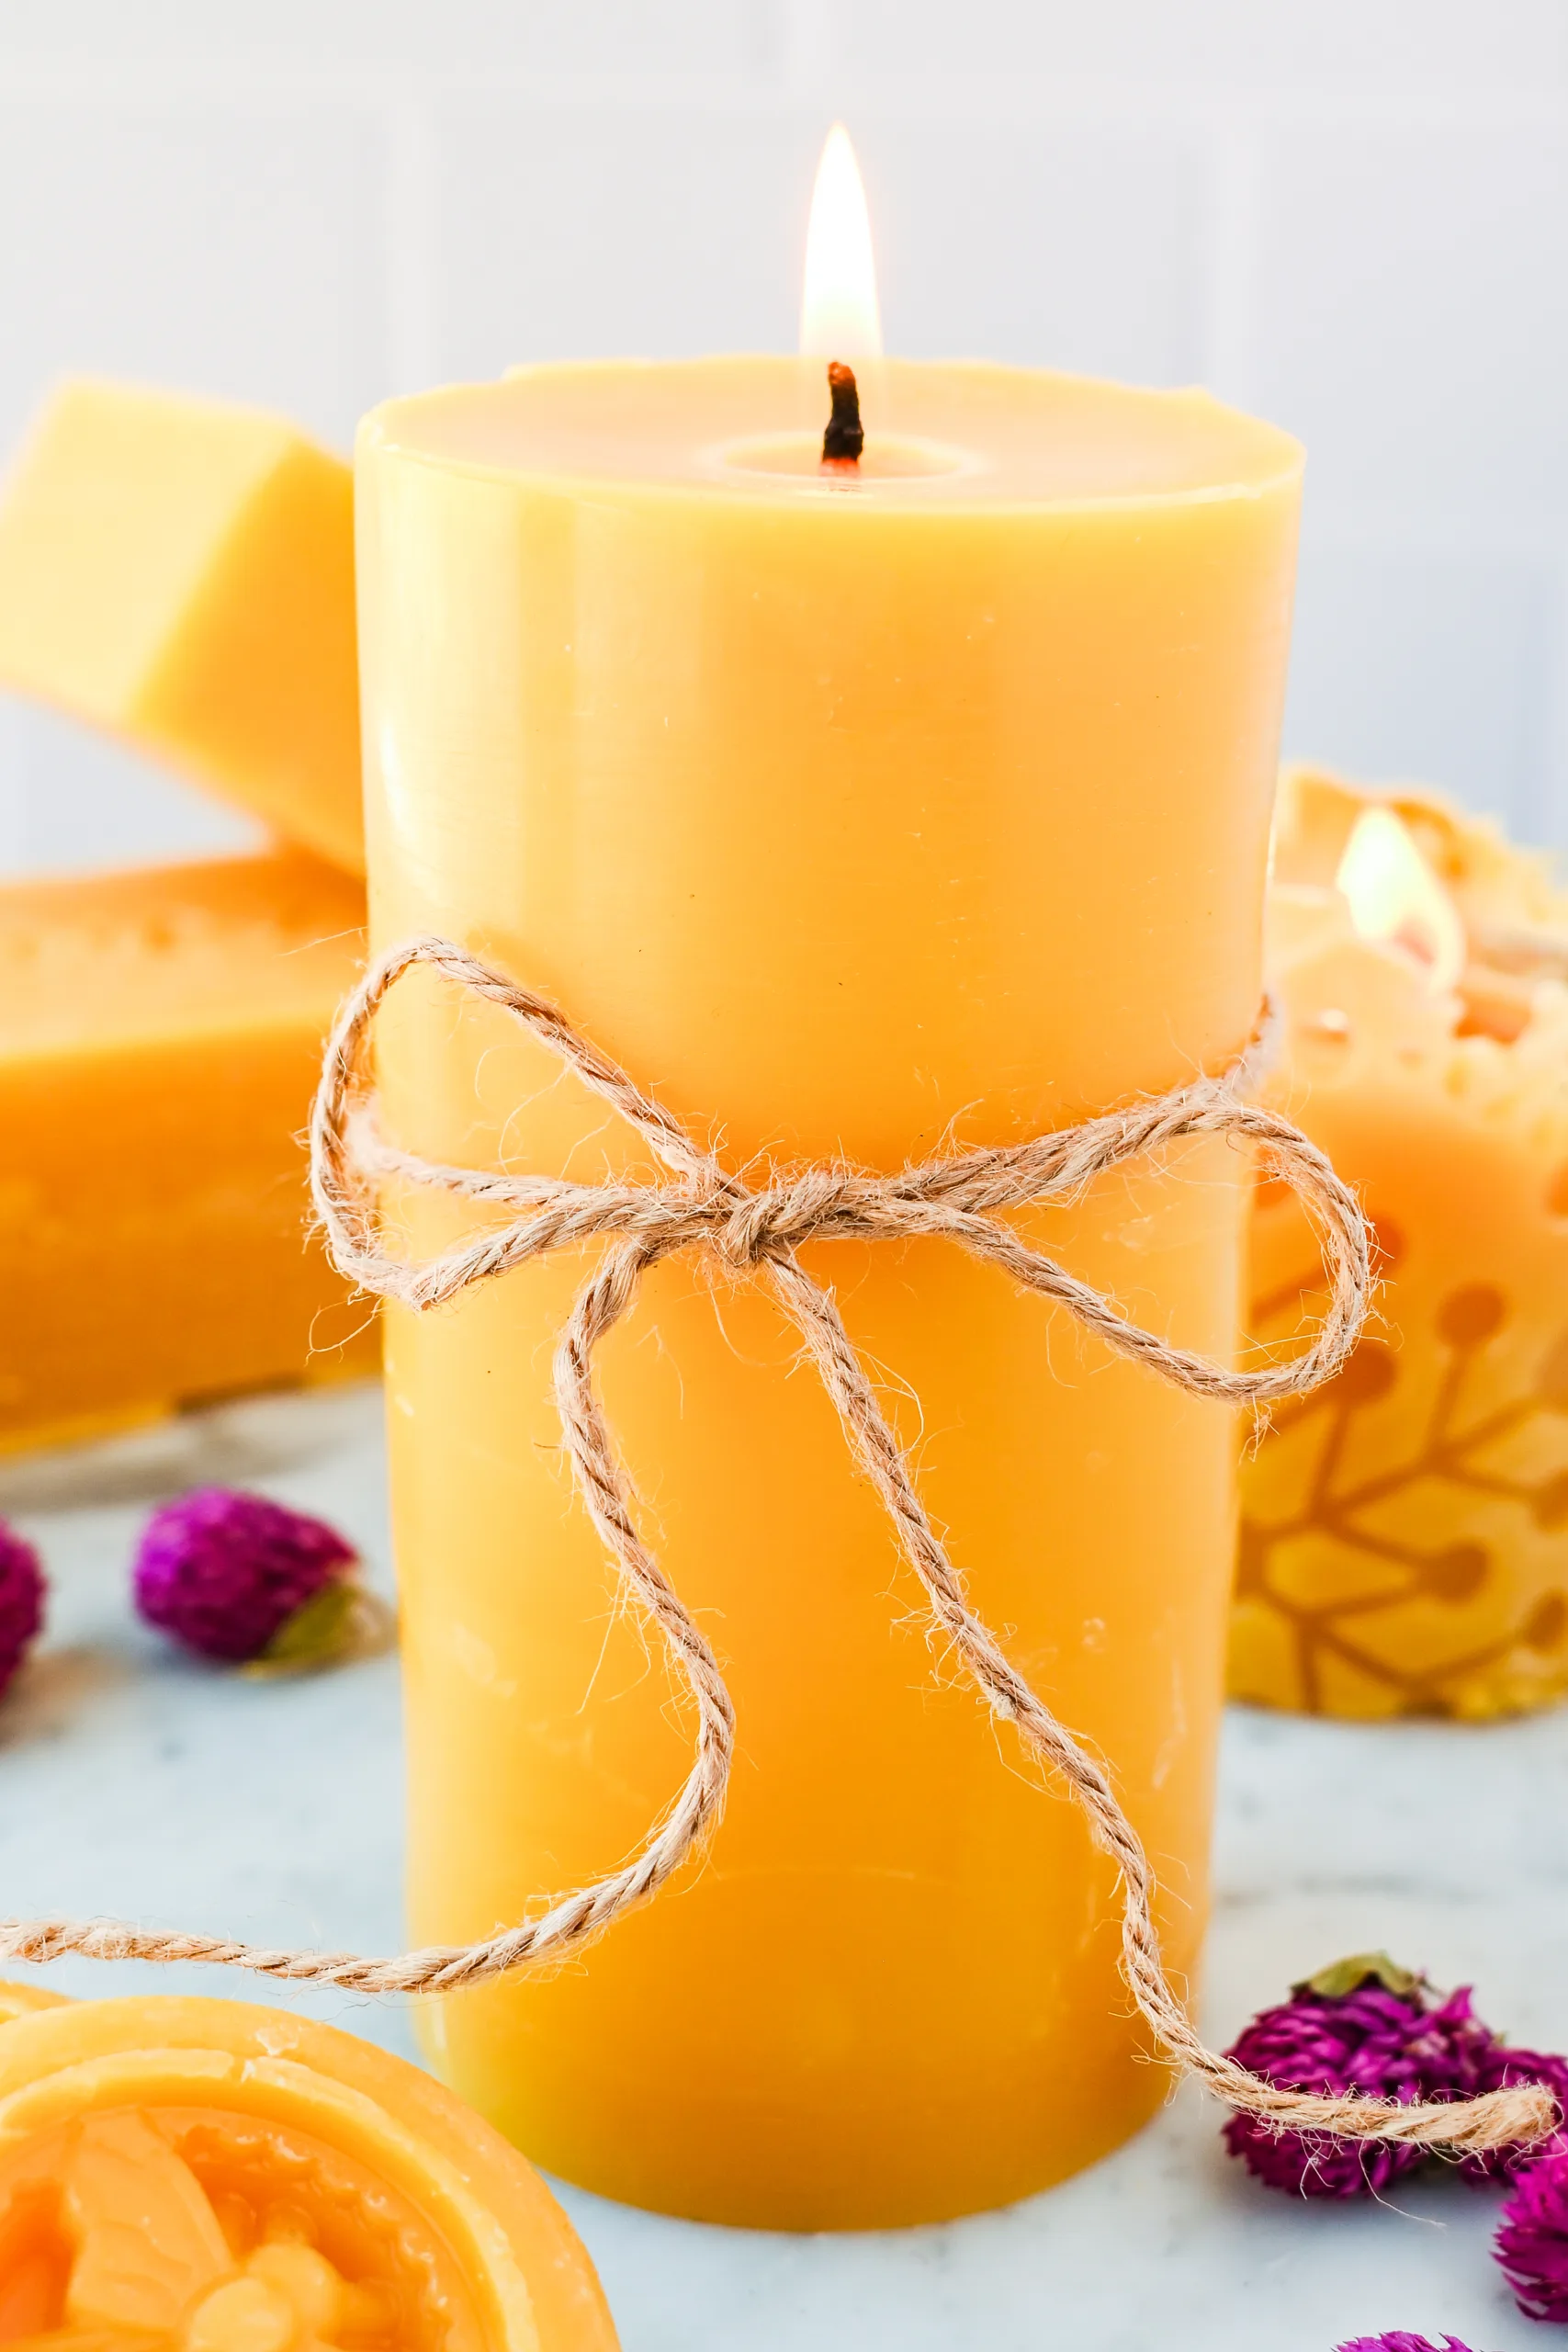
How to Make Beeswax Candles at Home for Beginners
How to Make Beeswax Candles at Home for Beginners is a simple step-by-step guide for making molded beeswax candles with natural wax, a cotton wick, and a few basic supplies. This old-fashioned project walks through melting the beeswax, preparing the mold, and pouring a candle by hand. It is an easy beginner craft that creates beautiful handmade candles with a warm glow and timeless appeal.
Print
Pin
Servings: 1 candle
Equipment
- double boiler or melting pot set over simmering water
- thermometer
- candle mold cotton candle wick
- wick holder, pencil, or clothespin
- scissors
- heat-safe pouring container, if needed
- beeswax in blocks, chunks, or pellets
Instructions
- Place the beeswax in a double boiler or melting pot over gently simmering water. I never like to heat beeswax directly on the stove because slower, gentler heat makes it easier to control. Stir occasionally as it melts. Beeswax usually melts between 144°F and 147°F, so it helps to keep an eye on the temperature as the wax turns to liquid.
- While the beeswax is melting, get your mold ready. Thread the wick into place and secure it so it stays centered. I usually use a pencil or clothespin across the top to hold the wick upright. For this tutorial, a 2 ¾-inch pillar mold with a #4 square braid wick works as a good starting point. The exact wick size can vary depending on the width of the mold, but keeping the wick straight and centered is what matters most here.
- Once the wax is fully melted, carefully pour it into the prepared mold. Leave a little room at the top, since beeswax can shrink slightly as it cools. Then let the candle cool completely at room temperature. If a small sinkhole forms around the wick, melt a little extra beeswax and pour a second layer over the top to smooth it out. Allow the candle to harden in the mold for at least 24 hours before trying to remove it, since fully set beeswax is more likely to release cleanly.
- After the candle is fully cool and firm, remove it from the mold. Trim the wick to about ¼ inch before burning. At that point, your candle is ready to use!
Notes
Melt the wax slowly over gentle heat instead of rushing it.
Keep the wick centered so the finished candle burns more evenly.
Leave a little room at the top of the mold when pouring.
Let the candle cool fully before removing it from the mold.
If the top sinks around the wick, pour a small second layer to fill it in.
Trim the wick to about ¼ inch before lighting.