
Learning how to make beeswax candles at home is one of my favorite old-fashioned skills, and it is a simple place to begin if you are new to candle making. There is something deeply satisfying about melting real beeswax, setting a wick in place, and pouring a candle by hand. Instead of buying synthetic candles, I can make something simple, useful, and beautiful for my own home.
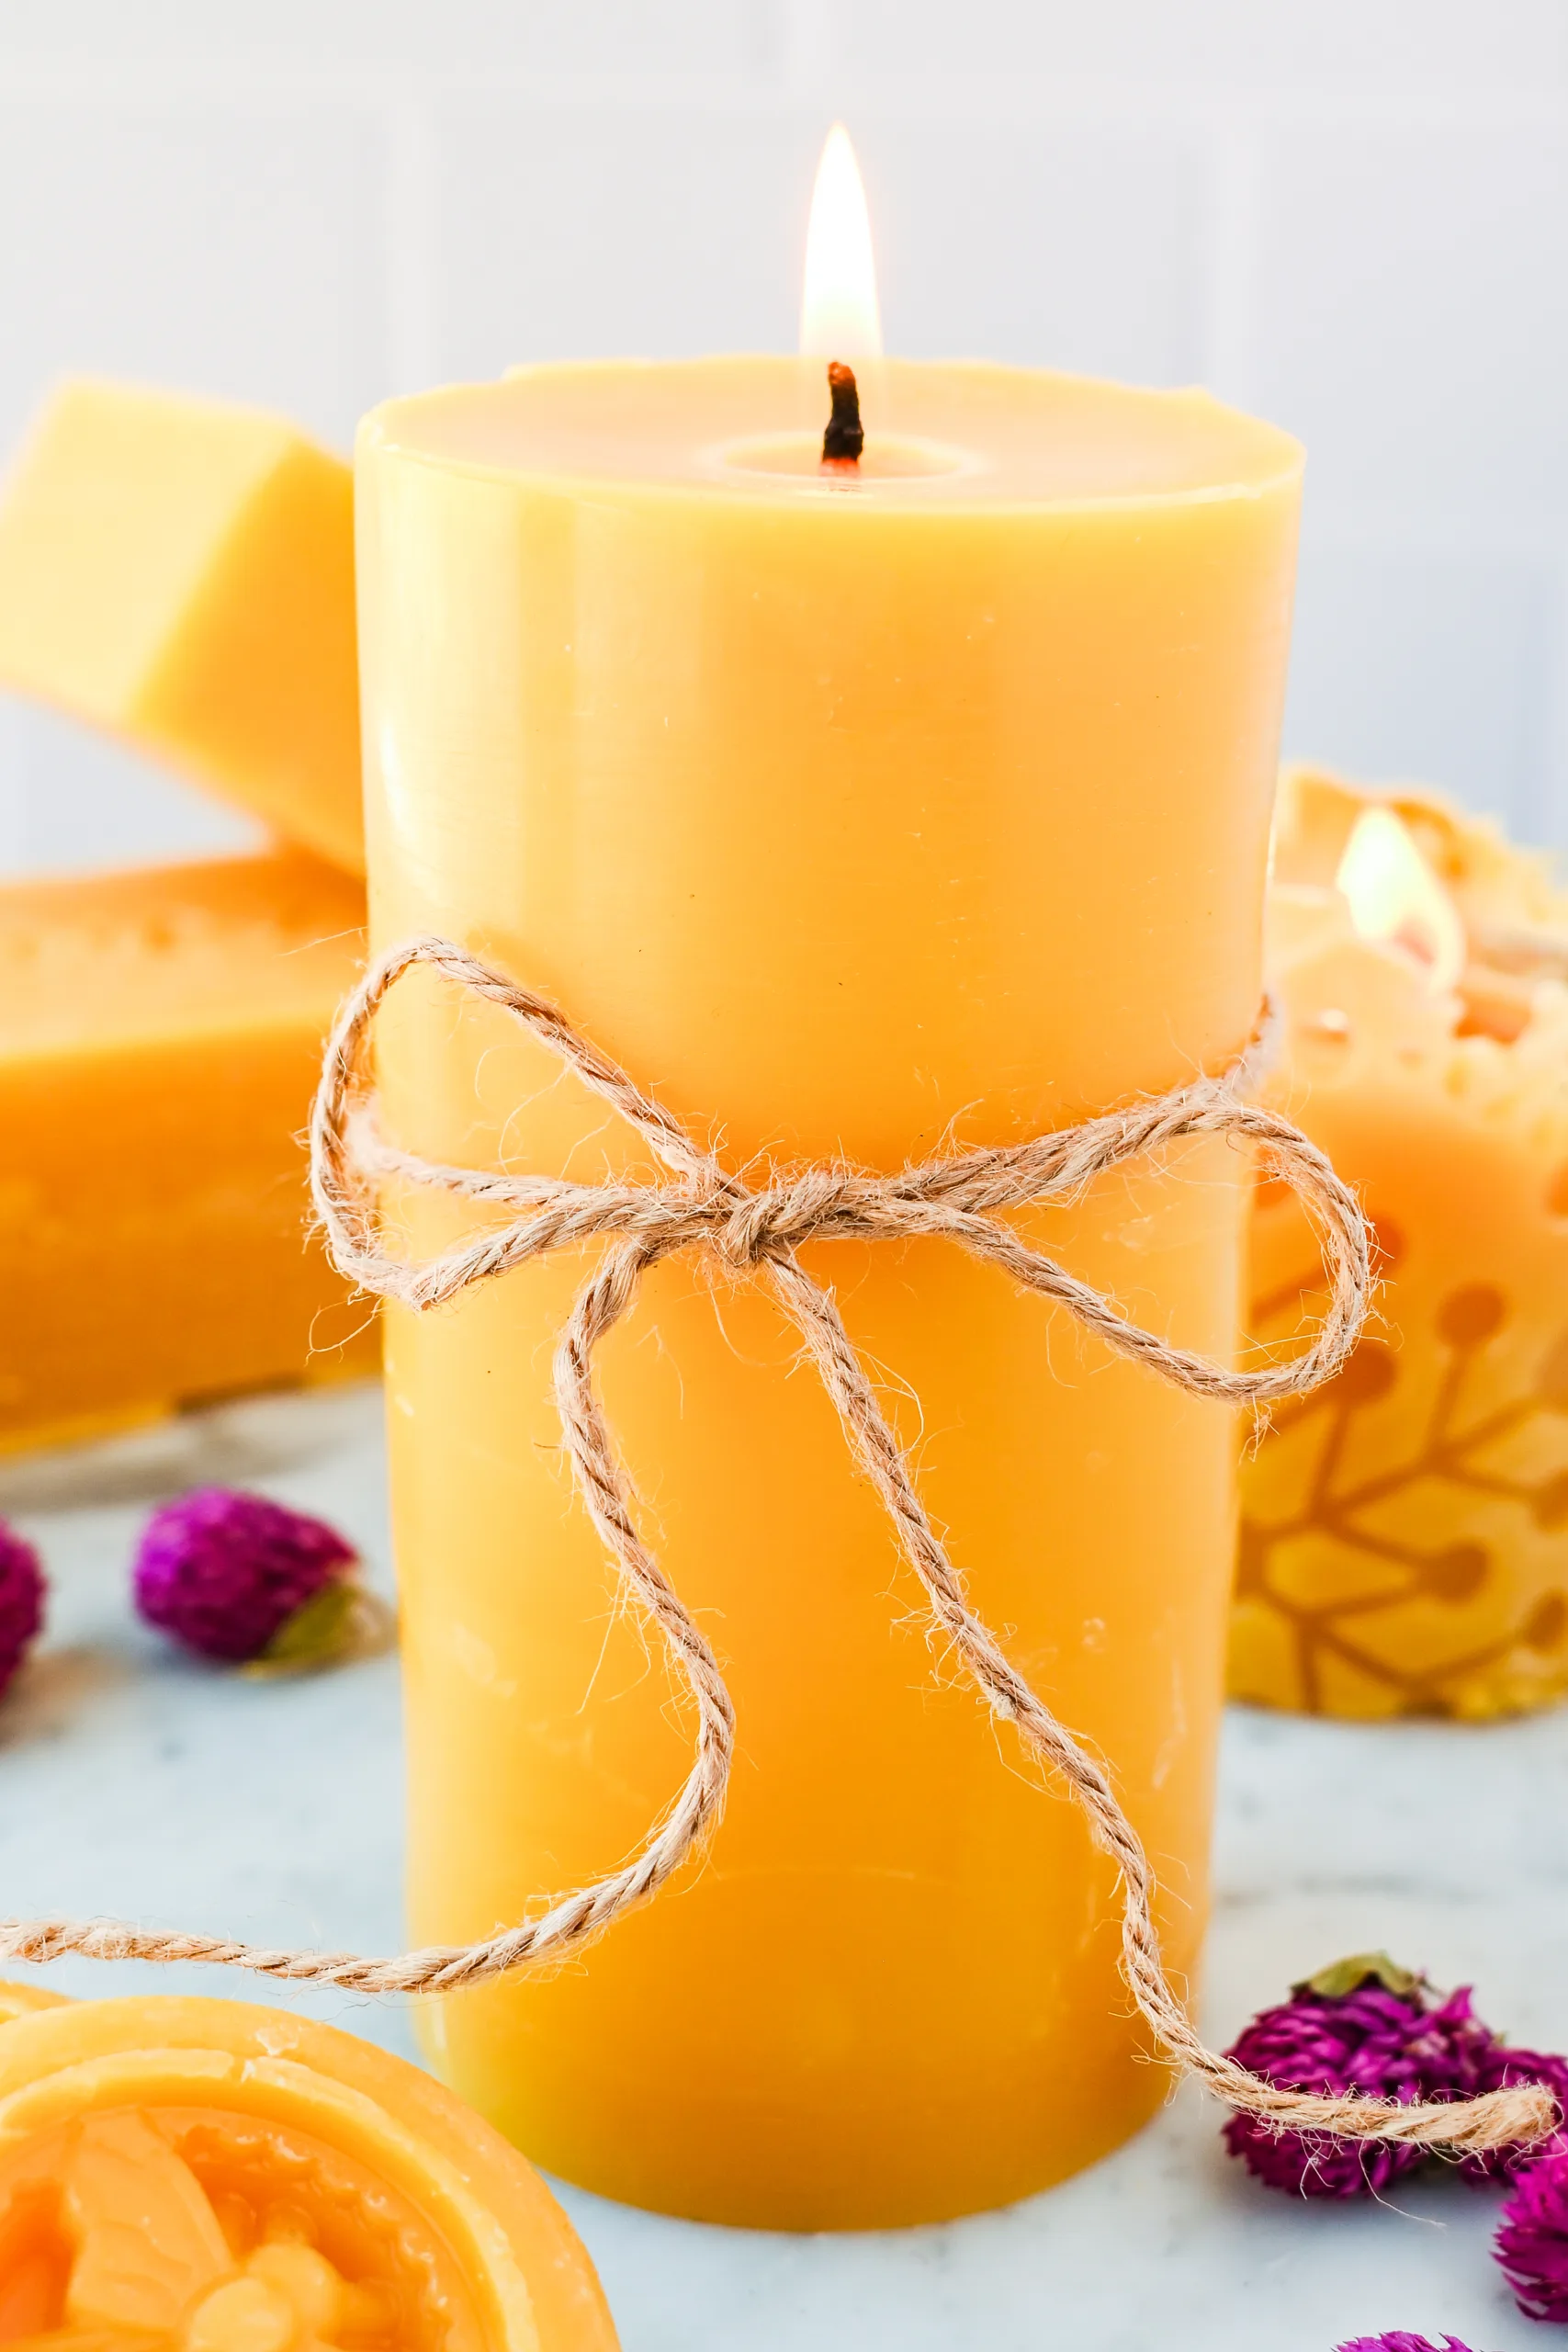
Table of Contents
This post contains affiliate links, which means I make a small commission at no extra cost to you. See my full disclosure policy here.
If you want to make beeswax candles at home, the basic process is simple. Melt the beeswax gently in a double boiler, prepare your wick and mold, pour the melted wax, and let the candle cool completely before trimming the wick. This method works well for beginner candle making and is a practical way to make pillar candles and other molded beeswax candles with just a few basic supplies.
Making beeswax candles feels like a natural fit for old-fashioned living made simple again. It is a slower kind of craft, but it is not difficult, and once you learn the basics, it becomes easy to make candles for everyday use, gifts, or simply the pleasure of doing something by hand.
If you enjoy traditional candle crafts, you may also like my post on How to Make Natural Candles From Beef Tallow. If you want to try a different method, my guide on hand-dipped taper candles walks through the classic dipping process, which is a little different from pouring wax into molds.
Quick Look at This Project
Prep time: 10 minutes
Total time: About 2 hours 30 minutes to 3 hours 20 minutes
Servings: 1 batch of beeswax candles
Texture: Smooth, firm finished candles
Best for: For pillar candles and other molded candles

Why I Make Beeswax Candles at Home
I love making beeswax candles because they feel practical and beautiful at the same time. They give off a warm glow, they smell faintly like honey, and they bring a quiet kind of comfort into the home. There is nothing flashy about them, which is part of why I like them so much.
I also appreciate that beeswax is a natural wax. When I make my own candles, I know exactly what is in them, and I can skip the heavily scented store-bought versions that often feel anything but simple. Candle making is one of those useful old-fashioned skills that still makes perfect sense today.
Why Beeswax Is a Good Choice for Candle Making
Beeswax is one of my favorite candle waxes because it is sturdy, long-burning, and naturally beautiful. It melts into a rich golden liquid and hardens into a candle that feels timeless and useful. For anyone wanting to make candles with simple materials, beeswax is a wonderful place to start.
It also works well for several different styles of candle making. Once you learn the basic pouring method, you can make molded candles and pillar candles with very little extra equipment. That makes it especially beginner-friendly.

Equipment
- double boiler or melting pot set over simmering water
- thermometer
- candle mold
- cotton candle wick
- wick holder, pencil, or clothespin
- scissors
- heat-safe pouring container, if needed
- beeswax in blocks, chunks, or pellets
If you are just getting started, look for a simple pillar candle mold from a candle-making supplier or online craft shop. Silicone molds and traditional metal or plastic molds can all work, depending on the shape you want to make.
How to Make Beeswax Candles at Home

Place the beeswax in a double boiler or melting pot over gently simmering water. I never like to heat beeswax directly on the stove because slower, gentler heat makes it easier to control. Stir occasionally as it melts. Beeswax usually melts between 144°F and 147°F, so it helps to keep an eye on the temperature as the wax turns to liquid.

While the beeswax is melting, get your mold ready. Thread the wick into place and secure it so it stays centered. I usually use a pencil or clothespin across the top to hold the wick upright. For this tutorial, a 2 ¾-inch pillar mold with a #4 square braid wick works as a good starting point. The exact wick size can vary depending on the width of the mold, but keeping the wick straight and centered is what matters most here.

Once the wax is fully melted, carefully pour it into the prepared mold. Leave a little room at the top, since beeswax can shrink slightly as it cools. Then let the candle cool completely at room temperature. If a small sinkhole forms around the wick, melt a little extra beeswax and pour a second layer over the top to smooth it out. Allow the candle to harden in the mold for at least 24 hours before trying to remove it, since fully set beeswax is more likely to release cleanly.

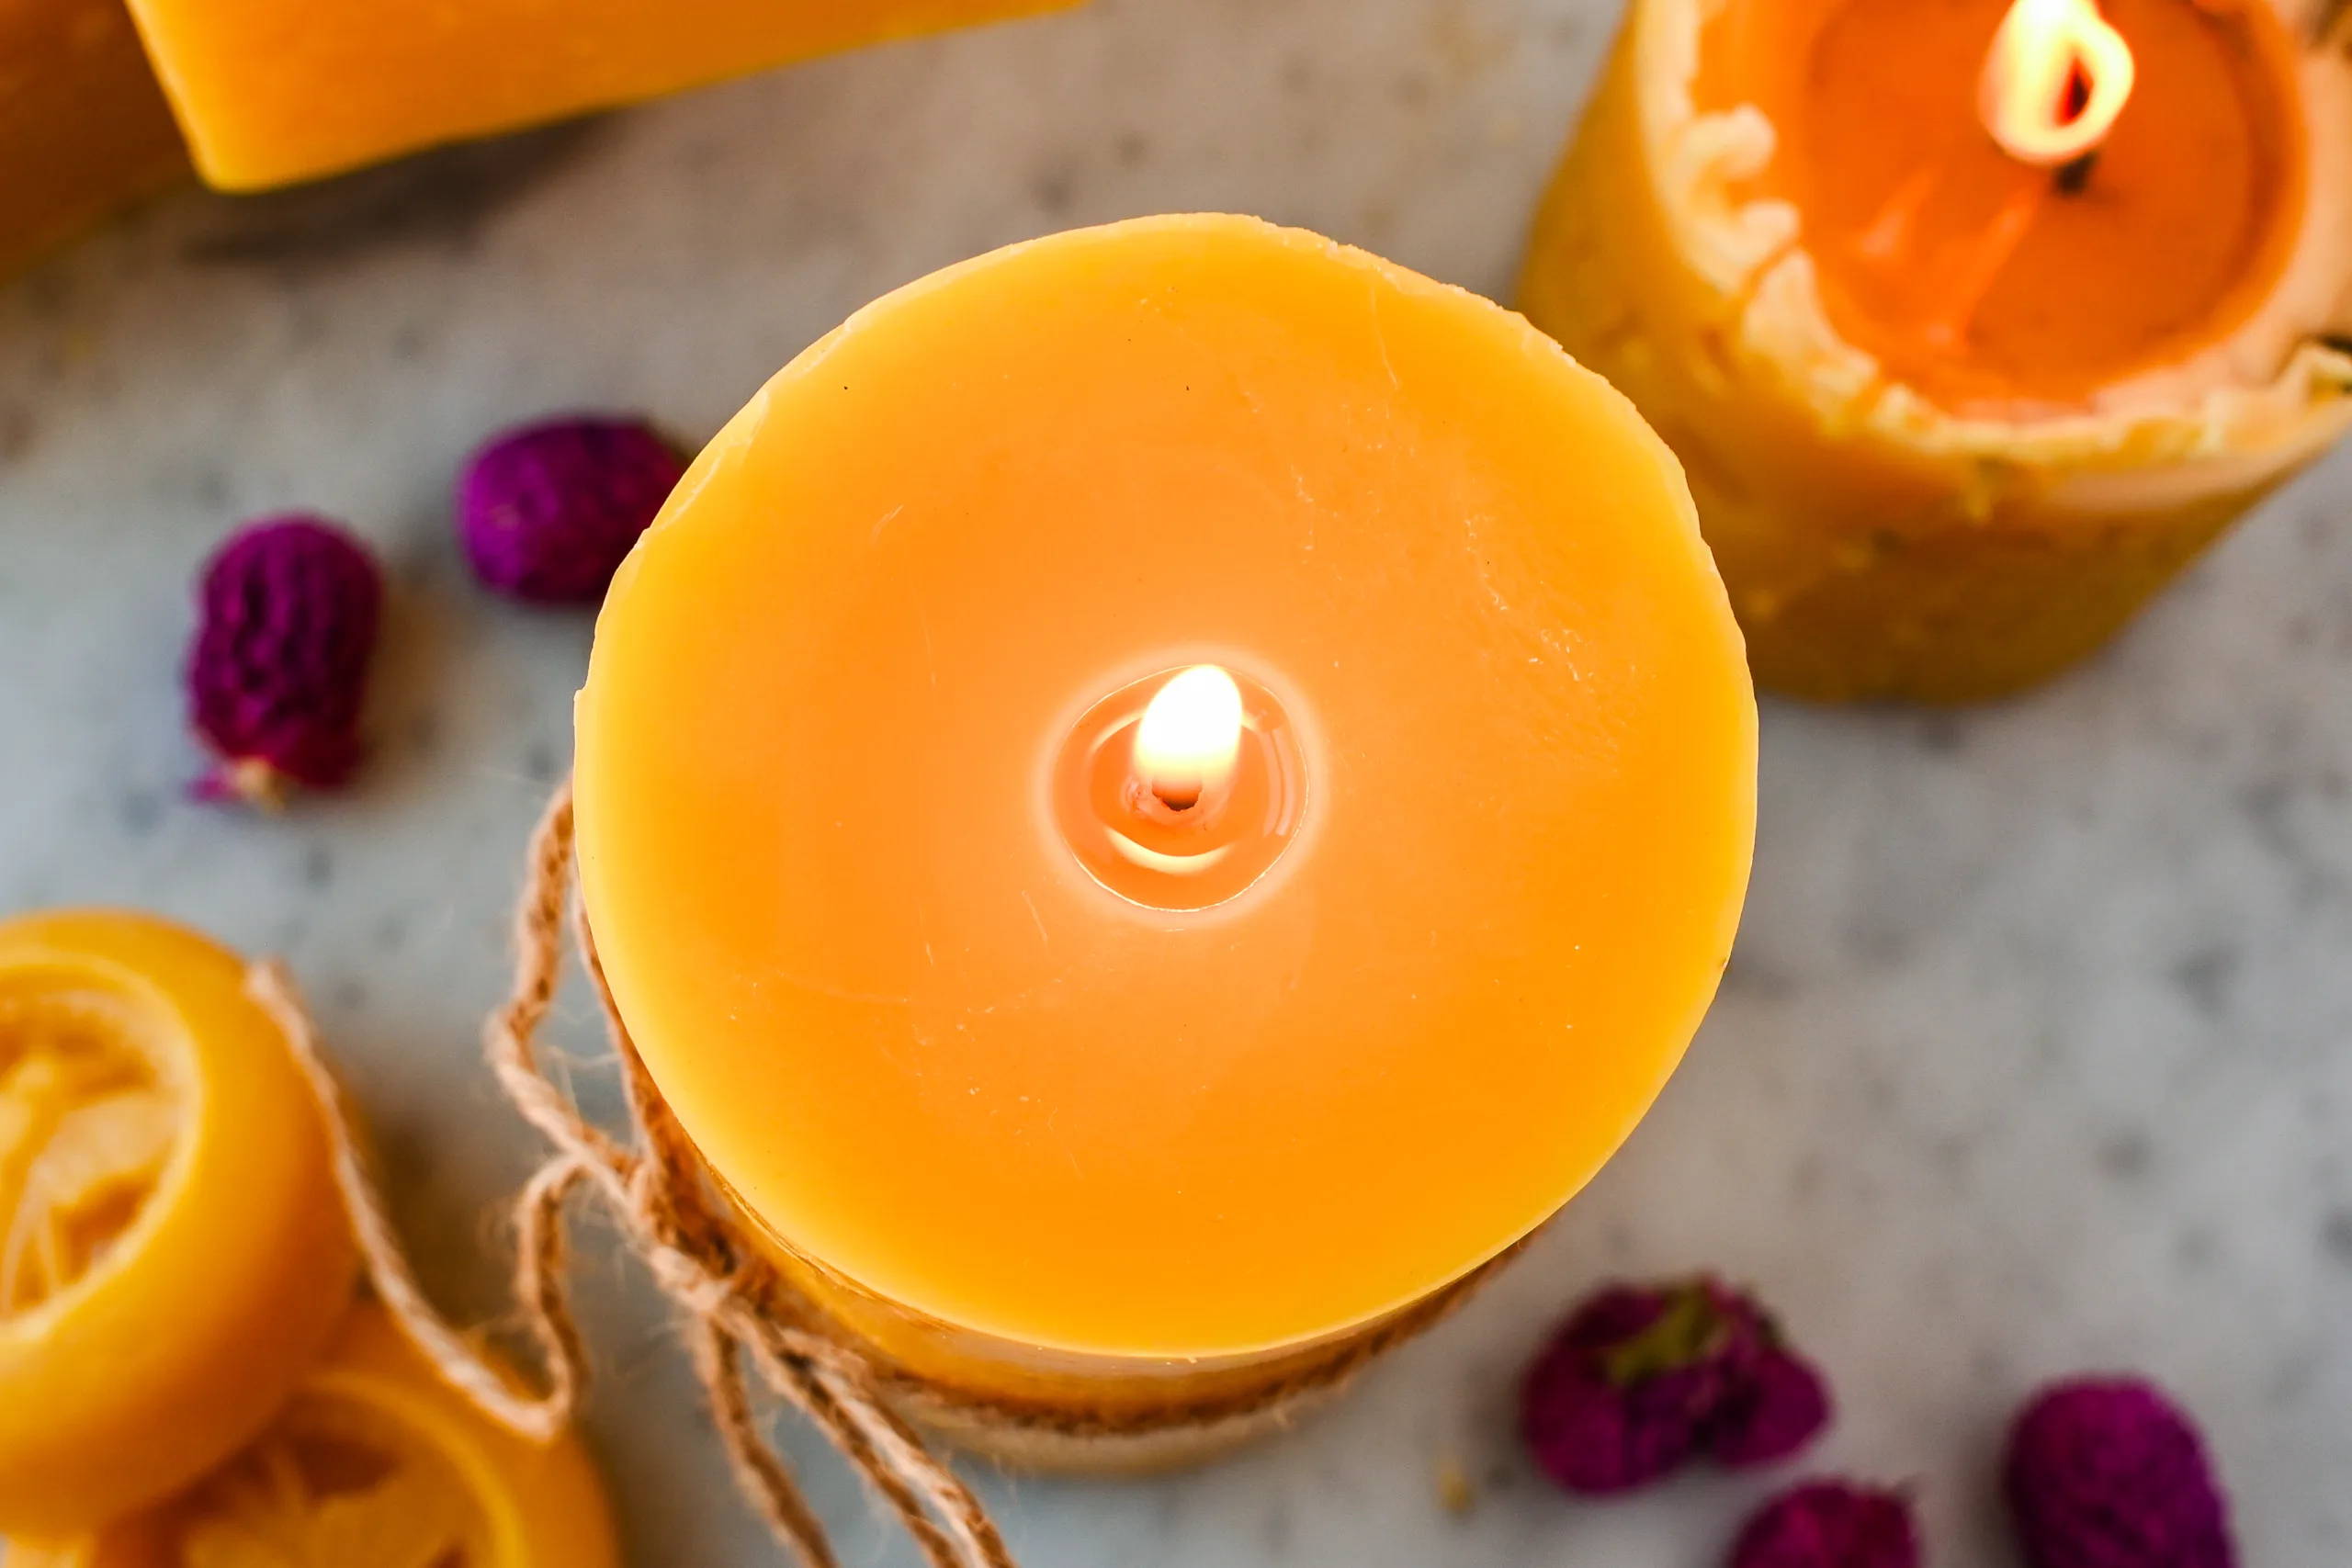
After the candle is fully cool and firm, remove it from the mold. Trim the wick to about ¼ inch before burning. At that point, your candle is ready to use!
Types of Beeswax Candles You Can Make
Once you know the basic process, there are several kinds of beeswax candles you can make at home:
- pillar candles
- molded decorative candles
- jar candles
- taper candles
Poured candles are usually the easiest place to start, especially for beginners. Taper candles are often made by dipping the wick over and over into melted wax, which is why I keep that method separate in my hand-dipped taper candle post.

Tips for Better Beeswax Candles
- Melt the wax slowly over gentle heat instead of rushing it.
- Keep the wick centered so the finished candle burns more evenly.
- Leave a little room at the top of the mold when pouring.
- Let the candle cool fully before removing it from the mold.
- If the top sinks around the wick, pour a small second layer to fill it in.
- Trim the wick to about ¼ inch before lighting.
Common Beeswax Candle Problems
A few small issues are common when you are learning candle making. If a candle tunnels or burns unevenly, the wick may be too small for the mold. If it smokes too much, the wick may be too large.
Temperature can also affect the finish. Wax that is too hot can lead to cracks or air pockets, while wax that cools too quickly may leave a rough surface. Most of these little problems get easier to prevent once you have made a few candles and get a feel for how beeswax behaves.
How to Make Beeswax Candles at Home for Beginners
If your beeswax candle feels stuck in a hard plastic mold, do not panic and do not force it. Sometimes the wax just needs a little help releasing from the sides of the mold. You can try chilling the mold in the refrigerator for a short time to help the beeswax contract, or use a very light mold release before pouring next time to make unmolding easier. In my case, the candle would not push through from the removable bottom, but gently tapping the sides of the mold on the table was enough to loosen it and let the candle shimmy right out. I prefer this method because I worry that a spray coating could dull the natural honey scent of the beeswax. A little patience usually does the trick.
How to Store Homemade Beeswax Candles
Homemade beeswax candles store very well. I keep them in a cool, dry place away from direct heat and sunlight so they stay firm and clean.
They also make lovely gifts. A handmade beeswax candle wrapped in paper and tied with twine is simple, beautiful, and easy to give.
Frequently Asked Questions About How to Make Beeswax Candles at Home
Is beeswax good for beginner candle making?
Yes, beeswax is a great option for beginners. It is simple to work with, naturally beautiful, and well suited for molded candles, pillar candles, and jar candles.
What is the best way to melt beeswax for candles?
The best way to melt beeswax is in a double boiler or melting pot over simmering water. This keeps the heat gentler and makes it easier to control the temperature.
What temperature does beeswax melt at?
Beeswax usually melts between 144°F and 147°F. A thermometer helps you keep the wax in a good range while melting.
Can I make beeswax candles without a mold?
For this tutorial, I use molds because they are the simplest way to make sturdy beeswax candles at home. Other methods do exist, but molded candles are the focus here.
Why did the top of my beeswax candle sink?
Beeswax can shrink a little as it cools, which is why a dip sometimes forms around the wick. If that happens, simply pour a small second layer of melted wax over the top.
How long do beeswax candles last?
Beeswax candles tend to burn slowly, so they usually last longer than many softer candle waxes. The exact burn time depends on the size of the candle and the wick used.
Final Thoughts on Making Beeswax Candles
Learning how to make beeswax candles at home is a simple skill, but it feels like an important one. It connects us to an older way of doing things and reminds me that useful household items can still be made by hand.
If you want to start with a natural, practical candle wax, beeswax is a beautiful choice. And once you learn the basics, it becomes easy to keep experimenting with different molds, shapes, and sizes.
If you try making beeswax candles, I would love to hear what kind you made.

Tried this recipe?
I would love to see it! Tag me on Instagram @idiesfarm and #idiesfarm so I can share your beautiful creation!
How to Make Beeswax Candles at Home for Beginners
Equipment
- double boiler or melting pot set over simmering water
- thermometer
- candle mold cotton candle wick
- wick holder, pencil, or clothespin
- scissors
- heat-safe pouring container, if needed
- beeswax in blocks, chunks, or pellets
Instructions
- Place the beeswax in a double boiler or melting pot over gently simmering water. I never like to heat beeswax directly on the stove because slower, gentler heat makes it easier to control. Stir occasionally as it melts. Beeswax usually melts between 144°F and 147°F, so it helps to keep an eye on the temperature as the wax turns to liquid.
- While the beeswax is melting, get your mold ready. Thread the wick into place and secure it so it stays centered. I usually use a pencil or clothespin across the top to hold the wick upright. For this tutorial, a 2 ¾-inch pillar mold with a #4 square braid wick works as a good starting point. The exact wick size can vary depending on the width of the mold, but keeping the wick straight and centered is what matters most here.
- Once the wax is fully melted, carefully pour it into the prepared mold. Leave a little room at the top, since beeswax can shrink slightly as it cools. Then let the candle cool completely at room temperature. If a small sinkhole forms around the wick, melt a little extra beeswax and pour a second layer over the top to smooth it out. Allow the candle to harden in the mold for at least 24 hours before trying to remove it, since fully set beeswax is more likely to release cleanly.
- After the candle is fully cool and firm, remove it from the mold. Trim the wick to about ¼ inch before burning. At that point, your candle is ready to use!
Notes

Welcome!
Hi! I’m Stephanie, also known as Idie. Follow me as I tap into the methods of the past and learn how to make my world a little smaller.