How to Make Candles with Beeswax in a Mason Jar
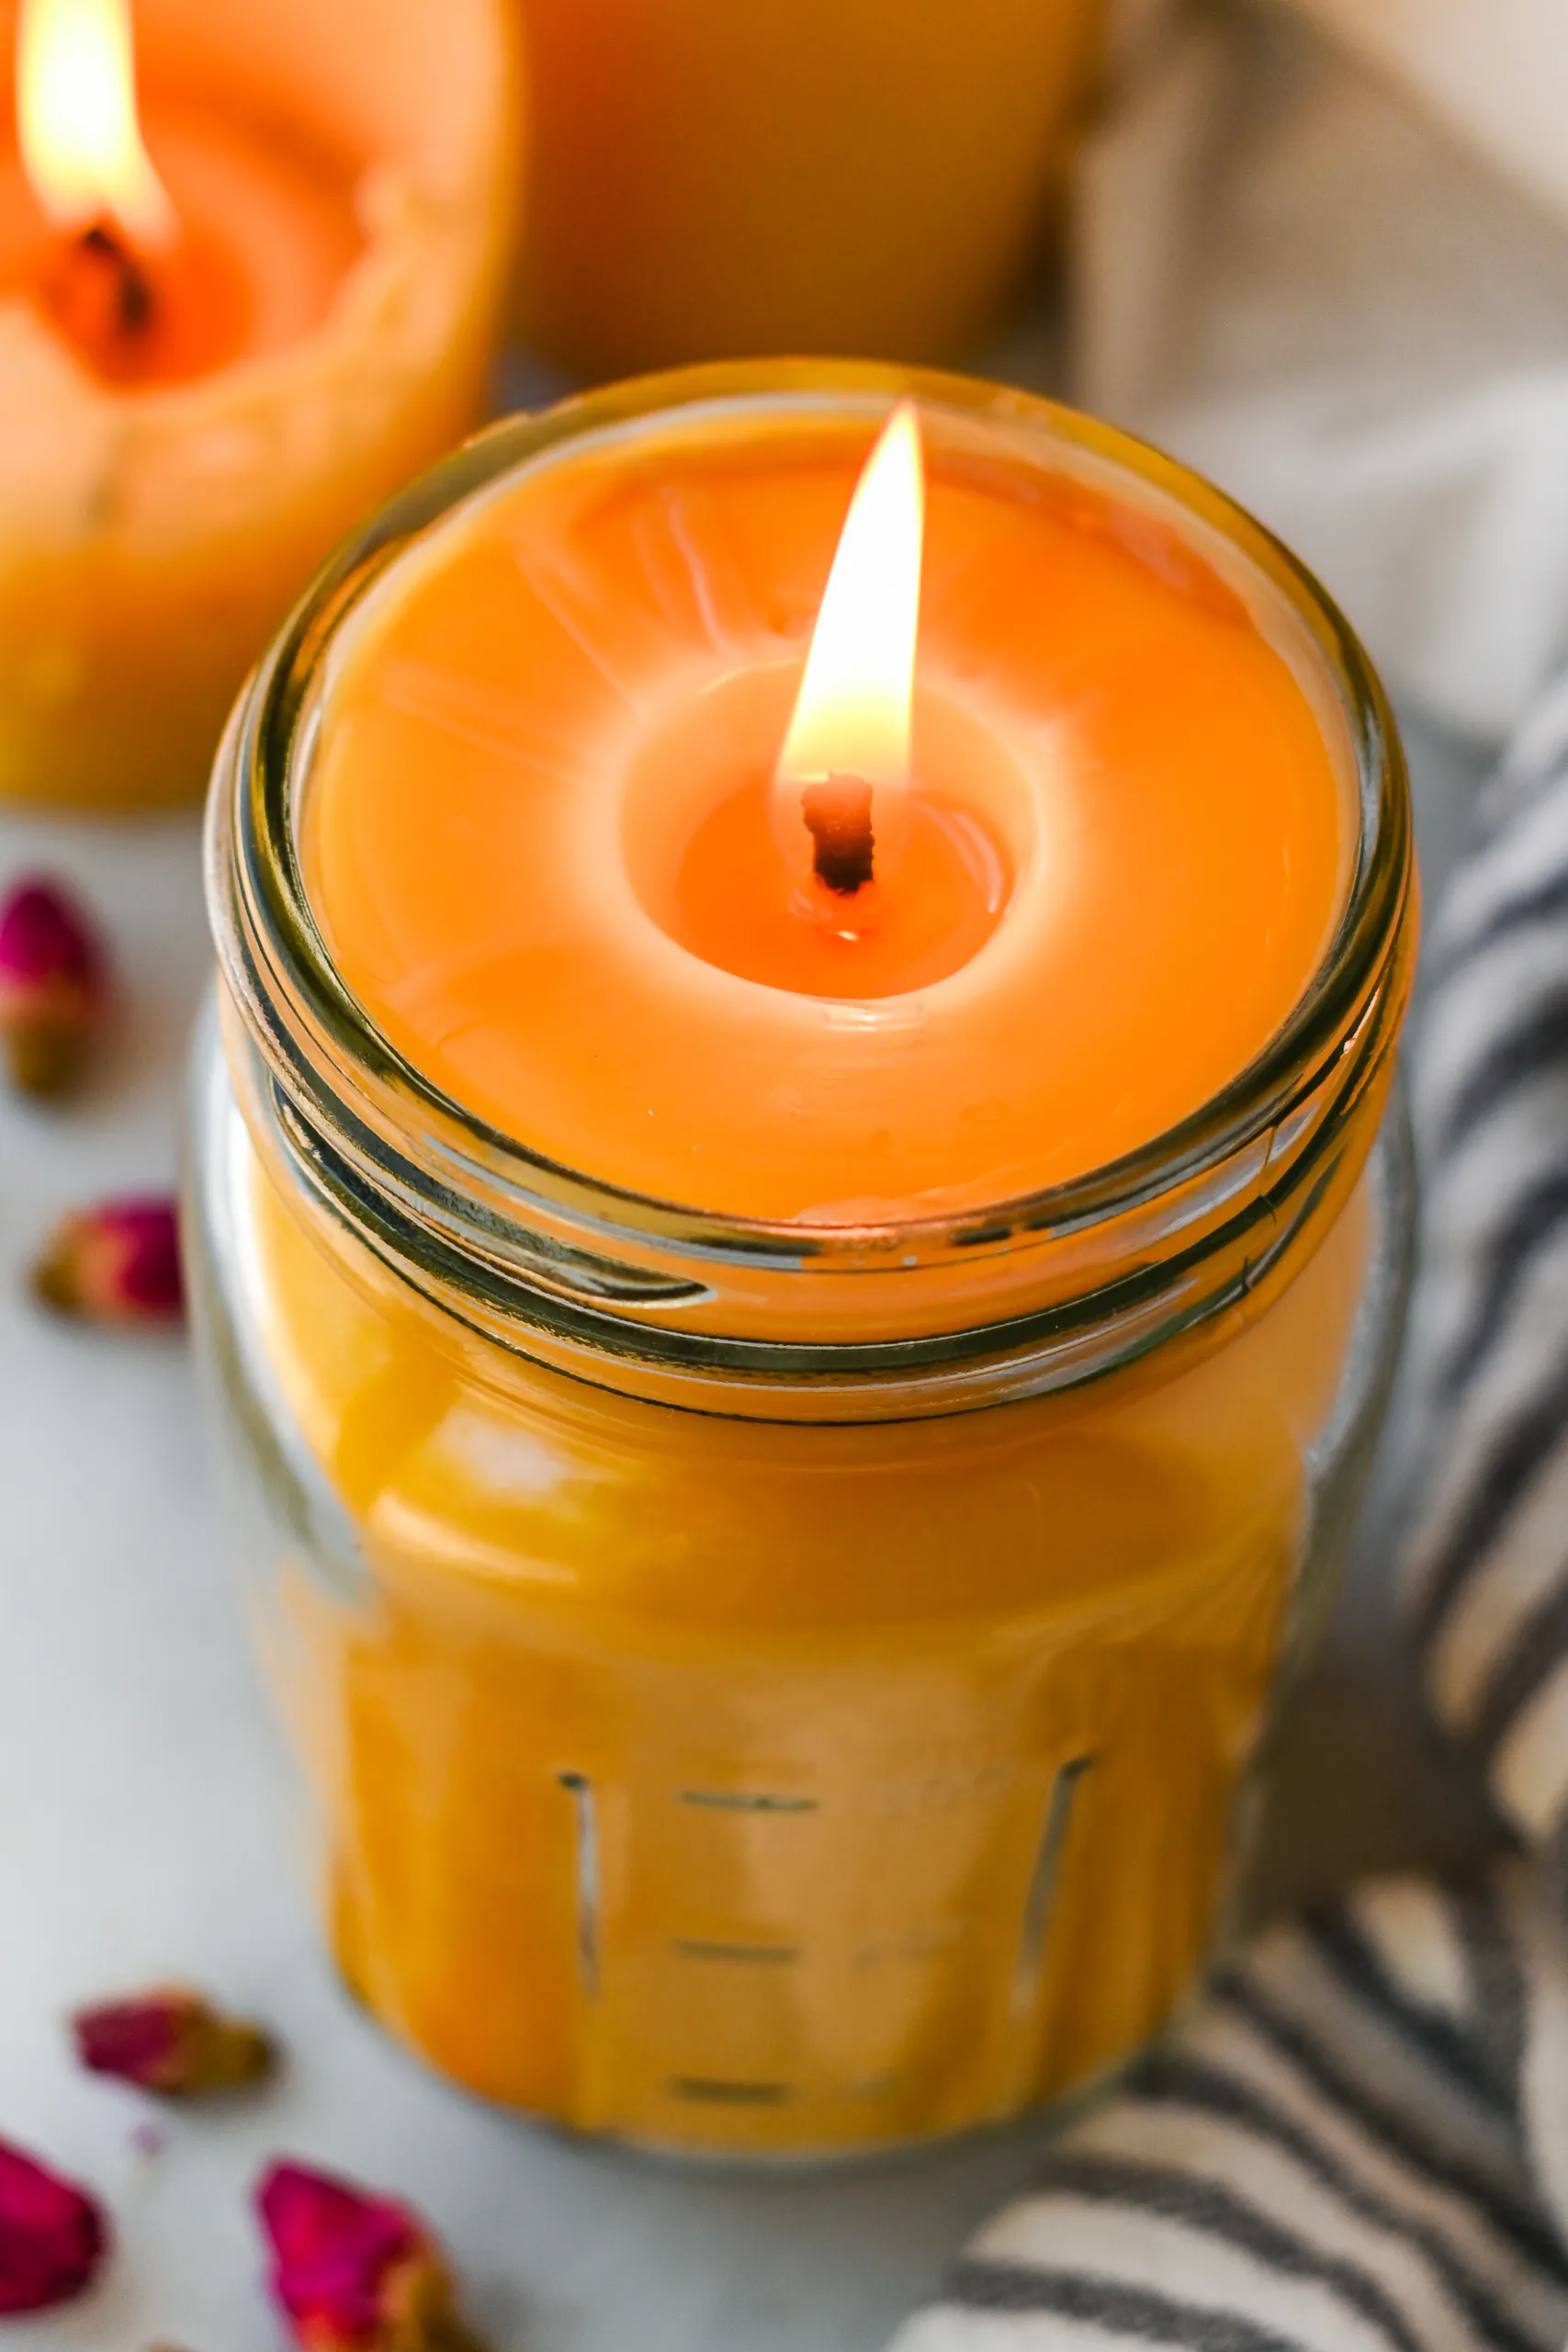
How to Make Candles with Beeswax in Mason Jars is a simple beginner candle-making project made with natural beeswax, a cotton wick, and a mason jar. The beeswax is gently melted, poured into the jar, and left to cool into a warm, golden candle. These homemade beeswax candles are beautiful, practical, and easy to make for your home or as a handmade gift.
Print
Pin
Servings: 1 jar candle
Equipment
- double boiler or heat-safe melting pot set over simmering water
- clean mason jar
- cotton candle wick
- wick sticker, hot glue, or another way to secure the wick
- wick holder, pencil, or clothespin
- scissors
- heat-safe spoon or stirrer
- towel or heat-safe surface
Ingredients
- 12 to 14 ounces beeswax pellets chunks, or grated beeswax
- 1 pint-size mason jar
- cotton wick sized for a 2.75- to 3-inch beeswax container candle
- wick sticker or hot glue candle
- pencil
- essential oil optional
Instructions
- Start with a clean, dry mason jar. Make sure there is no moisture inside the jar before adding the wax. Any water left in the jar can affect how the candle sets. Secure the wick to the center bottom of the jar using a wick sticker or a small amount of hot glue.
- Then use a pencil, clothespin, or wick holder across the top of the jar to keep the wick centered.
- Place the beeswax in a double boiler or melting pot over gently simmering water. Heat the wax slowly until it is fully melted, stirring occasionally. Beeswax melts at a higher temperature than some other candle waxes, so gentle, steady heat works best. Avoid heating the wax directly on the stove, since beeswax can scorch if it gets too hot. If you are making a scented candle, let the melted wax cool slightly before adding essential oil. Stir gently so the fragrance blends evenly through the melted wax. If you prefer a more natural beeswax candle, you can skip the oils completely. A plain beeswax candle still has a soft natural scent and a beautiful glow.
- Carefully pour the melted wax into the prepared mason jar, keeping the wick centered as you pour. Leave a little space at the top of the jar. Let the candle sit undisturbed while it cools. Beeswax may shrink slightly as it firms up. If a small dip forms around the wick, you can melt a little extra wax and pour a thin second layer over the top.
- Let the candle cool completely before trimming the wick. Once the wax is firm, trim the wick to about ¼ inch. The candle is ready to use once it has fully set.
Notes
Make sure the mason jar is completely clean and dry before pouring.
Keep the wick centered while the wax cools.
Use a wick size that matches the width of your jar.
Melt beeswax slowly in a double boiler instead of direct heat.
Do not overdo the fragrance. Beeswax has its own natural scent.
Let the candle cool at room temperature for the smoothest finish.
Trim the wick to about ¼ inch before lighting.