Go Back
+ servings
Bowl of homemade raw milk clabber served with granola, strawberries, and a spoon for breakfast.

How To Make Easy Homemade Clabber From Raw Milk

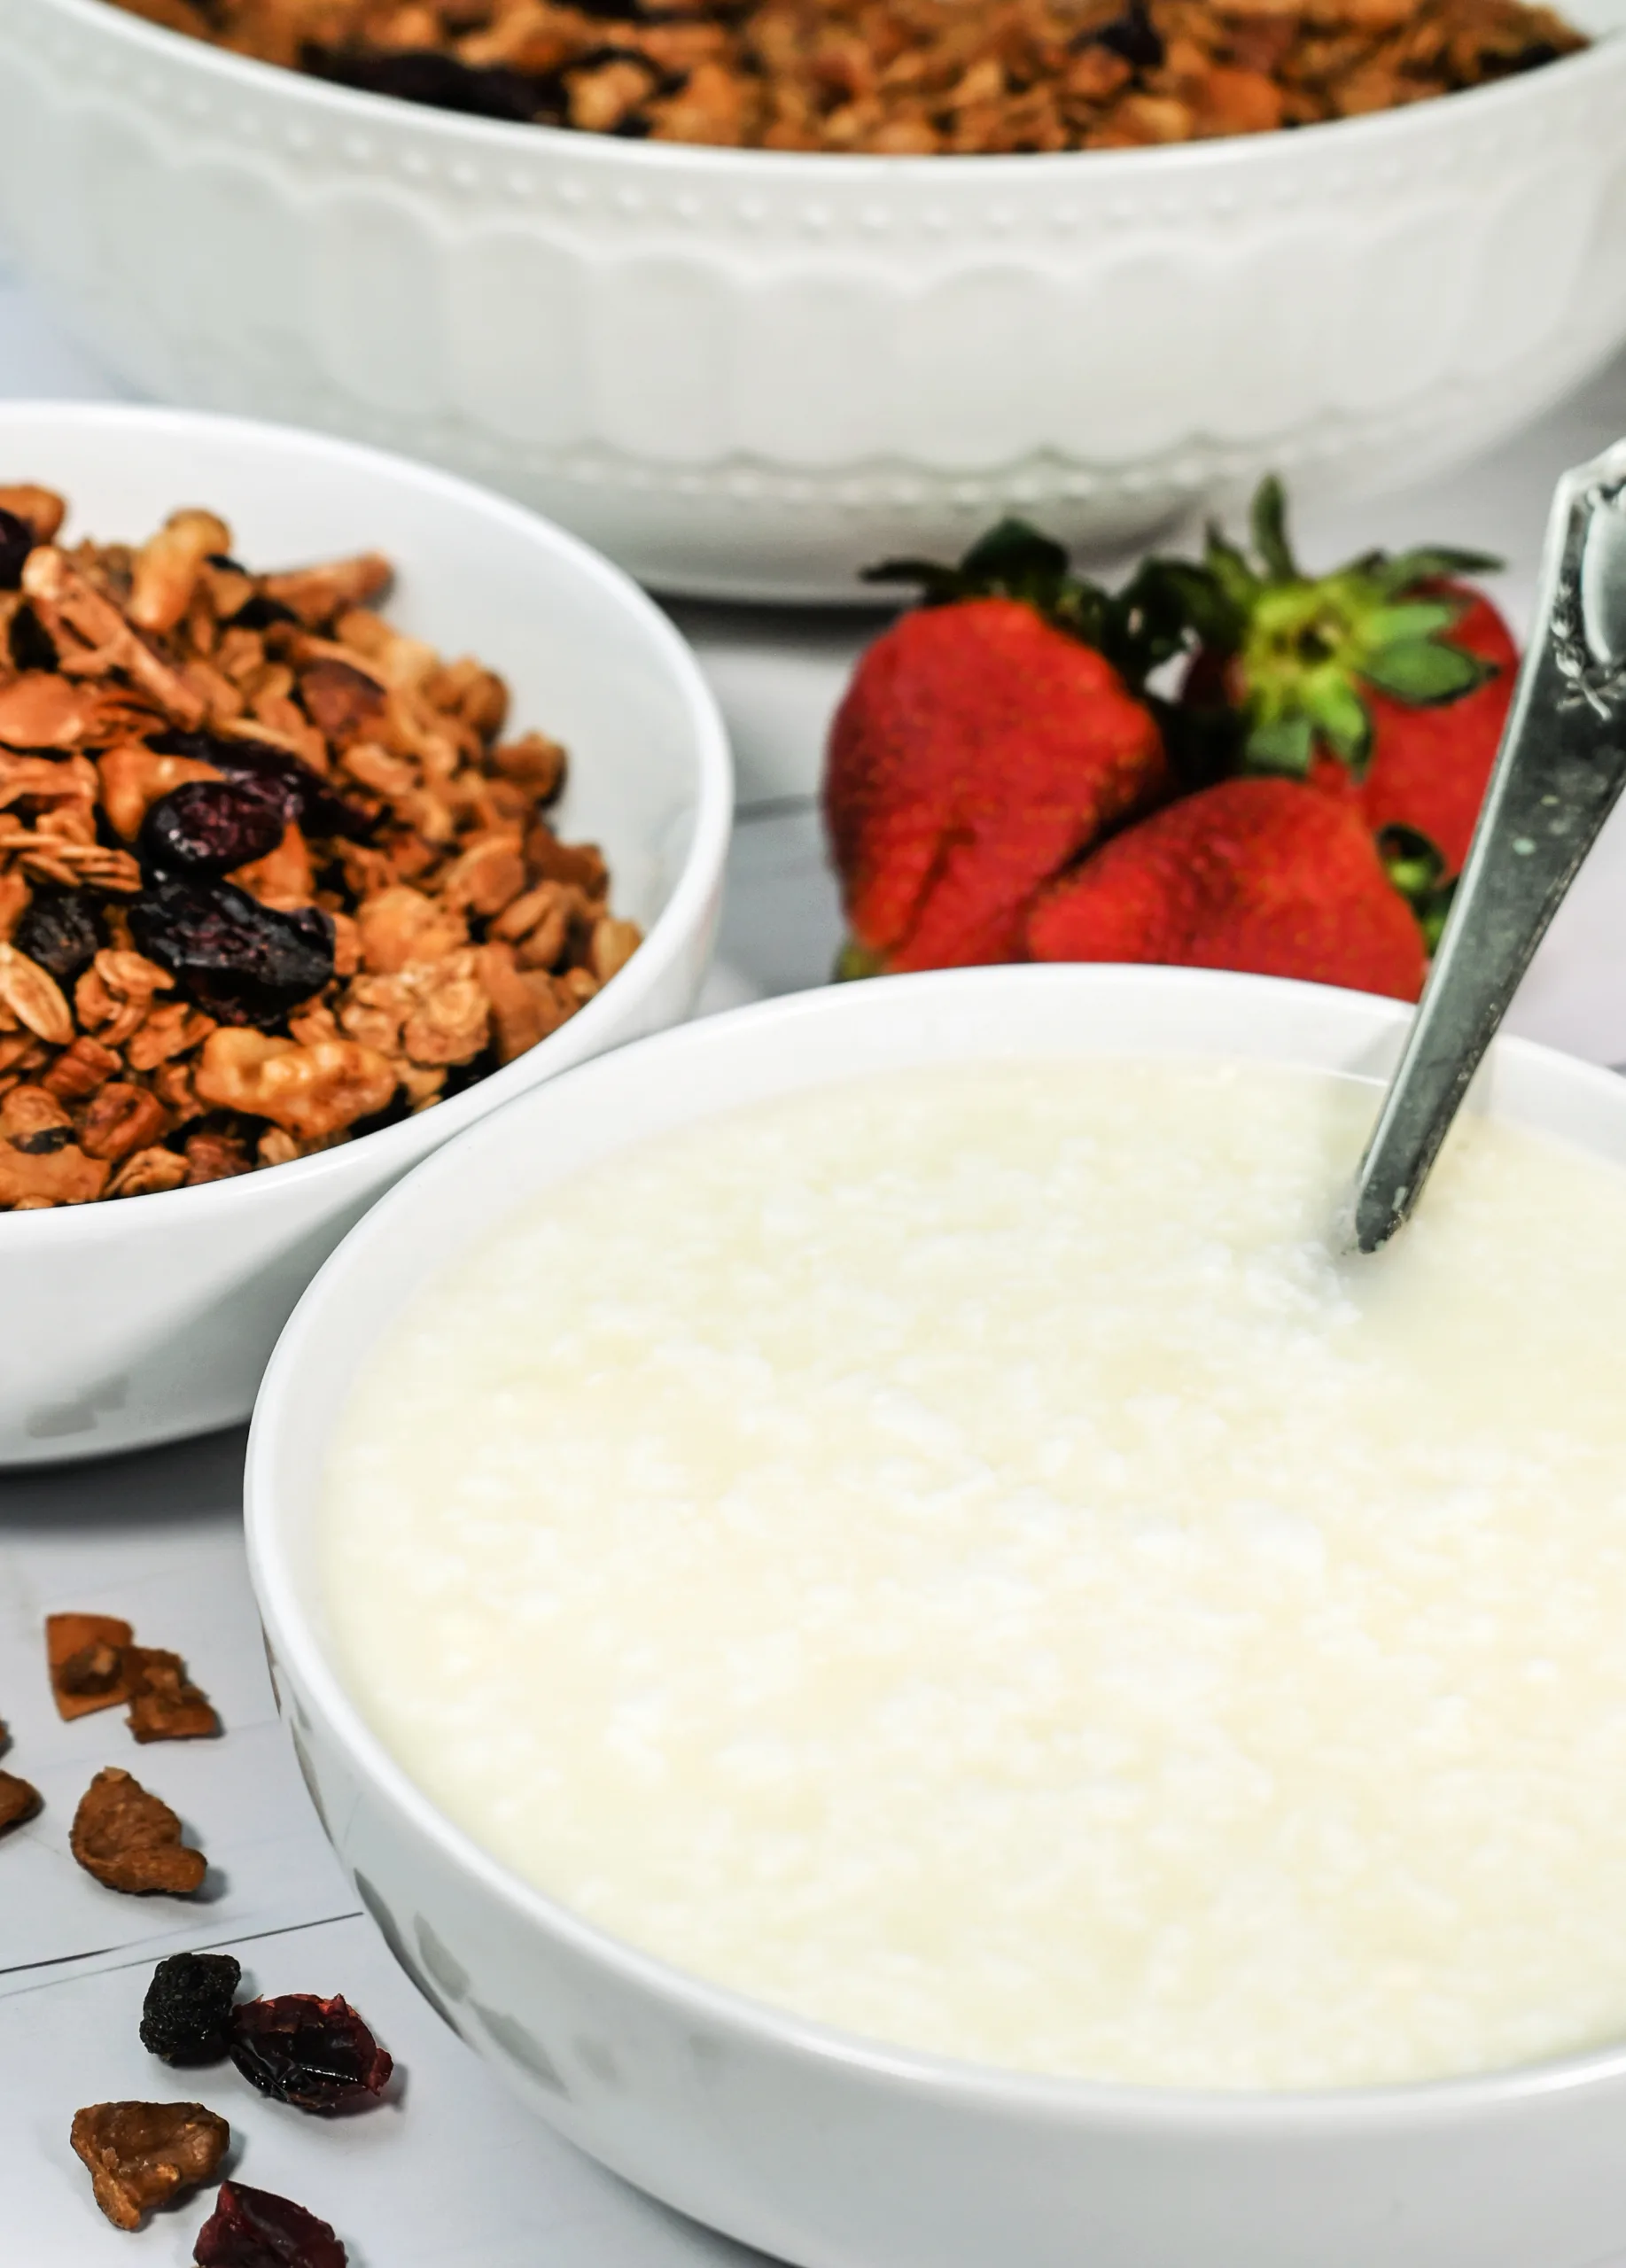
Learn how to make easy homemade clabber from raw milk using a simple room-temperature method. This traditional cultured dairy recipe thickens naturally in a glass jar and can be used for smoothies, breakfast bowls, baking, or served with fruit and homemade granola.
Print Pin
Course: Appetizer, Breakfast, Side Dish, Snack
Prep Time: 5 minutes
Total Time: 2 days
Servings: 1 quart jar
Author: Stephanie

Equipment

  • Clean glass jar
  • Lid or clean tea towel
  • Rubber band, if using a towel
  • Measuring spoon
  • Clean spoon
  • Tea towel or fine cloth for straining, optional

Ingredients

  • 1 gallon raw milk

Instructions

  • Pour ½ cup fresh raw milk into a clean glass jar.
  • Cover the jar with a lid or a clean tea towel secured with a rubber band.
  • Let the milk sit at room temperature for 24 to 48 hours, ideally around 68°F to 72°F.
  • Once the milk thickens and smells tangy and cultured, remove 1 tablespoon of clabber.
  • Add that tablespoon of clabber to a clean jar with ½ cup fresh raw milk.
  • Stir, cover, and let it sit at room temperature again.
  • Repeat this feeding process a few times until the clabber culture becomes strong and thickens reliably.
  • Once established, add about 1 tablespoon of clabber to 1 quart of room temperature raw milk.
  • Let it sit at room temperature until thickened, often overnight once the culture is strong.
  • Save a spoonful of clabber before serving so you can start the next batch.
  • Refrigerate finished clabber to slow fermentation.

Notes

Tips for Making Homemade Clabber

Start with a small amount of raw milk. I like to begin with about ½ cup so I am not wasting milk while the clabber culture is getting established.
Keep the milk at room temperature, ideally around 68°F to 72°F. A cooler room will slow the process down.
Cover the jar with a lid or a clean tea towel secured with a rubber band. This keeps dust and gnats out while the milk cultures.
Once the clabber is established, save a spoonful to start the next batch. This is similar to feeding a starter.
If the clabber does not set overnight once your culture is established, the room may be too cool or the culture may not be strong enough yet. Give it more time.
For a thicker texture, strain the clabber through a clean tea towel to remove some of the whey.
Clabber should smell sour and cultured, not rotten or foul. If it smells putrid, grows mold, or seems off, throw it away and start over.

How to Make Clabber Thicker

If you want a thicker texture, strain the clabber after it has set.
Place a clean tea towel or fine cloth over a bowl. Pour the clabber into the towel, gather the sides gently, and let some of the whey drain out.
The longer it strains, the thicker it will become. It will not be exactly like Greek yogurt, but it can become thicker and creamier than regular clabber.

How to Store Clabber

Once the clabber has thickened, move it to the refrigerator.
Refrigeration slows the fermentation process and keeps it from getting too sour too quickly.
I like to use clabber within a few days for the best flavor and texture. Always save a spoonful before serving if you want to keep your culture going.
Do not try this with pasteurized milk.