
If you love tangy, yogurt-like dairy, this easy homemade clabber from raw milk is such a simple recipe to learn. Clabber is made by letting fresh raw milk sit at room temperature until it naturally thickens and sours. It has a tangy flavor, a soft spoonable texture, and can be used in many of the same ways I would use plain homemade yogurt or cultured dairy.

After we brought home our first dairy cow, Maple, I was so excited to make clabber for the first time. I had made homemade yogurt before, but this felt completely different. There was no heating, cooling, timing a yogurt maker, or worrying about getting the temperature just right. I simply poured raw milk into a jar, let it sit, and watched it thicken into something useful, traditional, and surprisingly easy.
Table of Contents
This post contains affiliate links, which means I make a small commission at no extra cost to you. See my full disclosure here.
What Is Clabber?
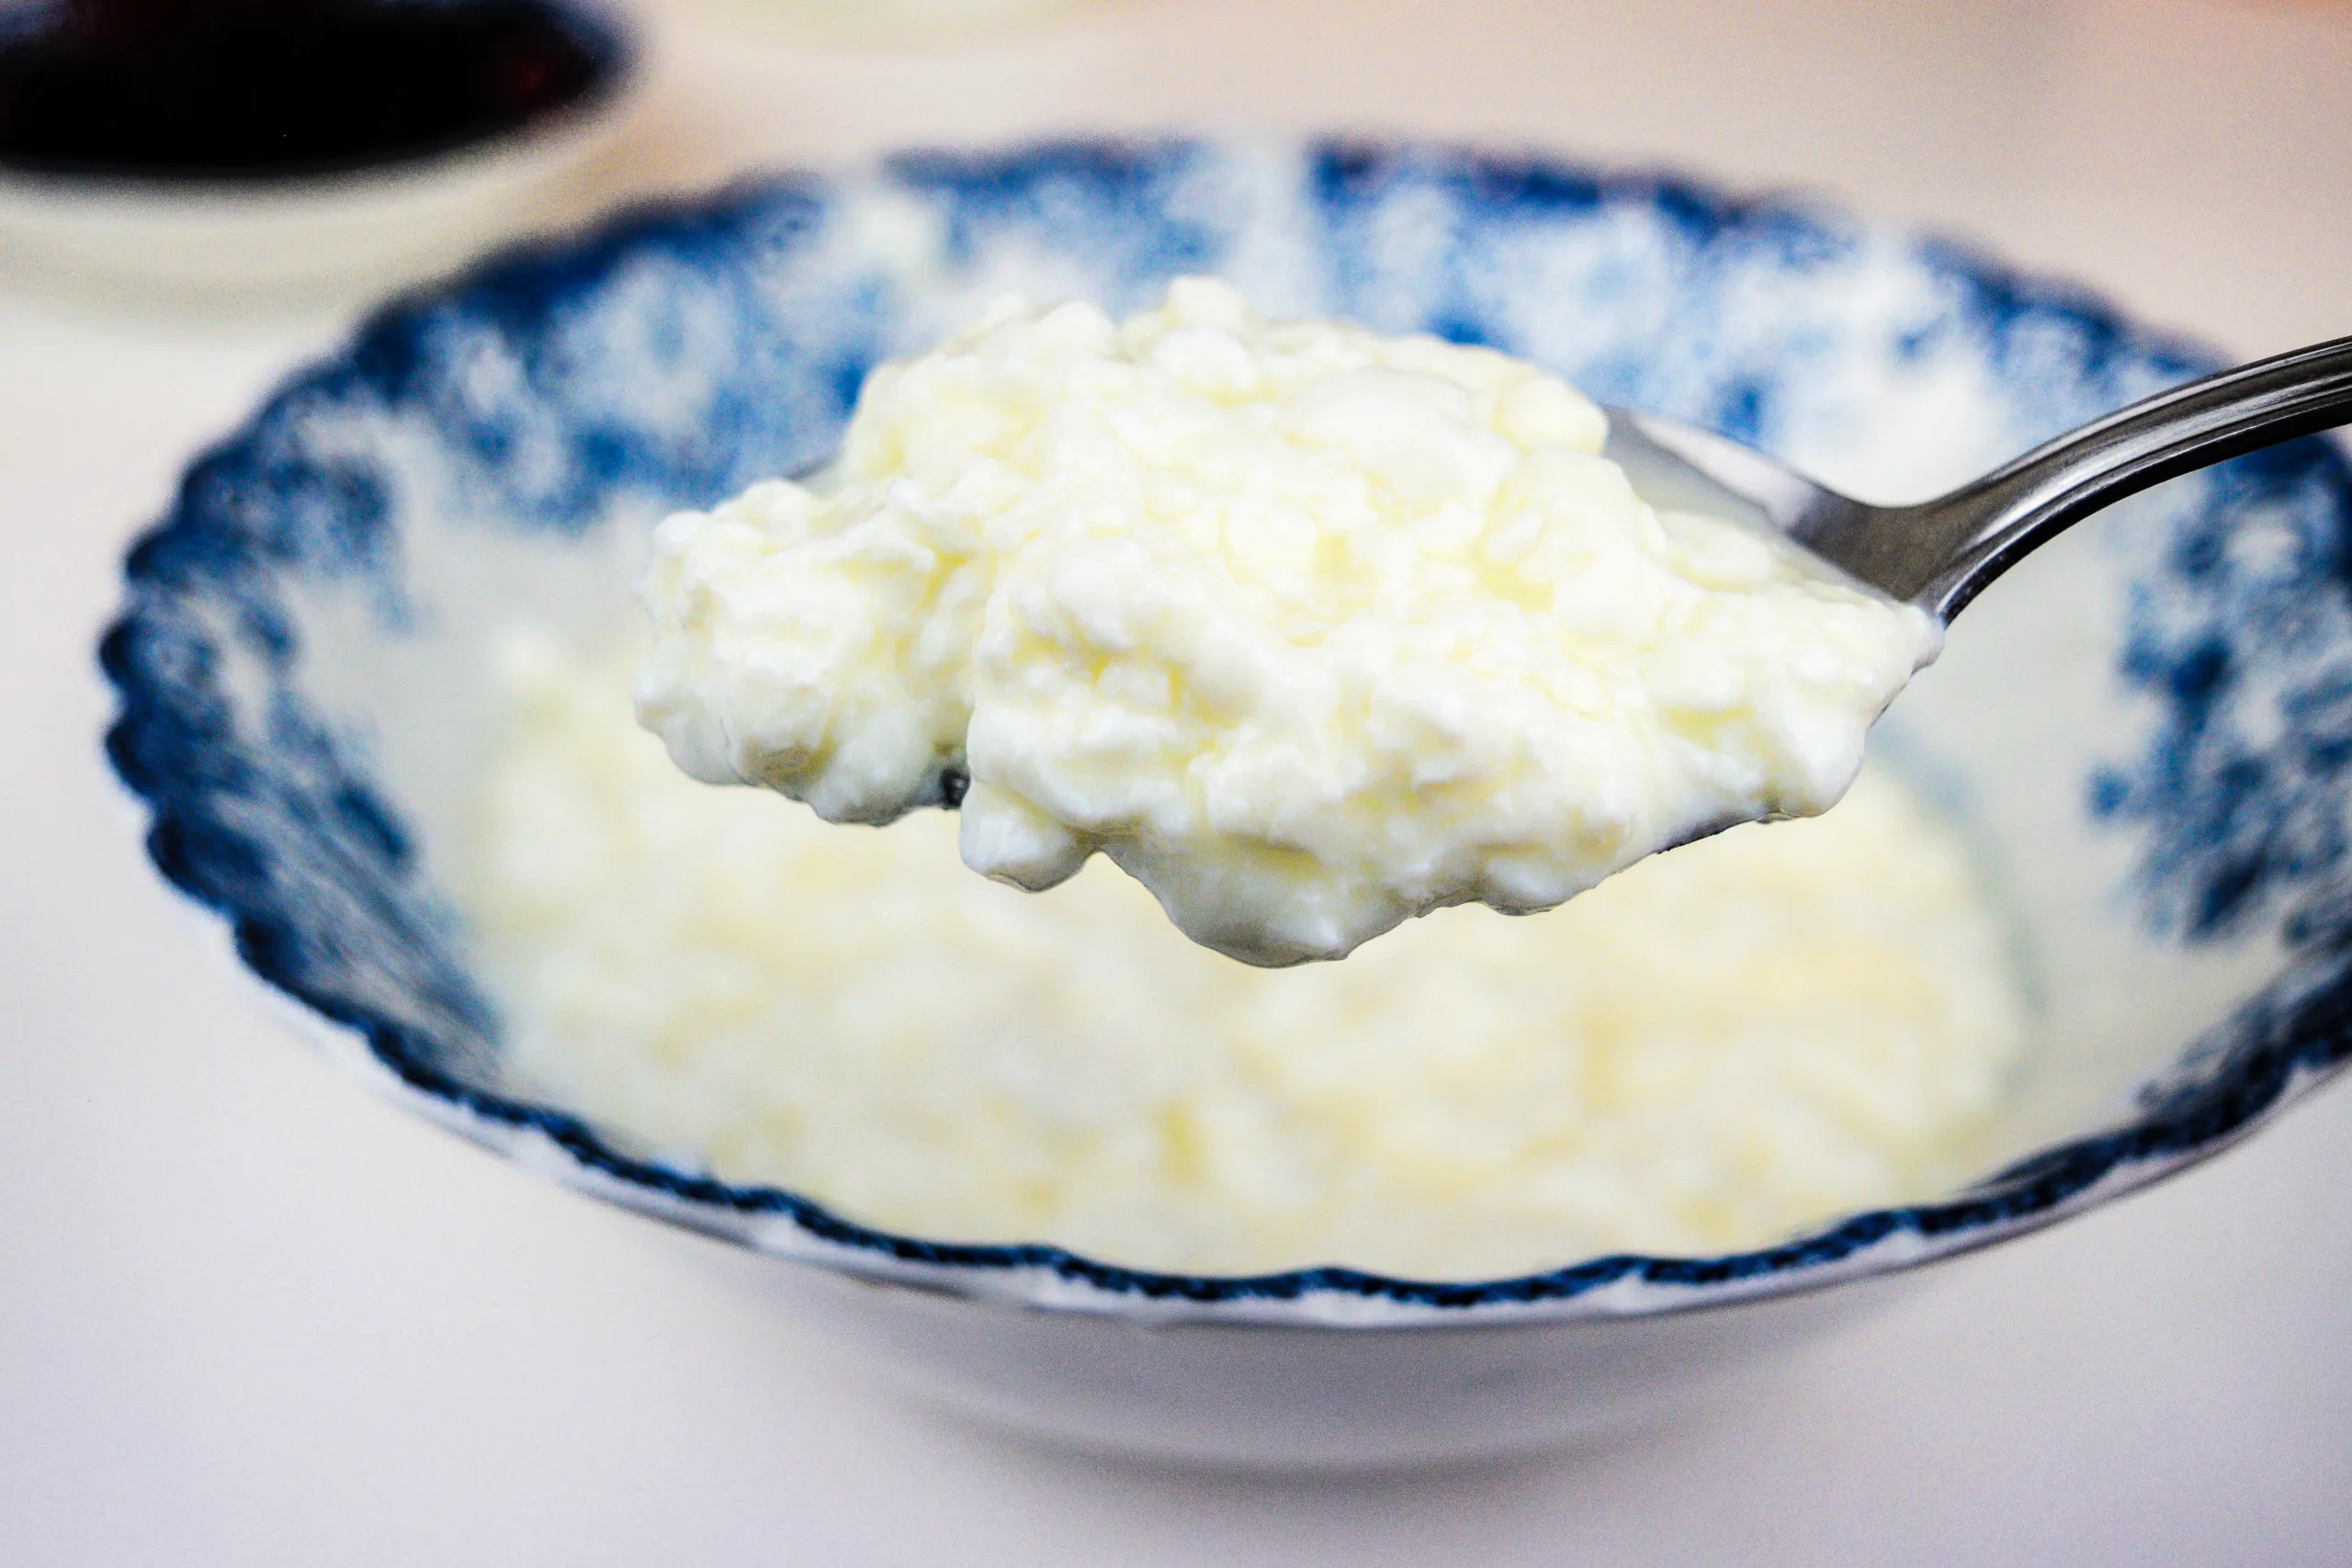
Clabber is raw milk that has been left at room temperature until the natural bacteria in the milk cause it to sour, thicken, and culture. It is not the same as yogurt, but it can have a similar tangy flavor and spoonable texture. Homemade clabber can be eaten with fruit and homemade granola, added to smoothies, strained for a thicker texture, or used in baking after the culture is established.
Quick Look at This Recipe
Prep time: 5 minutes
Cook time: None
Total time: 24 to 48 hours for the first batch, then often overnight once established
Servings: Varies
Texture: Tangy, spoonable, lightly thickened, and yogurt-like
Best served: With fruit and granola, in smoothies, strained thicker, or used in baking
A Quick Raw Milk Safety Note
Raw milk has not been pasteurized, which means it has not been heated to reduce harmful germs. The CDC states that raw milk and foods made from raw milk can carry germs such as Campylobacter, E. coli, Listeria, Brucella, Salmonella, and others that may cause foodborne illness. The FDA also says pasteurization is used to kill dangerous bacteria in milk and that the health risks of raw milk are clear. Use your own judgment, know your source, follow your local laws, and do not use pasteurized store-bought milk for clabber. Pasteurized milk does not clabber safely in the same way raw milk does.
Why I Started Making Clabber
Before I made clabber, I mostly made yogurt. I liked homemade yogurt, but the process always felt a little more involved. I had to heat the milk, cool it down, add the culture, time it correctly, and then remember to move it to the refrigerator.
Making clabber felt much simpler. Once I had a strong culture going, it became as easy as adding raw milk to a jar and letting it sit until it thickened. I especially liked that I could make a small amount or keep a quart going for smoothies and breakfast bowls.
If you prefer a more familiar yogurt method, you may like my How to Make Homemade Yogurt Without a Yogurt Maker. That recipe is a good option if you want homemade yogurt without relying on a machine.
Why Can’t Store-Bought Milk Be Used to Make Clabber?
Store-bought pasteurized milk should not be used to make clabber. Pasteurization heats the milk to reduce harmful germs, but it also changes the natural bacterial environment that raw milk depends on for clabbering.
Raw milk, when handled properly and sourced carefully, can naturally sour and thicken into clabber. Pasteurized milk does not have the same living culture environment, so leaving it out at room temperature can allow unwanted bacteria to grow instead of creating safe, traditional clabber.
This is why clabber should only be made with fresh raw milk from a clean, trusted source.
What Does Clabber Taste Like?
Clabber tastes tangy, slightly sour, and creamy. The flavor depends on the milk, the temperature of your kitchen, and how strong your clabber culture has become.
The texture can range from softly thickened to spoonable, similar to plain yogurt. If I want it thicker, I strain it through a clean tea towel to remove some of the whey.
What Can I Make With Clabber?
We use clabber most often for smoothies. My boys like it blended with fruit, a little maple syrup, and sometimes a splash of cream. It is one of their favorite easy breakfasts.
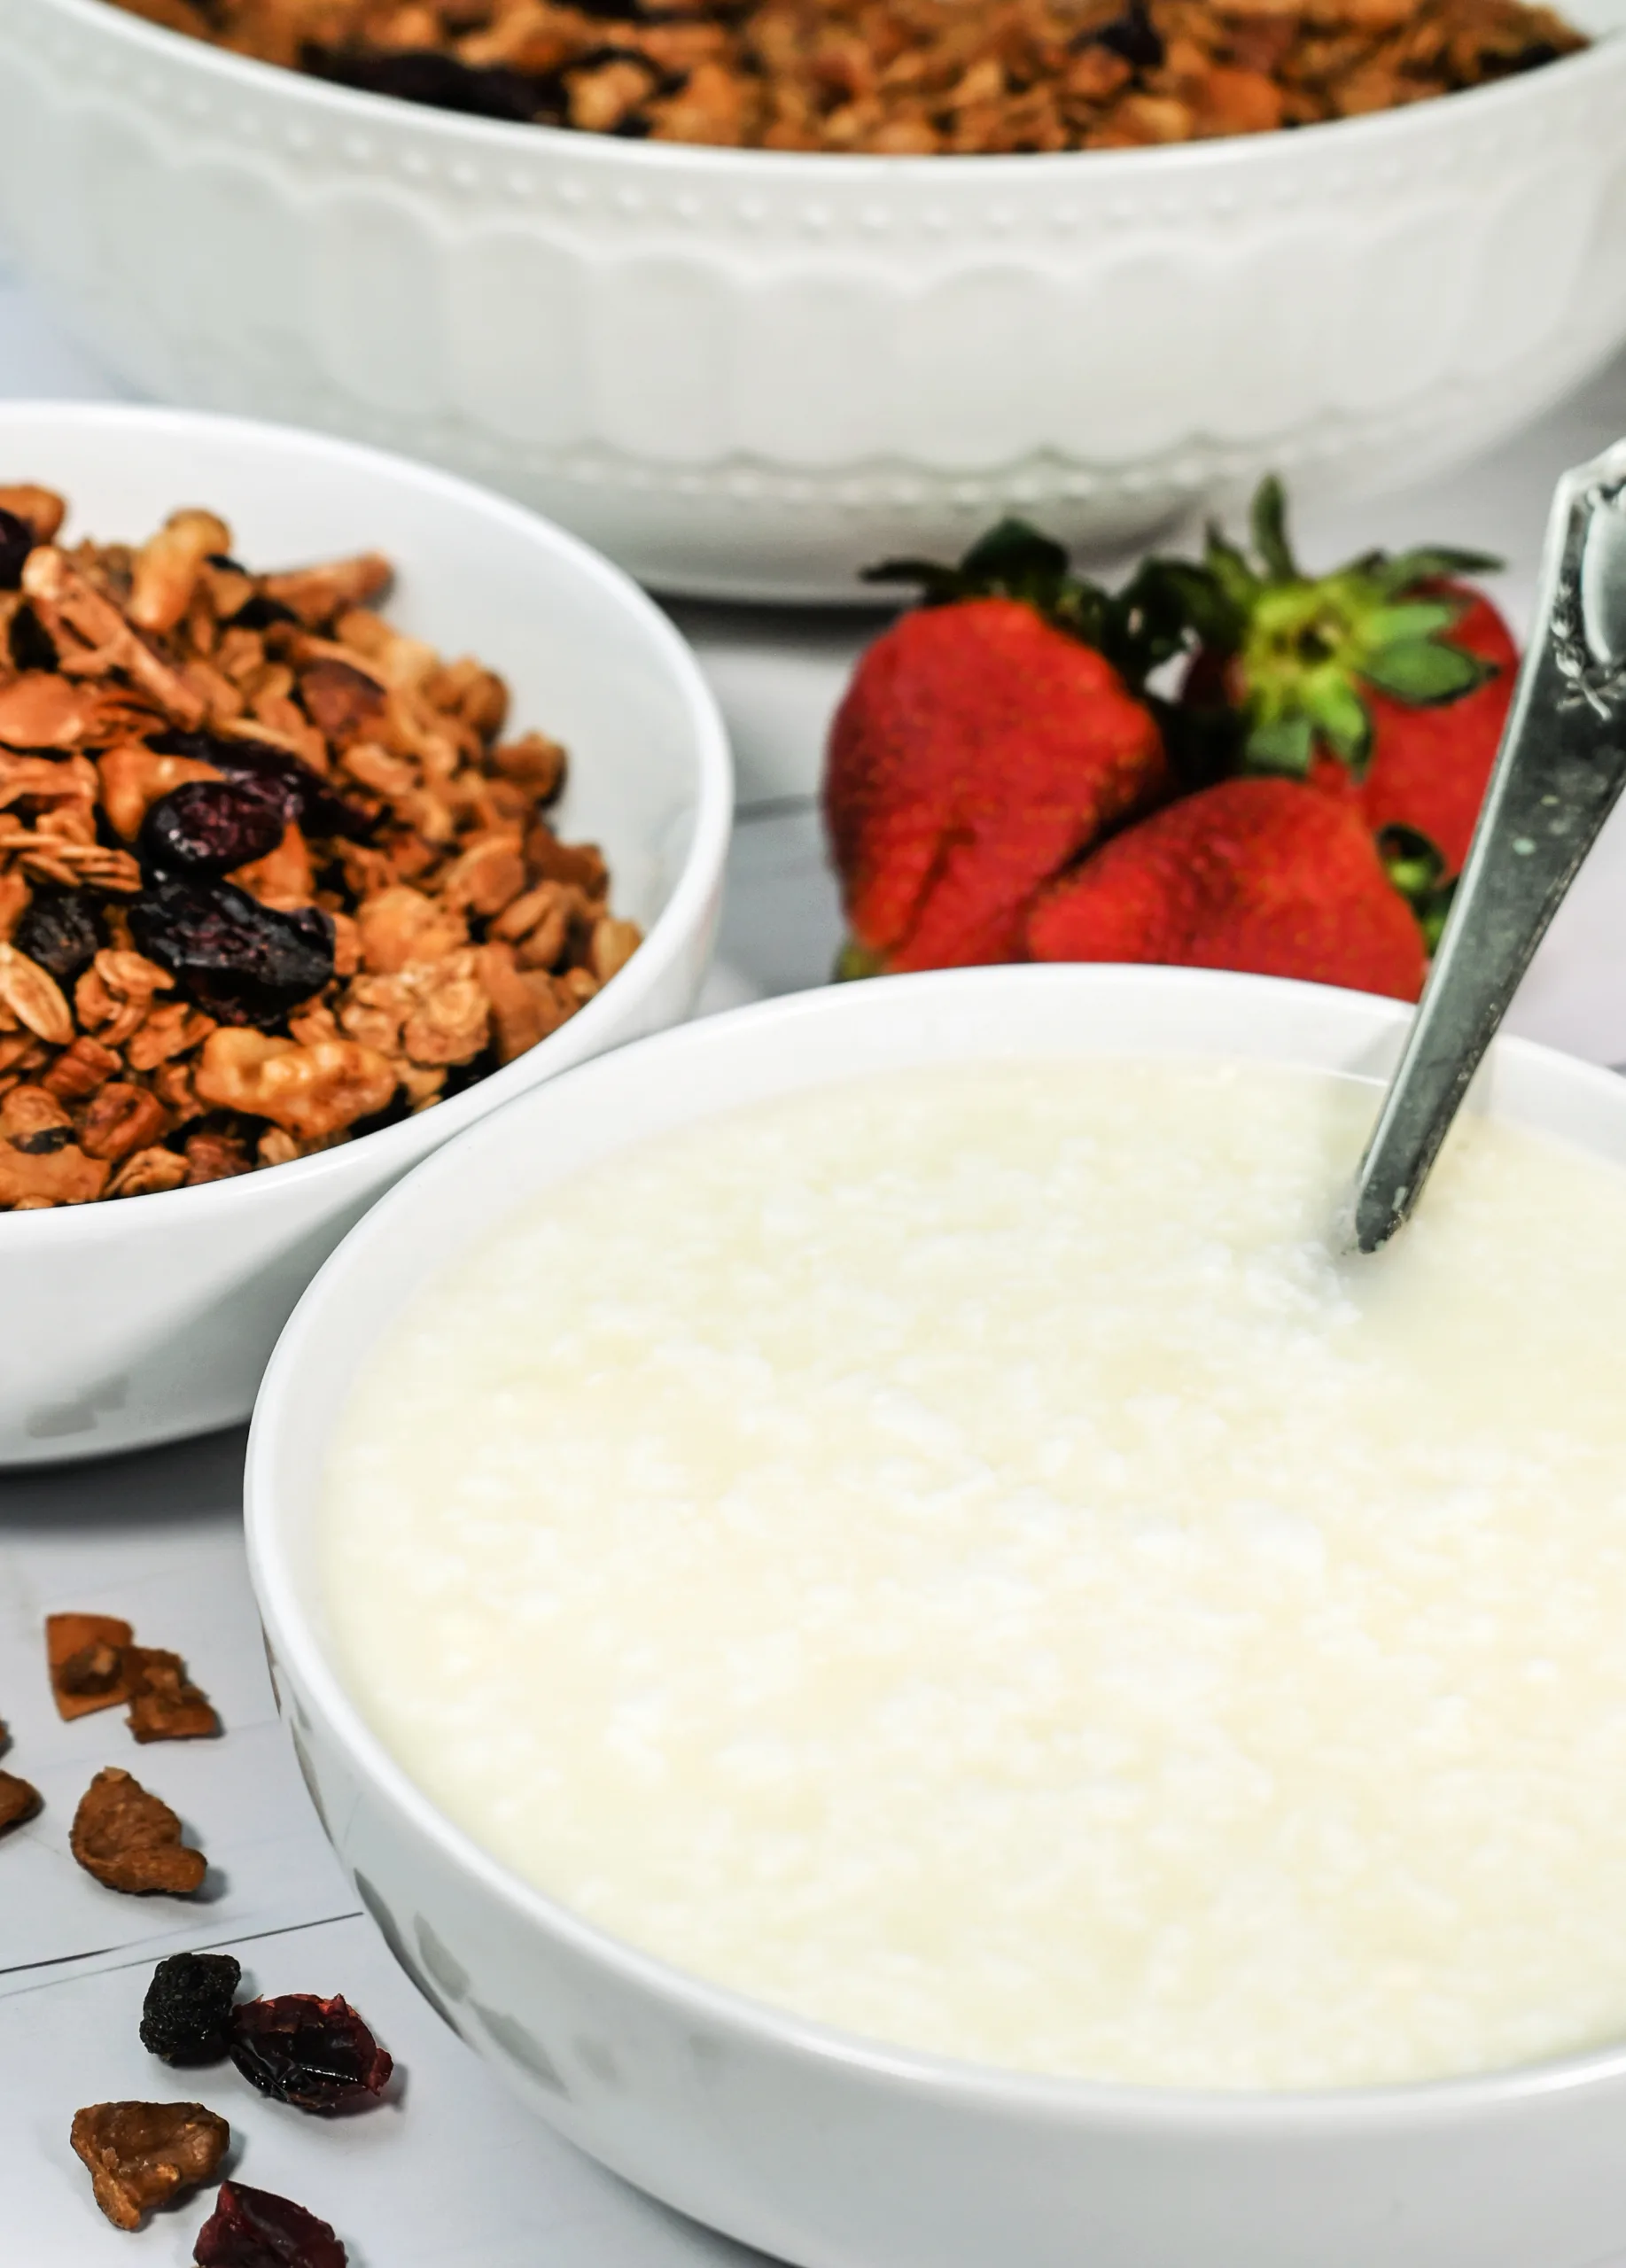
Clabber is also good with fresh fruit, vanilla, and granola. For a simple breakfast bowl, I like serving it with Easy Granola Recipe Made with Sourdough Discard or Best Healthy Homemade Granola. The tangy clabber with crunchy granola makes a simple, filling breakfast.
You can also use clabber in baking once your culture is strong and established. It can be used in place of buttermilk or yogurt in many recipes, depending on the texture of the batter or dough. One of my favorite recipes to use it in is Sourdough Discard Blueberry Muffins with Crumb Topping.
How to Get Raw Milk for Clabber
If you have your own dairy cow, fresh raw milk can be used soon after milking as long as it has been handled cleanly.
If you buy raw milk from a local farm, ask questions about their milking practices, cooling process, cleanliness, and how quickly the milk is chilled. Raw milk laws vary by state, so make sure you understand what is allowed where you live.
If your raw milk has a thick cream line, you can skim some of that cream to make How To Make Easy Homemade Butter From Raw Milk, then use the milk underneath for clabber.
Ingredients
Fresh raw milk
Equipment
Clean glass jar
Lid or clean tea towel
Rubber band, if using a towel
Measuring spoon
Clean spoon
Tea towel or fine cloth for straining, optional
Tips for Making Homemade Clabber
Start with a small amount of raw milk. I like to begin with about ½ cup so I am not wasting milk while the clabber culture is getting established.
Keep the milk at room temperature, ideally around 68°F to 72°F. A cooler room will slow the process down.
Cover the jar with a lid or a clean tea towel secured with a rubber band. This keeps dust and gnats out while the milk cultures.
Once the clabber is established, save a spoonful to start the next batch. This is similar to feeding a starter.
If the clabber does not set overnight once your culture is established, the room may be too cool or the culture may not be strong enough yet. Give it more time.
For a thicker texture, strain the clabber through a clean tea towel to remove some of the whey.
Clabber should smell sour and cultured, not rotten or foul. If it smells putrid, grows mold, or seems off, throw it away and start over.
Do not try this with pasteurized milk.
How to Make Easy Homemade Clabber From Raw Milk
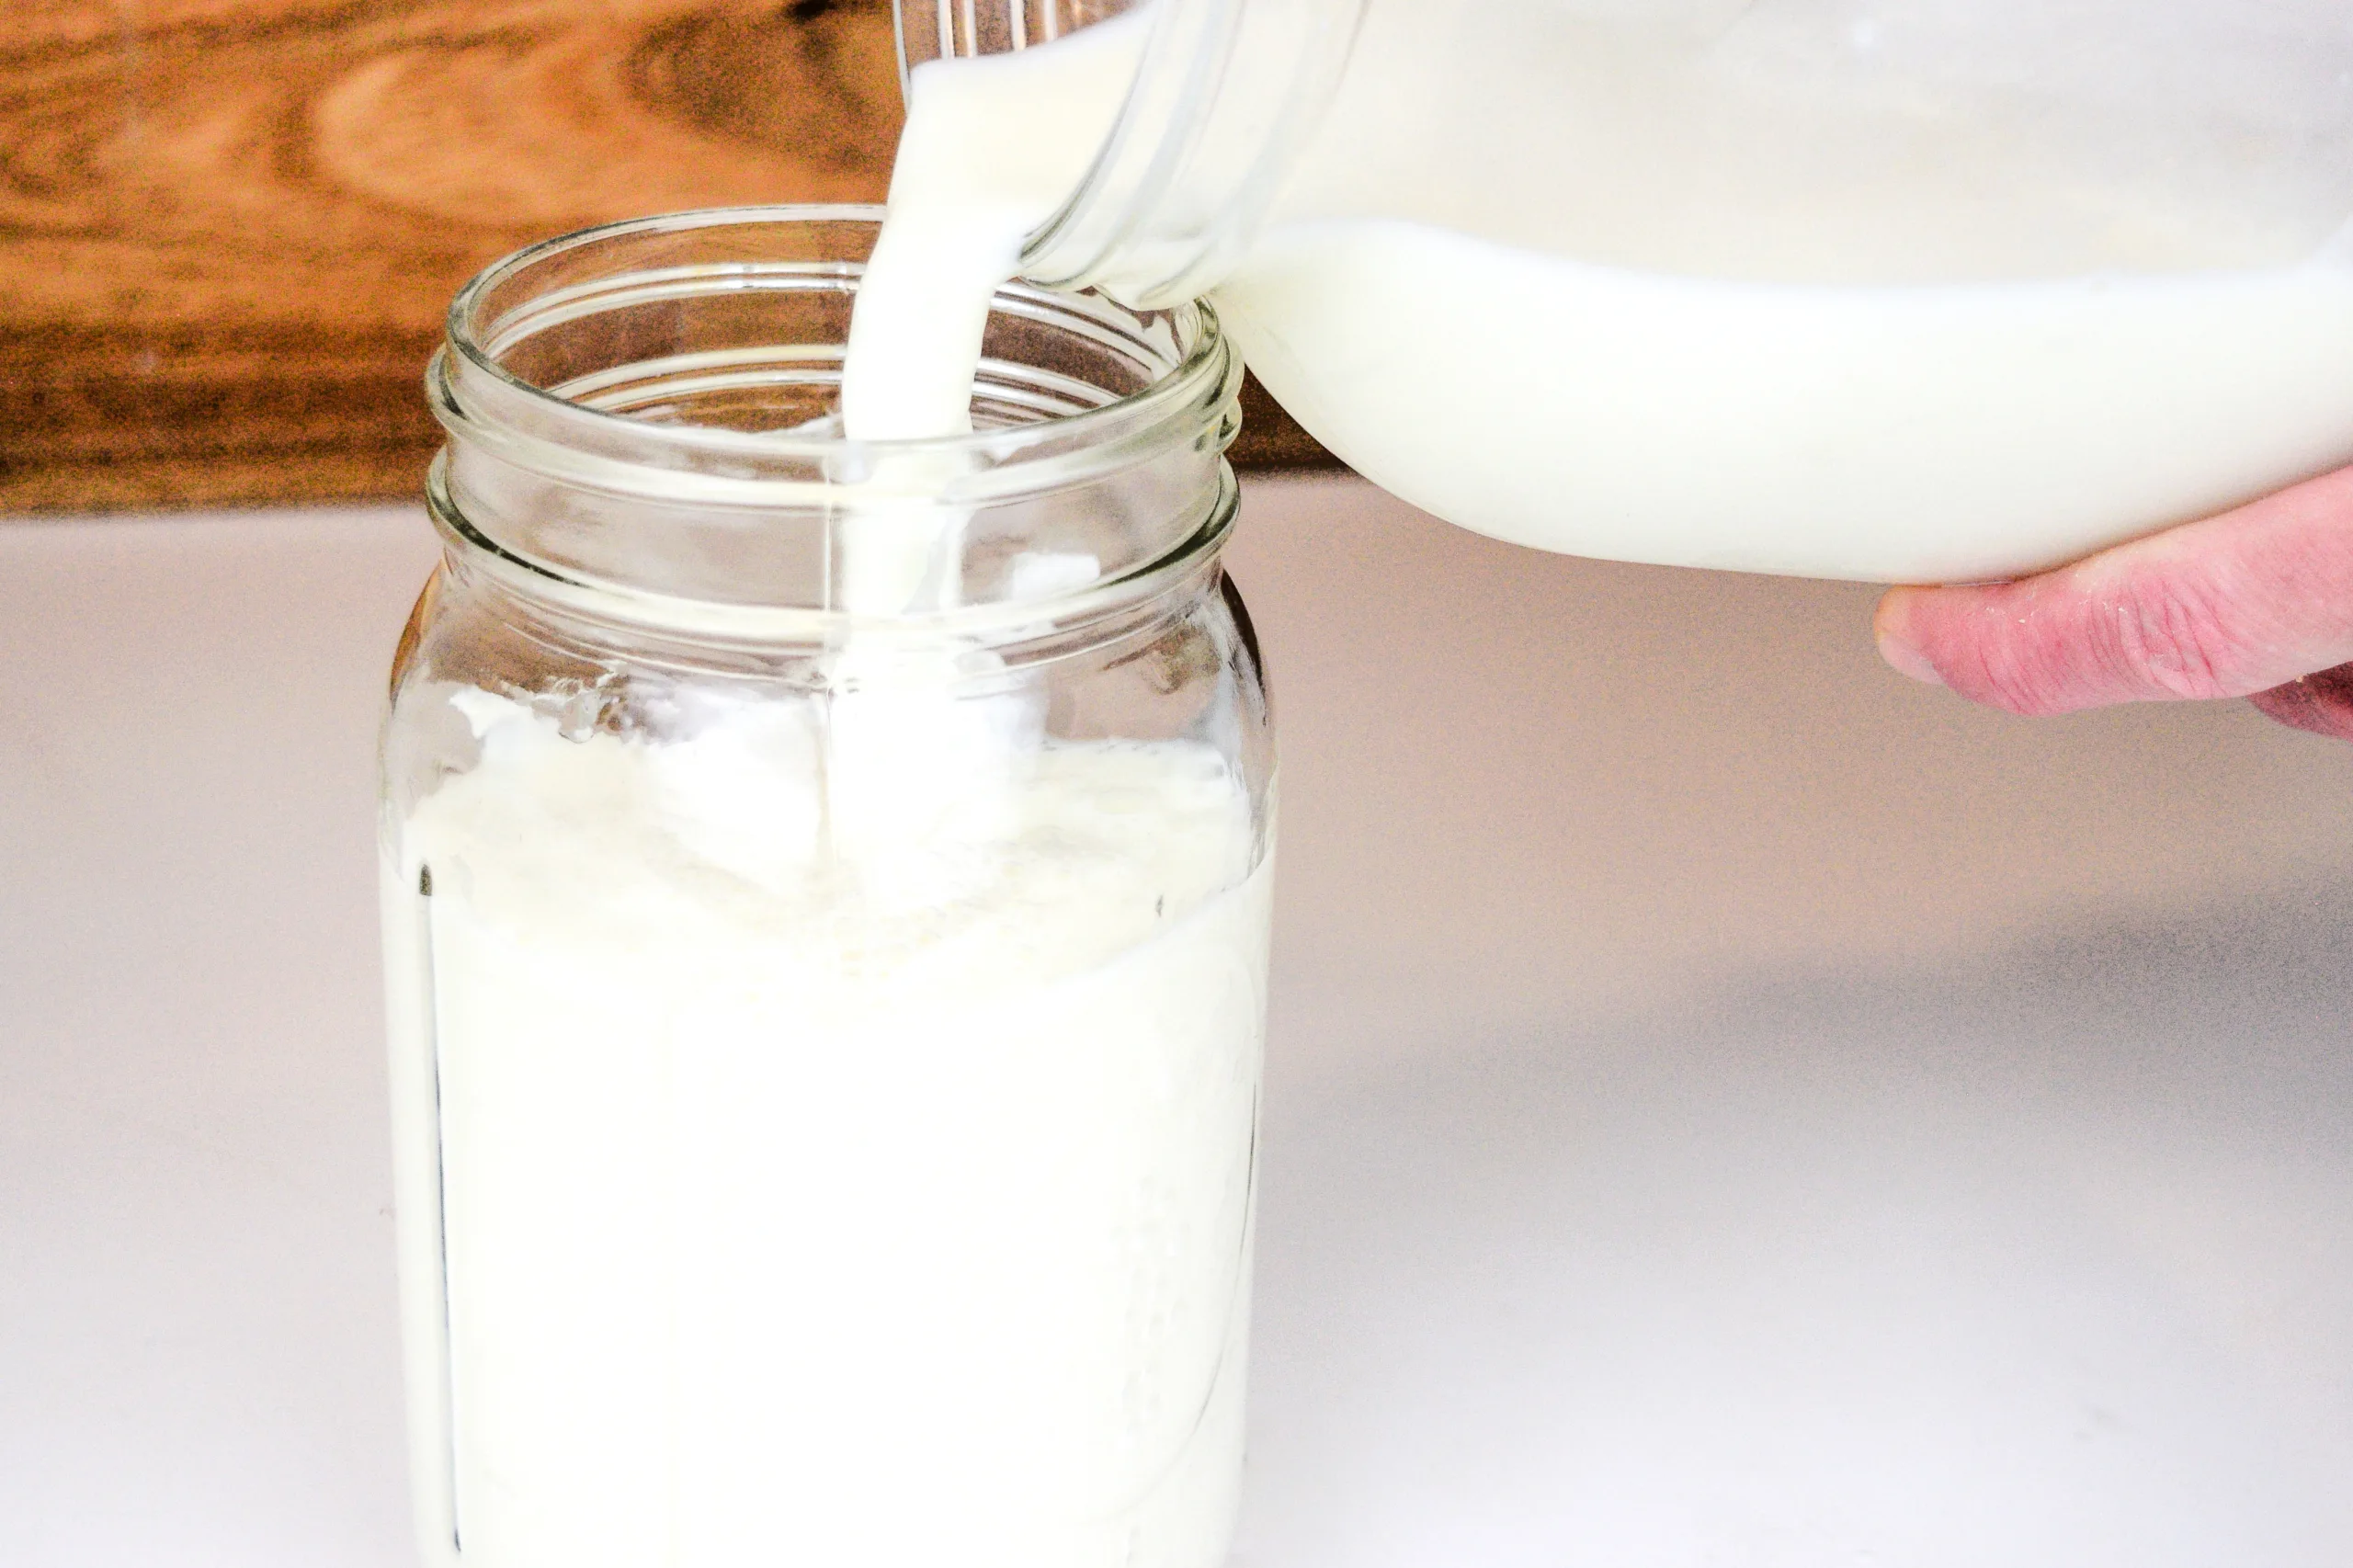
Step 1: Pour ½ cup of fresh raw milk into a clean glass jar.
If the milk is cold from the refrigerator, let it come closer to room temperature. This helps the clabber thicken more easily. Cover the jar with a clean lid or a tea towel secured with a rubber band.
If you use a lid, do not tighten it too much. The milk needs to sit at room temperature while it cultures. Place the jar on the counter at room temperature for 24 to 48 hours.
The milk will slowly thicken and sour. The timing depends on the temperature of the room and the strength of the natural culture in the milk.
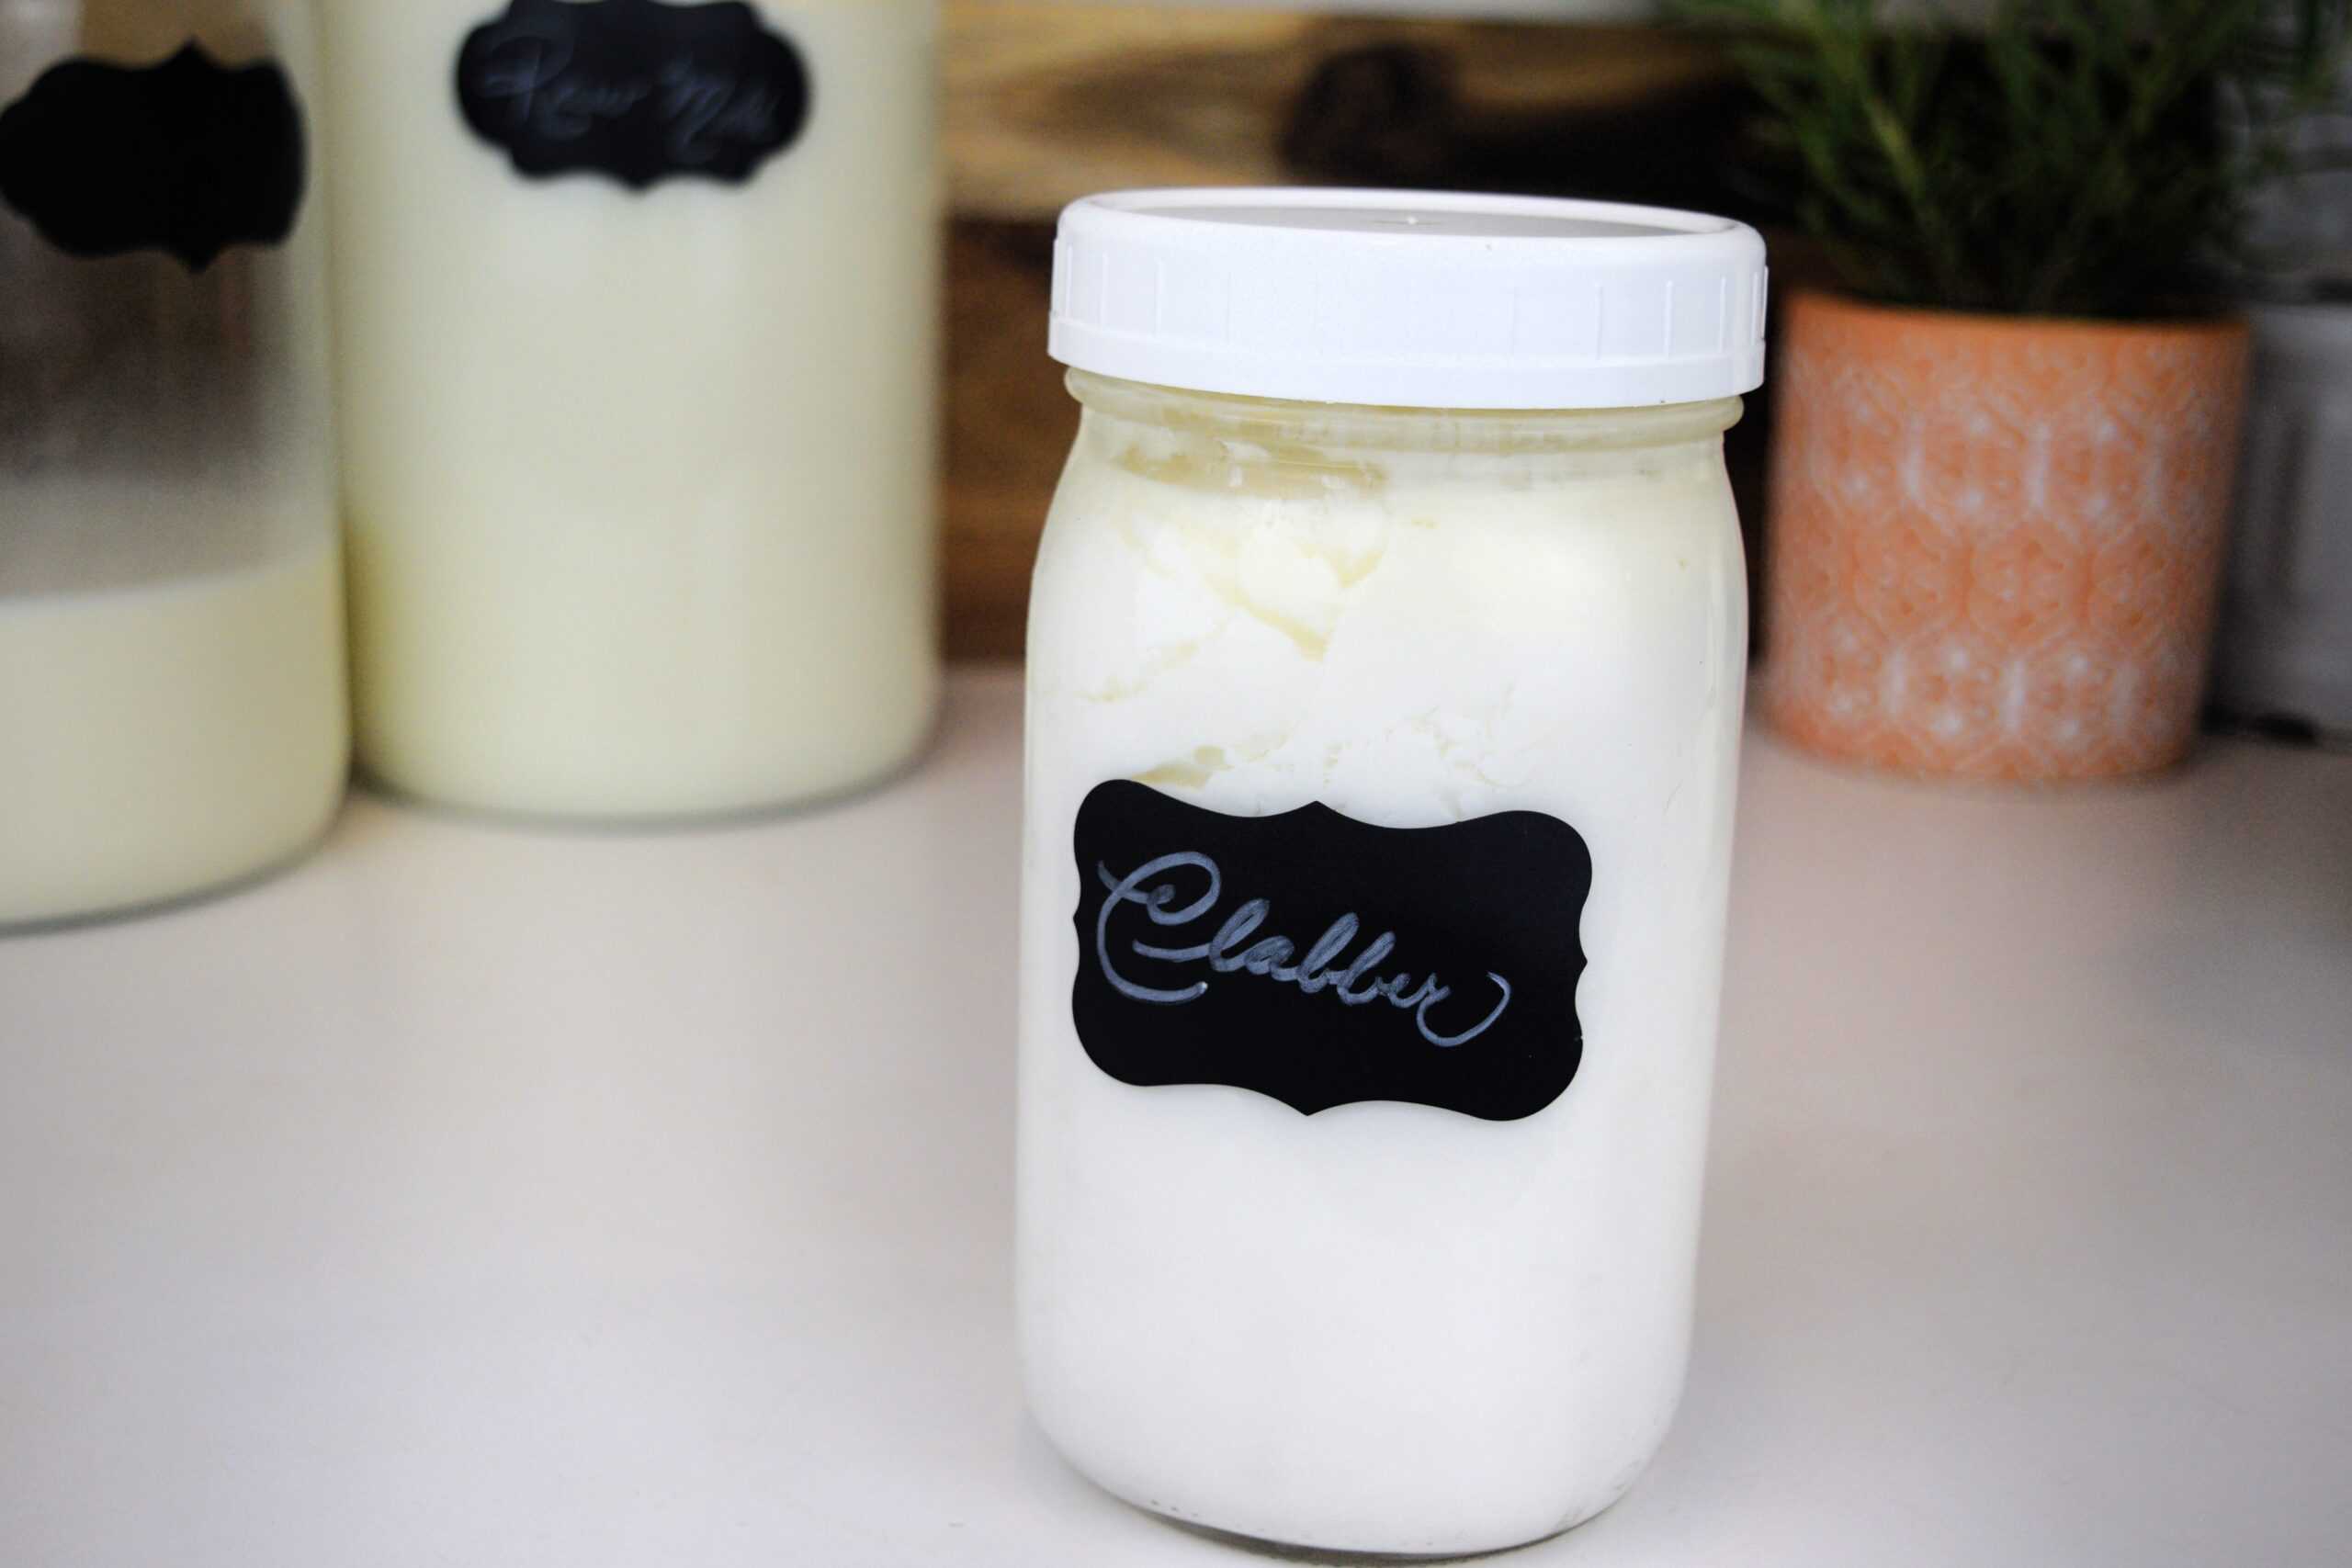
Step 2: When the milk has thickened and has a tangy, sour smell, it has clabbered.
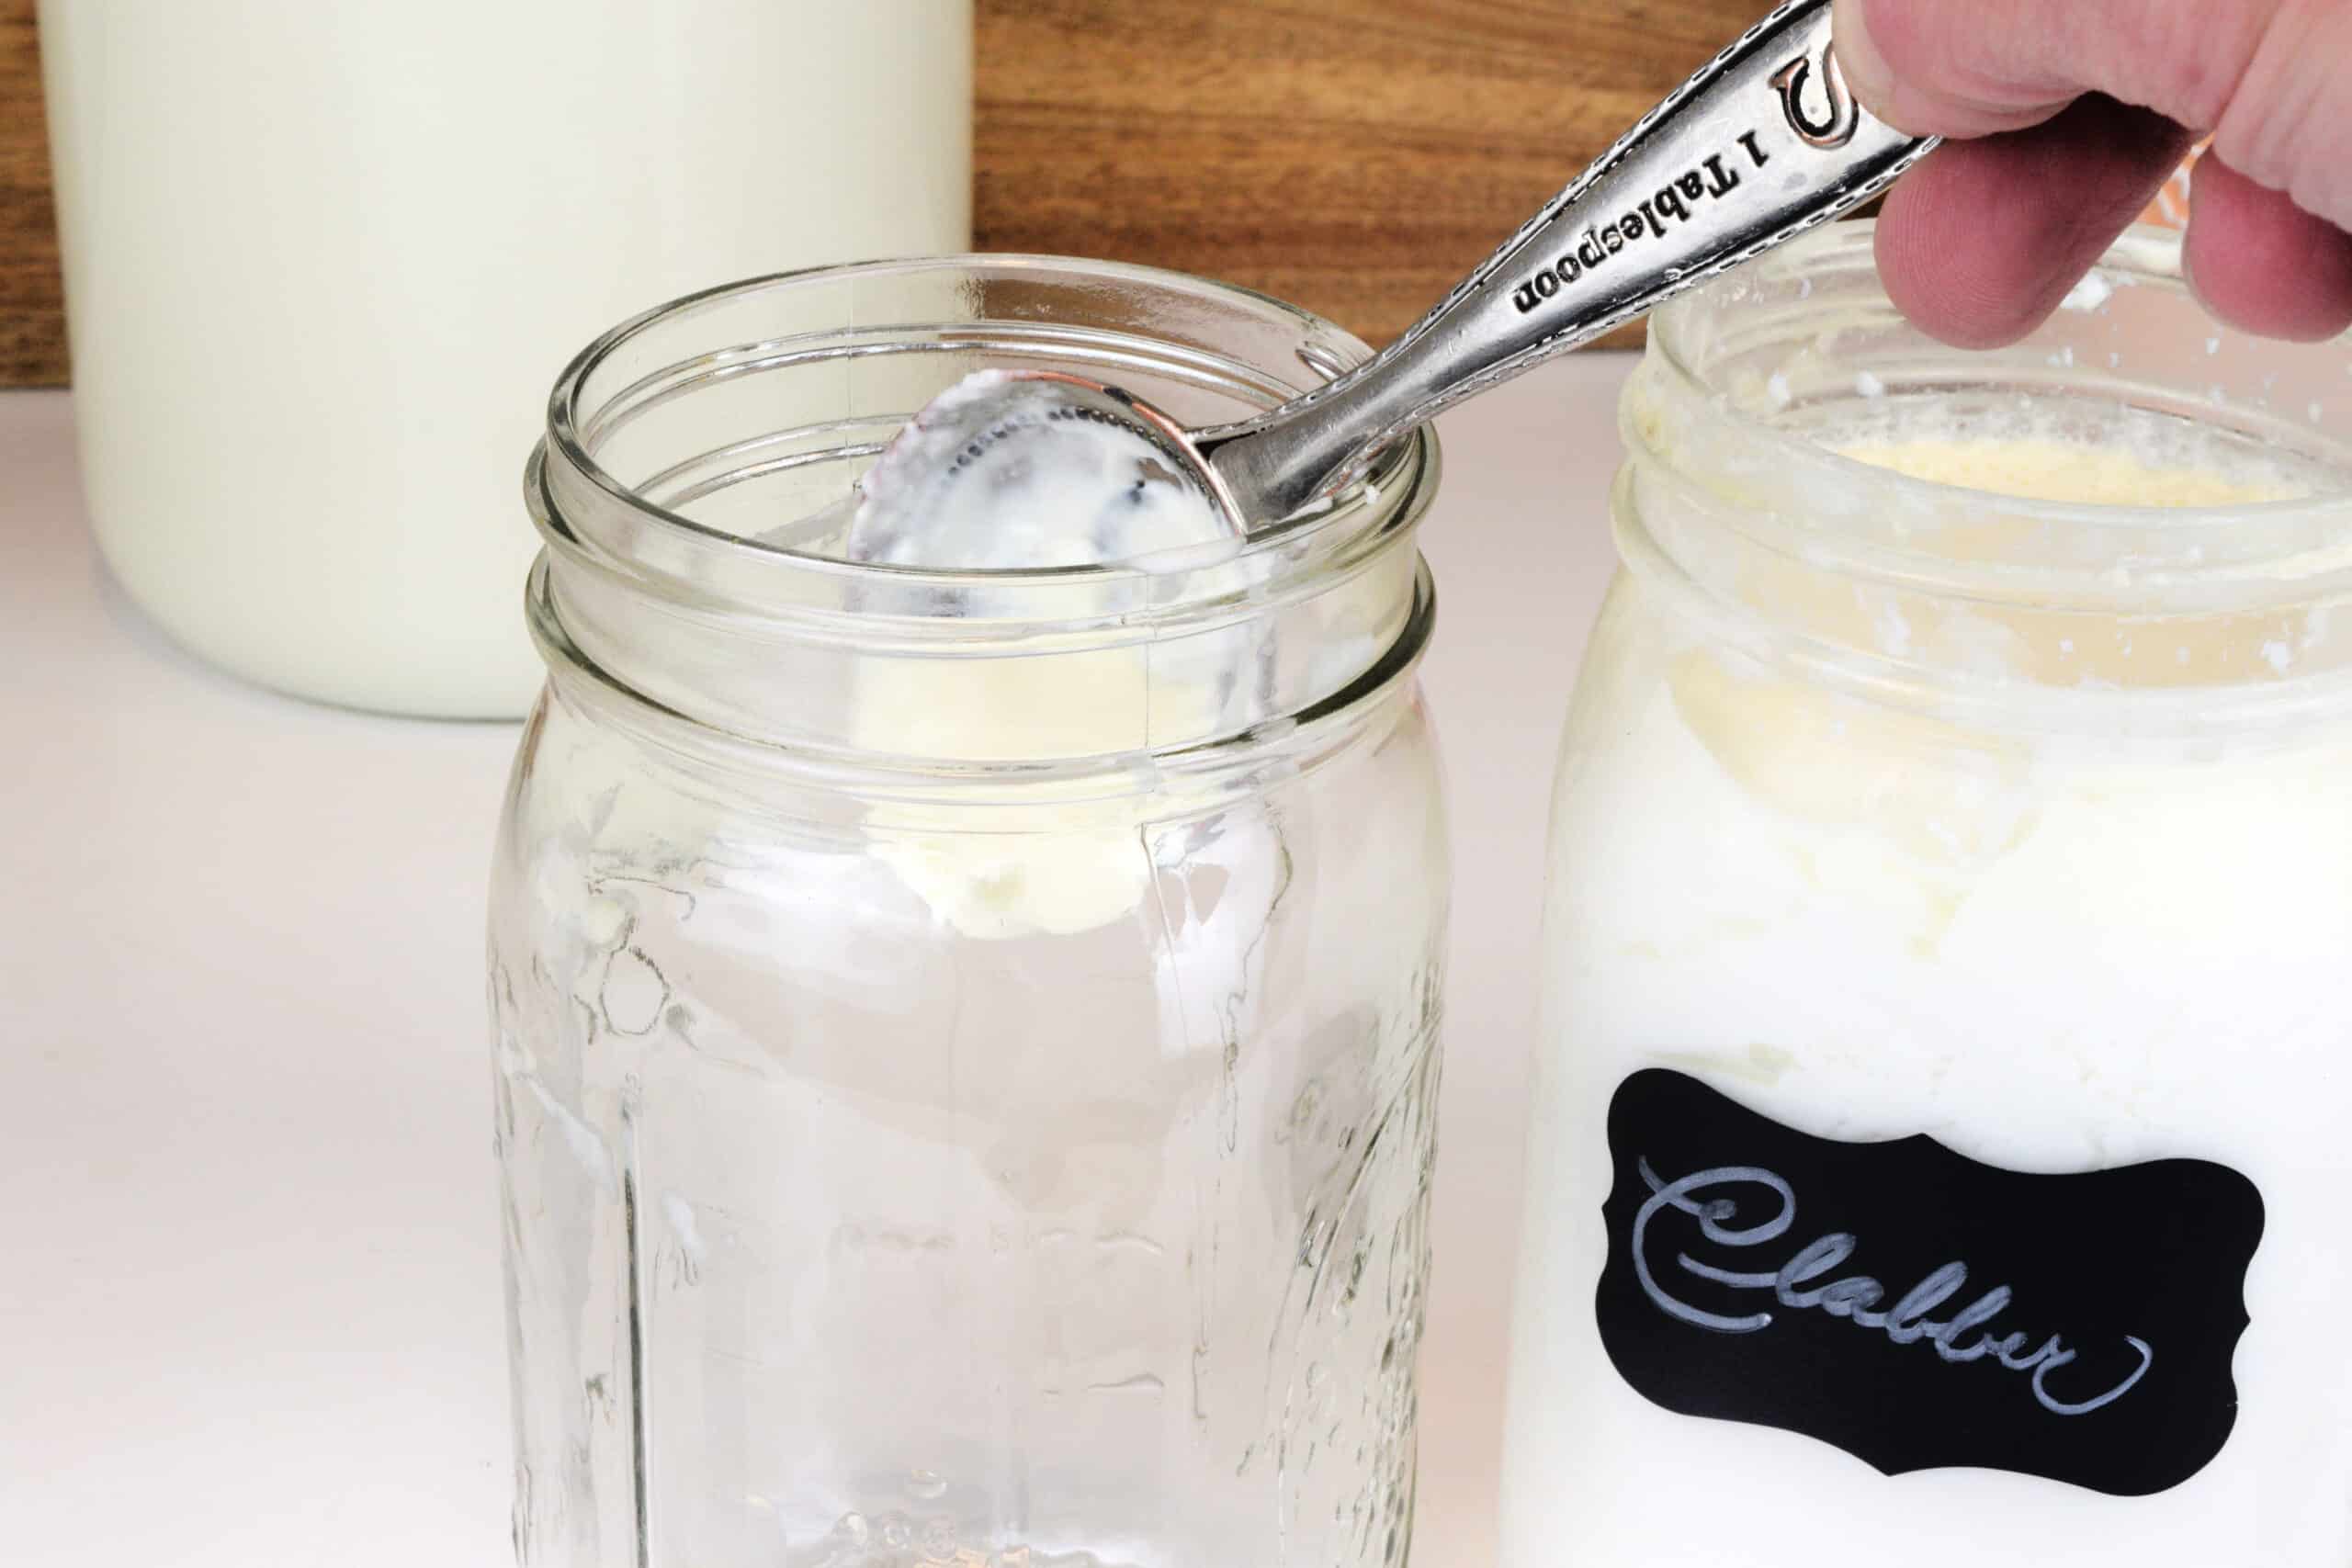
The first batch may be mild and thinner than later batches. That is normal. Once the first small batch thickens, remove 1 tablespoon of clabber and add it to a clean jar with ½ cup fresh raw milk.
Stir well, cover, and let it sit at room temperature again.
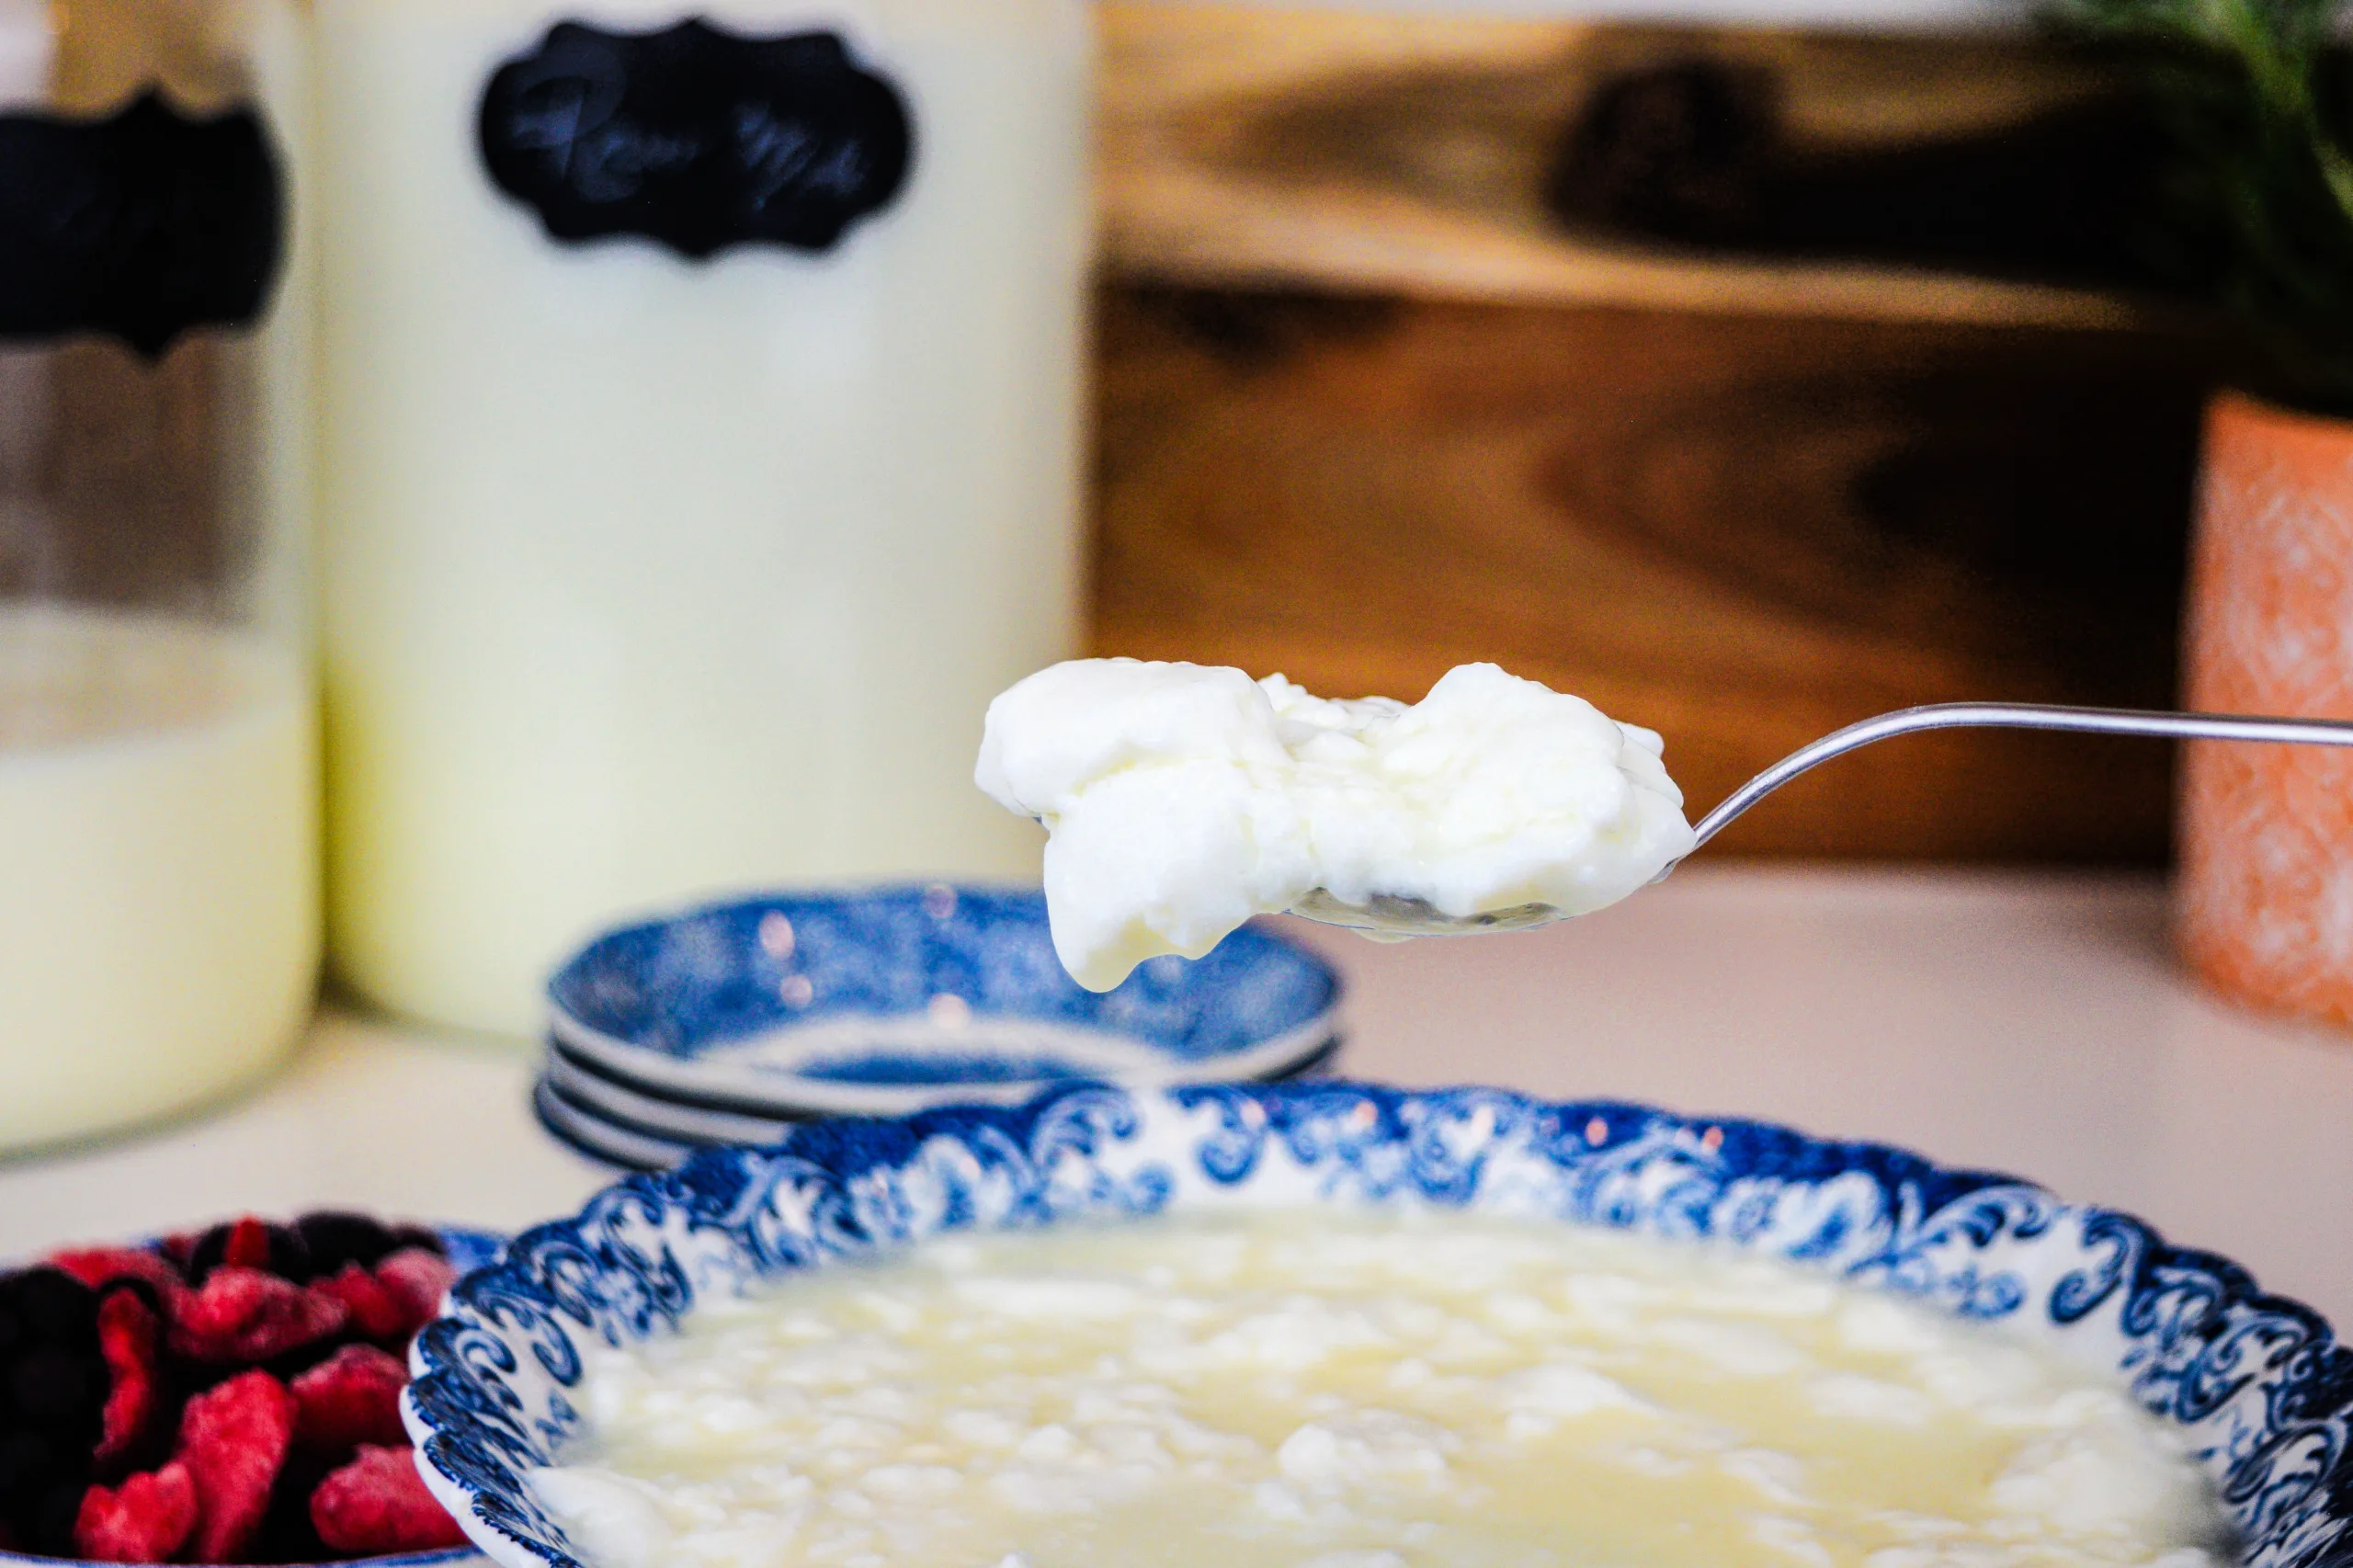
Step 3: When the milk has thickened and has a tangy, sour smell, it has clabbered.
The first batch may be mild and thinner than later batches. That is normal. Repeat the feeding process a few times until the clabber thickens more reliably and has a pleasant tangy flavor.
Once the culture is strong, you can use a small amount of clabber to culture a larger amount of raw milk.

Make a larger batch:
To make a larger batch, add about 1 tablespoon of established clabber to 1 quart of room temperature raw milk.
Stir, cover, and let it sit at room temperature until thickened. Once your culture is strong, this may happen overnight.
Save some for the next batch
Before serving, save a spoonful of clabber to start your next jar.
This keeps the culture going and makes the next batch easier.
How to Make Clabber Thicker
If you want a thicker texture, strain the clabber after it has set.
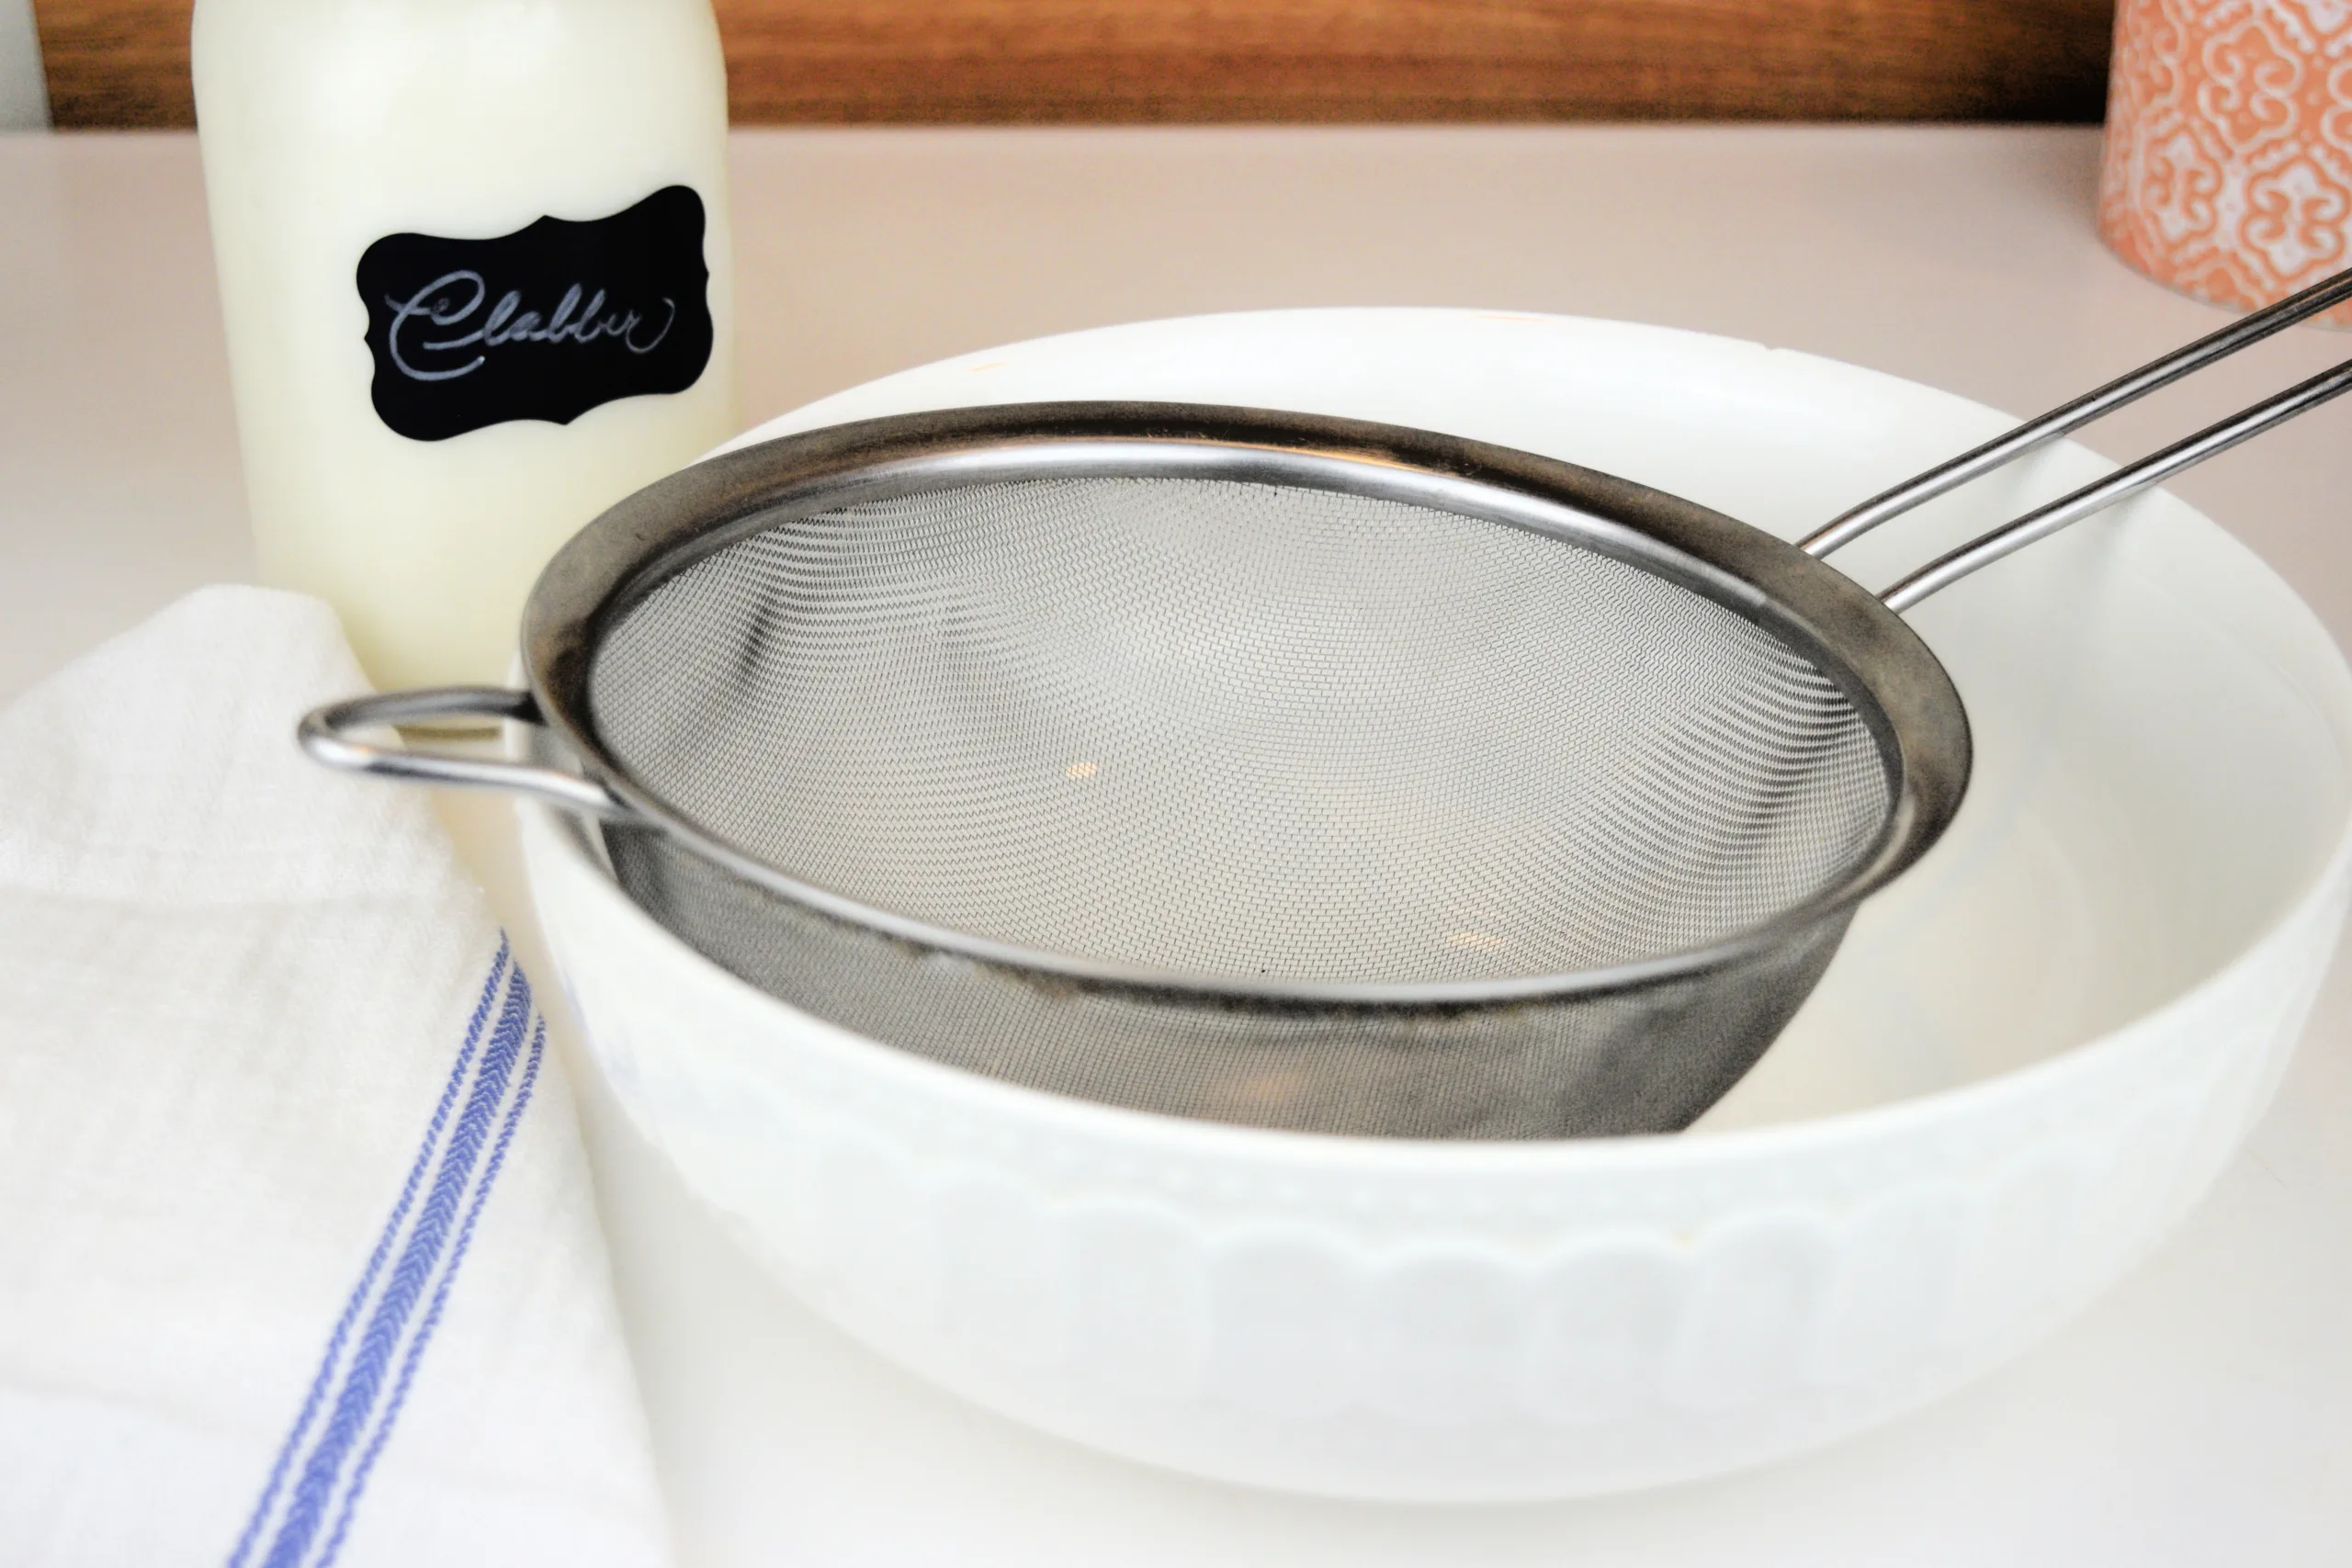
Place a clean tea towel or fine cloth over a bowl or over a fine mesh strainer.
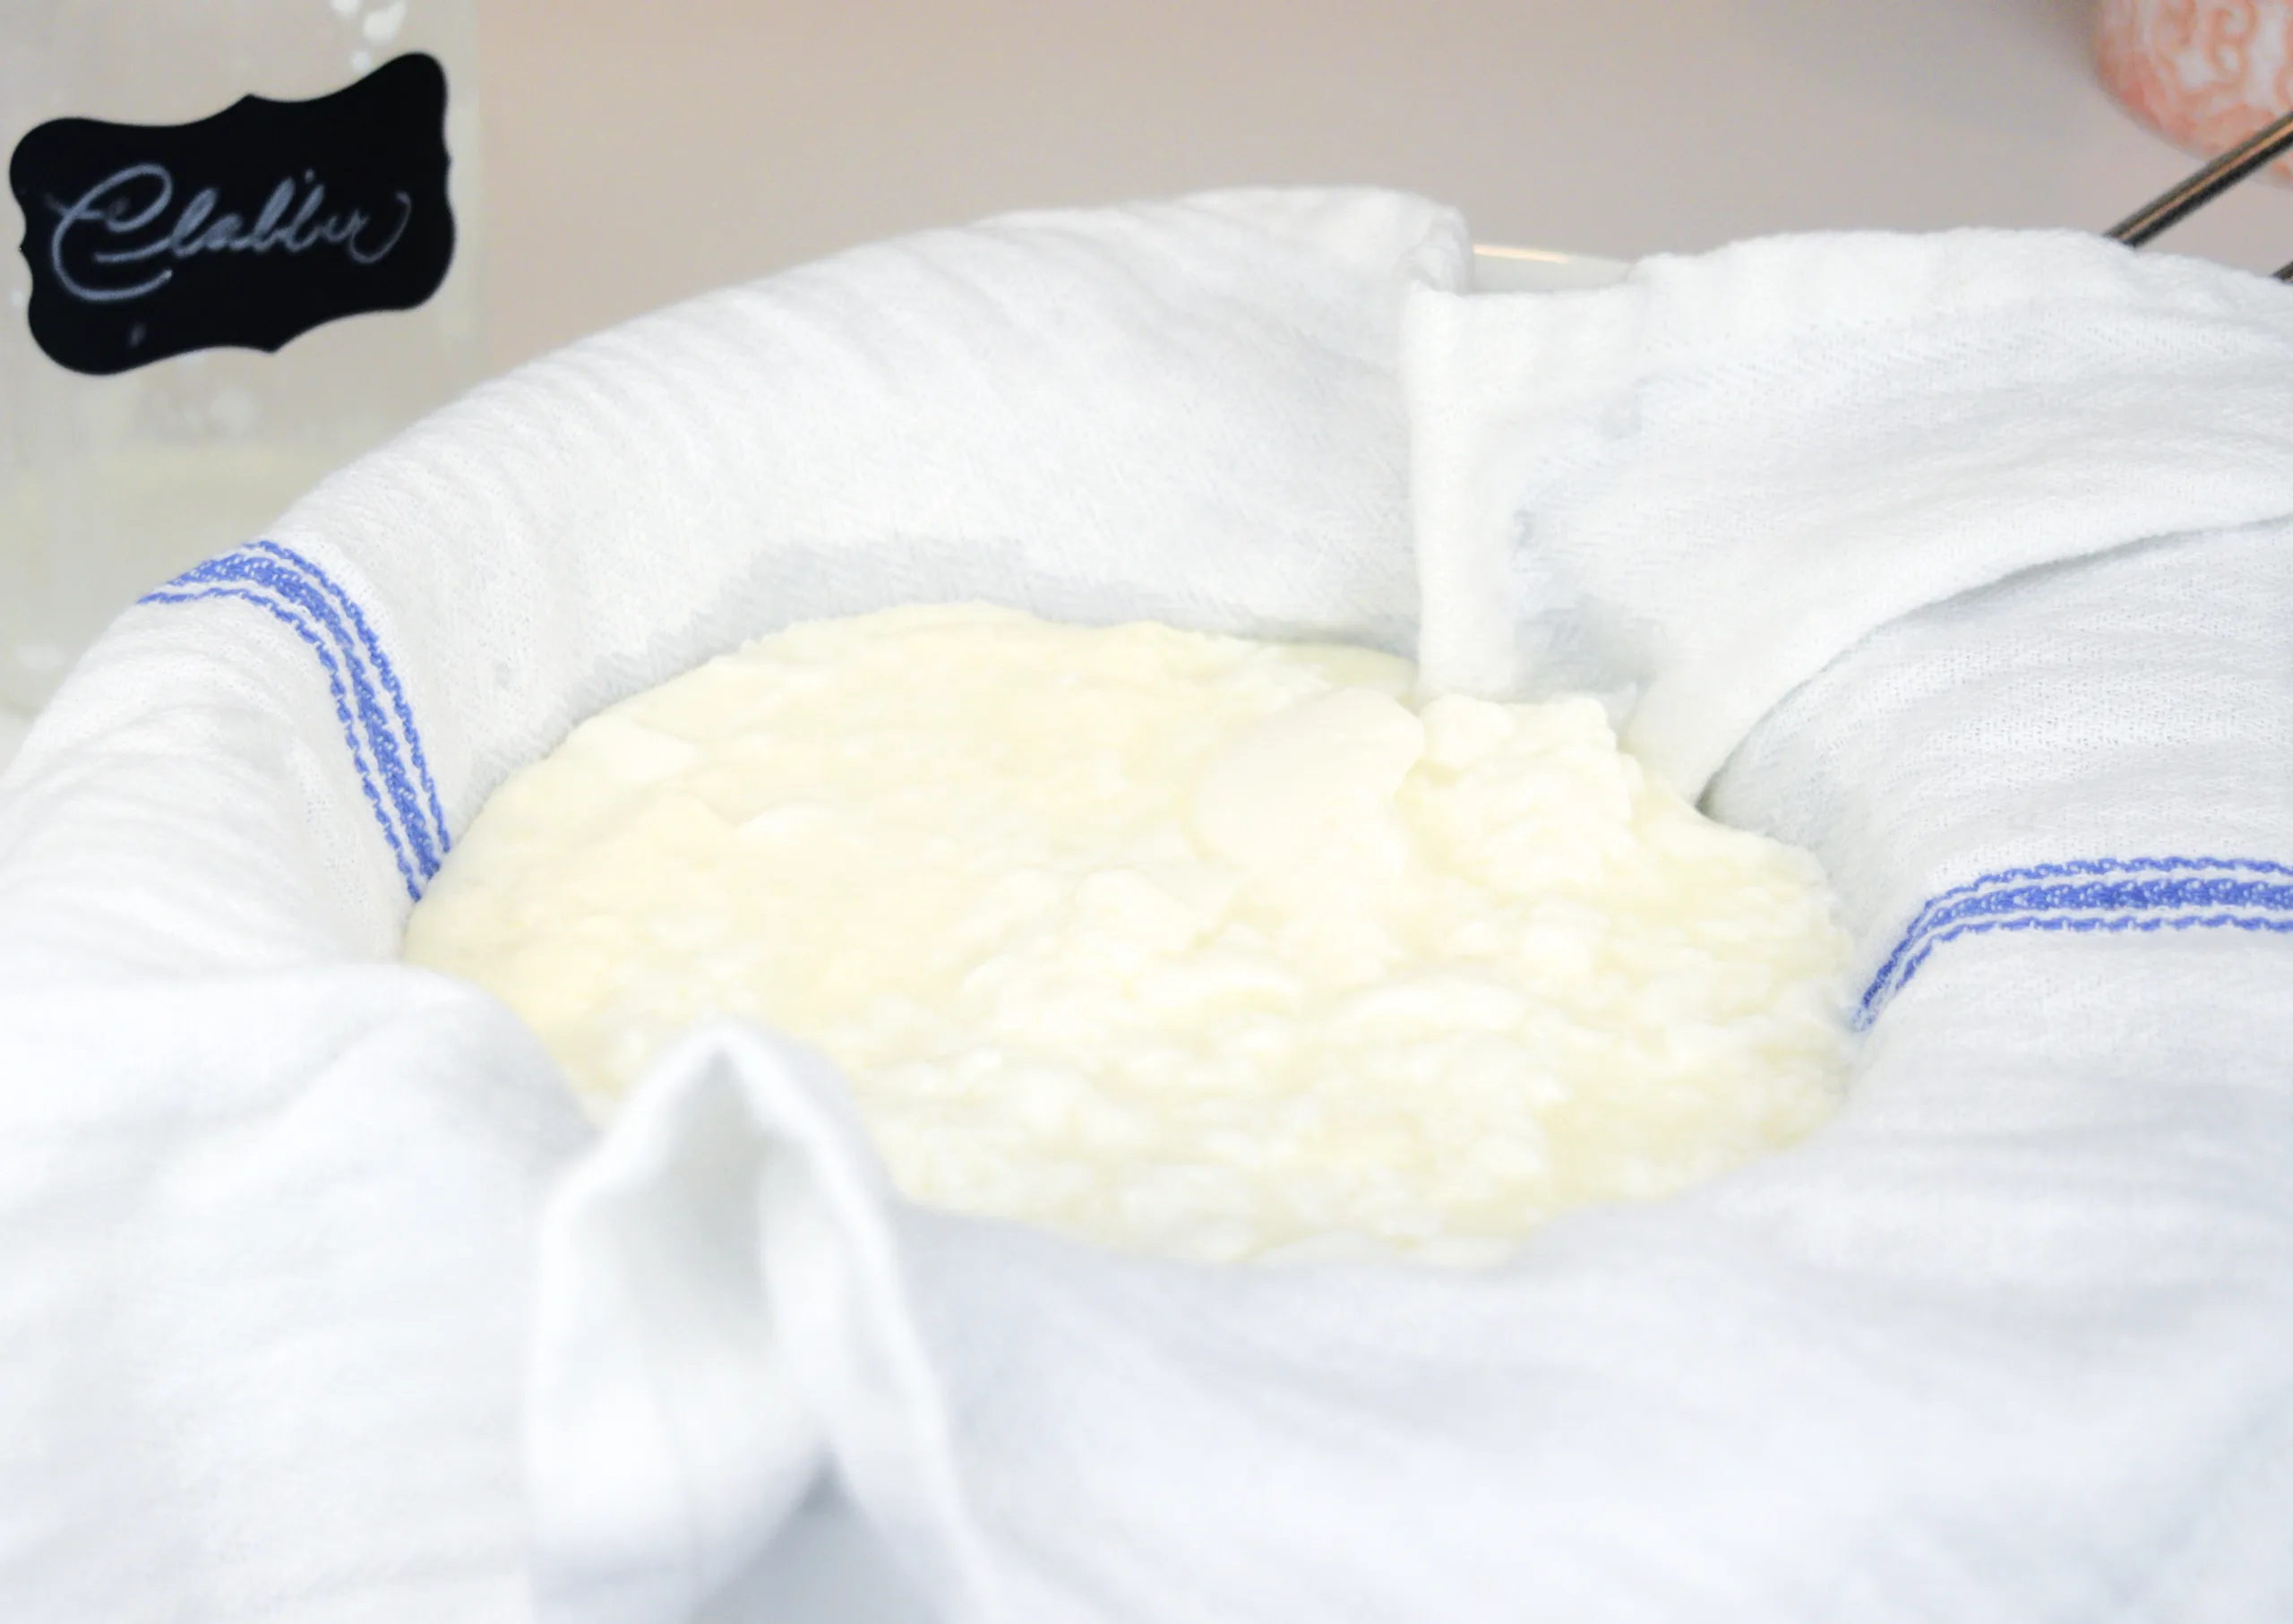
Pour the clabber into the towel, gather the sides gently, and let some of the whey drain out.

The longer it strains, the thicker it will become. It will not be exactly like Greek yogurt, but it can become thicker and creamier than regular clabber.
How to Store Clabber
Once the clabber has thickened, move it to the refrigerator.
Refrigeration slows the fermentation process and keeps it from getting too sour too quickly.
I like to use clabber within a few days for the best flavor and texture. Always save a spoonful before serving if you want to keep your culture going.
How to Serve Clabber
Clabber can be served in many of the same ways as plain yogurt.
Spoon it into a bowl with fruit and granola, blend it into smoothies, use it in baking, or strain it thicker for a creamier texture.
For breakfast, I like clabber with berries, a drizzle of maple syrup, and homemade granola. If you want something heartier on the table, serve it with toast and homemade butter.
Frequently Asked Questions About Homemade Clabber From Raw Milk
Is clabber the same as yogurt?
No, clabber is not the same as yogurt. Yogurt is usually made with heated milk and specific yogurt cultures, while clabber is made by letting raw milk naturally sour and thicken at room temperature. The taste and texture can be similar, but the process is different.
Can I make clabber with pasteurized milk?
No, do not make clabber with pasteurized store-bought milk. Pasteurized milk does not have the same natural culture environment as raw milk, and leaving it out at room temperature can allow unwanted bacteria to grow.
How long does raw milk take to clabber?
Raw milk usually takes 24 to 48 hours to clabber for the first batch. Once you have an established clabber culture, a new batch may thicken overnight, depending on room temperature and the strength of the culture.
Why is my clabber not thickening?
Clabber may not thicken if the room is too cool, the milk is too cold, or the culture is not strong yet. Give it more time, then continue feeding small amounts until the culture becomes stronger.
What should clabber smell like?
Clabber should smell sour, tangy, and cultured. It should not smell rotten, putrid, or foul. If the smell seems wrong, throw it out and start over with fresh raw milk.
Can I use clabber in smoothies?
Yes, clabber works well in smoothies. I like blending it with fruit, a little maple syrup, and sometimes a splash of cream.
Can I use clabber in baking?
Yes, established clabber can be used in some baking recipes in place of buttermilk or yogurt. Because the texture can vary, watch the batter or dough and adjust as needed.
Do I need to save some clabber for the next batch?
Yes, if you want to keep your clabber culture going, save a spoonful before serving. Add it to fresh room temperature raw milk to start the next batch.
How To Make Easy Homemade Clabber From Raw Milk
Equipment
- Clean glass jar
- Lid or clean tea towel
- Rubber band, if using a towel
- Measuring spoon
- Clean spoon
- Tea towel or fine cloth for straining, optional
Ingredients
- 1 gallon raw milk
Instructions
- Pour ½ cup fresh raw milk into a clean glass jar.
- Cover the jar with a lid or a clean tea towel secured with a rubber band.
- Let the milk sit at room temperature for 24 to 48 hours, ideally around 68°F to 72°F.
- Once the milk thickens and smells tangy and cultured, remove 1 tablespoon of clabber.
- Add that tablespoon of clabber to a clean jar with ½ cup fresh raw milk.
- Stir, cover, and let it sit at room temperature again.
- Repeat this feeding process a few times until the clabber culture becomes strong and thickens reliably.
- Once established, add about 1 tablespoon of clabber to 1 quart of room temperature raw milk.
- Let it sit at room temperature until thickened, often overnight once the culture is strong.
- Save a spoonful of clabber before serving so you can start the next batch.
- Refrigerate finished clabber to slow fermentation.
Notes
Tips for Making Homemade Clabber
Start with a small amount of raw milk. I like to begin with about ½ cup so I am not wasting milk while the clabber culture is getting established. Keep the milk at room temperature, ideally around 68°F to 72°F. A cooler room will slow the process down. Cover the jar with a lid or a clean tea towel secured with a rubber band. This keeps dust and gnats out while the milk cultures. Once the clabber is established, save a spoonful to start the next batch. This is similar to feeding a starter. If the clabber does not set overnight once your culture is established, the room may be too cool or the culture may not be strong enough yet. Give it more time. For a thicker texture, strain the clabber through a clean tea towel to remove some of the whey. Clabber should smell sour and cultured, not rotten or foul. If it smells putrid, grows mold, or seems off, throw it away and start over.How to Make Clabber Thicker
If you want a thicker texture, strain the clabber after it has set. Place a clean tea towel or fine cloth over a bowl. Pour the clabber into the towel, gather the sides gently, and let some of the whey drain out. The longer it strains, the thicker it will become. It will not be exactly like Greek yogurt, but it can become thicker and creamier than regular clabber.How to Store Clabber
Once the clabber has thickened, move it to the refrigerator. Refrigeration slows the fermentation process and keeps it from getting too sour too quickly. I like to use clabber within a few days for the best flavor and texture. Always save a spoonful before serving if you want to keep your culture going. Do not try this with pasteurized milk.
Tried this recipe?
I would love to see it! Tag me on Instagram @idiesfarm and #idiesfarm so I can share your beautiful creation!

Welcome!
Hi! I’m Stephanie, also known as Idie. Follow me as I tap into the methods of the past and learn how to make my world a little smaller.

[…] Always feel free to make this recipe your own by substituting out the mayonnaise for yogurt, kefir, cream cheese, sour cream, or clabber. Find my clabber recipe here. […]