Assess the Starter:
Check the starter for mold or any off-putting smell. If it has mold, it's best to discard it and start fresh. If it just looks inactive or has a layer of liquid (hooch) on top, it can likely be revived.
Stir and Smell:
Stir the starter to incorporate any separated liquid. If it smells tangy but not unpleasant, proceed. If the smell is foul, it might be too far gone.
Discard and Feed:
Discard most of the old starter, leaving only about 1-2 tablespoons. This helps reduce the build-up of waste products and introduces fresh nutrients.
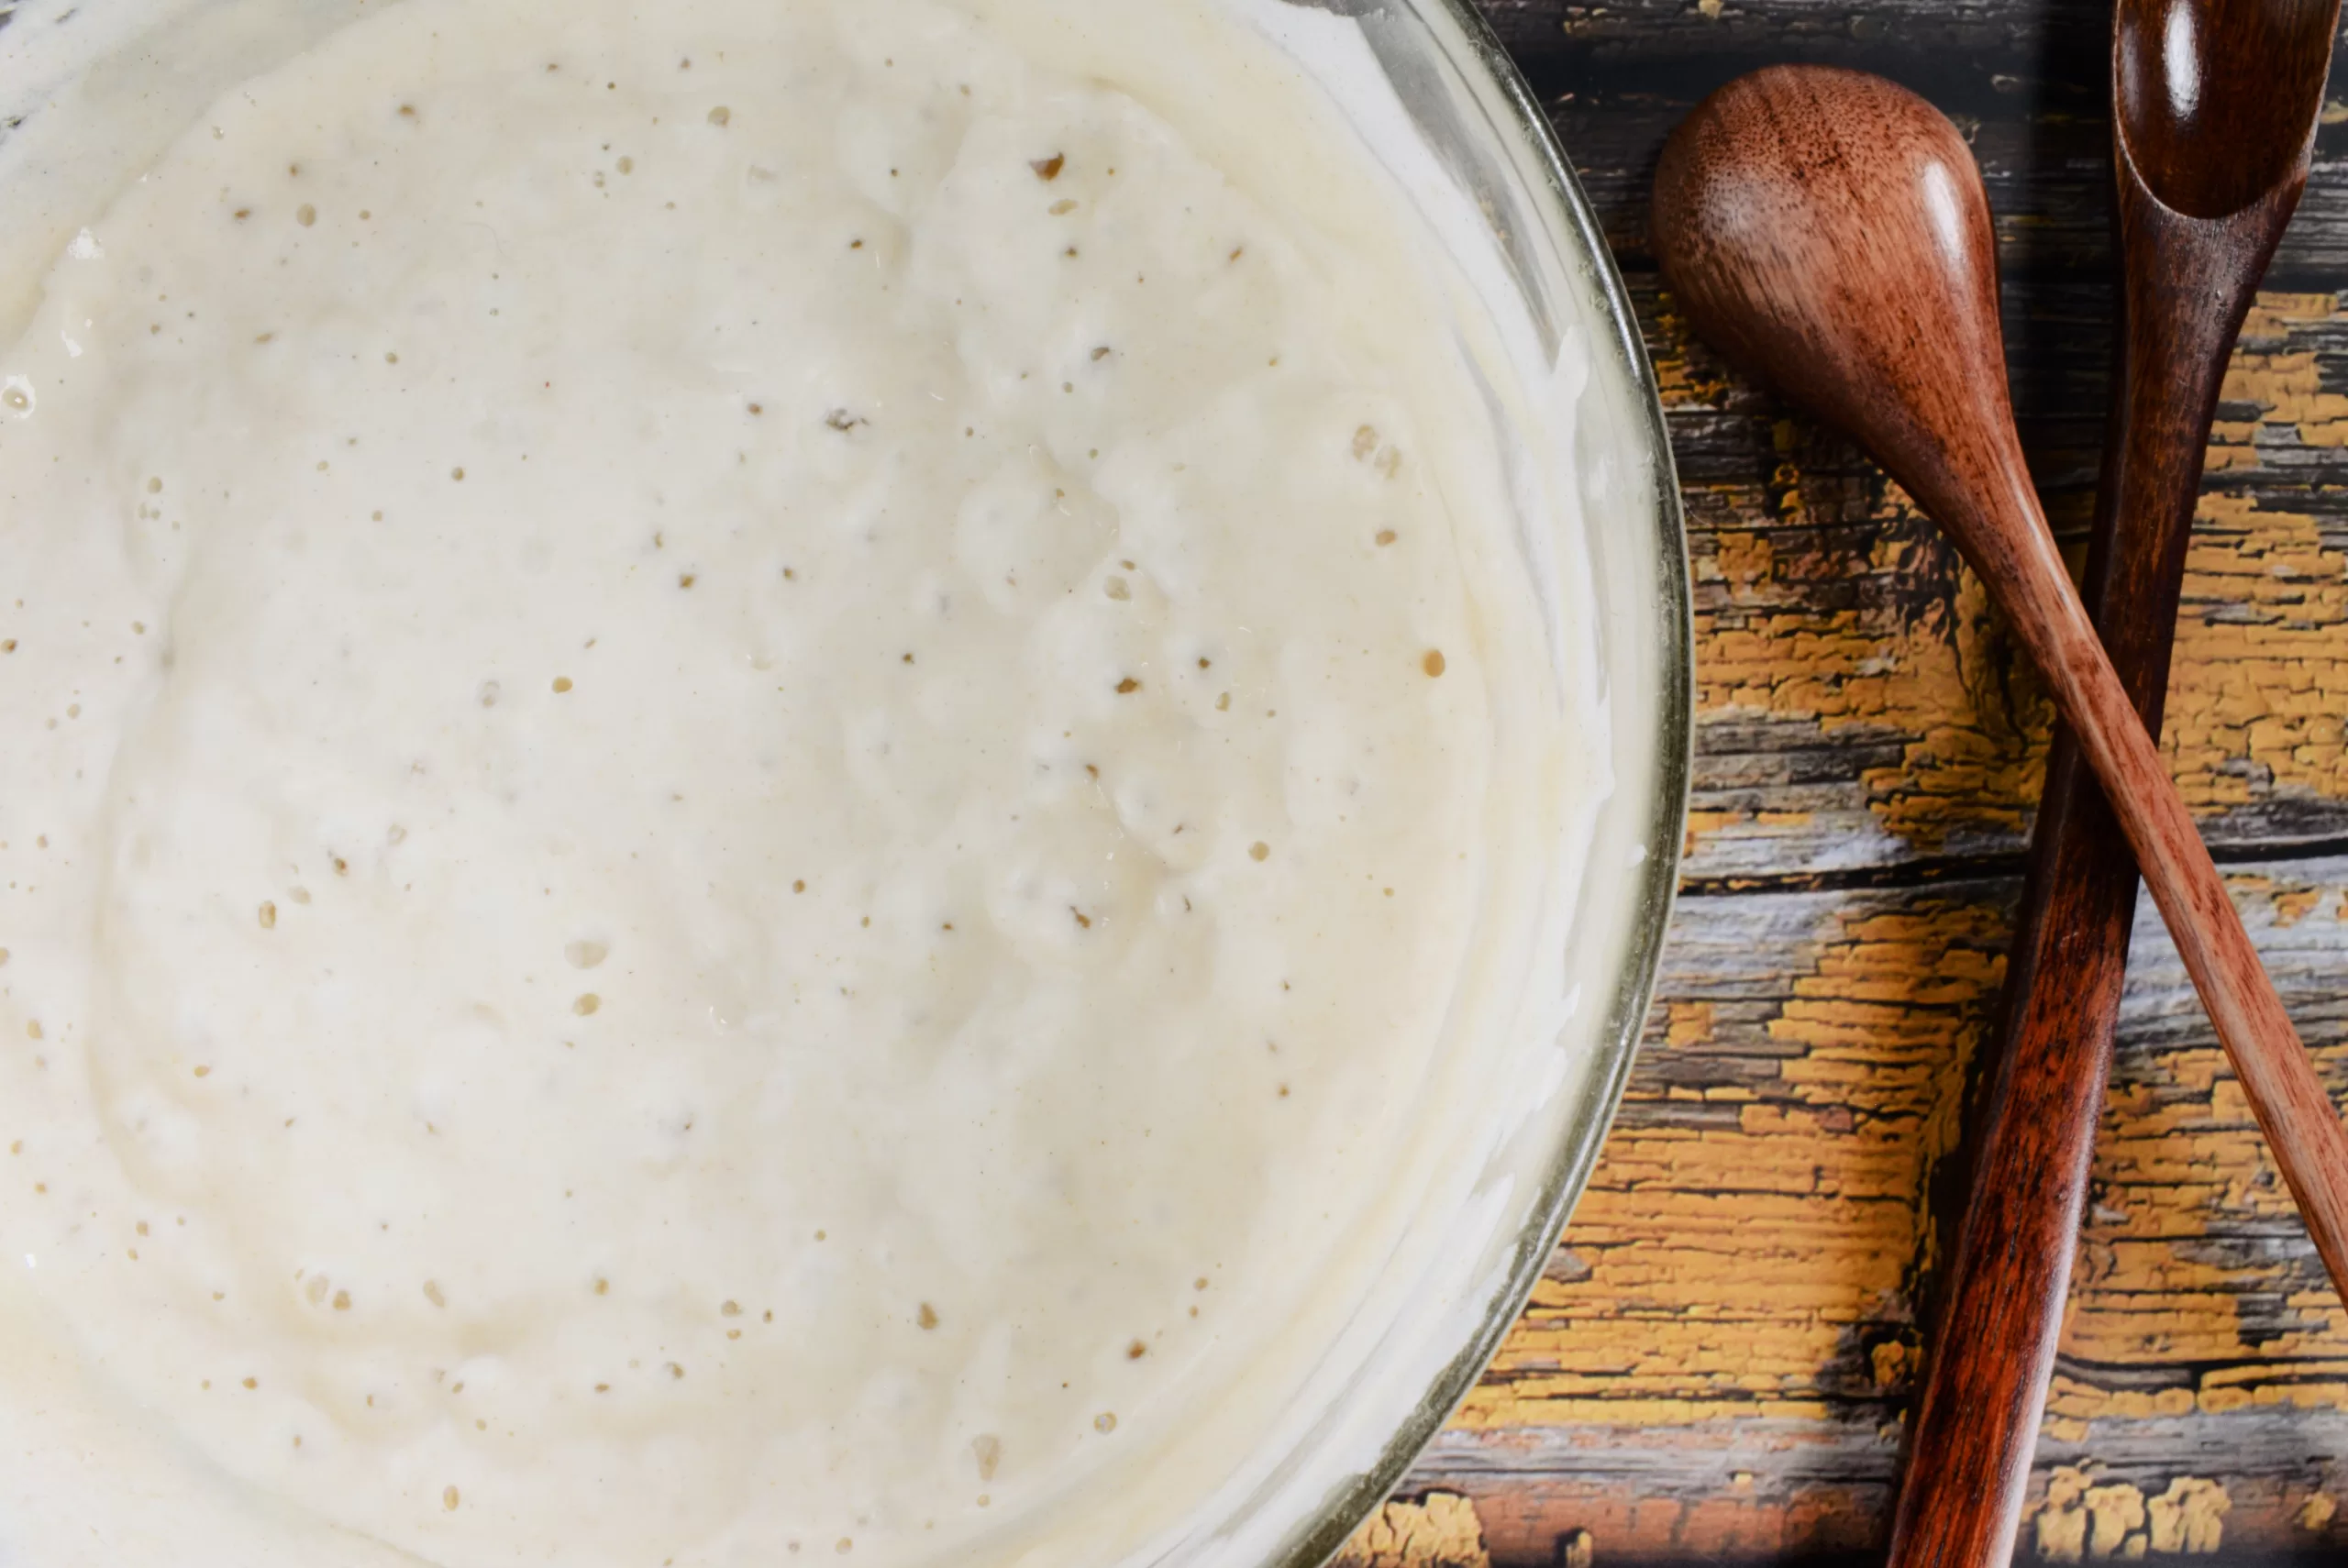
First Feeding:
In a mixing bowl, combine the reserved starter with ¼ cup (about 30 grams) of flour and 2 tablespoons (about 30 grams) of warm water. Mix well until smooth. Transfer the mixture to a clean jar or container and cover loosely with a jar cover or plastic wrap.
Warm Environment:
Place the container in a warm spot (75-80°F or 24-27°C) to encourage microbial activity. You can use a sourdough proofer, a warm kitchen spot, or even a turned-off oven with the light on.
Monitor and Repeat:
Check the starter after 12-24 hours. Look for bubbles and any signs of fermentation. If there are no bubbles, don’t worry. Discard half of the mixture and feed again with the same proportions of flour and water (¼ cup flour, 2 tablespoons water).
Regular Feedings:
Continue feeding the starter every 12 hours. Gradually increase the amount of flour and water to ¼ cup each as it starts showing signs of activity. Be patient; this process can take several days.
Signs of Life:
As the starter becomes more active, it will start to bubble and rise. Once you see a lot of bubbles and it has doubled in size within 4-6 hours of feeding, it’s ready for regular maintenance.
Regular Maintenance:
Transition to a regular feeding schedule of equal parts starter, flour, and water by weight (1:1:1 ratio). Keep it at room temperature and feed daily, or refrigerate and feed weekly if not baking frequently.