Learn how to revive an old sourdough starter from the dead with this comprehensive guide! There is a very good chance that neglected starters that have been buried deep in the depths of the fridge or ones that have been completely forgotten about on the counter, can be saved.
New to sourdough baking and need a starter? Start here: How to Make A Sourdough Starter From Scratch

Table of Contents
Reviving an old or seemingly dead sourdough starter is possible with some patience and persistence. Keeping this in mind, that beloved sourdough starter may only be a few days from a bubbly revival! But first, when is bad too bad?
This post contains affiliate links, which means I make a small commission at no extra cost to you. See my full disclosure here.

How do I know if I killed my sourdough starter?
- No Activity: If your starter shows no signs of fermentation after several days of regular feeding, it might be dead. Look for bubbles, rise, and a tangy smell, which indicate active fermentation.
- Unpleasant Odor: A foul, putrid smell (like rotten eggs or mold) is a strong indicator of a dead or contaminated starter. Healthy starters should have a pleasant, slightly tangy aroma.
- Visual Cues: Visible mold growth on the surface of your starter is a clear sign of contamination. Mold can be various colors, including white, green, black, or a pink color. If sourdough starter does have mold, then you can try removing the top layer of mold, and using a clean wooden spoon take a sample from the bottom to try to refresh it.

- Liquid Separation: A layer of gray liquid or black liquid (called hooch) on the surface of the starter is normal if it hasn’t been fed for a while. This is a good sign that your starter is still alive and is just needing to be fed! However, if the liquid has a foul odor or unusual color, your starter may be dead or contaminated.
- No Rise: A healthy starter should double in volume within 4-6 hours after feeding. If your starter consistently fails to rise or shows very minimal rise, it might be dead or weak.
- Texture Changes: A dead starter may become discolored, develop a crust, or exhibit other texture changes. It might look dried out or have a slimy texture.
If you observe any of these signs, it is a good idea to err on the side of caution and assume your starter is dead or contaminated. Always use your best judgement! However, it can be worth trying to revive it before giving up entirely. Start by feeding it regularly in a warm environment and monitor for signs of activity. If there’s still no improvement after several feedings, it may be time to start fresh with a new sourdough starter.
Going long periods between feedings because you do not have time to maintain a sourdough starter? Check out this post: How to Make Dried Starter From Scratch

Should I stir my sourdough starter between feedings?
Stirring your sourdough starter between feedings is generally a good practice. It is a simple yet essential part of maintaining a healthy and active starter.
Here’s why:
- Even Distribution: Stirring helps evenly distribute the flour and water throughout the starter. This ensures that all parts of the starter receive adequate food for fermentation.
- Prevents Separation: If your starter has been sitting for a while, you may notice a layer of liquid (hooch) on top. Stirring incorporates this liquid back into the starter, preventing it from drying out and maintaining the overall consistency.
- Aeration: Stirring introduces oxygen into the starter, which can benefit the yeast and bacteria. Yeast, in particular, benefits from oxygen during the early stages of fermentation.
- Observation: Stirring allows you to observe the condition of your starter. You can check for signs of activity, such as bubbles or rise, as well as any unusual odors or appearances that may indicate contamination.
Keep in mind that it is also important to use clean utensils and containers to prevent contamination.

Is hooch good or bad in sourdough starter?
Hooch in a sourdough starter is not necessarily a good or bad thing; it's simply a natural byproduct of fermentation. Hooch is the dark liquid that can form on the surface of a neglected sourdough starter. It is a mix of water and alcohol that formed during the fermentation process.
It is the most common issue with most sourdough starters and can be resolved very easily. As mentioned above, its presence is just a clear indicator that your starter is hungry!
What do I do with the hooch?
- Stirring: Stirring the dark hooch back into the starter can rehydrate the mixture and distribute the alcohol and acids throughout the starter.
- Discarding: Alternatively, you can pour off the hooch before feeding the starter if you prefer to maintain a certain consistency or flavor profile.
- Feeding: To prevent the formation of hooch, it's important to maintain a regular feeding schedule for your sourdough starter. This ensures that during the fermentation process the yeast and bacteria have a steady supply of nutrients to sustain their activity.

Tips to Revive an Old Sourdough Starter
These steps can help you can revive your old sourdough starter and get it back to producing your delicious sourdough recipes.
- Use Whole Grain Flour: Incorporating some whole grain flour in the early feedings can boost microbial activity due to its higher nutrient content.
- Be Patient: Reviving a dormant starter can take time, sometimes up to a week or more.
- Stay Consistent: Consistency in a following a feeding schedule and maintaining a warm environment is key to successfully reviving the starter. So make sure you are feeding it on a regular basis.

Materials Needed
- Mixing bowl
- Measuring spoons
- Spatula or spoon
- Clean jar or container
- Rubber band (optional)
- Plastic wrap or reusable bowl covers (Try this DIY:Easy Tutorial on How to Sew Reusable Bowl Covers)
- Sourdough home or a sourdough proofer such as this one here. (optional)

Ingredients to Revive the Starter
- Old sourdough starter
- Flour (preferably unbleached all-purpose or whole wheat flour)
- Warm water (water from a Berkey water filter or filtered water)

How to Revive an Old Sourdough Starter From the Dead
- Assess the Starter:
- Check the starter for mold or any off-putting smell. If it has mold, it's best to discard it and start fresh. If it just looks inactive or has a layer of liquid (hooch) on top, it can likely be revived.
- Stir and Smell:
- Stir the starter to incorporate any separated liquid. If it smells tangy but not unpleasant, proceed. If the smell is foul, it might be too far gone.
- Discard and Feed:
- Discard most of the old starter, leaving only about 1-2 tablespoons. This helps reduce the build-up of waste products and introduces fresh nutrients.
- First Feeding:
- In a mixing bowl, combine the reserved starter with ¼ cup (about 30 grams) of flour and 2 tablespoons (about 30 grams) of warm water. Mix well until smooth. Transfer the mixture to a clean jar or container and cover loosely with a jar cover or plastic wrap.
- Warm Environment:
- Place the container in a warm spot (75-80°F or 24-27°C) to encourage microbial activity. You can use a sourdough proofer, a warm kitchen spot, or even a turned-off oven with the light on.
- Monitor and Repeat:
- Check the starter after 12-24 hours. Look for bubbles and any signs of fermentation. If there are no bubbles, don’t worry. Discard half of the mixture and feed again with the same proportions of flour and water (¼ cup flour, 2 tablespoons water).
- Regular Feedings:
- Continue feeding the starter every 12 hours. Gradually increase the amount of flour and water to ¼ cup each as it starts showing signs of activity. Be patient; this process can take several days.
- Signs of Life:
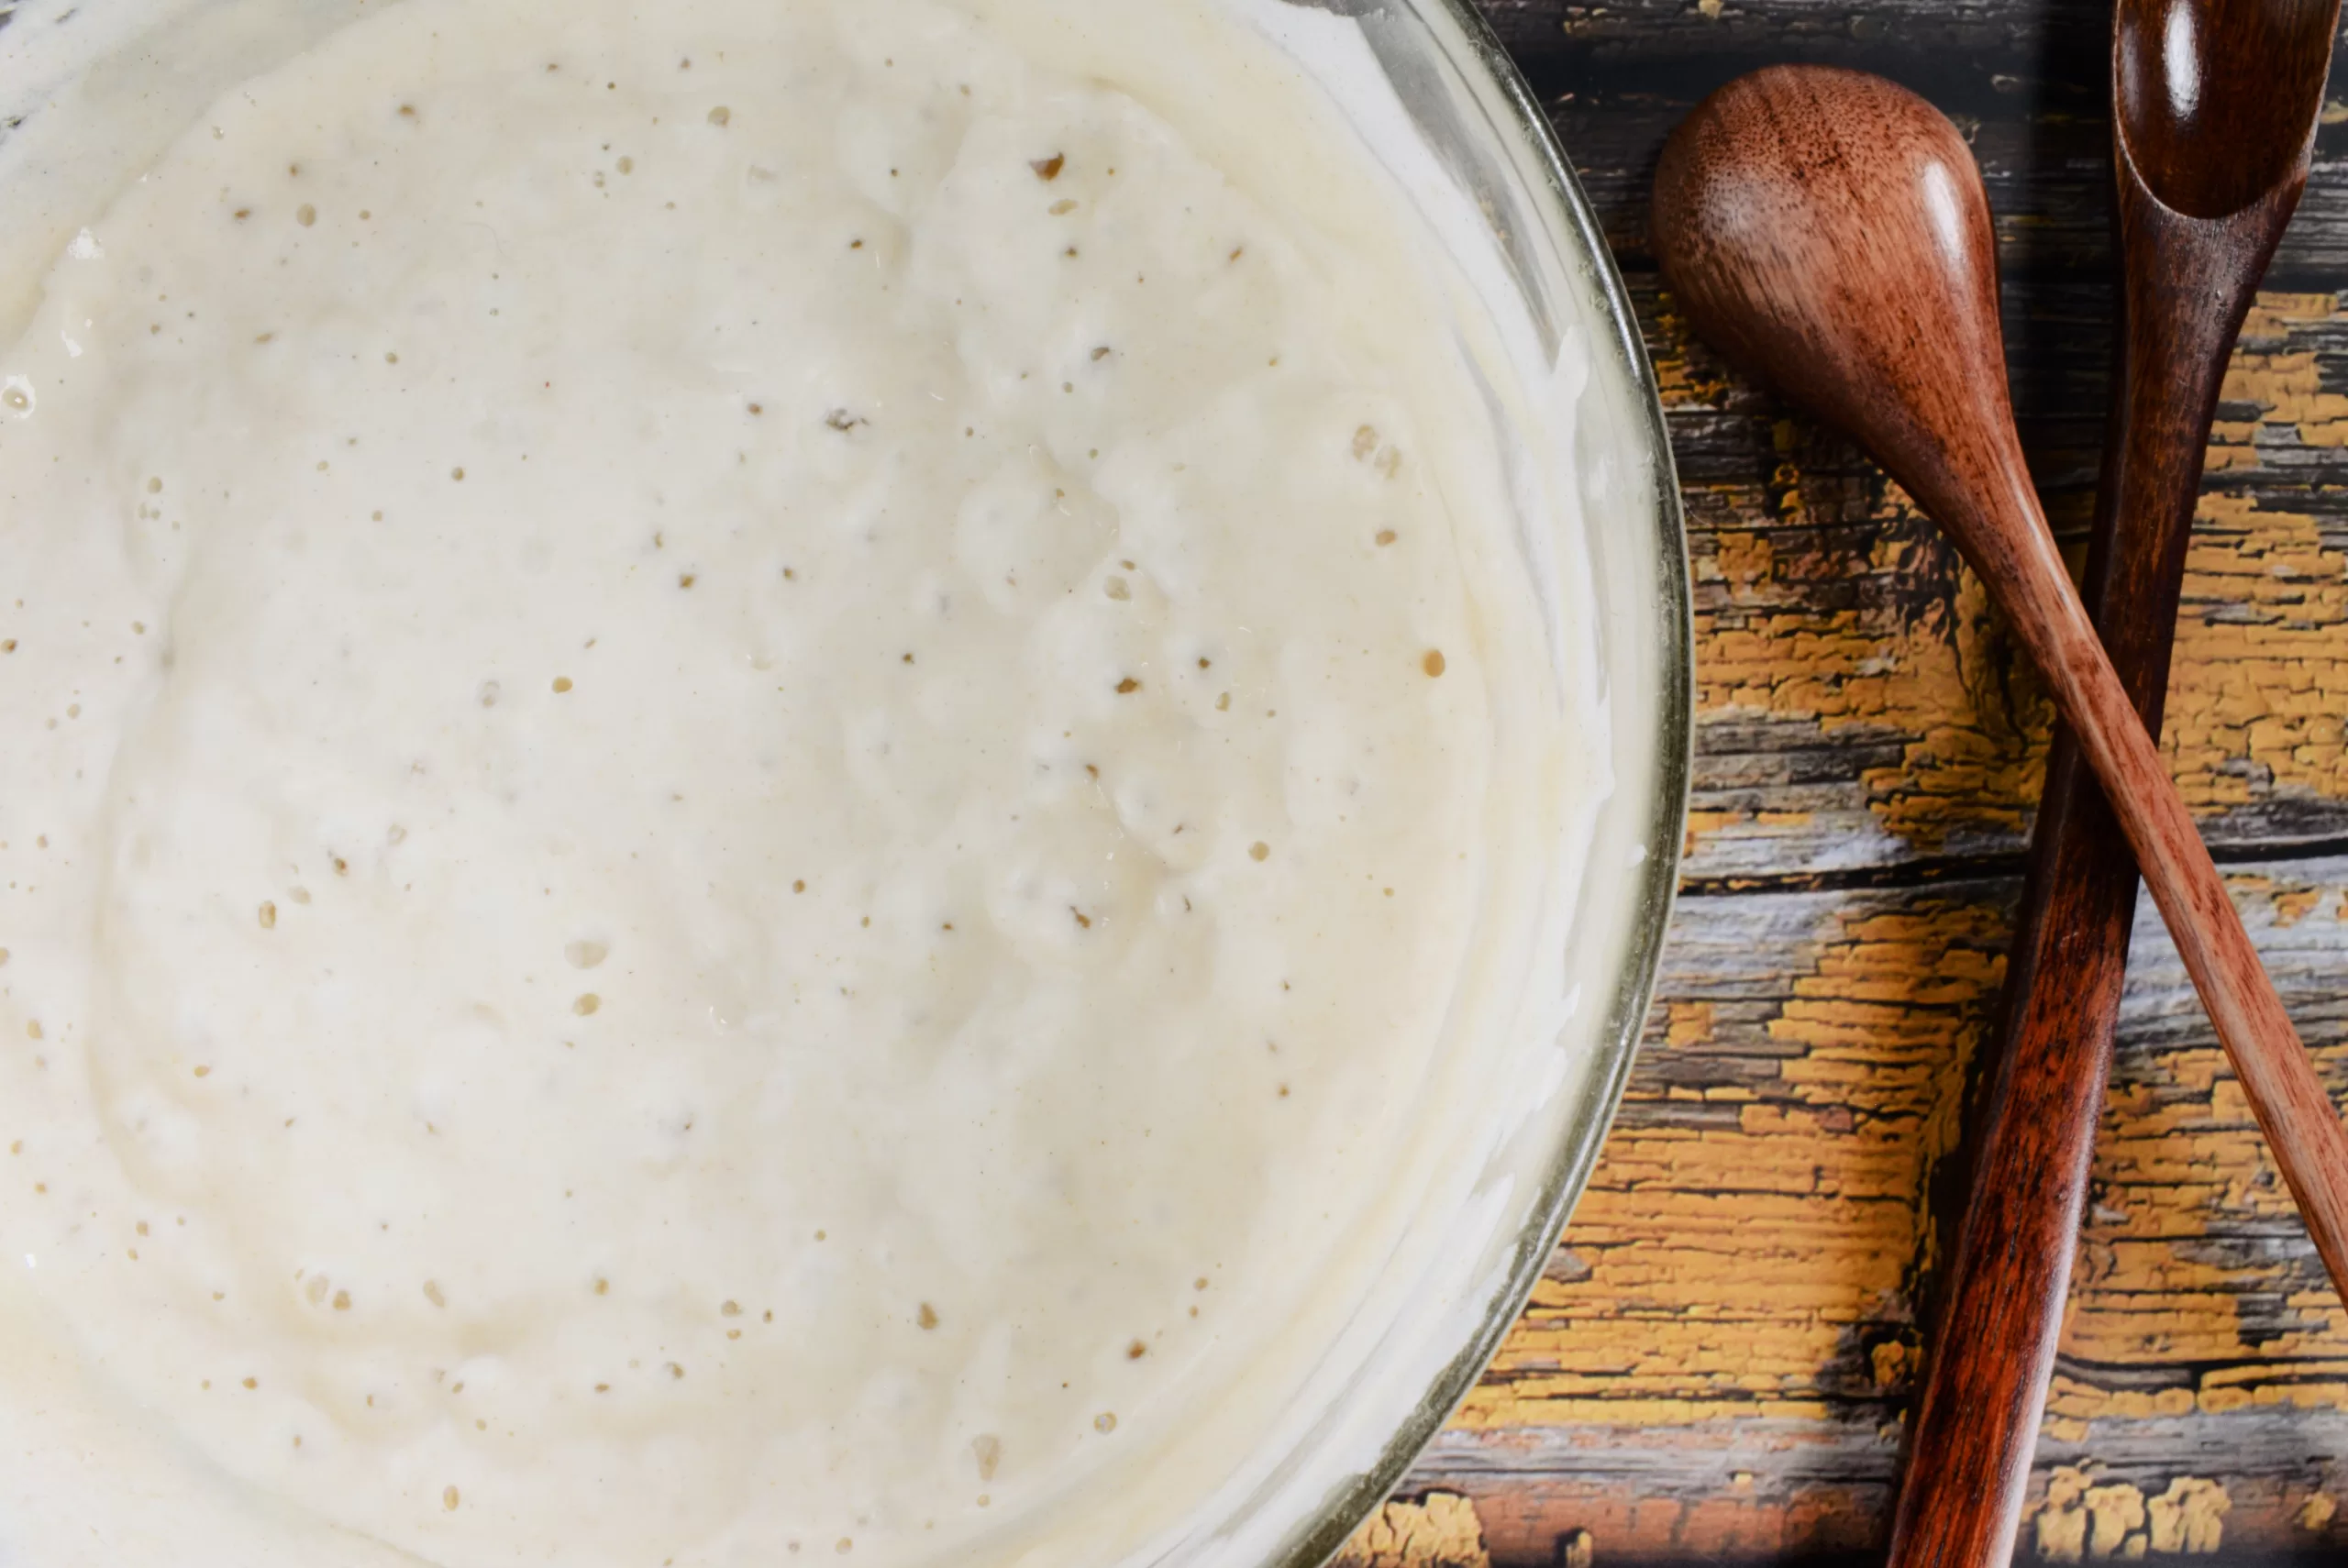
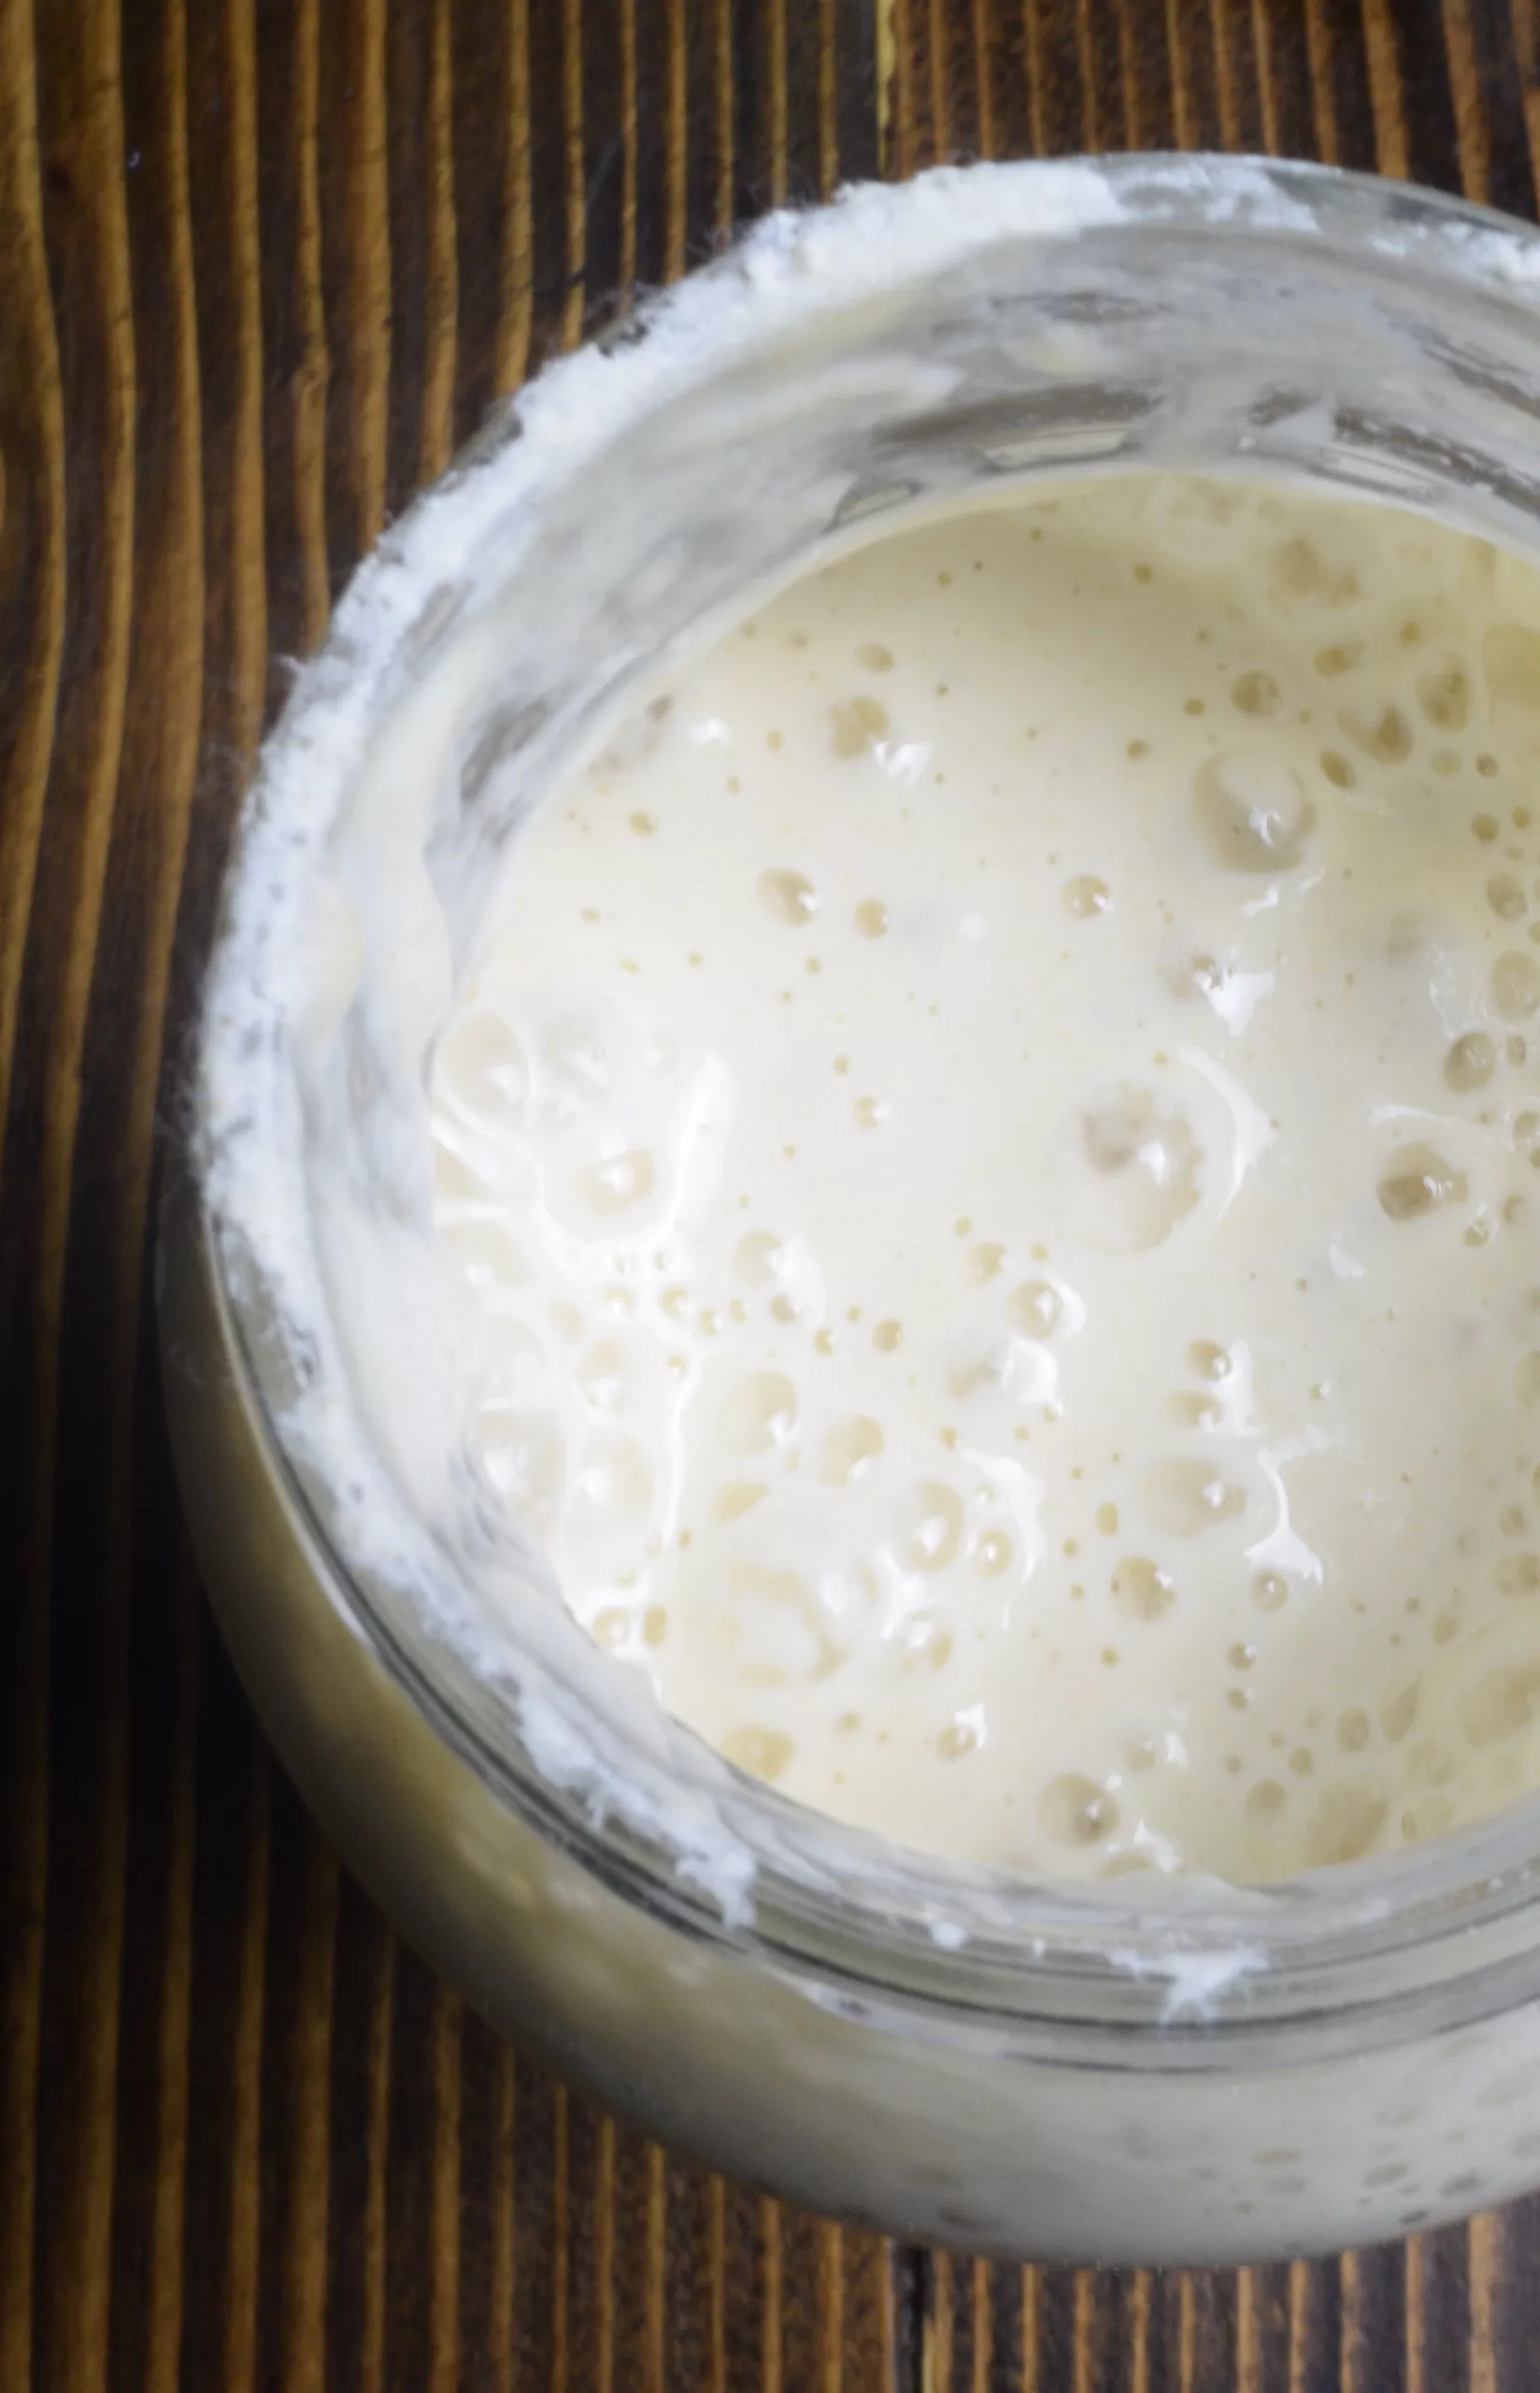
- As the starter becomes more active, it will start to bubble and rise. Once you see a lot of bubbles and it has doubled in size within 4-6 hours of feeding, it’s ready for regular maintenance.
- Regular Maintenance:
- Transition to a regular feeding schedule of equal parts starter, flour, and water by weight (1:1:1 ratio). Keep it at room temperature and feed daily, or refrigerate and feed weekly if not baking frequently.

How to Revive an Old Sourdough Starter From the Dead
The Best Cinnamon Raisin Sweet Sourdough Bread Recipe
Peanut Butter with Chocolate Sourdough Bread Recipe
Best Sourdough Bread Recipe with Almond and Raisins
Easy Sourdough Bread Recipe Without A Dutch Oven
Easy Italian Sourdough Flatbread Discard Recipe
Easy Same Day Sourdough Bread (Beginner’s Recipe)

Ingredients
- Old sourdough starter
- Flour preferably unbleached all-purpose or whole wheat flour
- Warm water water from a Berkey water filter or filtered water
Instructions
- Assess the Starter:
- Check the starter for mold or any off-putting smell. If it has mold, it's best to discard it and start fresh. If it just looks inactive or has a layer of liquid (hooch) on top, it can likely be revived.
- Stir and Smell:
- Stir the starter to incorporate any separated liquid. If it smells tangy but not unpleasant, proceed. If the smell is foul, it might be too far gone.
- Discard and Feed:
- Discard most of the old starter, leaving only about 1-2 tablespoons. This helps reduce the build-up of waste products and introduces fresh nutrients.
- First Feeding:
- In a mixing bowl, combine the reserved starter with ¼ cup (about 30 grams) of flour and 2 tablespoons (about 30 grams) of warm water. Mix well until smooth. Transfer the mixture to a clean jar or container and cover loosely with a jar cover or plastic wrap.
- Warm Environment:
- Place the container in a warm spot (75-80°F or 24-27°C) to encourage microbial activity. You can use a sourdough proofer, a warm kitchen spot, or even a turned-off oven with the light on.
- Monitor and Repeat:
- Check the starter after 12-24 hours. Look for bubbles and any signs of fermentation. If there are no bubbles, don’t worry. Discard half of the mixture and feed again with the same proportions of flour and water (¼ cup flour, 2 tablespoons water).
- Regular Feedings:
- Continue feeding the starter every 12 hours. Gradually increase the amount of flour and water to ¼ cup each as it starts showing signs of activity. Be patient; this process can take several days.
- Signs of Life:
- As the starter becomes more active, it will start to bubble and rise. Once you see a lot of bubbles and it has doubled in size within 4-6 hours of feeding, it’s ready for regular maintenance.
- Regular Maintenance:
- Transition to a regular feeding schedule of equal parts starter, flour, and water by weight (1:1:1 ratio). Keep it at room temperature and feed daily, or refrigerate and feed weekly if not baking frequently.


