
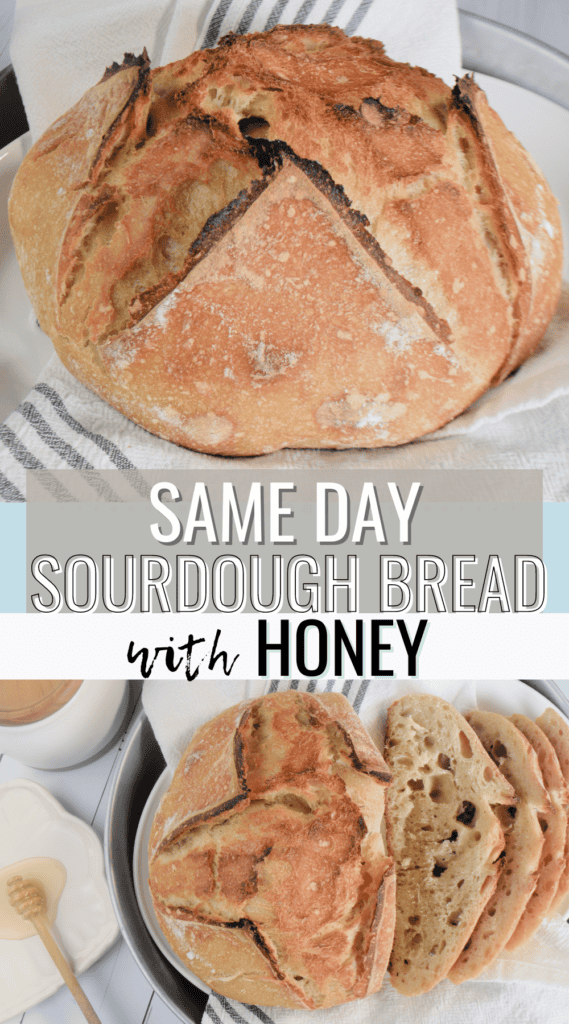
This easy same day honey artisan sourdough bread recipe offers a gentle sourness, a tender crumb, and a crispy crust. You will be amazed by how effortless it is to whip up this wholesome delight without spending all day in the kitchen. This sourdough recipe is perfect for busy individuals craving homemade, nutritious goodness without the fuss!
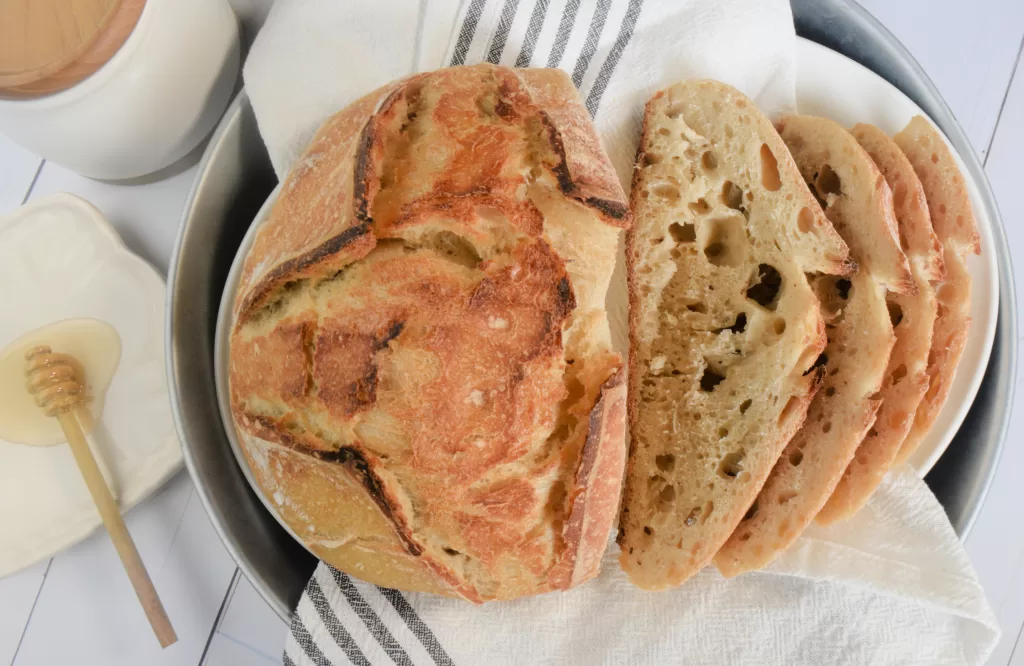
Table of Contents
This post contains affiliate links, which means I make a small commission at no extra cost to you. See my full disclosure here.
I consider myself a good planner, in fact, that is what I am. However, there are those days, like this morning, when I get a concerned phone call upon waking, about how we are almost out of sourdough bread! True story. Theron, my husband, was on his way to work this morning, and called to tell me about the shortage! This is when you realize that life has somehow gotten away from you and now you need to get back on top of the "important" things.
My sourdough recipes usually take a couple of days, however this recipe can be made in just one day. What a relief! This recipe is a bit of spin off of my old recipe, Easy Same Day Sourdough Bread (Beginner’s Recipe) however, there are some variations not to mention an addition of a bonus ingredient--honey! Since the fermentation process has been shortened, it offers a subtle tanginess with the a bit of sweetness from the honey. This makes it a delightful addition to a morning breakfast of bacon and eggs.
Why You Will Love This Sourdough Bread Recipe
This recipe is a quick and easy recipe that gives a delicious sourdough bread in a limited amount of time. There is nothing better than a homemade sourdough bread with all natural healthy ingredients that has a soft crumb with a crusty crust!
What Makes This Same Day Sourdough Bread Recipe Work
What usually helps to make this recipe work in one day, is feeding the sourdough starter the night before. Now, I will be so bold as to say, if you have a mature sourdough starter, you might get away with not having to feed it the day before or the day of, and find it still performing well for you. I have been able to do this, but only because my starter is very strong. However, I do not recommend this and I will usually resort to the second scenario in the next point.
As you move further through your sourdough baking, you will have an idea, more or less, when you can push your luck. But for now, feeding it the night before works beautifully for this recipe and is more like buying an insurance policy!
I did not feed my sourdough the night before...
That's ok! I have done this too, as stated above, and fed it instead first thing in the morning. I allow it to become active for the next 3 hours, then I start my dough. With either situation, I allow my dough to rise in my oven with the light turned on and door slightly opened so it will rise faster for the bulk fermentation process. Then, for the final fermentation in the proofing basket, I place it in the fridge for 3 hours and allow it to chill. This helps with the scoring.
Here are 2 scenarios' to help put this into perspective:
Scenario 1: My Baker's Schedule for feeding the sourdough the night before:
I feed my sourdough the night before.
The next day:
8:00 am: I mix all the ingredients together and perform three sets of stretch and folds over the next hour.
9:00 am: After the final stretch and fold, I place my sourdough dough in the oven with the light on for 3 hours. (first rise)
12:00 pm: After the 3 hours, I place the sourdough dough into the banneton and then place it into my fridge for the next 3 hours. (second rise)
3:00 pm: After the last rise in the fridge, I place my bread in a dutch oven and cook it for 55 minutes.
3:55 pm: I remove the bread from the oven and allow it to cool for an hour.
Scenario 2: My Baker's Schedule for not feeding my sourdough the night before
6:00 am: I feed my sourdough starter and allow it to become active over the next 3 hours.
9:00 am: I mix all the ingredients together and perform three sets of stretch and folds over the next hour.
10:00 am: After the final stretch and fold, I place my sourdough dough in the oven with the light on for 3 hours. (first rise)
1:00 pm: After 3 hours, I place the sourdough dough into the banneton and the place it into my fridge for the next 3 hours. (final rise)
4:00 pm: After the last rise in the fridge, I place my bread in a dutch oven and cook it for 55 minutes.
4:55 pm: I remove the bread from the oven and allow it to cool for an hour.
Materials you will need for your fresh bread.
Sheet of parchment paper
Large mixing bowl
Tea towel or plastic wrap
Danish dough whisk (the one I use is found here)
Banneton basket or a proofing bowl (check out this post on how to DIY a banneton basket: How To Make An Easy DIY Basket Liner (Sew Tutorial)
Ingredients for the Perfect Loaf
100 grams (½ cup) of active starter
326 grams (1 ⅓ cups) warm water, about 85 degrees fahrenheit
10 grams (2 teaspoons) of salt, I like to use this himalayan salt
475 grams (about 4 cups) of all purpose flour (preferably organic)
30 grams (1 Tablespoon + 1 teaspoon) honey

Easy Same Day Sourdough Bread Recipe
Feed your sourdough starter before going to bed the night before.
The next morning--
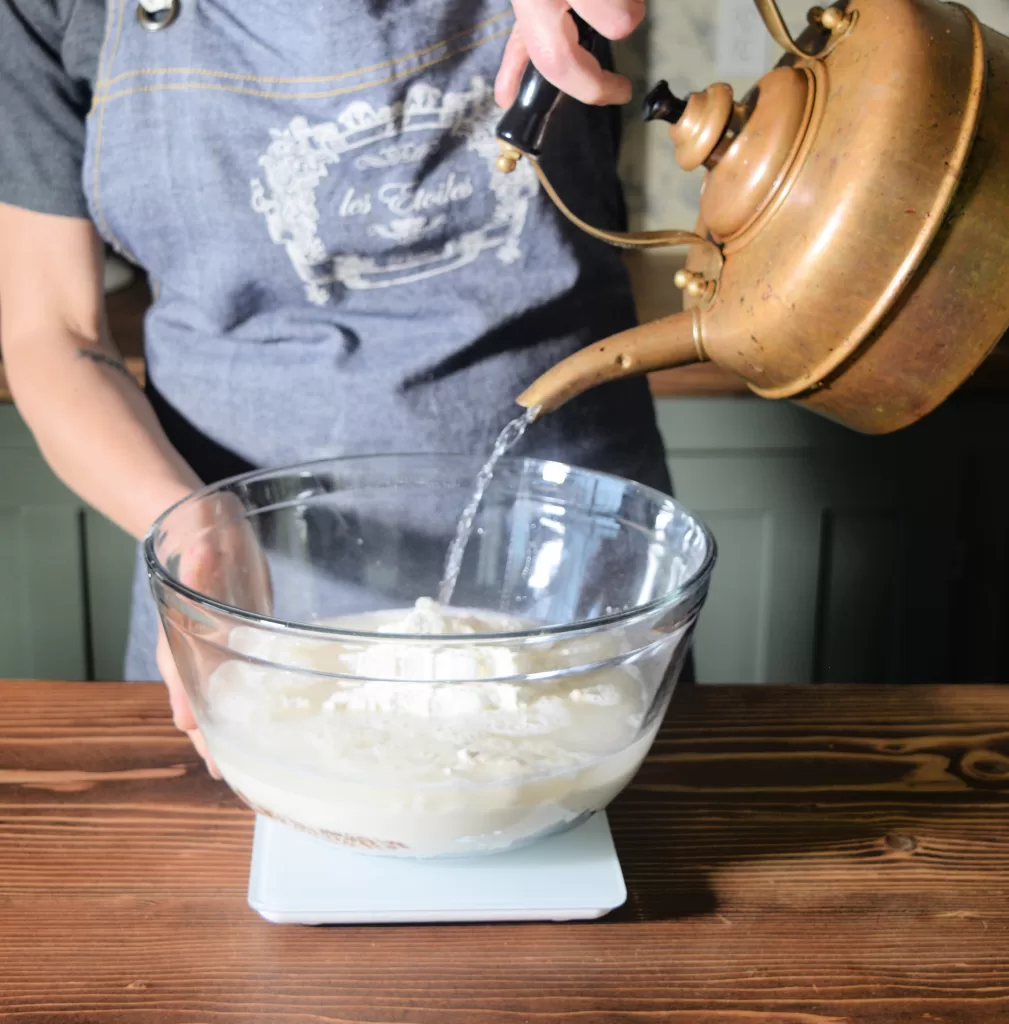
Combine Wet Ingredients: In a large bowl, mix together: warm water, active sourdough starter, and honey. Stir with a wooden spoon or dutch dough whisk in a circular motion until the ingredients are roughly combined.
Add the Dry Ingredients: Add the flour and salt to the wet ingredients and stir. The dough doesn't need to be fully mixed at this stage
Rest the Dough: Cover the bowl with a damp towel, plastic wrap, or a plastic bag and let the dough rest for 15 minutes. This allows the flour to fully hydrate and begins the gluten development process.
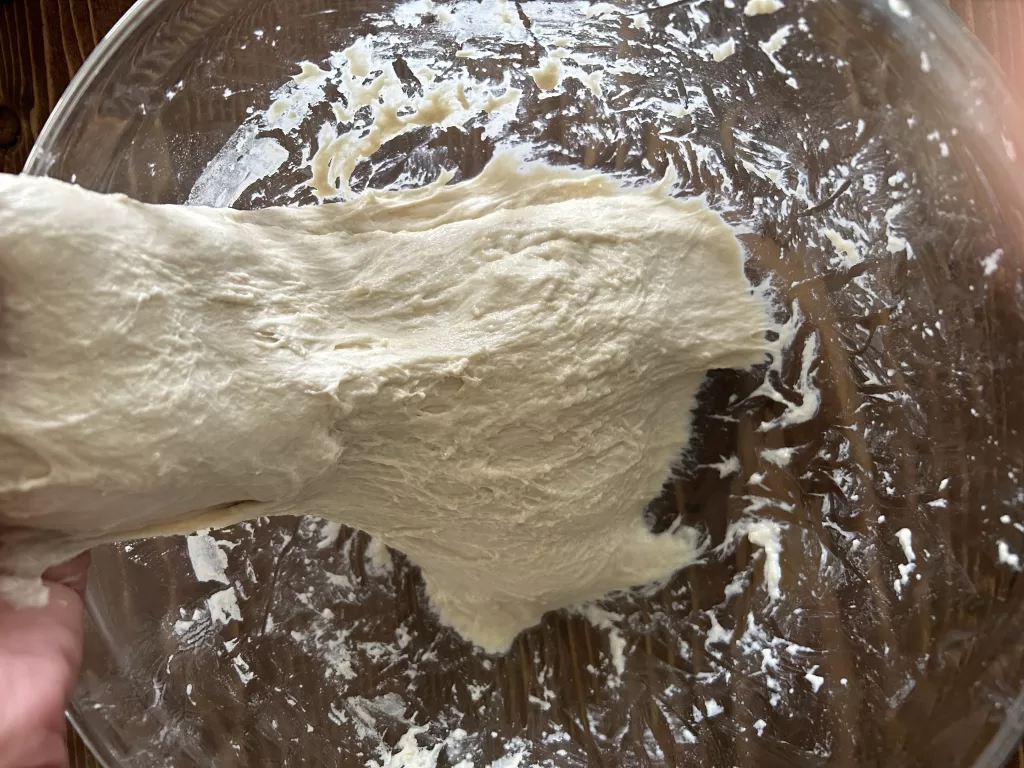
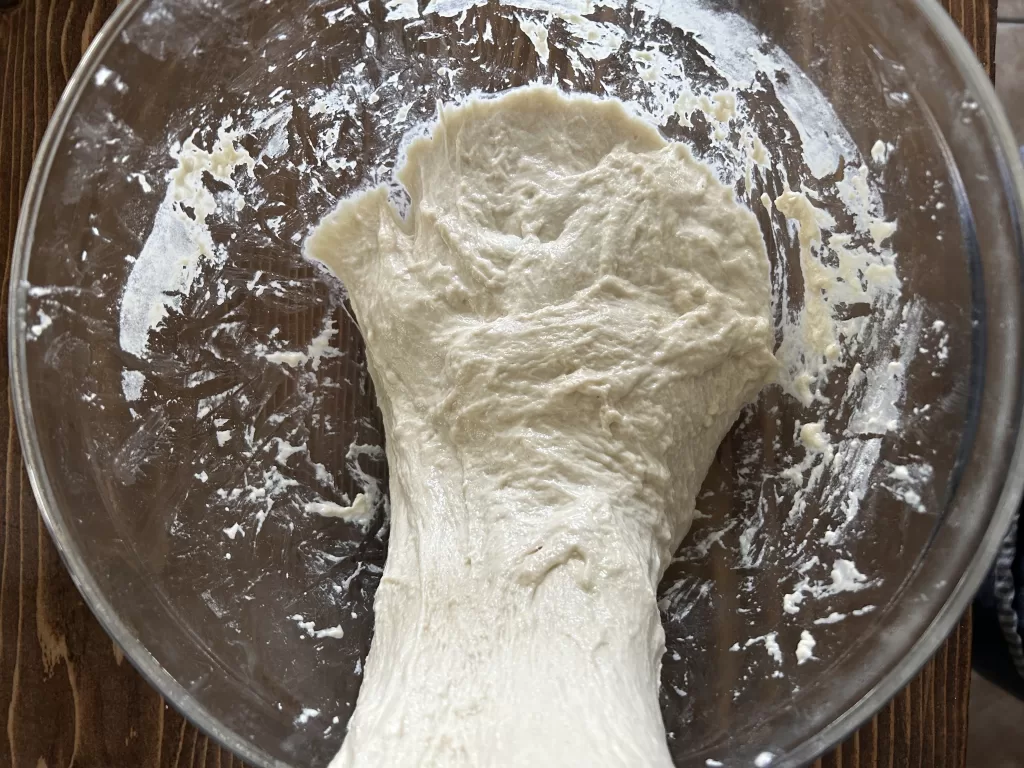
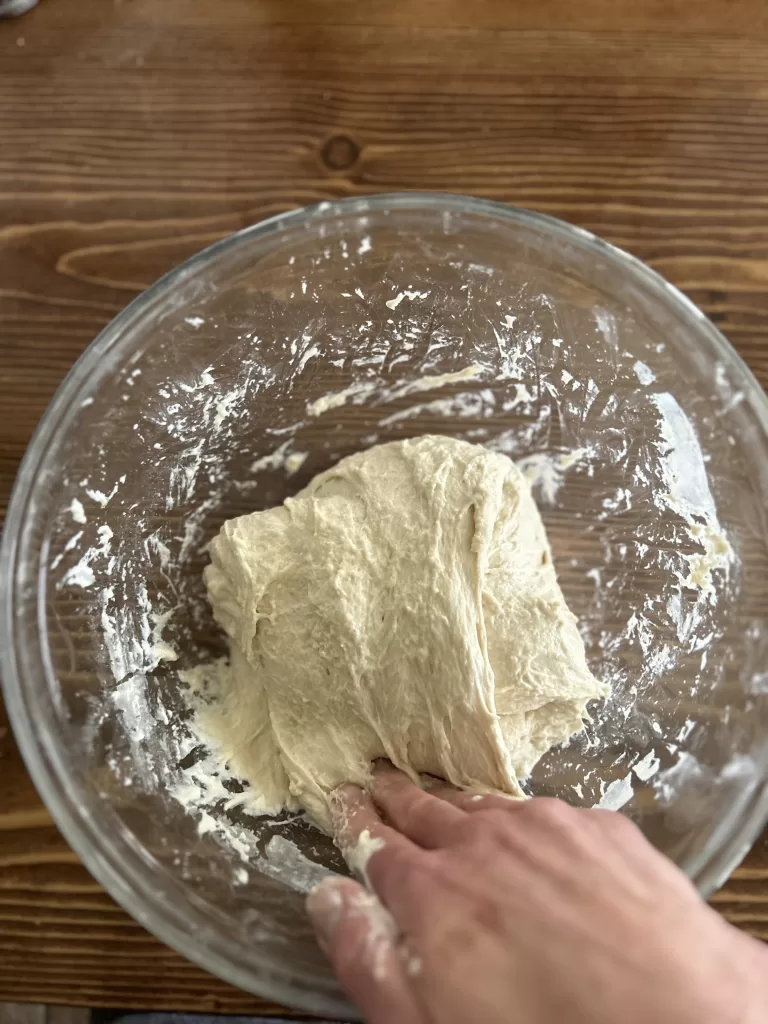
Stretch and Fold (First Set): After the resting period, sprinkle a little flour on top of the dough to prevent sticking. Use a dough scraper, bench scraper, or clean wet hands to gather the dough from one side of the bowl, stretch it out and fold it onto itself. Turn the bowl a quarter turn and repeat the stretching and folding process. The dough should form a somewhat square shape. Cover the bowl again with a damp kitchen towel and let the dough rest for another 20 minutes.
Repeat the Stretch and Fold Process: After the 20-minute rest, perform another set of stretch and folds. This involves stretching out the dough from opposite ends and folding them over each other. Turn the bowl and repeat the process. Cover the bowl and let the dough rest for another 20 minutes. Repeat this step two more times for a total of three sets of stretches and folds.
First Rise: After completing the stretch and fold process three times, cover the bowl again and let the dough undergo its first rise. Place the dough in a warm place or in your oven with the light on and door propped open. The light should provide enough heat (without being too hot) to help the dough rise faster. It should take about 3 hours for the dough to double in size.
This initial process helps develop the structure and flavor of the sourdough bread while also contributing to gluten formation through the stretch and fold technique. After the first rise, the dough can be shaped, proofed, and baked to produce delicious homemade sourdough bread.
Setting up for the final rise.
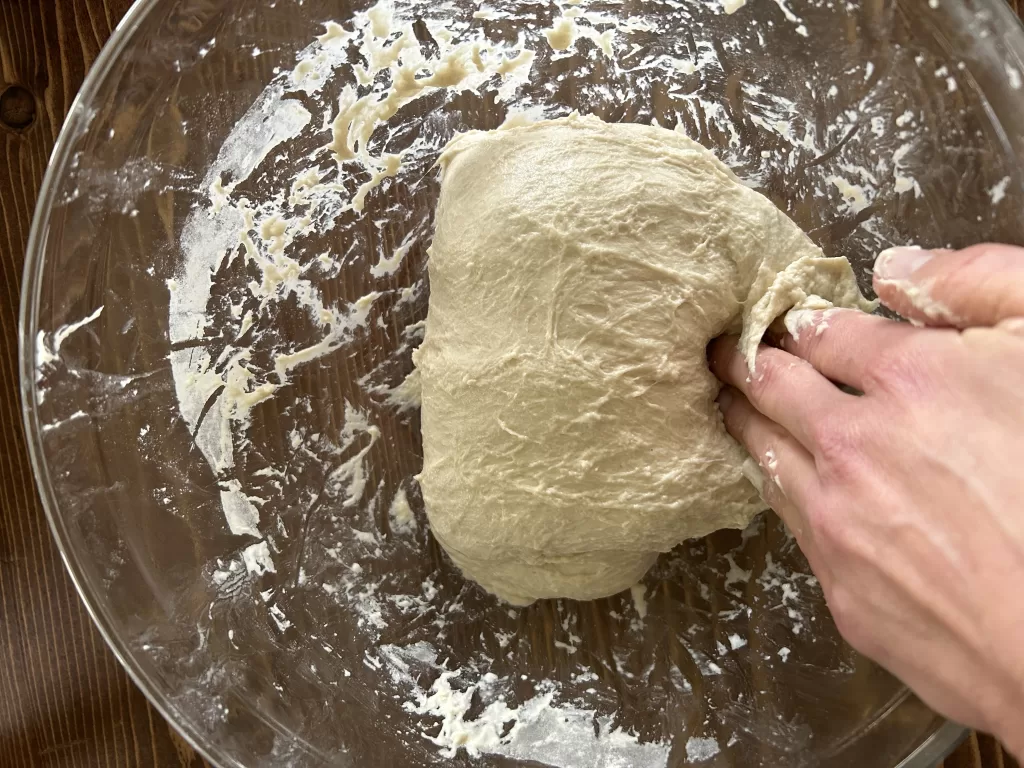
Once the dough has doubled in size, pull the dough gently together to form a ball. Be very careful to not pop any of those precious bubbles your starter has spent so much time making!
Place the smooth side of dough upside down into a floured banneton or in a bowl with a floured tea towel, the seam side facing out. Cover the banneton with plastic wrap or damp towel and place it into the fridge for the second rise. This will take another 3 hours.
Baking the Sourdough
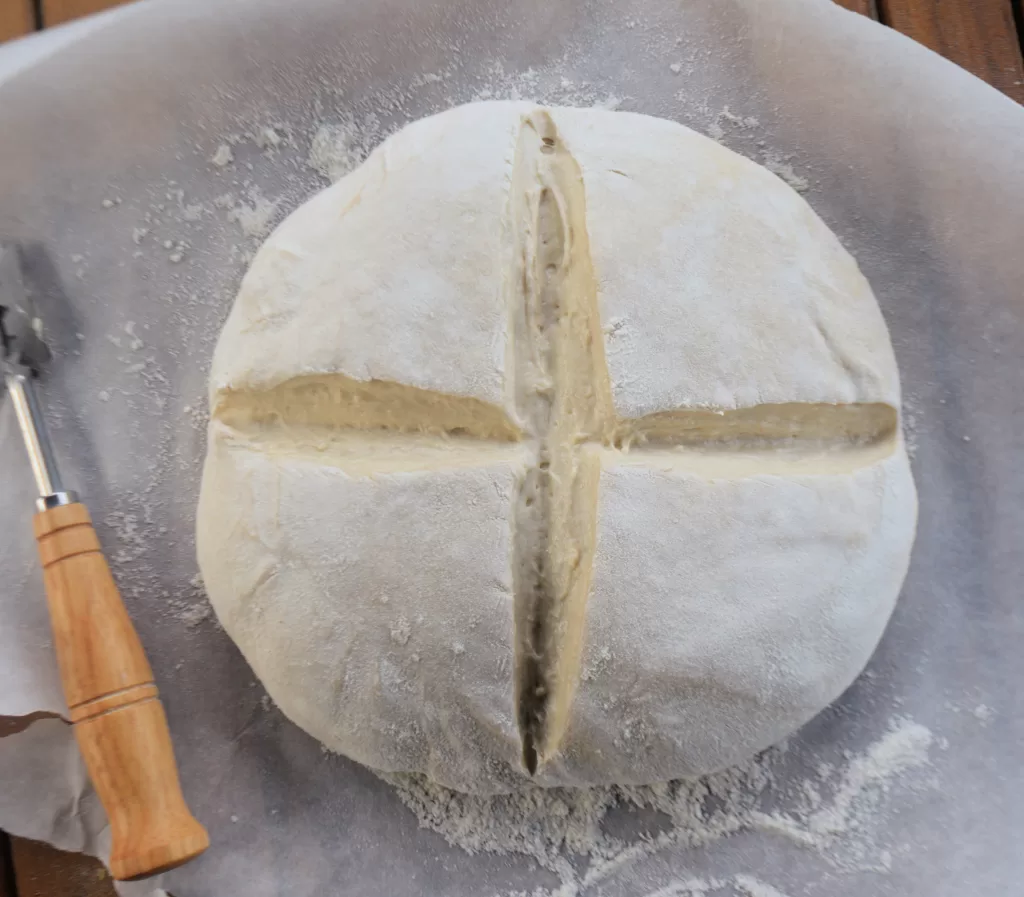
After the final rise, remove the proofing basket from the fridge. Gently turn the dough over onto a piece of parchment paper, score the dough, and then place the dough into the dutch oven. Place the dutch oven with its lid on into the oven and turn the oven on to 425 degrees.
Bake for 55 minutes. Remove the top of the dutch oven. If the desired color is achieved, then remove the bread from the oven and place it on a cooling rack. If you would like it a little browner, then leave it in the oven with the top off and cook for 5 minutes at a time, until the desired color is reached.
Once baking is finished, carefully remove the sourdough loaf from the dutch oven and place on a clean work surface. Allow the sourdough to cool down for at least an hour before cutting into it! It may be hard to resist but keep in mind that the bread is still baking as it cools down. Waiting an hour before cutting into it will prevent the crumb from being mushy. Try this with homemade butter on it! How To Make Easy Homemade Butter From Raw Milk

Easy Same Day Honey Artisan Sourdough Bread Recipe
Ingredients
- 100 grams ½ cup of active starter
- 326 grams 1 ⅓ cups warm water, about 85 degrees fahrenheit
- 15 grams 2 teaspoons of salt, I like to use this himalayan salt
- 475 grams about 4 cups of all purpose flour (preferably organic)
- 30 grams 1 Tablespoon + 1 teaspoon honey
Instructions
- Feed your sourdough starter before going to bed the night before.
- The next morning--
- Combine Wet Ingredients: In a large bowl, mix together: warm water, active sourdough starter, and honey. Stir with a wooden spoon or dutch dough whisk in a circular motion until the ingredients are roughly combined.
- Add the Dry Ingredients: Add the flour and salt to the wet ingredients and stir. The dough doesn't need to be fully mixed at this stage
- Rest the Dough: Cover the bowl with a damp towel, plastic wrap, or a plastic bag and let the dough rest for 15 minutes. This allows the flour to fully hydrate and begins the gluten development process.
- Stretch and Fold (First Set): After the resting period, sprinkle a little flour on top of the dough to prevent sticking. Use a dough scraper, bench scraper, or clean wet hands to gather the dough from one side of the bowl, stretch it out and fold it onto itself. Turn the bowl a quarter turn and repeat the stretching and folding process. The dough should form a somewhat square shape. Cover the bowl again with a damp kitchen towel and let the dough rest for another 20 minutes.
- Repeat the Stretch and Fold Process: After the 20-minute rest, perform another set of stretch and folds. This involves stretching out the dough from opposite ends and folding them over each other. Turn the bowl and repeat the process. Cover the bowl and let the dough rest for another 20 minutes. Repeat this step two more times for a total of three sets of stretches and folds.
- First Rise: After completing the stretch and fold process three times, cover the bowl again and let the dough undergo its first rise. Place the dough in a warm place or in your oven with the light on and door propped open. The light should provide enough heat (without being too hot) to help the dough rise faster. It should take about 3 hours for the dough to double in size.
- This initial process helps develop the structure and flavor of the sourdough bread while also contributing to gluten formation through the stretch and fold technique. After the first rise, the dough can be shaped, proofed, and baked to produce delicious homemade sourdough bread.
- Setting up for the final rise.
- Once the dough has doubled in size, pull the dough gently together to form a ball. Be very careful to not pop any of those precious bubbles your starter has spent so much time making!
- Place the smooth side of dough upside down into a floured banneton or in a bowl with a floured tea towel, the seam side facing out. Cover the banneton with plastic wrap or damp towel and place it into the fridge for the second rise. This will take another 3 hours.
- Baking the Sourdough
- After the final rise, remove the proofing basket from the fridge. Gently turn the dough over onto a piece of parchment paper, score the dough, and then place the dough into the dutch oven. Place the dutch oven with its lid on into the oven and turn the oven on to 425 degrees.
- Bake for 55 minutes. Remove the top of the dutch oven. If the desired color is achieved, then remove the bread from the oven and place it on a cooling rack. If you would like it a little browner, then leave it in the oven with the top off and cook for 5 minutes at a time, until the desired color is reached.
- Once baking is finished, carefully remove the sourdough loaf from the dutch oven and place on a clean work surface. Allow the sourdough to cool down for at least an hour before cutting into it! It may be hard to resist but keep in mind that the bread is still baking as it cools down. Waiting an hour before cutting into it will prevent the crumb from being mushy. Try this with homemade butter on it! How To Make Easy Homemade Butter From Raw Milk


Leslie Susan Clingan says
Yay!! Glad to see a same day recipe for sourdough. I keep renewing my starter but haven't made bread because LIFE!! I might be able to focus long enough to get this bread baked!! Printed and pinning the recipe. Will let you know if I actually make it successfully. So glad to see you posting more often. Need to catch up with your life and your beautiful familly and furry friends. Having lunch with your mama tomorrow at Gabriel's. Big love to you.
Stephanie says
Theron and Maddie LOVE this recipe! Hopefully you guys do too! Give my mama a hug for me!