
This homemade eggnog ice cream is rich, creamy, and full of classic holiday flavor from nutmeg, vanilla, cinnamon, cloves, and a little rum extract. It has the flavor of eggnog in a cold, scoopable dessert that works well for Christmas, winter gatherings, or anytime you want something special from your ice cream maker.
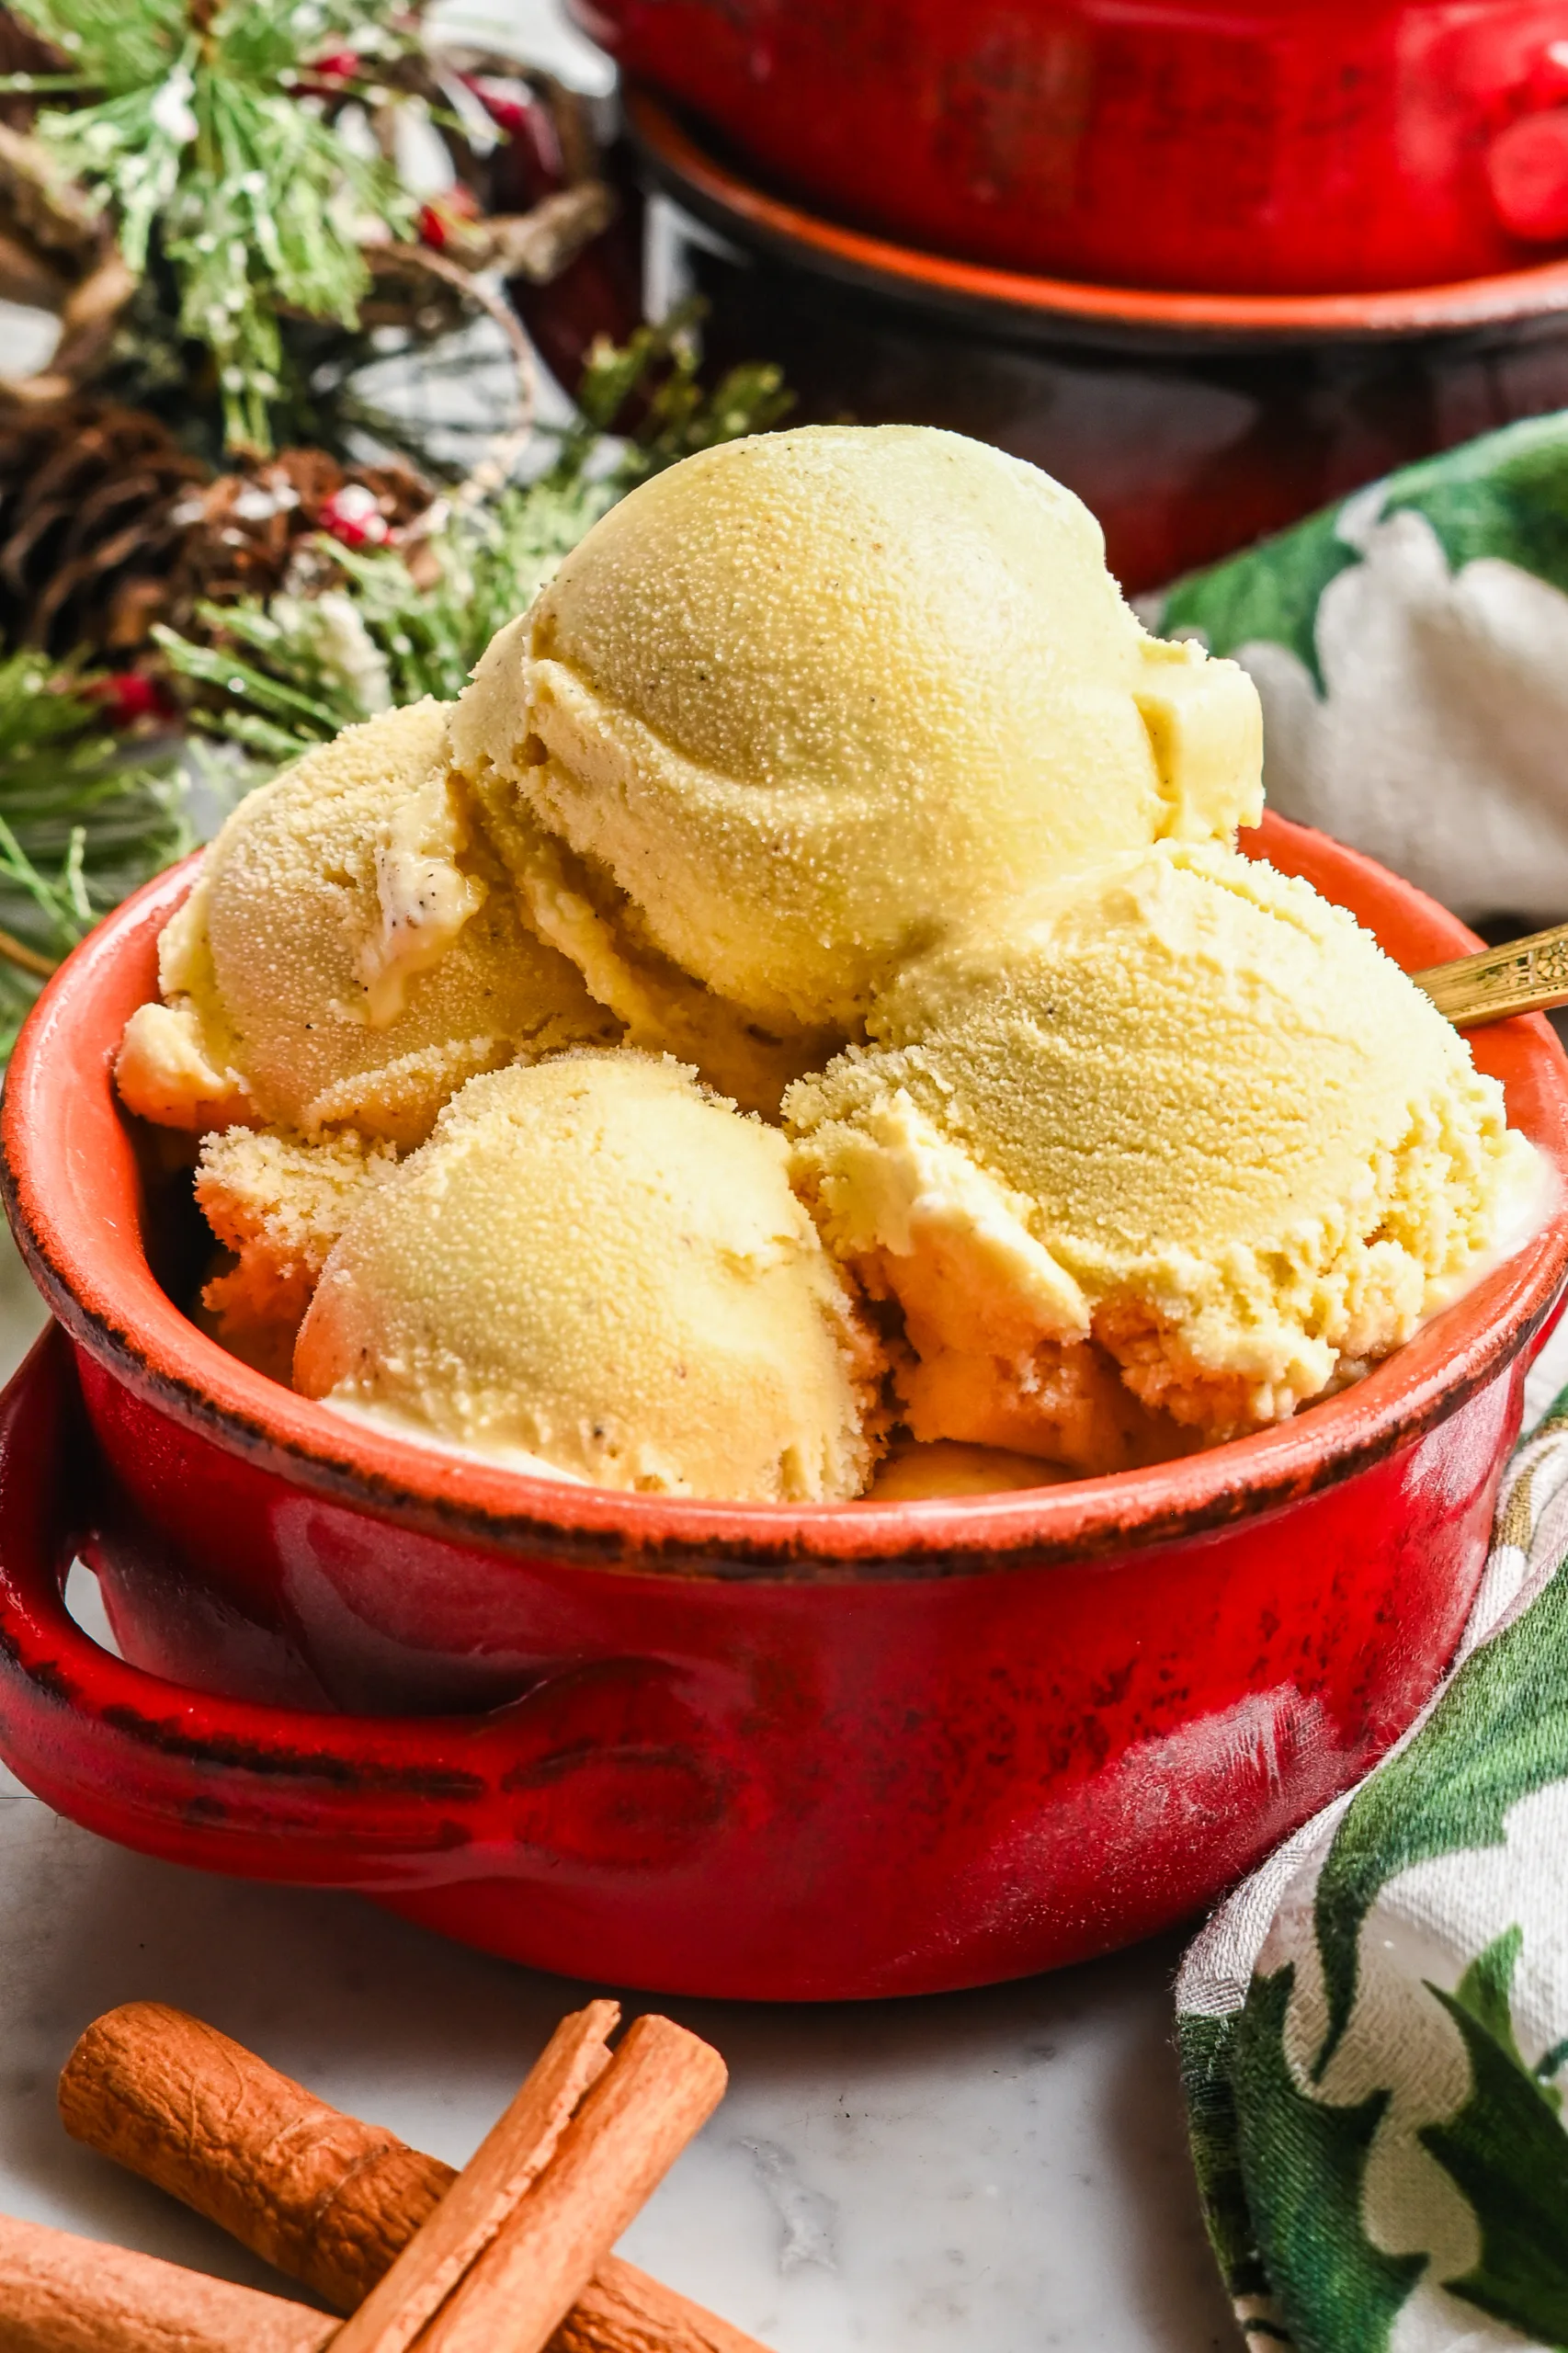
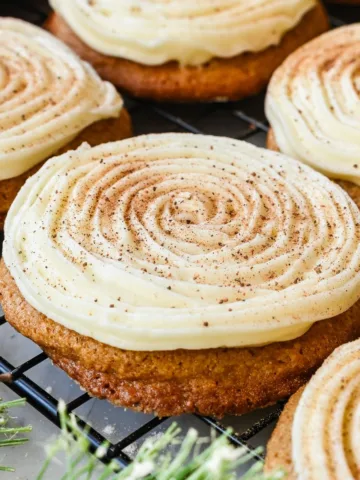
I like making this recipe when I already have eggnog on my mind for the season. If you make your own, my Homemade Eggnog would be a natural place to start, and these scoops would be good served with Soft Eggnog Cookies With Cream Cheese Frosting or alongside my Homemade Vanilla Bean Ice Cream for a simple holiday dessert spread.
This eggnog ice cream starts with a cooked custard made from heavy cream, whole milk, sugar, egg yolks, warm spices, and vanilla. After the custard chills completely, it churns into a smooth ice cream with a cozy eggnog flavor and a creamy texture.
Table of Contents
This post contains affiliate links, which means I make a small commission at no extra cost to you. See my full disclosure here.
Quick Look
Prep Time: 20 minutes
Steep Time: 10 minutes
Chill Time: 4 hours or overnight
Churn Time: 20 to 30 minutes, depending on your ice cream maker
Freeze Time: 2 to 4 hours
Total Time: About 7 hours, including chilling and freezing
Servings: About 1 ½ quarts
Texture: Smooth, rich, and creamy
Best Served: Scooped cold with extra nutmeg, cookies, pie, or holiday desserts
What Is Eggnog Ice Cream?
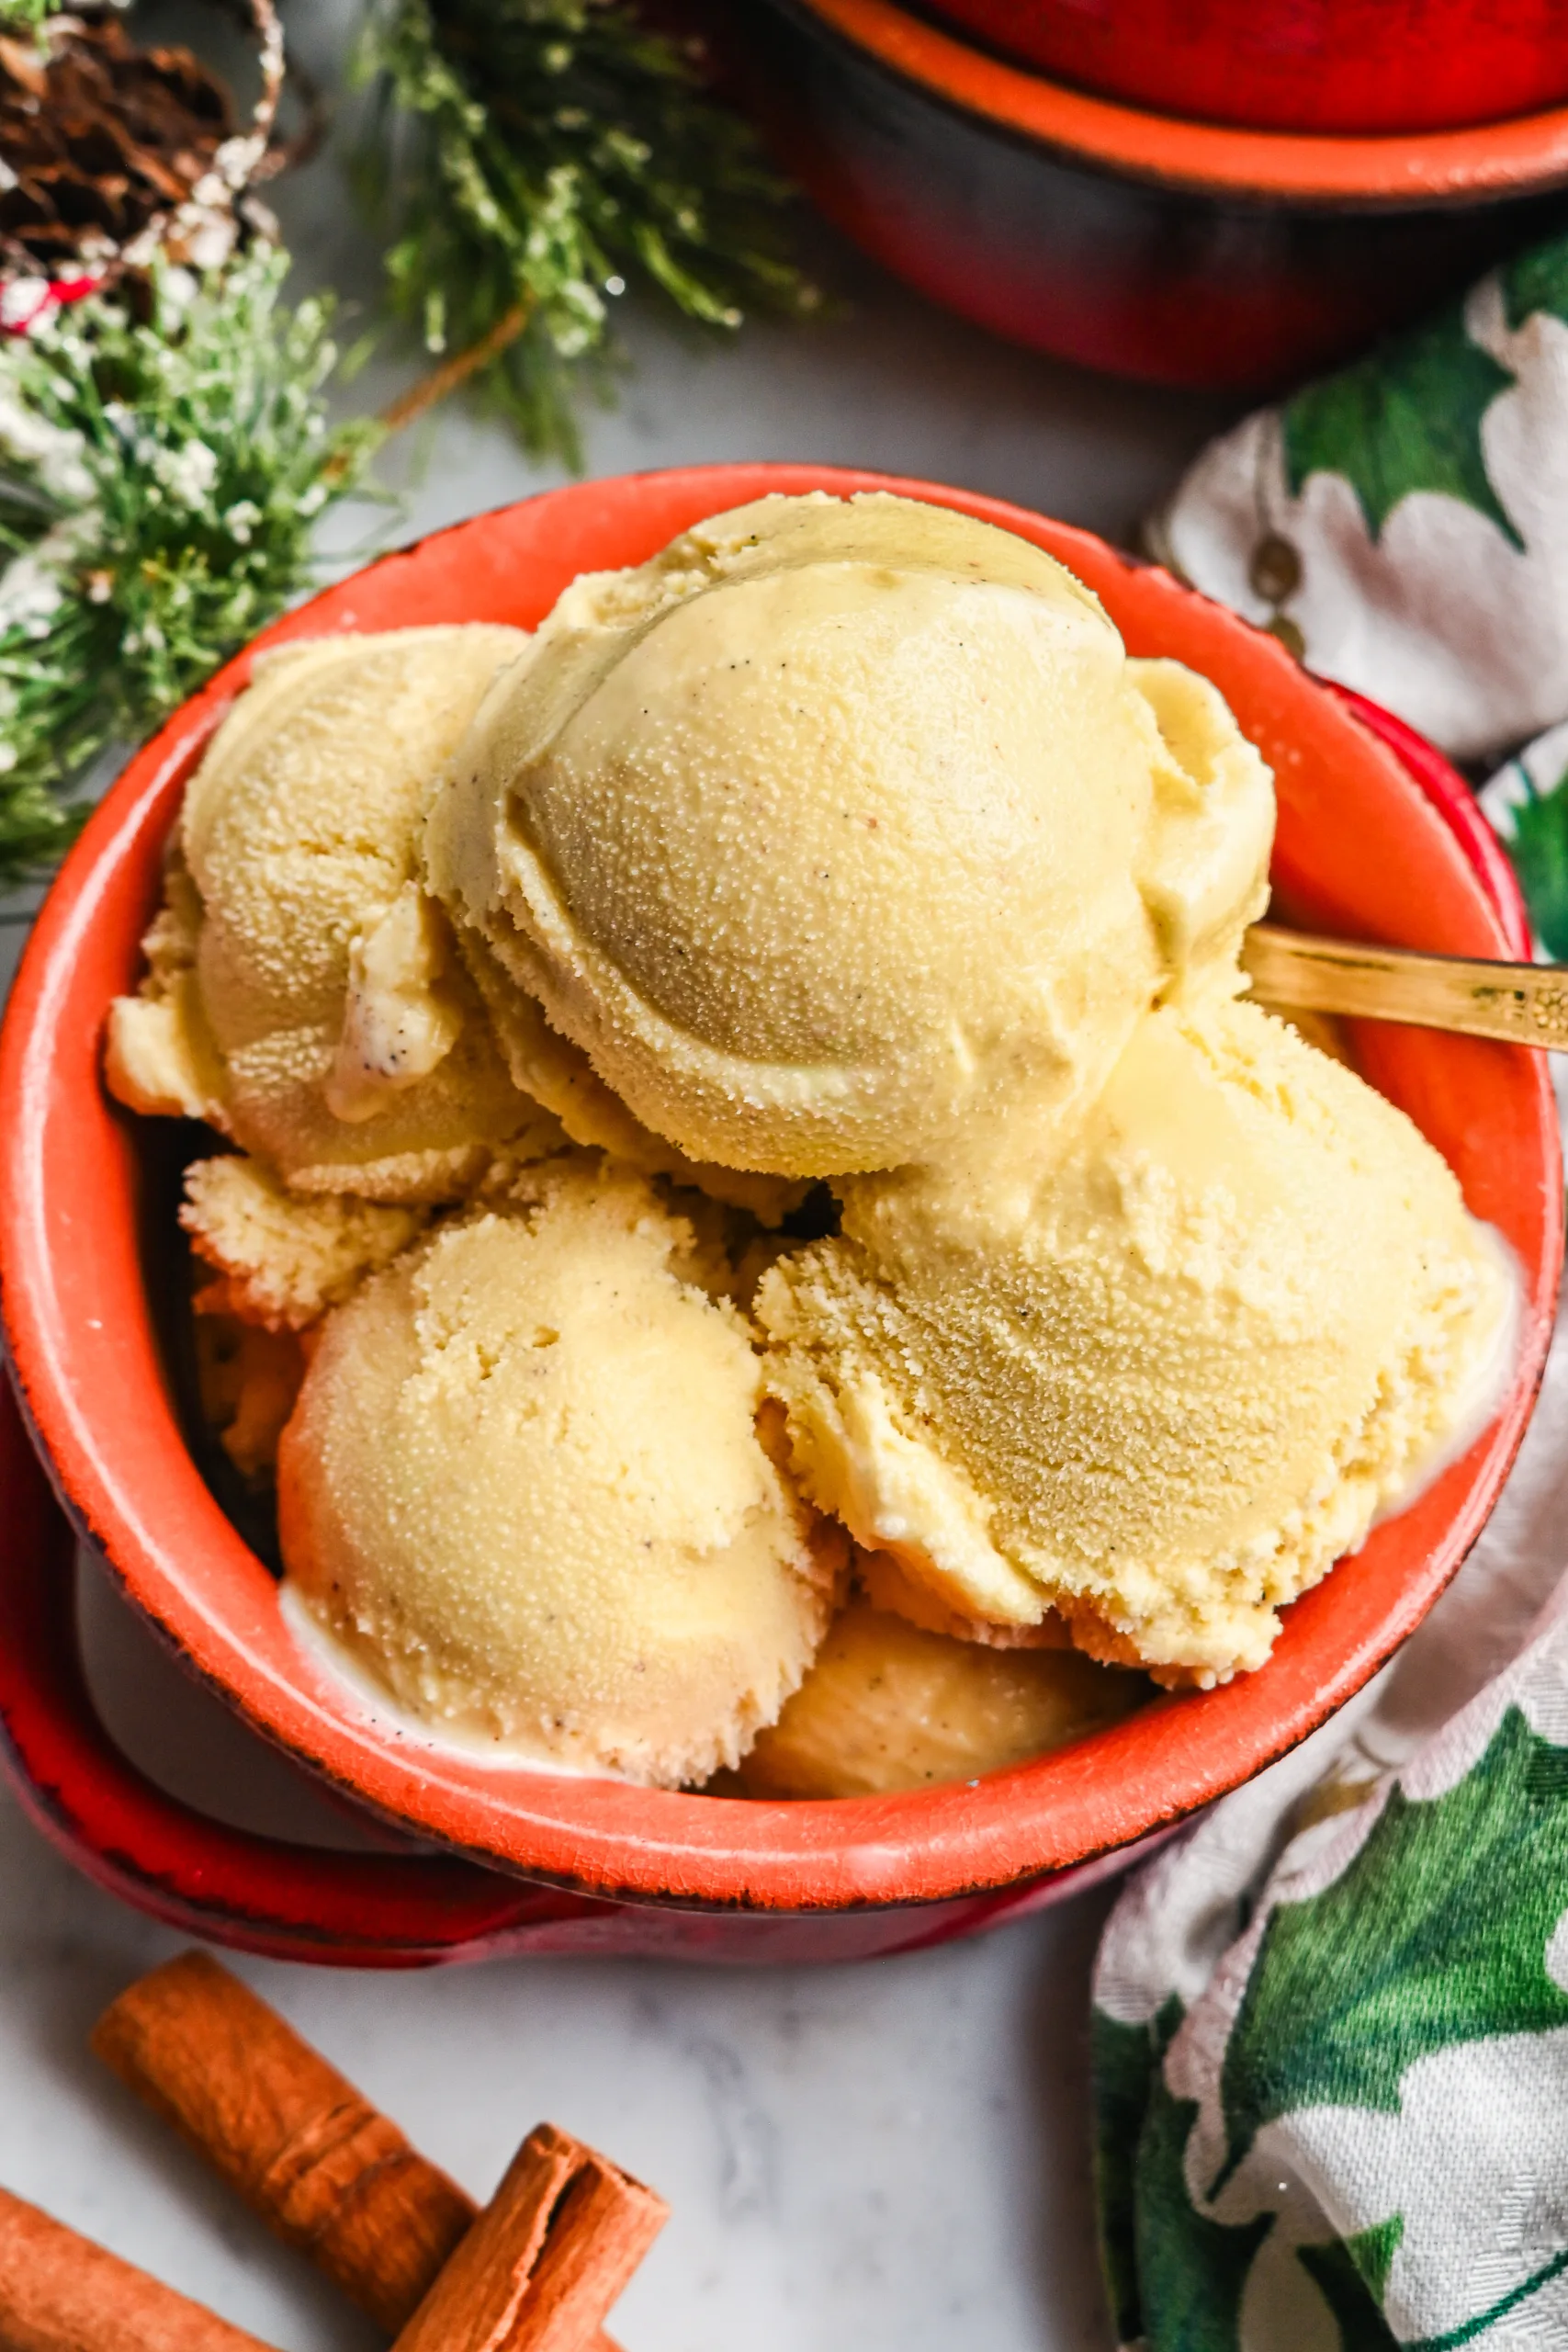
Eggnog ice cream is a frozen custard-style ice cream made with cream, milk, egg yolks, sugar, vanilla, and warm spices. It has the flavor of traditional eggnog, but it is churned and frozen until firm enough to scoop.
This version uses nutmeg, cinnamon, whole cloves, and vanilla for flavor. Rum extract is optional, but it gives the ice cream that familiar eggnog taste without adding alcohol.
Why You’ll Love This Eggnog Ice Cream Recipe
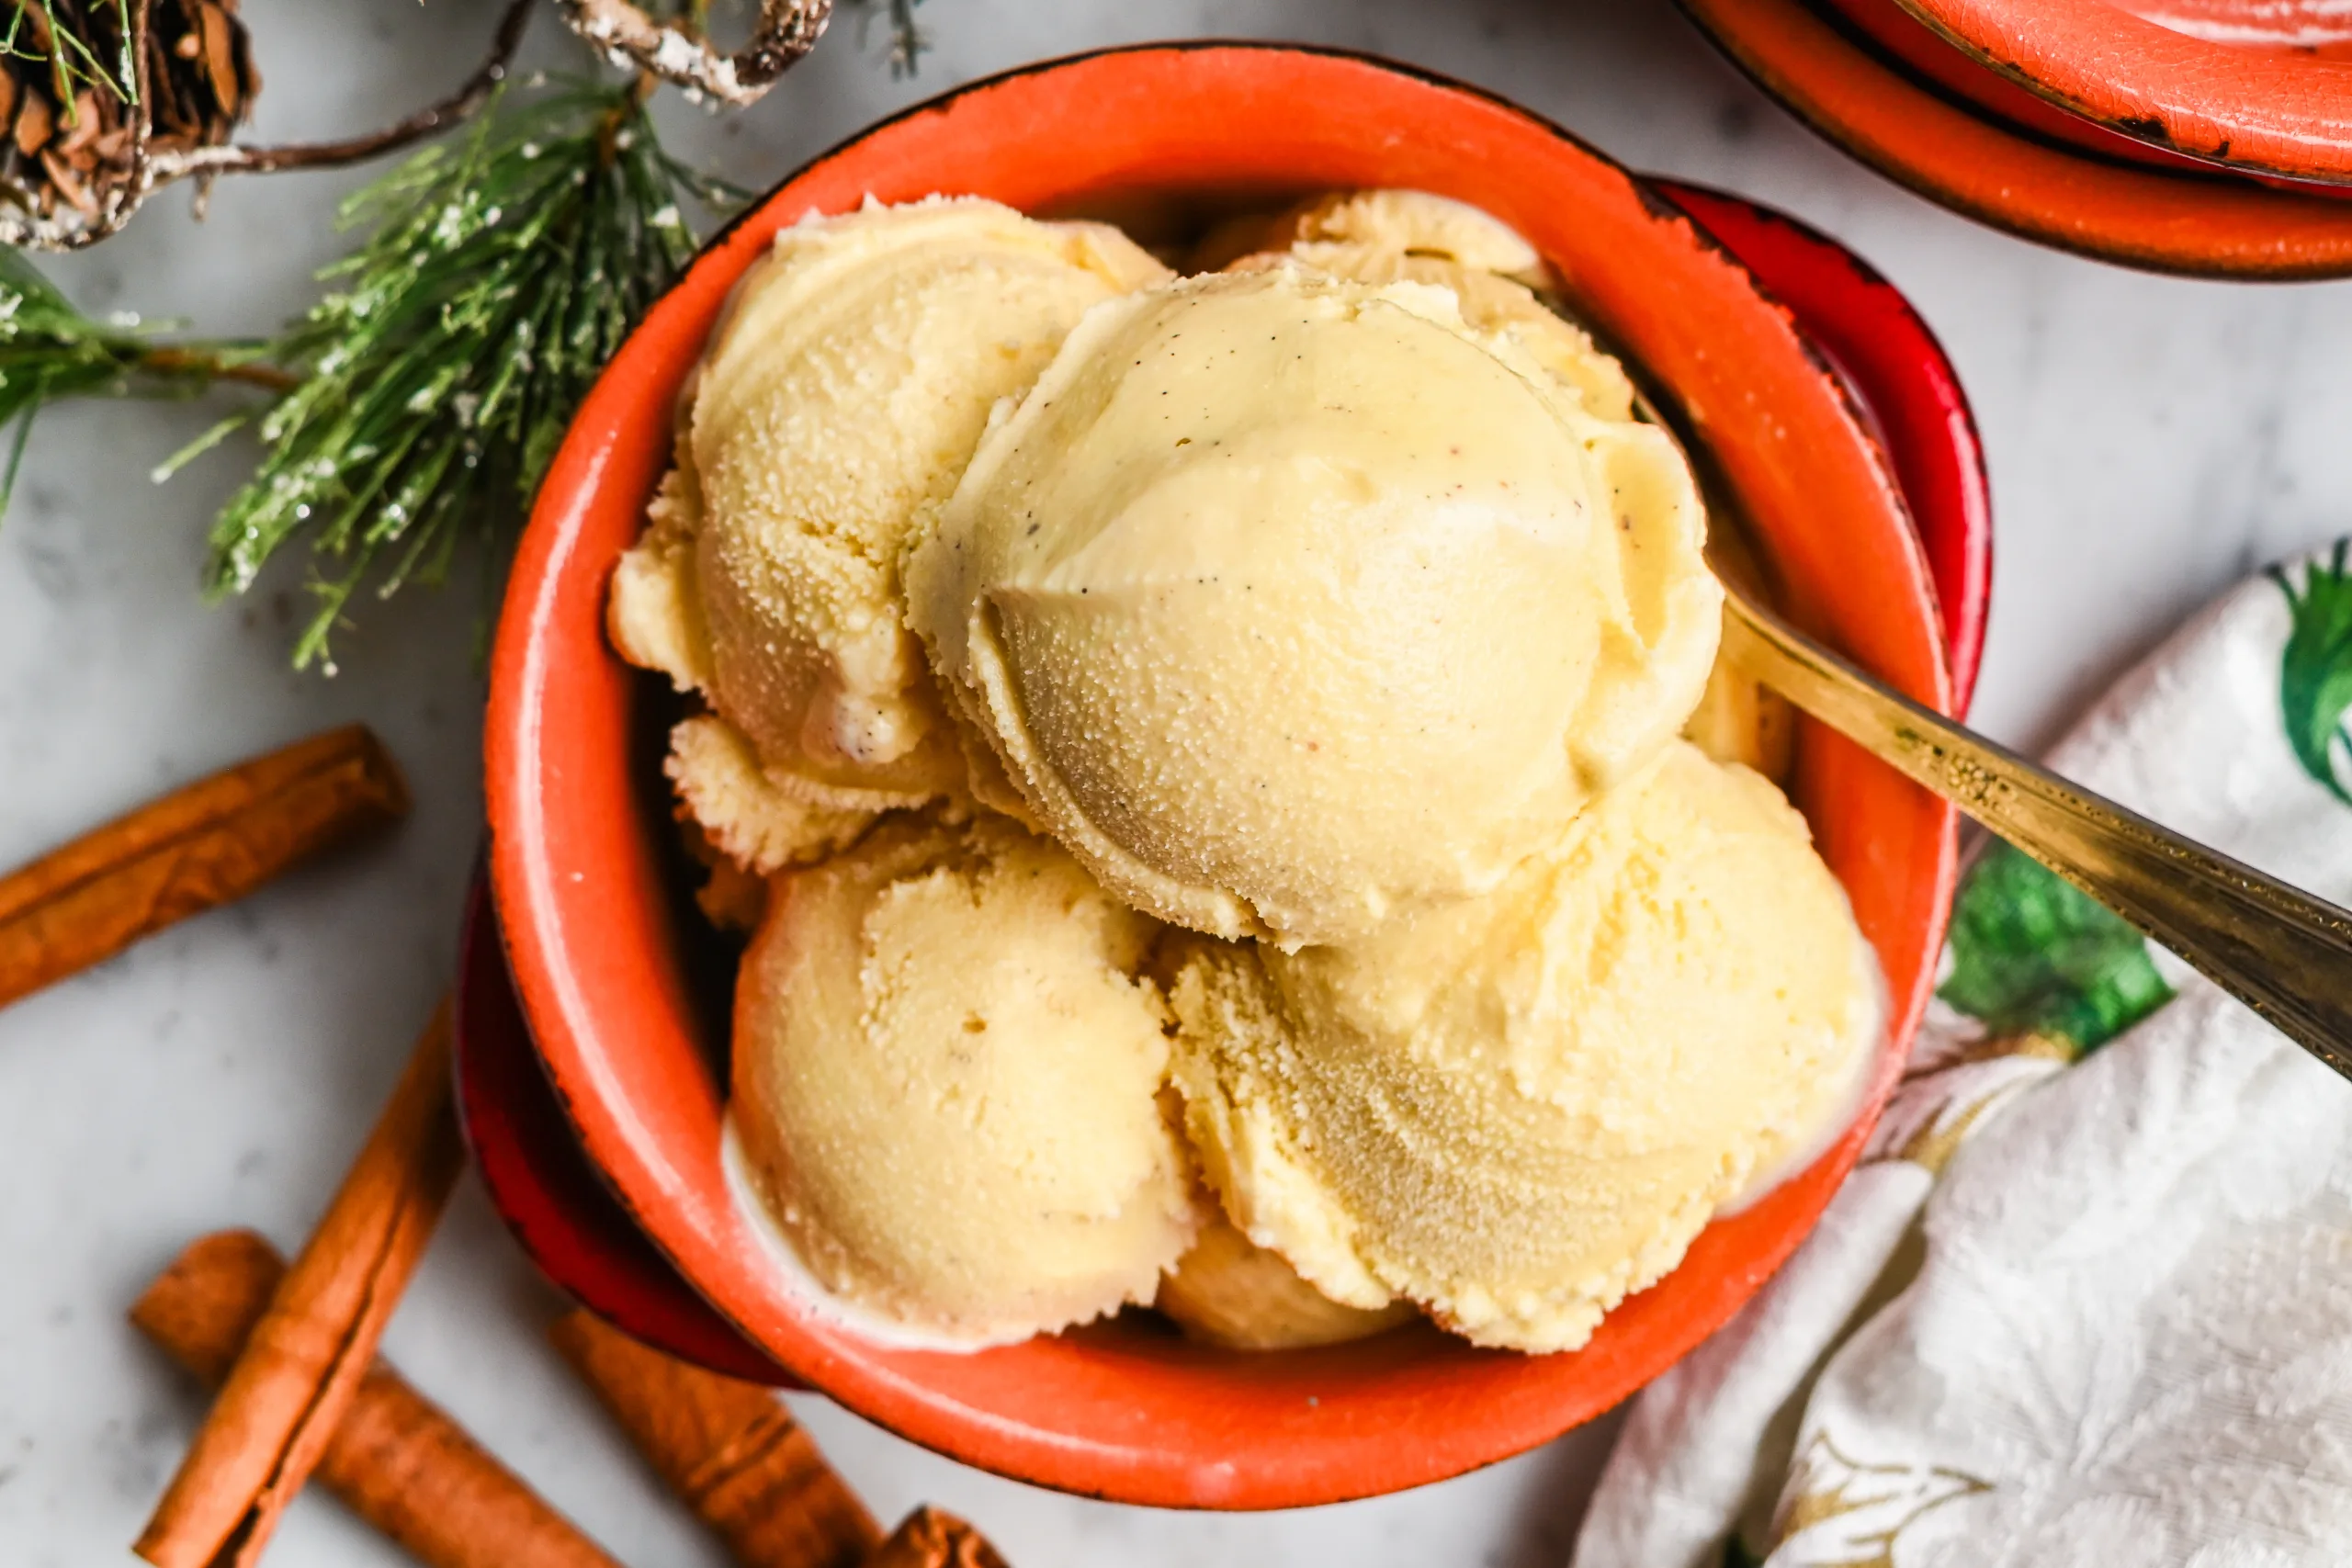
This recipe has classic eggnog flavor in ice cream form.
The custard base makes the texture smooth and rich.
It is a good make-ahead dessert for Christmas and winter meals.
The flavor pairs well with cookies, pie, cake, and other holiday desserts.
You can use a vanilla bean, vanilla extract, or vanilla bean paste.
The rum extract is optional, so you can keep the flavor mild or make it taste more like traditional eggnog.
Equipment You Will Need
Medium saucepan
Mixing bowls
Whisk
Measuring cups and spoons
Fine mesh strainer, optional but helpful
Rubber spatula
Plastic wrap or parchment paper
Ingredients for Homemade Eggnog Ice Cream
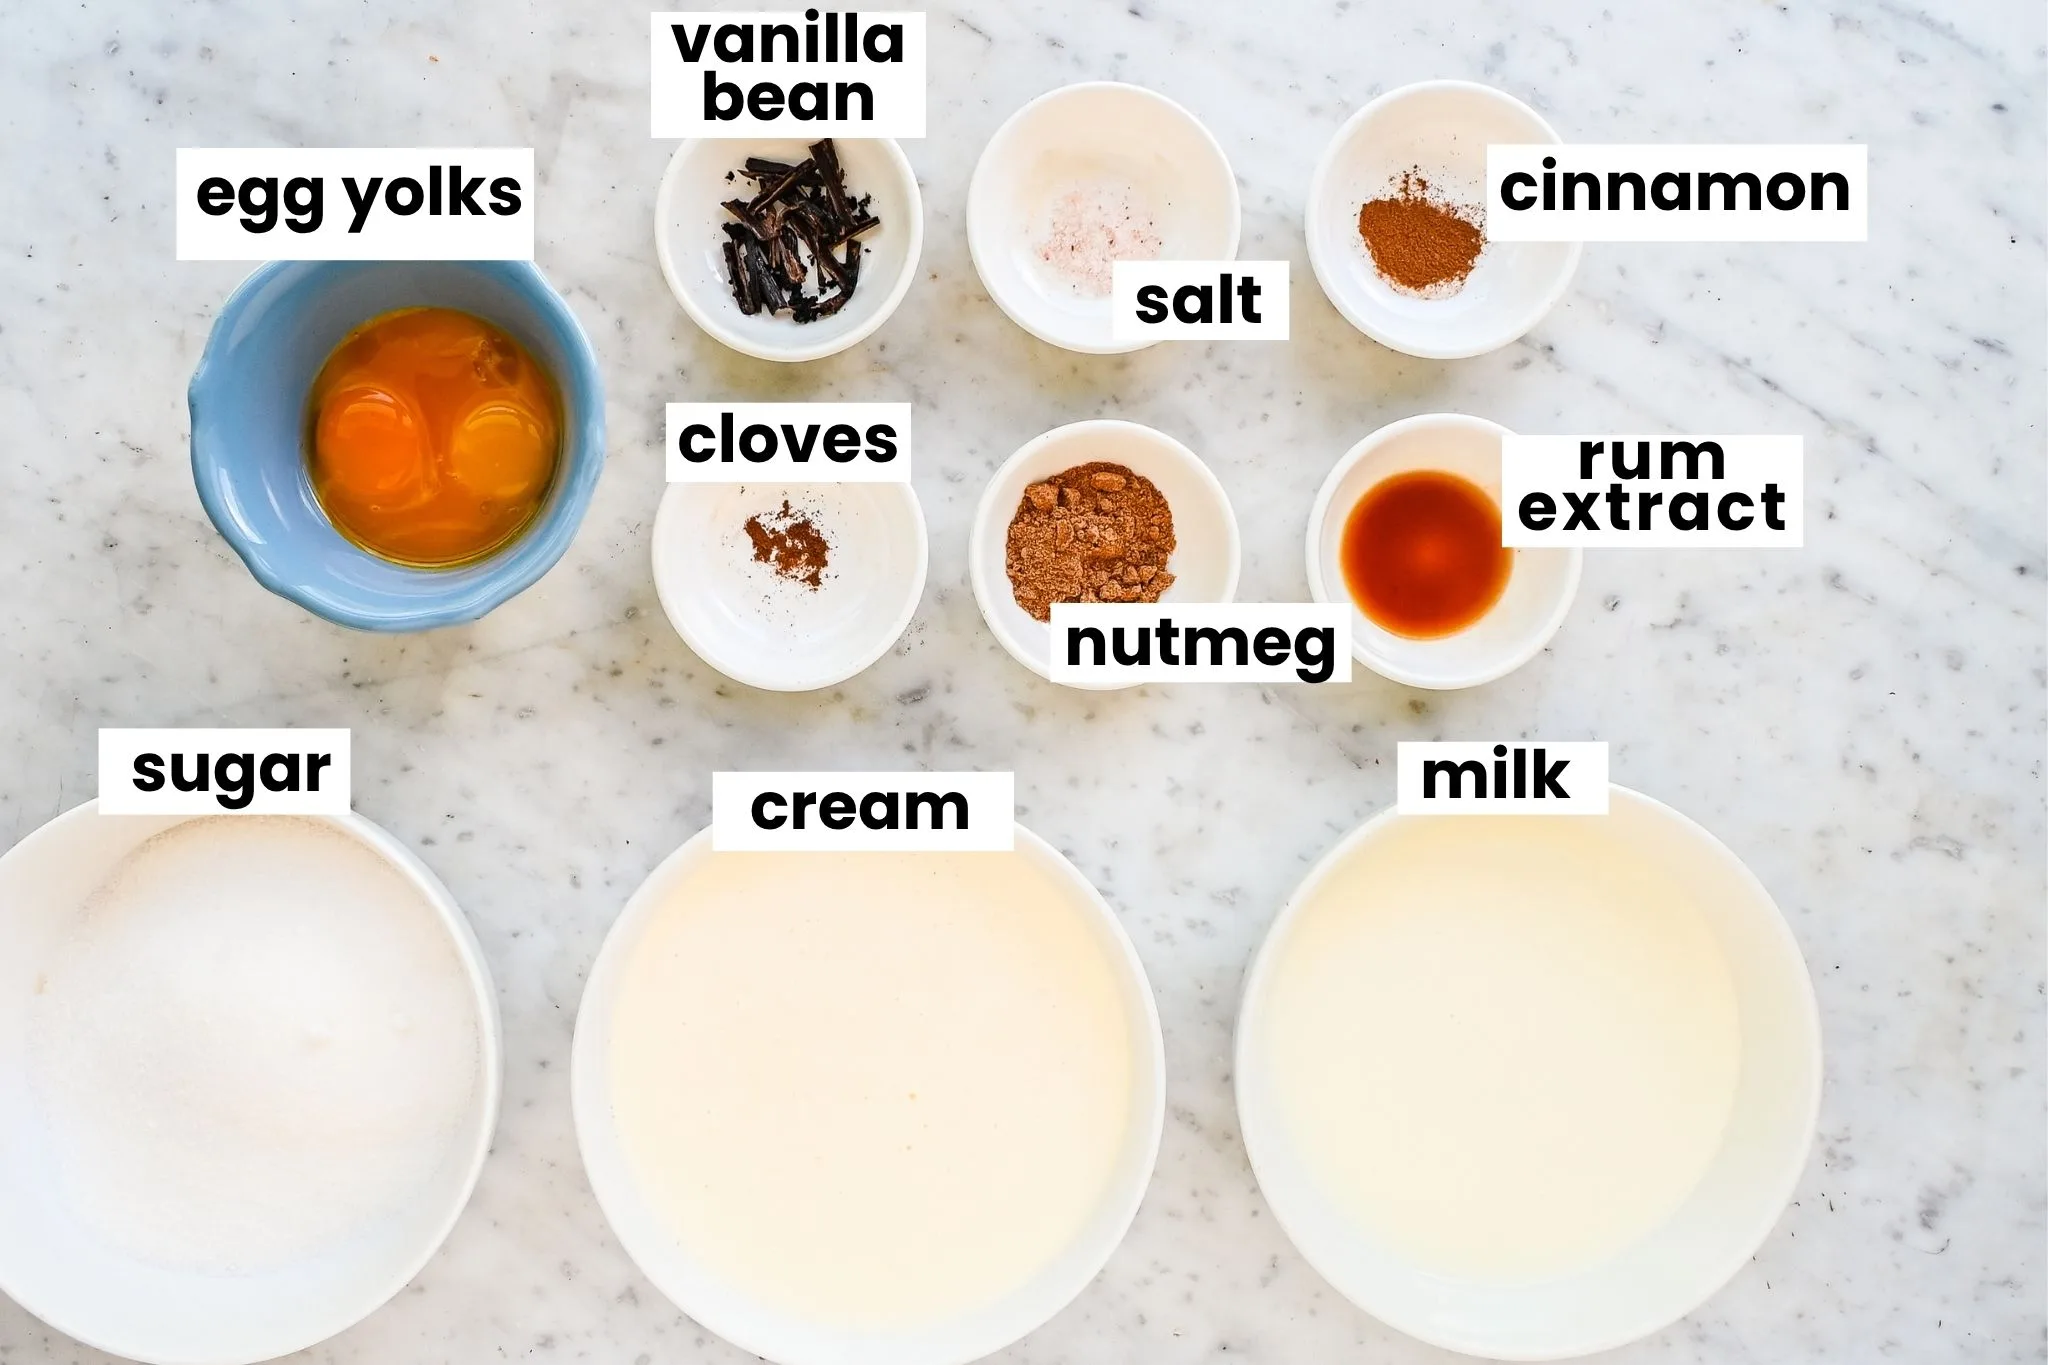
2 ½ cups heavy whipping cream
1 ½ cups whole milk
1 ⅓ cups granulated sugar
4 large egg yolks
1 vanilla bean, split lengthwise and seeded, or 1 tablespoon pure vanilla extract or vanilla bean paste
1 teaspoon ground nutmeg
⅛ teaspoon ground cinnamon
2 whole cloves, or a tiny pinch of ground cloves
¼ teaspoon salt
¼ to ½ teaspoon rum extract, optional
How to Make Homemade Eggnog Ice Cream
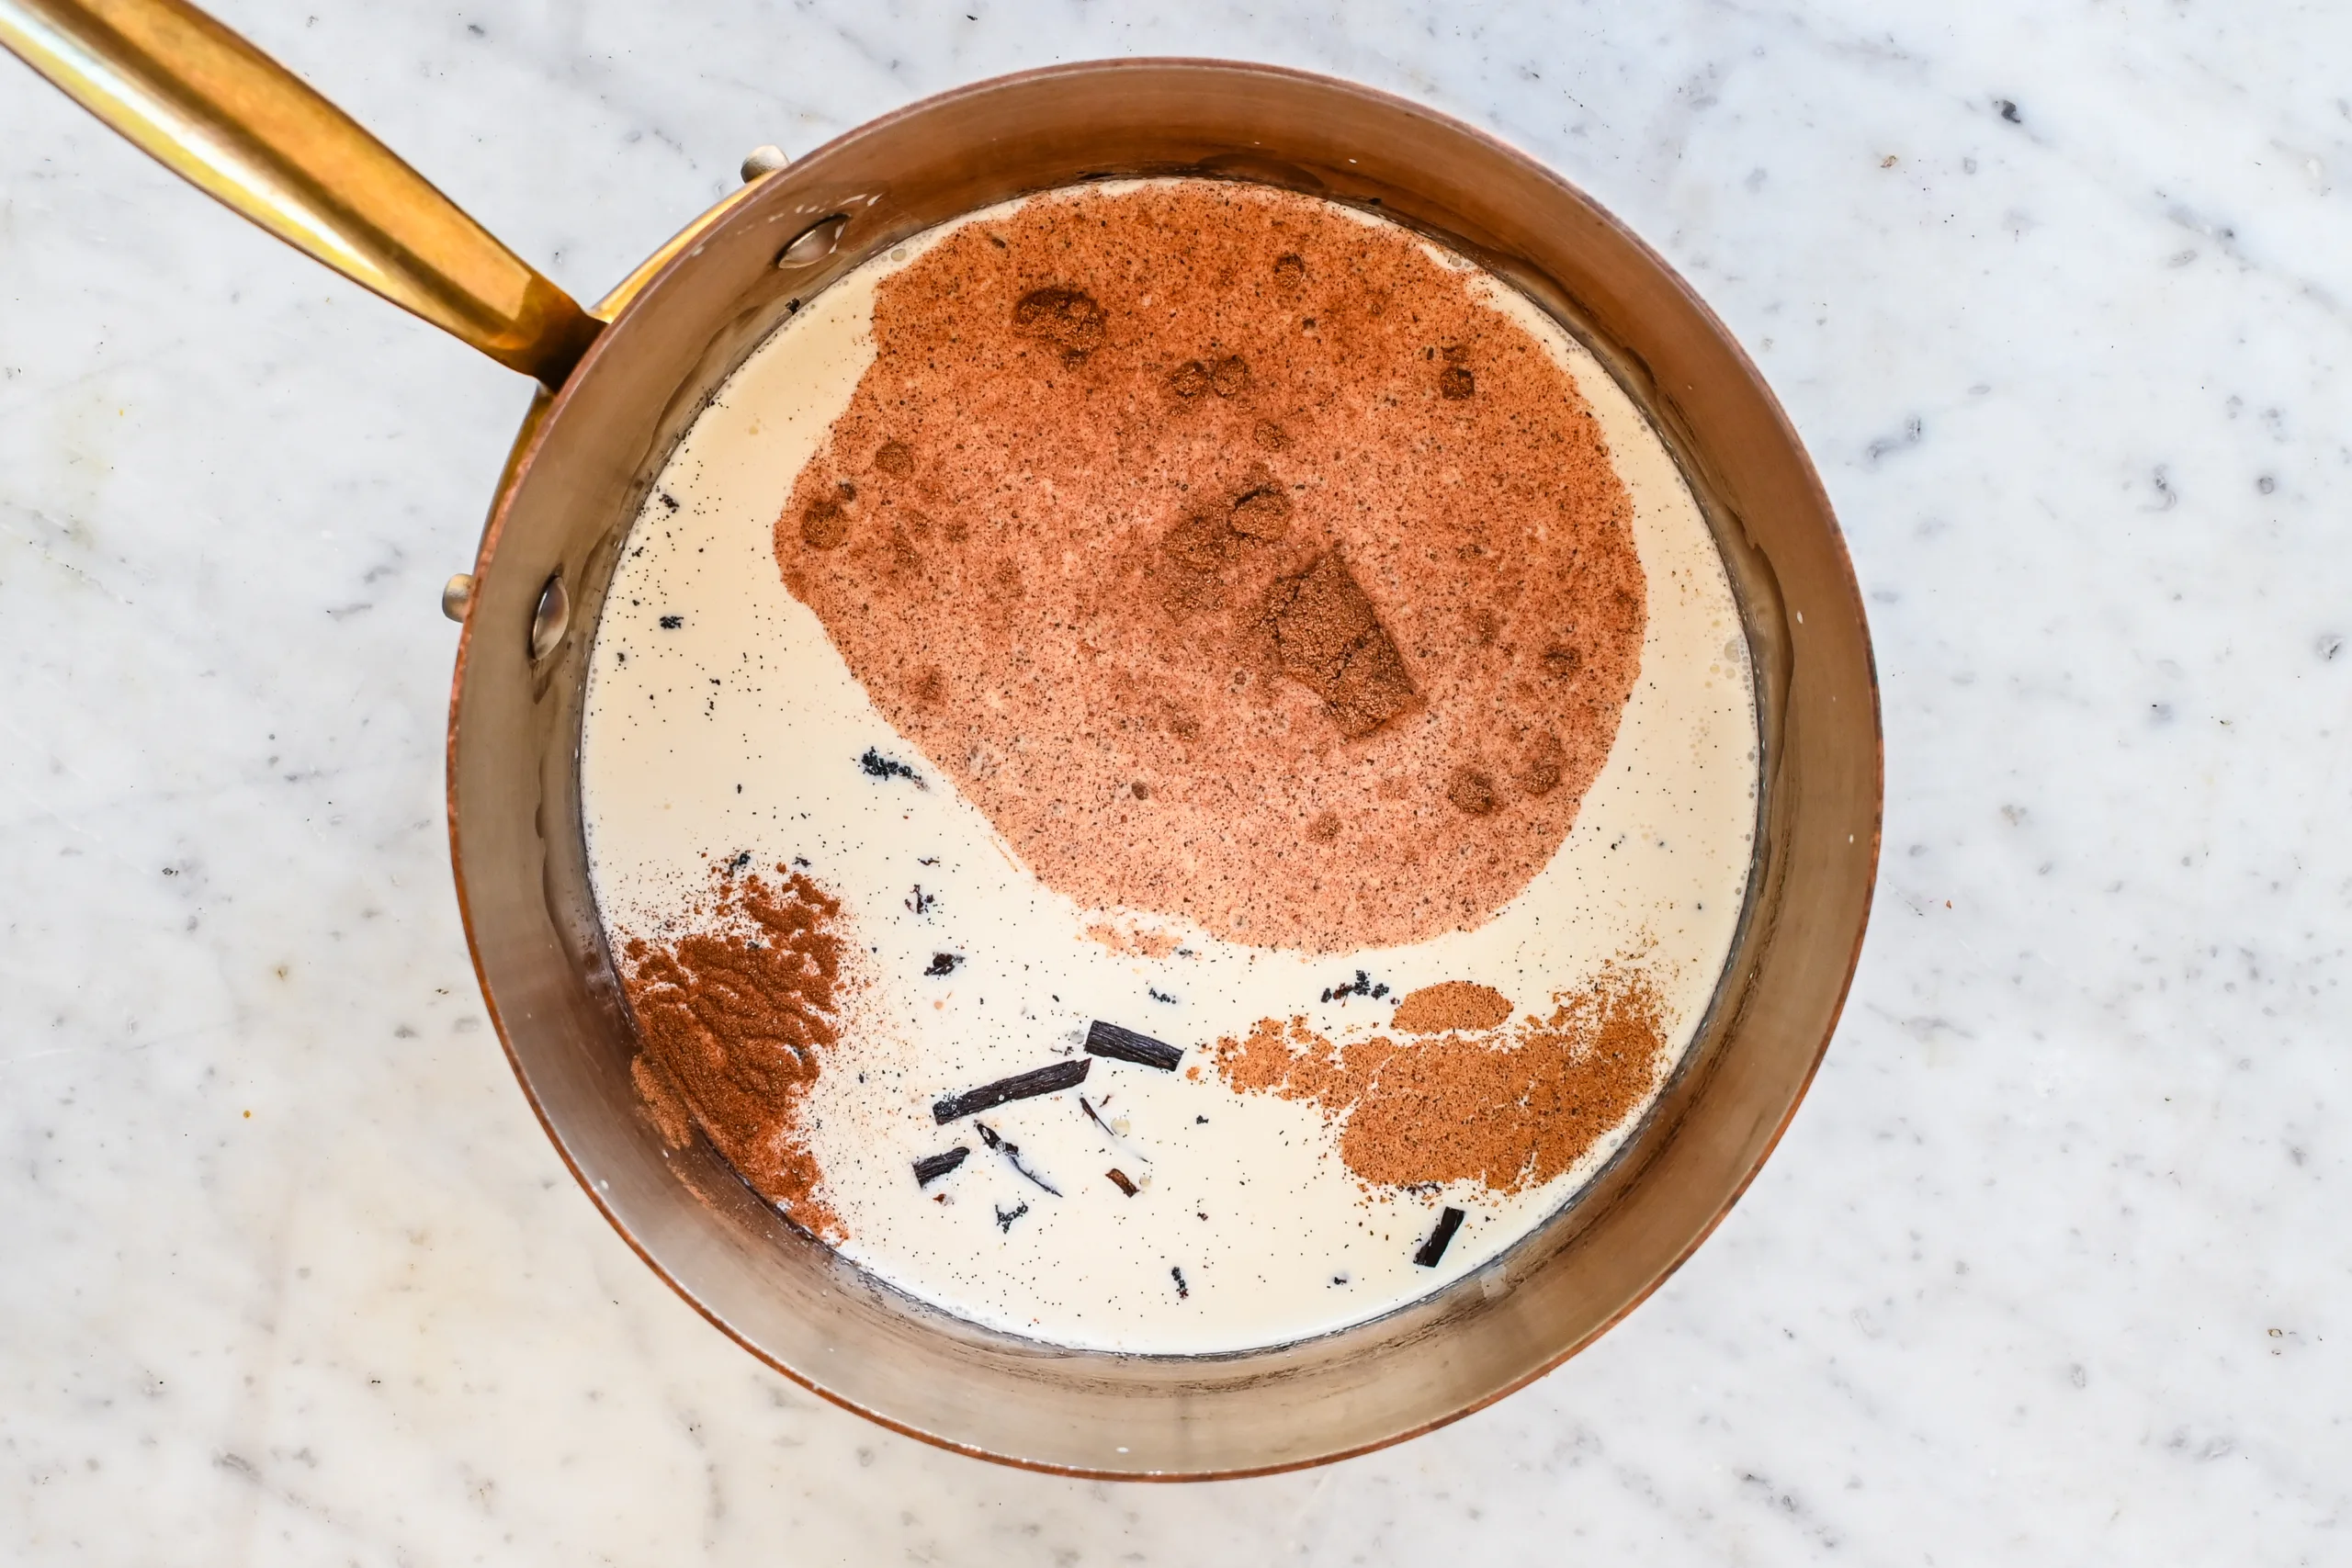
Add the heavy cream, whole milk, vanilla bean and seeds, nutmeg, cinnamon, whole cloves, and salt to a saucepan.
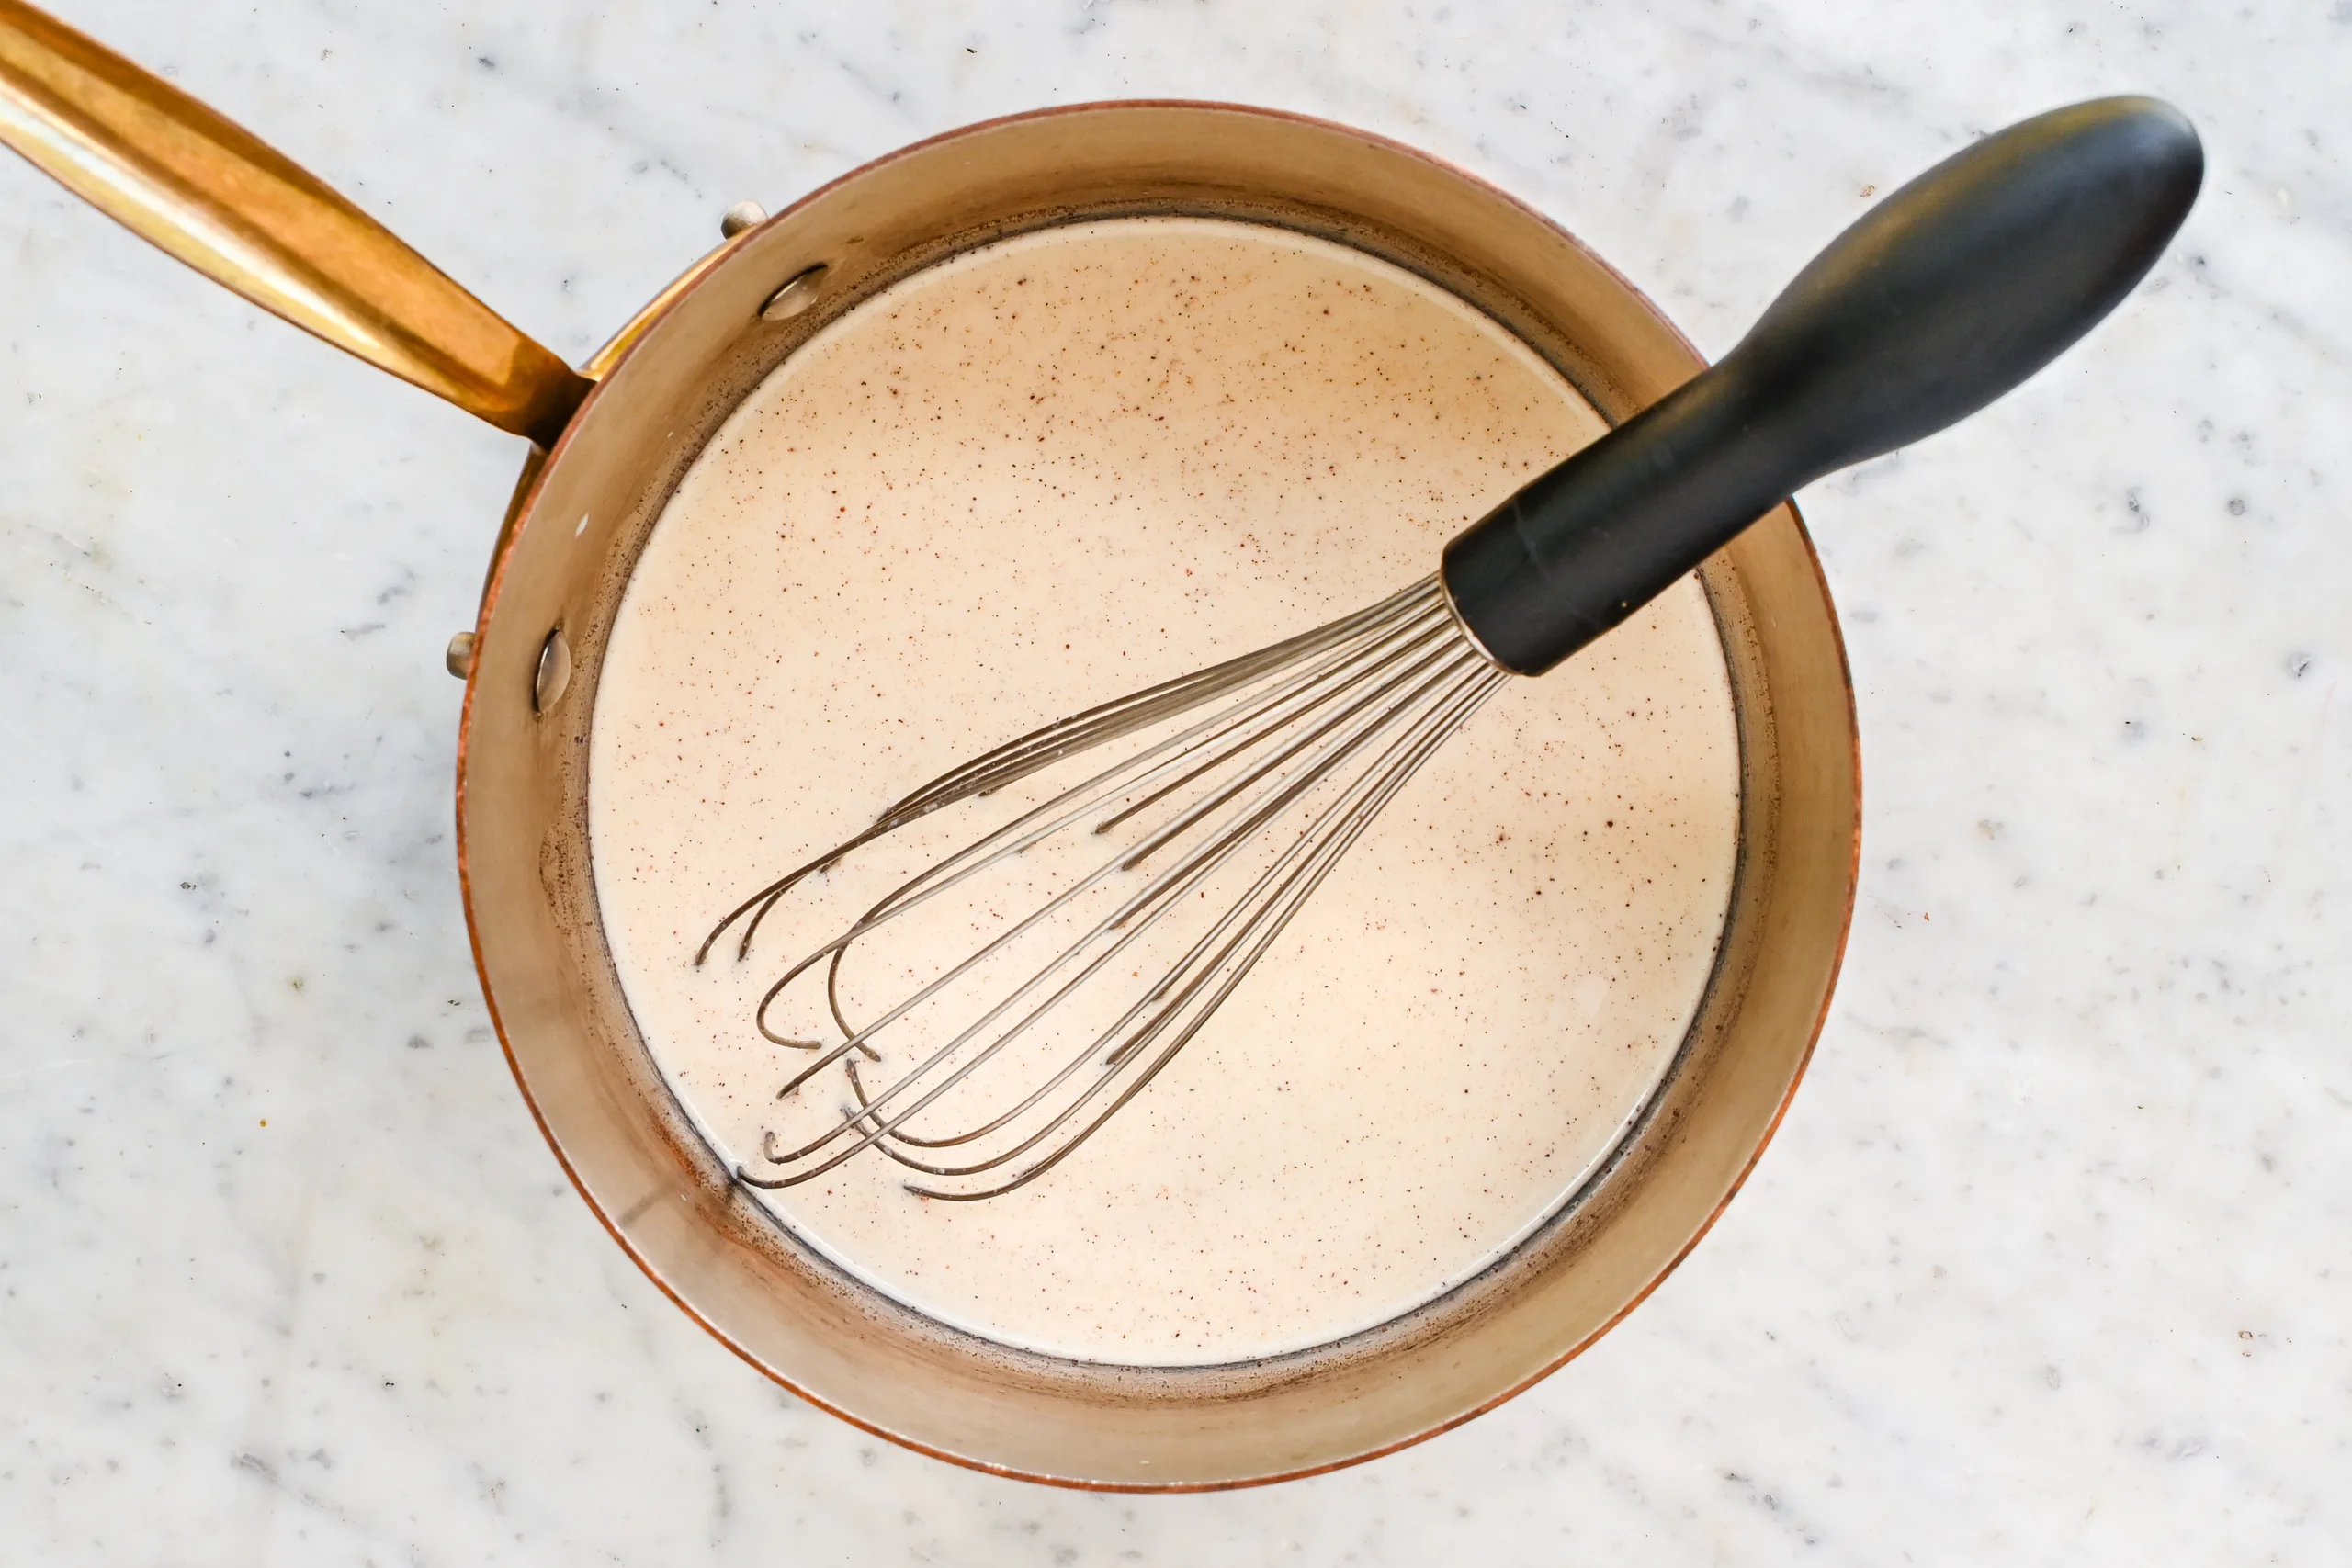
Heat over medium-low heat until the mixture is hot and steaming, but do not let it boil. Remove the pan from the heat and let the spices steep for about 10 minutes.
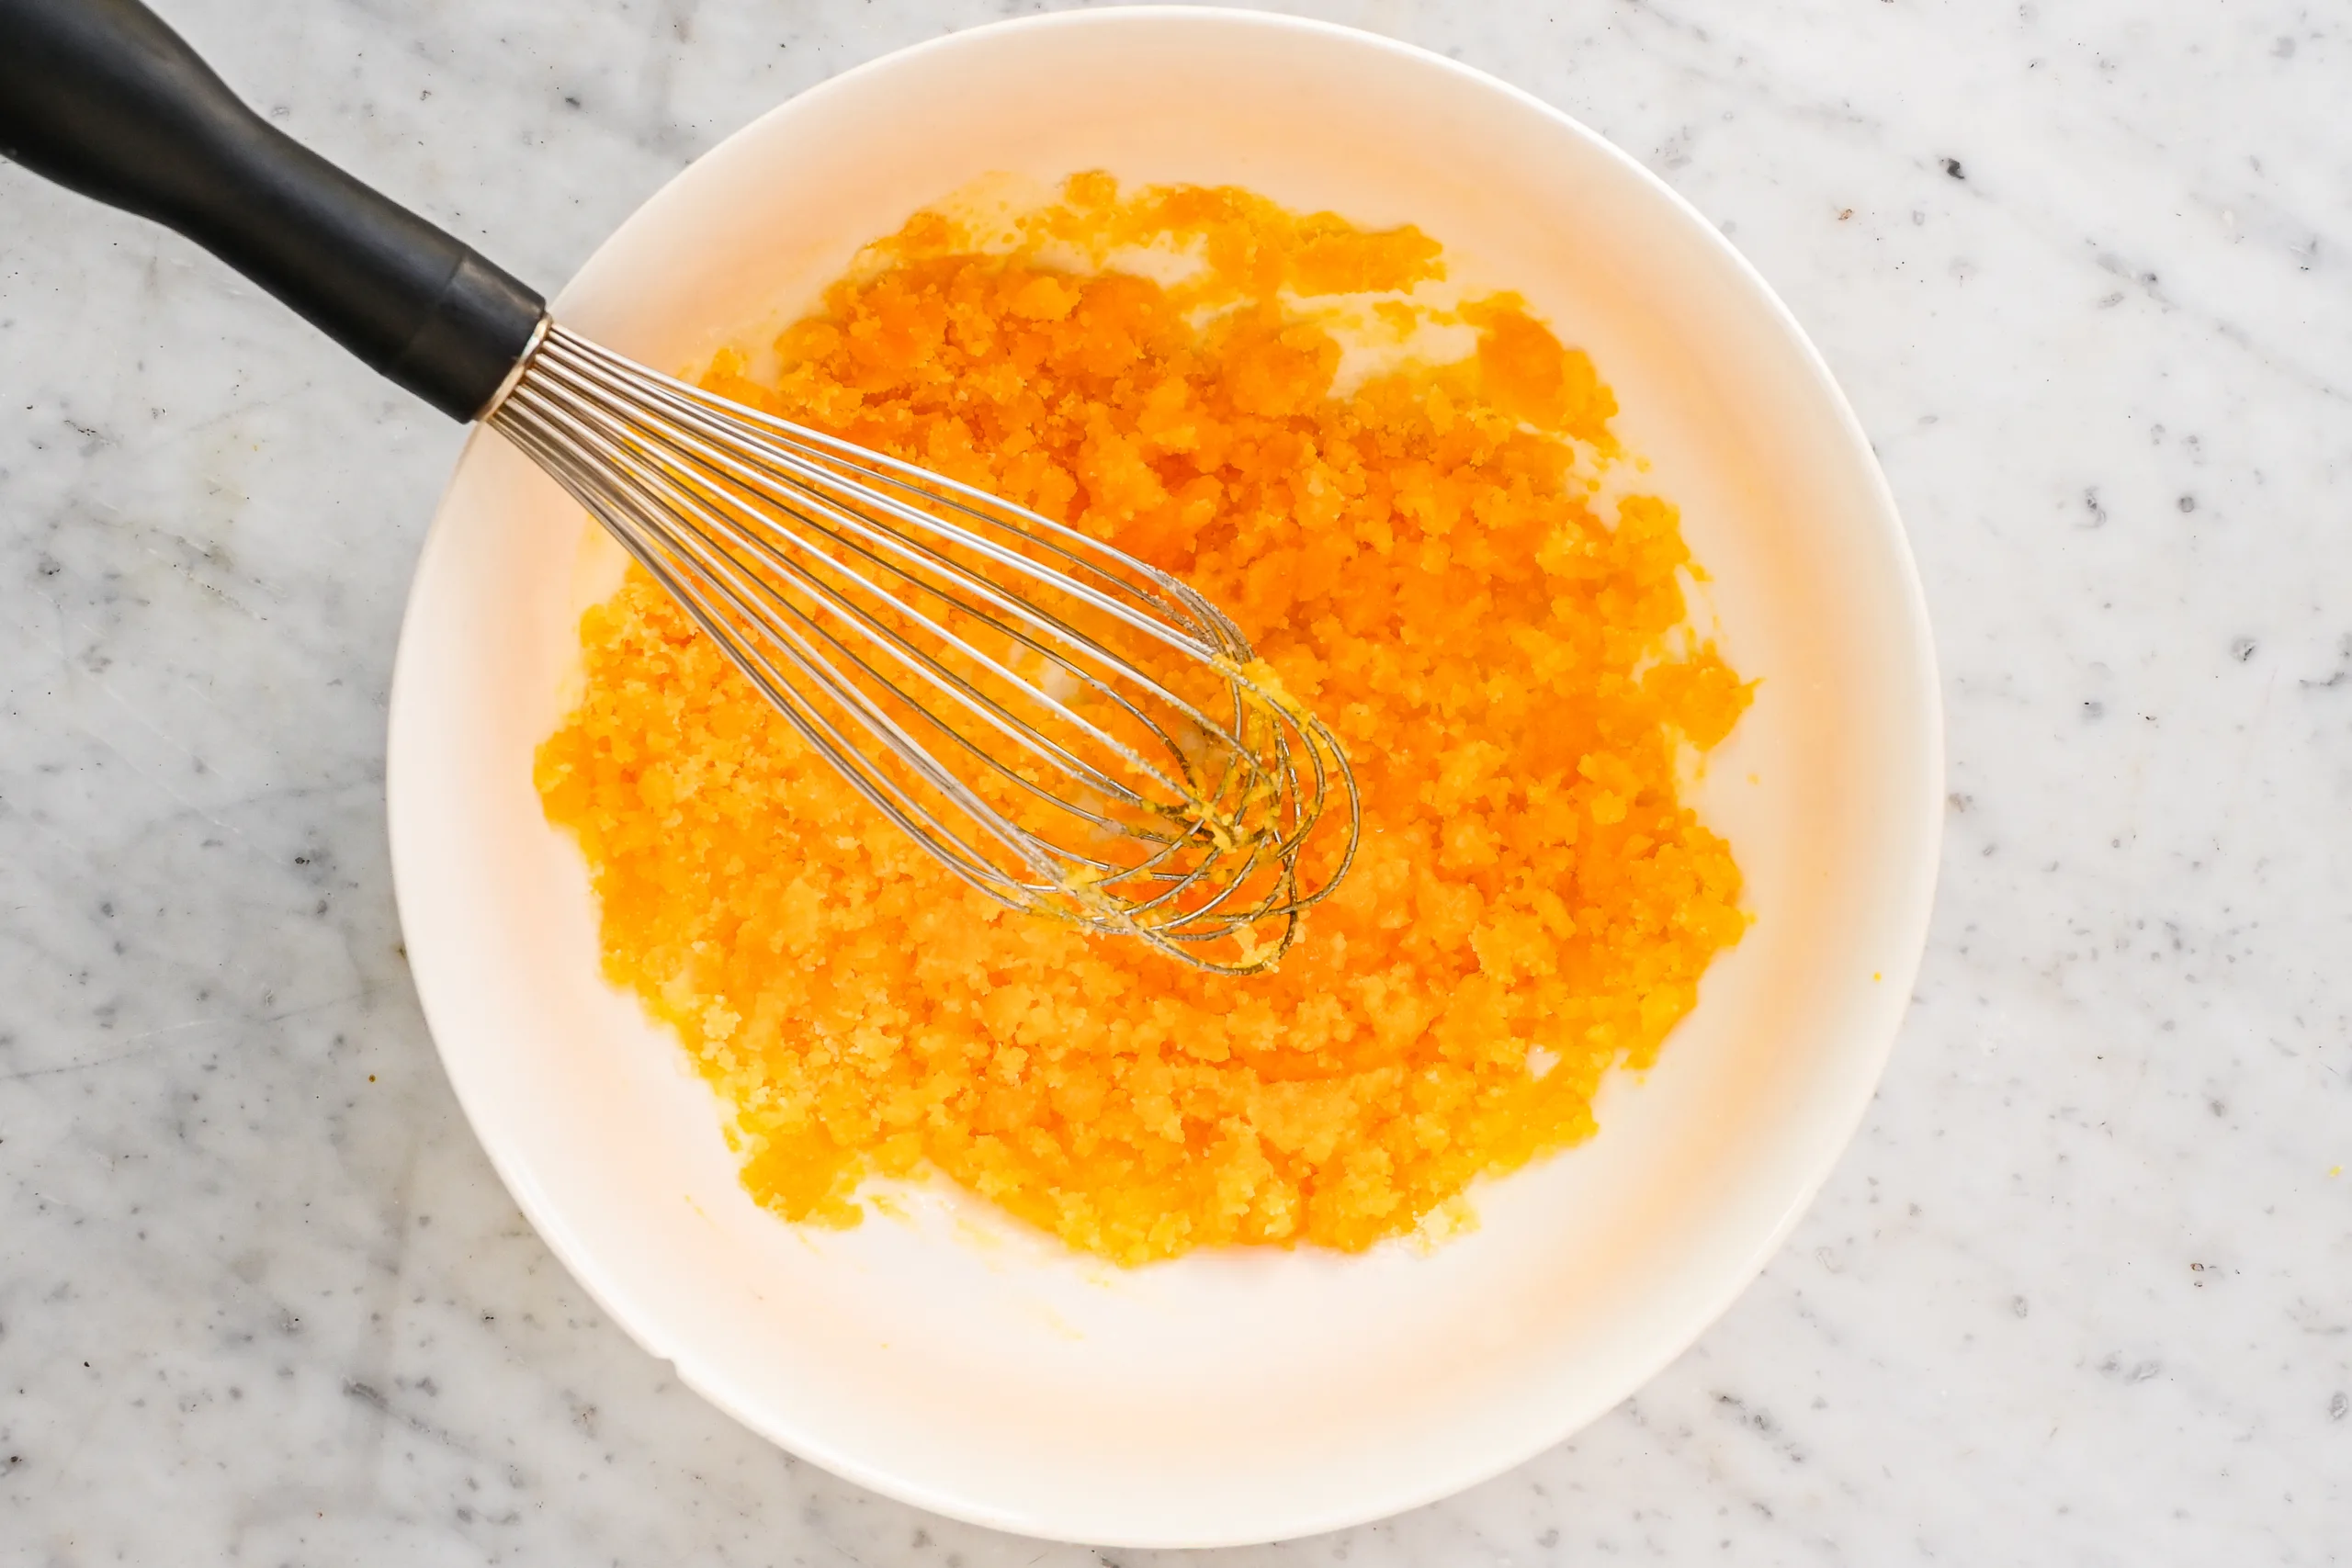
In a separate bowl, whisk together the egg yolks and granulated sugar until smooth.
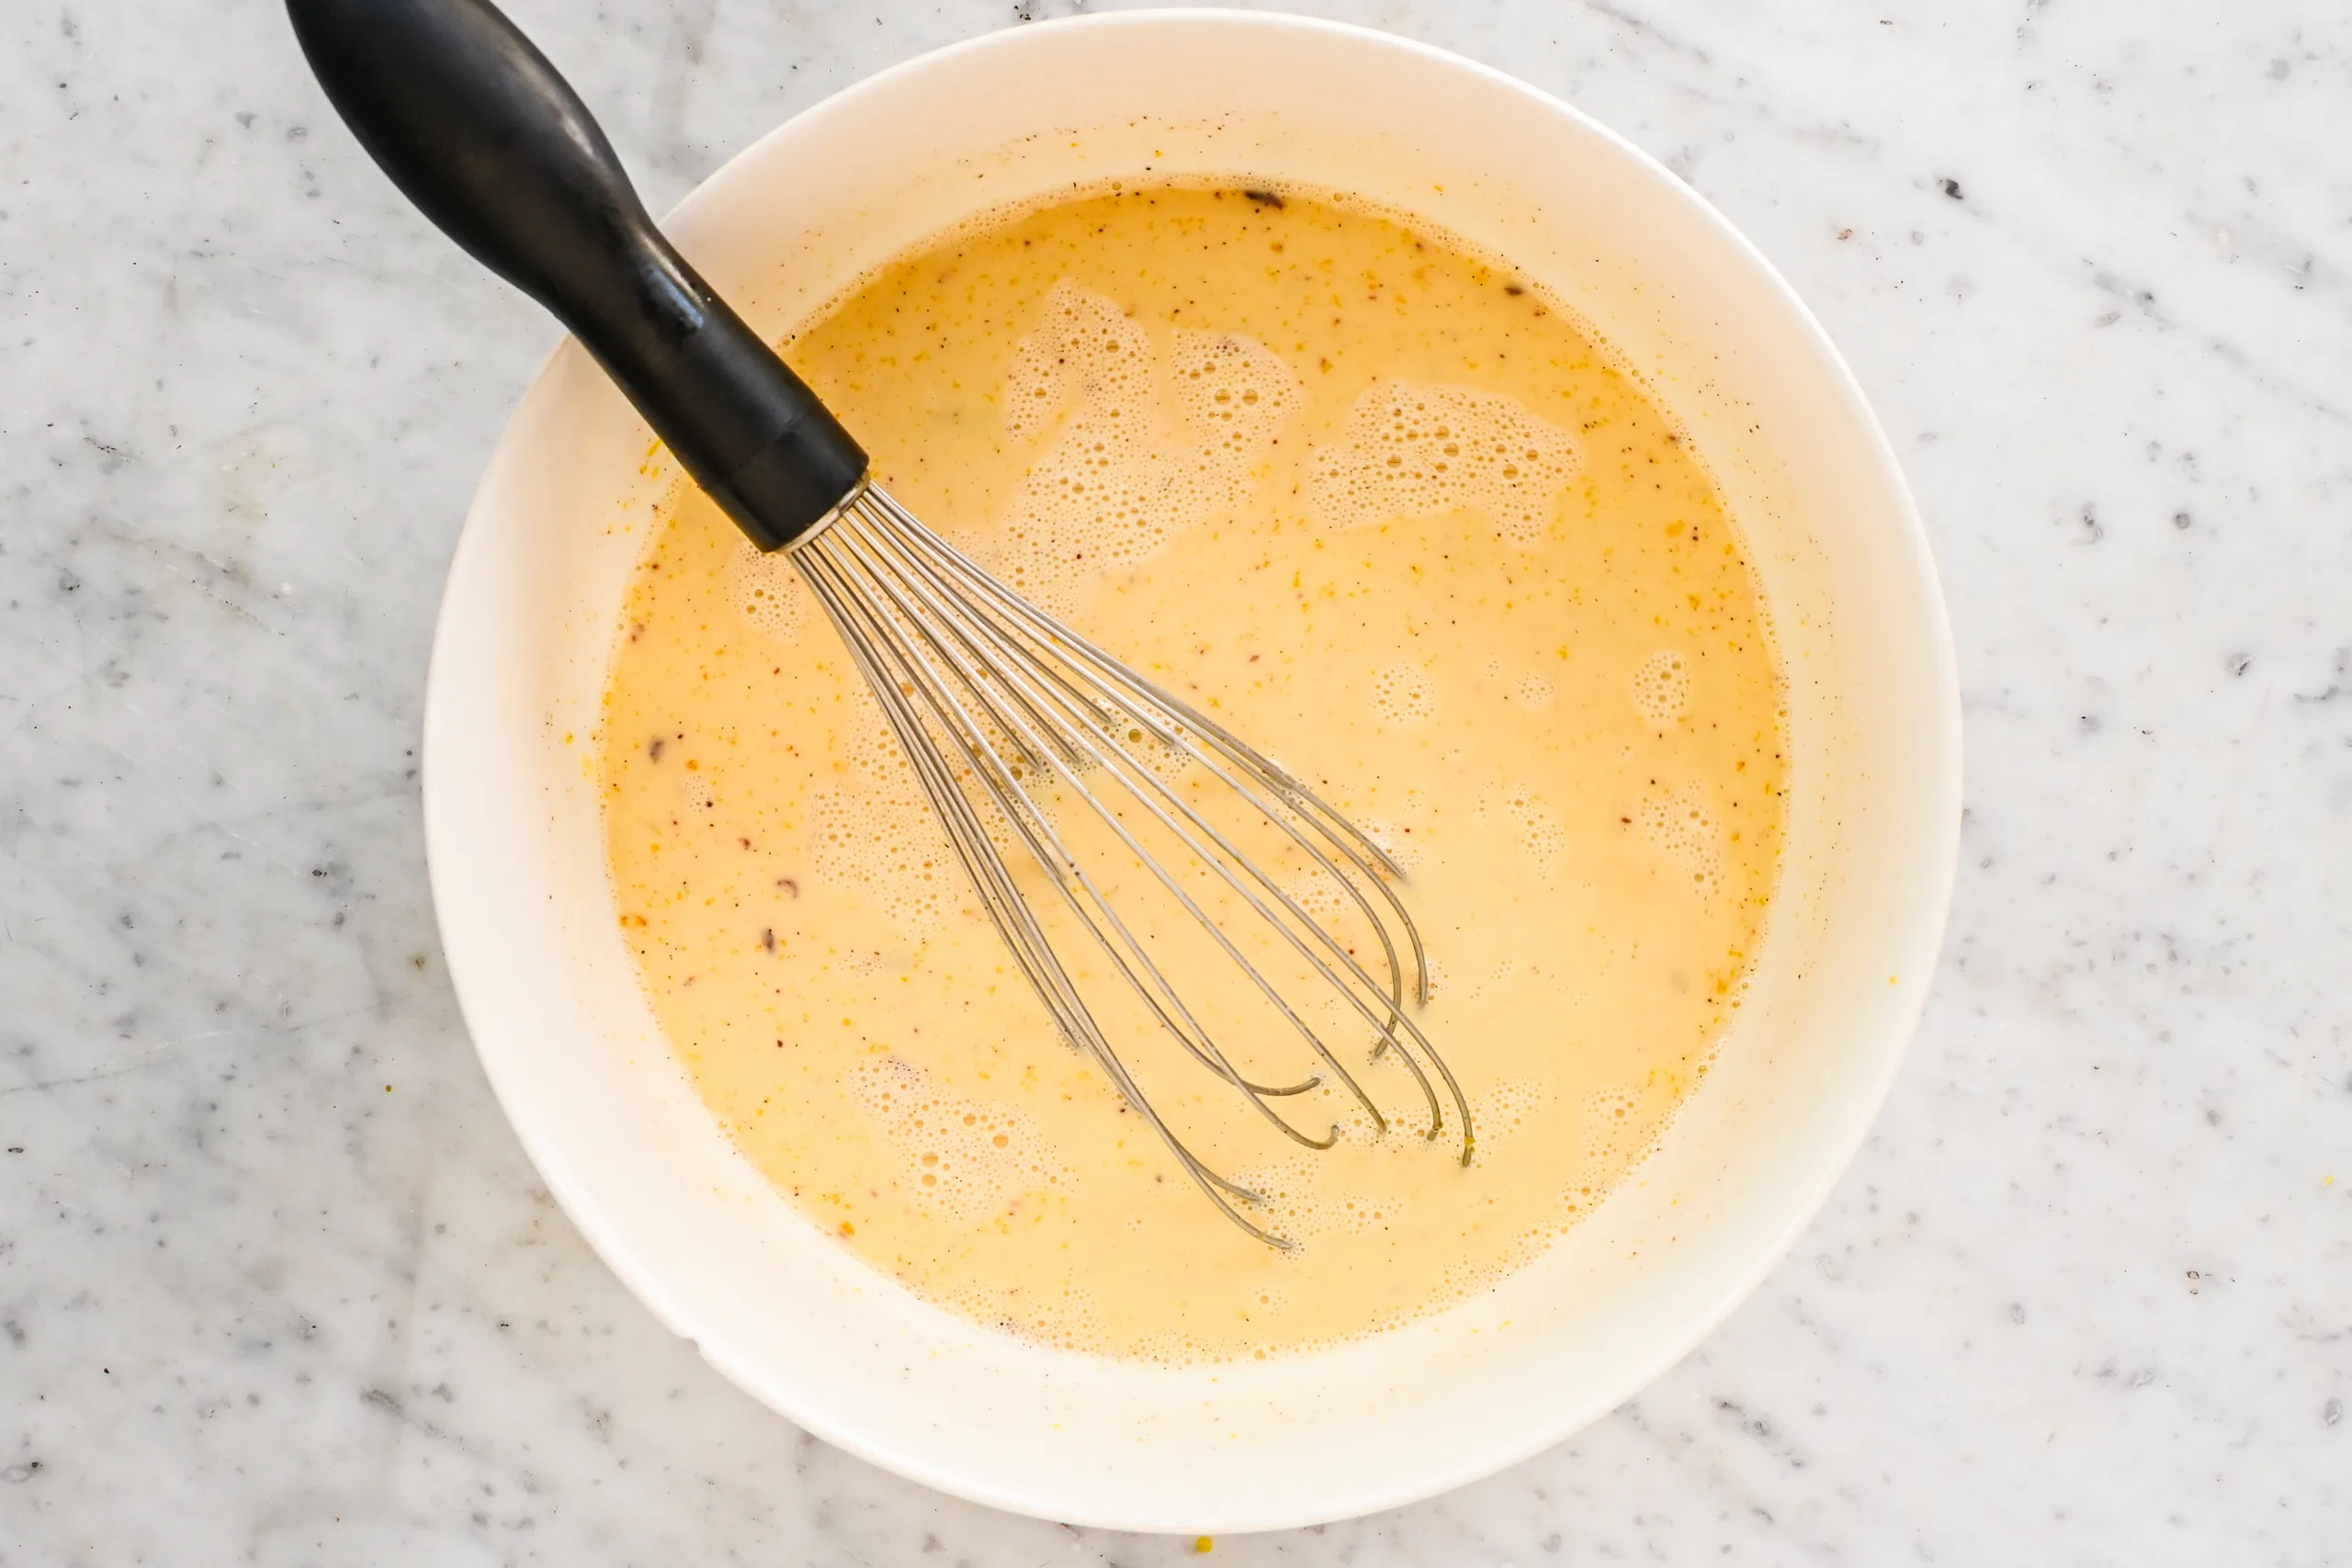
Slowly whisk a small amount of the warm cream mixture into the egg yolks. This helps temper the eggs so they do not scramble.
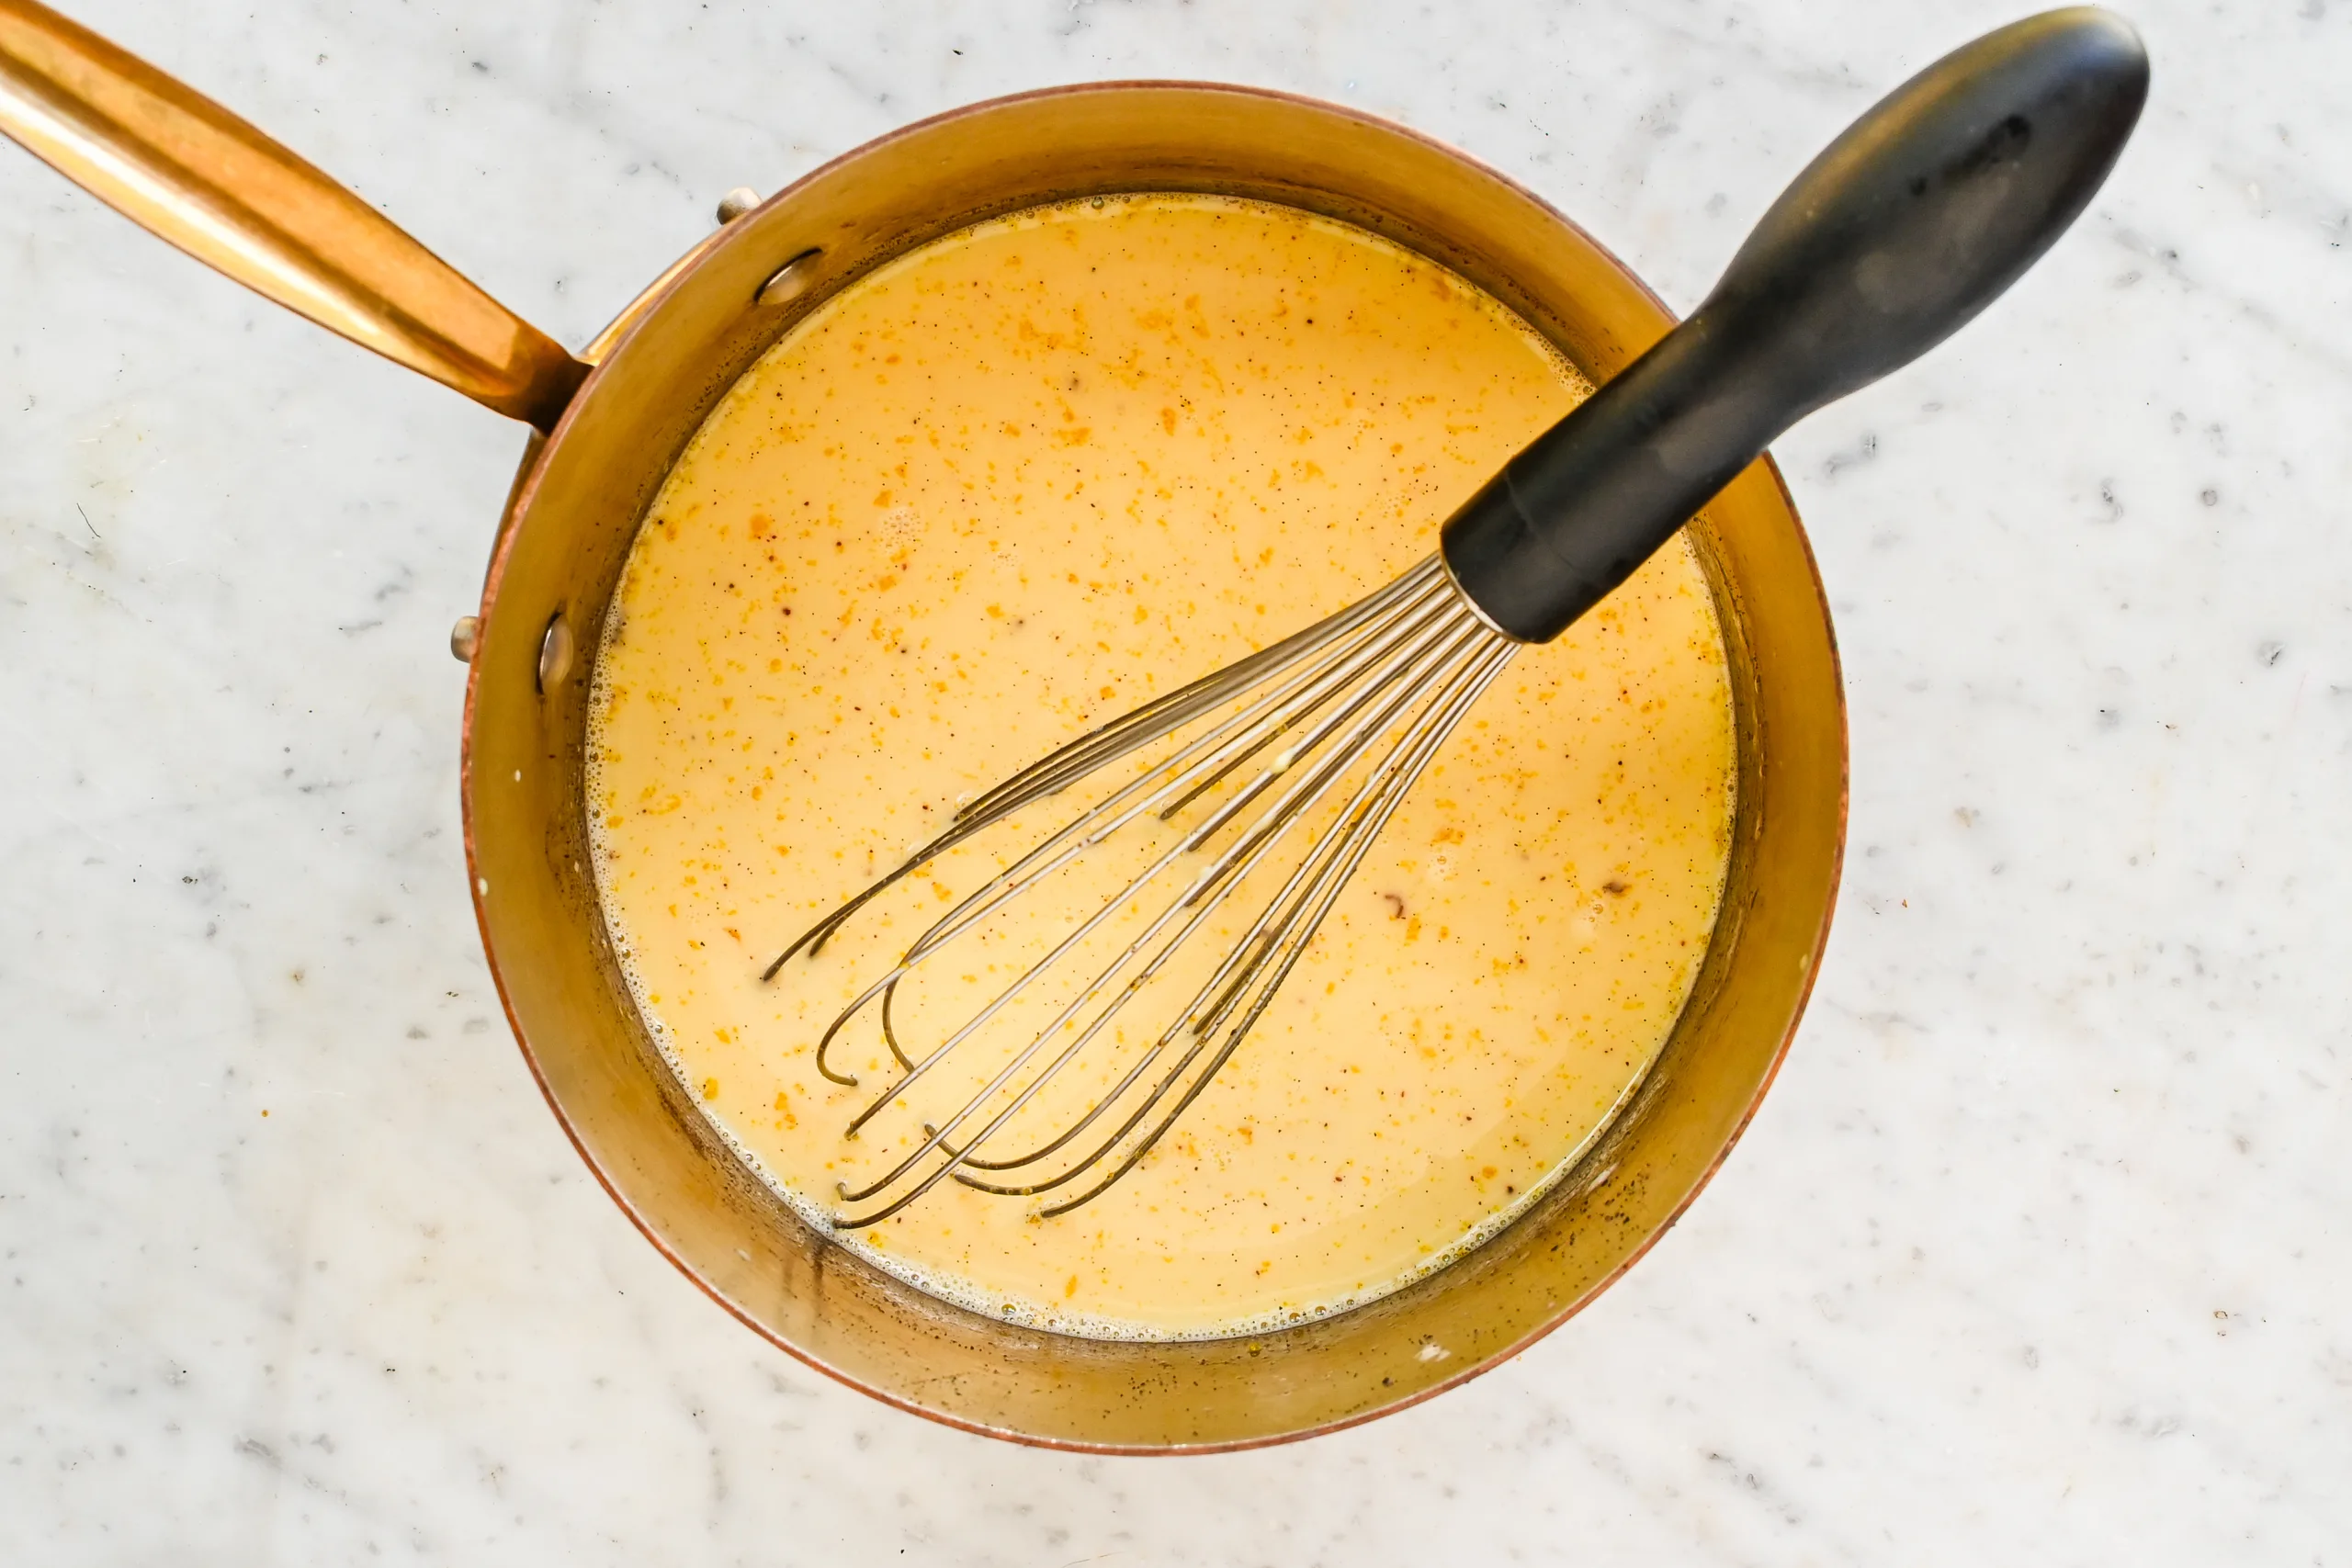
Gradually whisk in more of the warm cream mixture, then pour the tempered egg mixture back into the saucepan.
Cook until the mixture thickens and coats the back of a spoon (170°F - 175°F, don’t let it boil!). Remove from heat and allow it to rest for 5 minutes. If using vanilla extract, vanilla bean paste, or rum extract, stir it in after removing the custard from the heat.
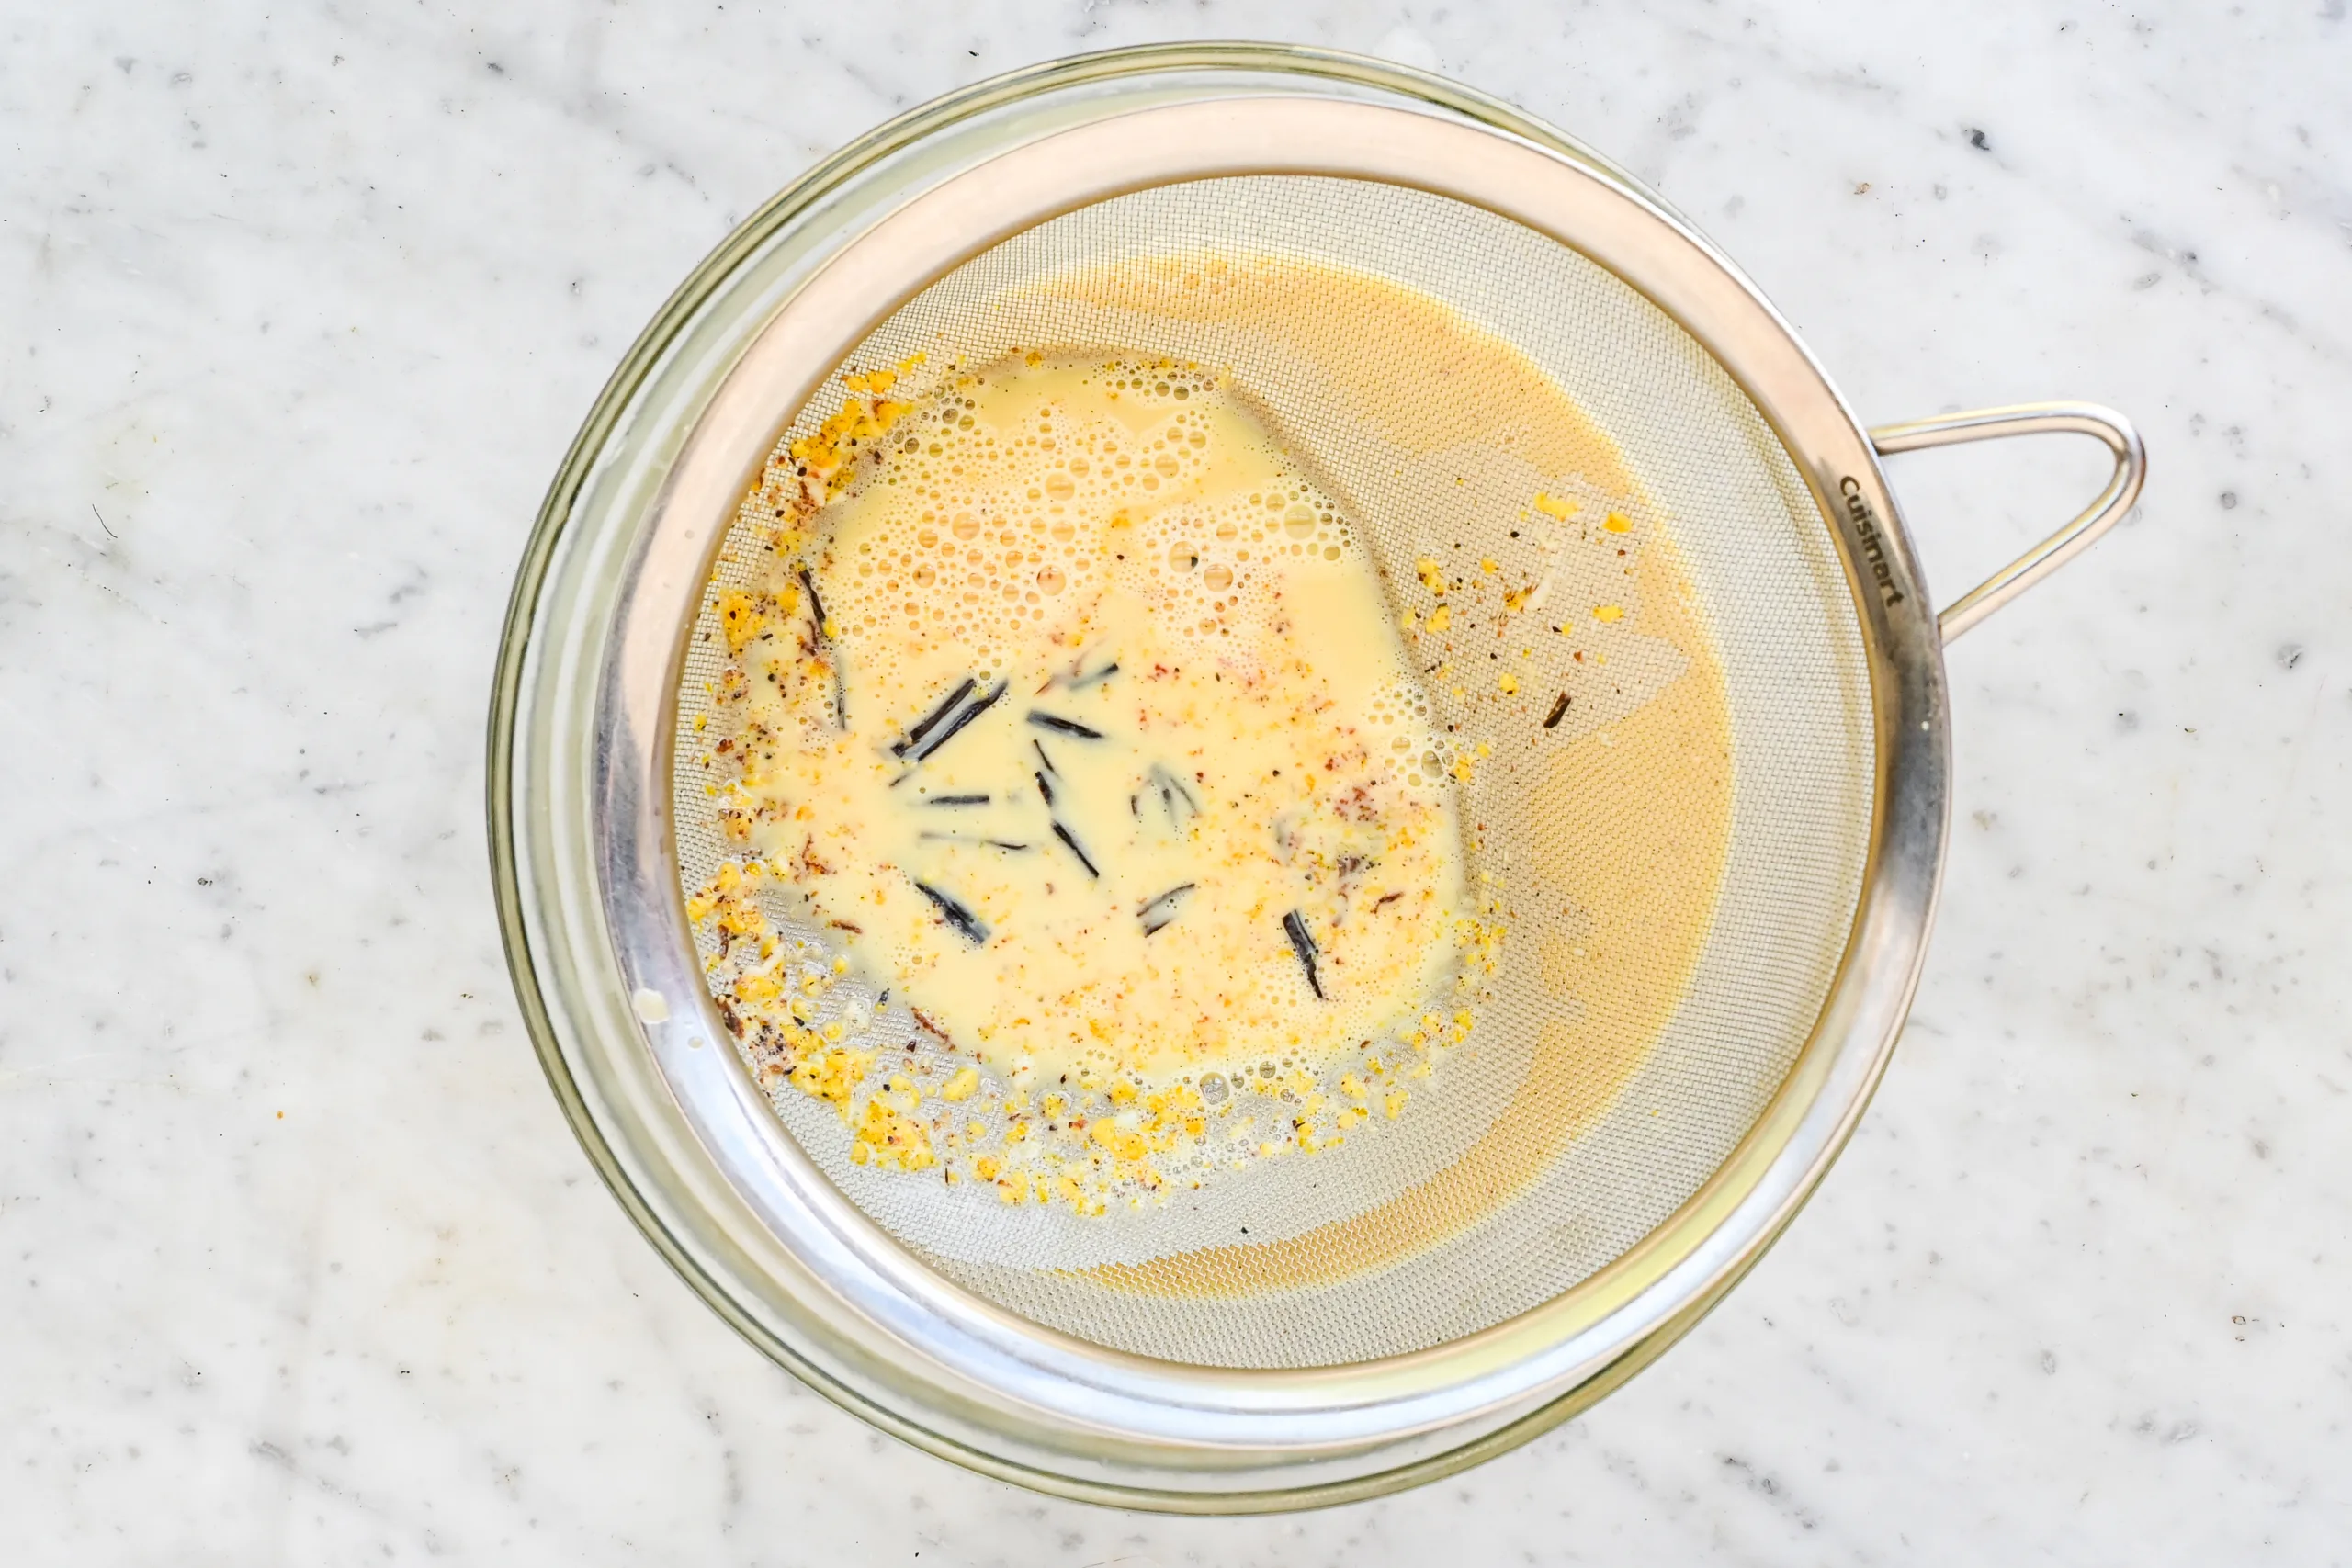
Pour the custard through a fine mesh strainer into a clean bowl.
Cover and chill the custard completely in the refrigerator, at least 4 hours or overnight. Churn according to your ice cream maker manufacturer’s directions. Transfer the churned ice cream to a freezer-safe container. Press parchment paper or plastic wrap directly over the surface, cover, and freeze until firm enough to scoop.
How to Temper Egg Yolks for Ice Cream
Tempering means slowly warming the egg yolks before adding them back to the saucepan. This keeps the yolks smooth instead of turning into scrambled eggs.
I do this by whisking the yolks and sugar together first, then slowly adding a small ladle of hot cream while whisking constantly. Once the egg mixture is warm, it can go back into the pan with the rest of the cream.
Keep the heat low and stir the custard the whole time. The mixture should thicken gently.
How Long Should the Custard Chill?
The custard needs to be completely cold before churning.
I recommend chilling it for at least 4 hours, but overnight is even better. A cold custard churns better and gives the finished eggnog ice cream a smoother texture.
If the custard is still warm when it goes into the ice cream maker, it may not freeze properly.
Tips for the Best Eggnog Ice Cream
Do not let the cream mixture boil. Gentle heat protects the flavor and keeps the custard smooth.
Stir constantly while cooking the custard so it does not stick to the bottom of the pan.
Remove the whole cloves before churning.
Strain the custard if you see any small cooked egg pieces or spice clumps.
Chill the custard thoroughly before adding it to the ice cream maker.
Freeze the churned ice cream for a few hours if you want firm scoops.
Let the container sit at room temperature for a few minutes before scooping if the ice cream is very hard.
What to Serve With Eggnog Ice Cream
Eggnog ice cream is good on its own with a sprinkle of nutmeg, but it also works with other homemade desserts.
Serve it alongside Soft Eggnog Cookies With Cream Cheese Frosting, Soft and Chewy Sourdough Discard Gingerbread Cookies, or Perfect Soft Sourdough Discard Sugar Cookie Recipe as part of a festive Christmas dessert spread.
It would also be good with Easy Pumpkin Crisp Recipe, Sourdough Apple Crisp with Oat Crumble Topping, or any simple holiday dessert.
How to Store Homemade Eggnog Ice Cream
Transfer the churned ice cream to a freezer-safe container.
Press parchment paper or plastic wrap directly against the surface before adding the lid. This helps protect the ice cream from freezer burn.
Store in the freezer for up to 2 weeks for the best texture.
Homemade ice cream can get harder than store-bought ice cream, so let it sit at room temperature for 5 to 10 minutes before scooping.
Can I Make Eggnog Ice Cream Ahead of Time?
Yes, this is a good make-ahead dessert.
You can make the custard one day, chill it overnight, and churn it the next day. You can also churn the ice cream completely and freeze it until you are ready to serve.
For the best texture, I like to make it at least one day before serving so it has time to firm up in the freezer.
Frequently Asked Questions About Eggnog Ice Cream
Does eggnog ice cream taste like eggnog?
Yes, eggnog ice cream has the flavor of eggnog from the cream, milk, egg yolks, nutmeg, vanilla, and optional rum extract. The flavor is creamy, spiced, and rich.
Can I use vanilla extract instead of a vanilla bean?
Yes, you can use 1 tablespoon of pure vanilla extract or vanilla bean paste instead of a vanilla bean. Stir vanilla extract in after removing the custard from the heat.
Do I have to use rum extract?
No, rum extract is optional. The ice cream will still have good eggnog flavor from the nutmeg, cinnamon, cloves, vanilla, and custard base.
Can I use low-fat milk?
I recommend whole milk for the best texture. Lower-fat milk can make the ice cream less creamy and a little icier.
Why did my custard curdle?
The heat may have been too high, or the eggs may not have been tempered slowly enough. Cook the custard over low heat and stir constantly.
Do I need to strain the custard?
Straining is optional, but it helps make the ice cream smoother. It also catches the whole cloves, vanilla bean pod, and any small bits of cooked egg.
How long does homemade eggnog ice cream last?
Homemade eggnog ice cream is best within about 2 weeks. It can last longer in the freezer, but the texture is usually best when served sooner.
Can I make this without an ice cream maker?
This recipe is written for an ice cream maker. A no-churn version would need a different method because this is a cooked custard base.
Why is my ice cream too hard to scoop?
Homemade ice cream often freezes harder than store-bought ice cream. Let it sit at room temperature for 5 to 10 minutes before scooping.

Tried this recipe?
I would love to see it! Tag me on Instagram @idiesfarm and #idiesfarm so I can share your beautiful creation!
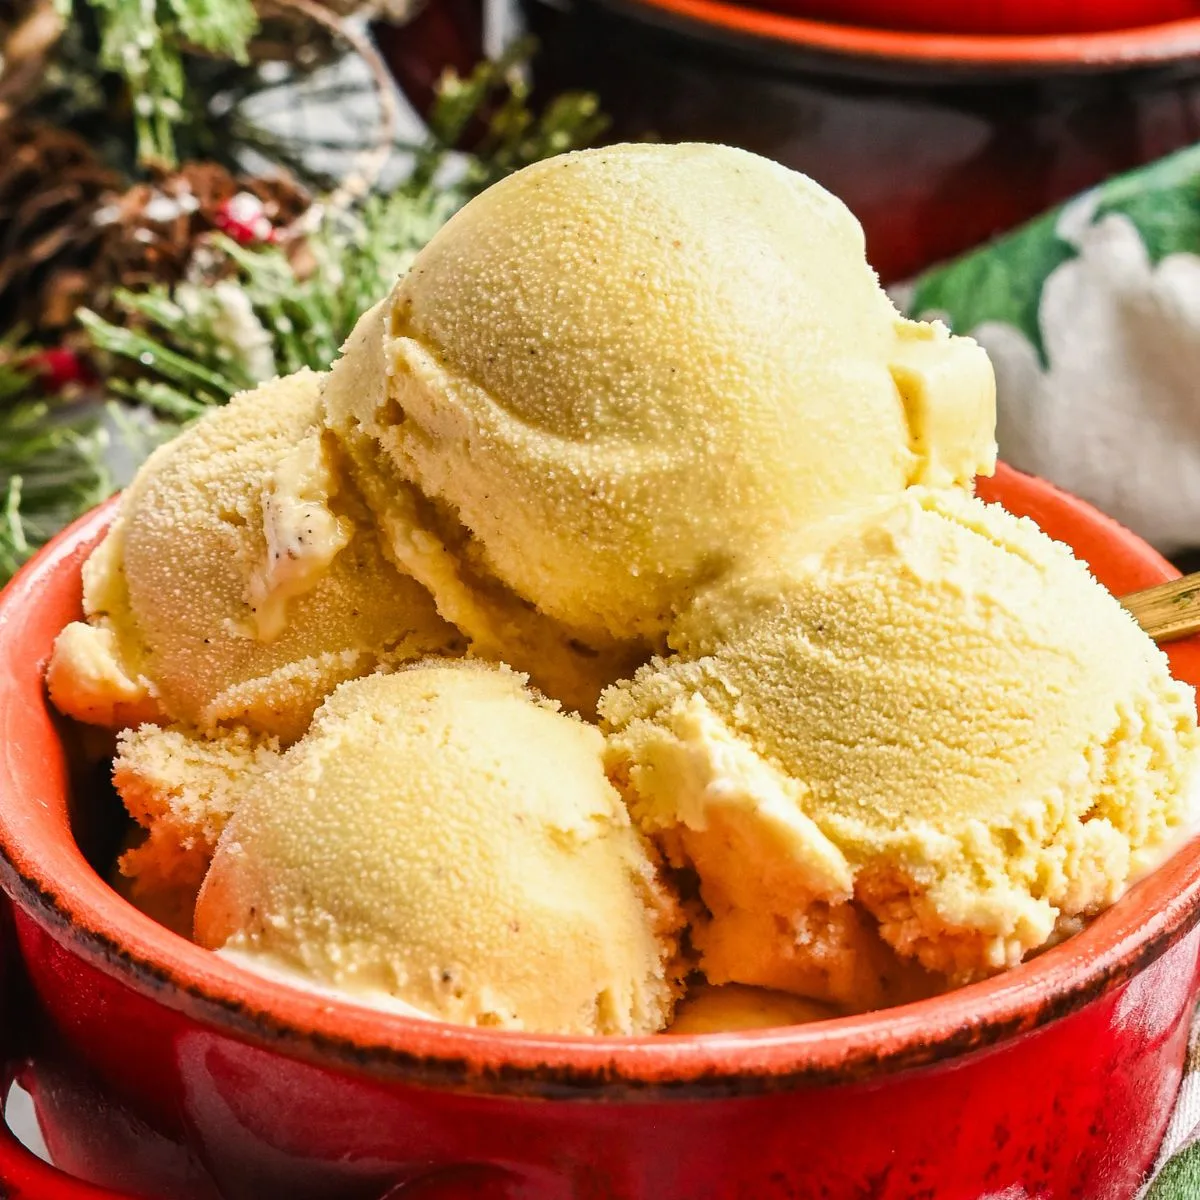
Homemade Eggnog Ice Cream
Ingredients
- 2 ½ cups heavy whipping cream
- 1 ½ cups whole milk
- 1 ⅓ cups granulated sugar
- 4 large egg yolks
- 1 vanilla bean split lengthwise and seeded, or 1 tablespoon pure vanilla extract or vanilla bean paste
- 1 teaspoon ground nutmeg
- ⅛ teaspoon ground cinnamon
- 2 whole cloves
- ¼ teaspoon salt
- ¼ to ½ teaspoon rum extract optional
Instructions
- Add the heavy cream, whole milk, vanilla bean and seeds, nutmeg, cinnamon, whole cloves, and salt to a saucepan.
- Heat over medium-low heat until the mixture is hot and steaming, but do not let it boil. Remove the pan from the heat and let the spices steep for about 10 minutes.
- In a separate bowl, whisk together the egg yolks and granulated sugar until smooth.
- Slowly whisk a small amount of the warm cream mixture into the egg yolks. This helps temper the eggs so they do not scramble.
- Gradually whisk in more of the warm cream mixture, then pour the tempered egg mixture back into the saucepan.
- Cook until the mixture thickens and coats the back of a spoon (170°F - 175°F, don’t let it boil!). Remove from heat and allow it to rest for 5 minutes. If using vanilla extract, vanilla bean paste, or rum extract, stir it in after removing the custard from the heat.
- Pour the custard through a fine mesh strainer into a clean bowl.
- Cover and chill the custard completely in the refrigerator, at least 4 hours or overnight. Churn according to your ice cream maker manufacturer’s directions. Transfer the churned ice cream to a freezer-safe container. Press parchment paper or plastic wrap directly over the surface, cover, and freeze until firm enough to scoop.
Notes

Welcome!
Hi! I’m Stephanie, also known as Idie. Follow me as I tap into the methods of the past and learn how to make my world a little smaller.
Leave a Reply