How To Make Easy Homemade Butter From Raw Milk
Learn how to make easy homemade butter from raw milk cream or store-bought heavy cream using a stand mixer. This simple method turns fresh cream into rich homemade butter and leftover buttermilk in just a few minutes.
Print
Pin
Servings: 1 cup butter
Equipment
- Stand mixer with whisk attachment
- Splash shield or clean kitchen towel
- Rubber spatula
- Wooden spoon
- Clean bowl
- Fine mesh strainer, optional
- Storage container for buttermilk
- Freezer paper or airtight container for storing butter
Ingredients
- Raw milk cream or store-bought heavy cream
- Salt, optional
Instructions
Skim the cream
- Carefully skim the cream from the top of your raw milk using a ladle, turkey baster, or measuring cup. Let the cream sit at room temperature for a little while so it is not ice cold.
- If you are using store-bought heavy cream, pour it directly into the mixer bowl.
Whip the cream
- Pour the cream into the bowl of a stand mixer fitted with the whisk attachment. Place a splash shield or clean towel over the mixer.
- Start on low speed, then gradually increase to high. The cream will first turn into whipped cream.
Keep mixing until the cream separates
- Continue mixing past the whipped cream stage. The cream will begin to look grainy, then it will suddenly separate into yellow butter solids and liquid buttermilk.
- You may hear a splashing sound when this happens. That means the butter has separated.
- Pause the mixer and scrape down the sides of the bowl with a rubber spatula. Continue mixing until the butter fully clumps together and separates from the buttermilk.
Strain and save the buttermilk
- Remove the butter from the whisk and pour the buttermilk into a clean storage container.
- Do not throw it away. Fresh buttermilk can be used in baking and cooking, especially in pancakes, biscuits, and other homemade recipes.
Rinse the butter
- Place the butter back into the mixer bowl and cover it with cold water. Use your hands or a wooden spoon to gently press and work the butter.
- Drain the cloudy water and repeat with fresh cold water until the water runs mostly clear.
Press out the liquid
- Move the butter to a clean bowl. Press it gently with a wooden spoon to remove any remaining buttermilk or water.
- This step is especially important if you want the butter to last longer in the refrigerator.
Add salt if desired
- Add salt to taste if you want salted butter, or leave it plain for unsalted butter.
- Start with a small amount, mix it in, and taste before adding more.
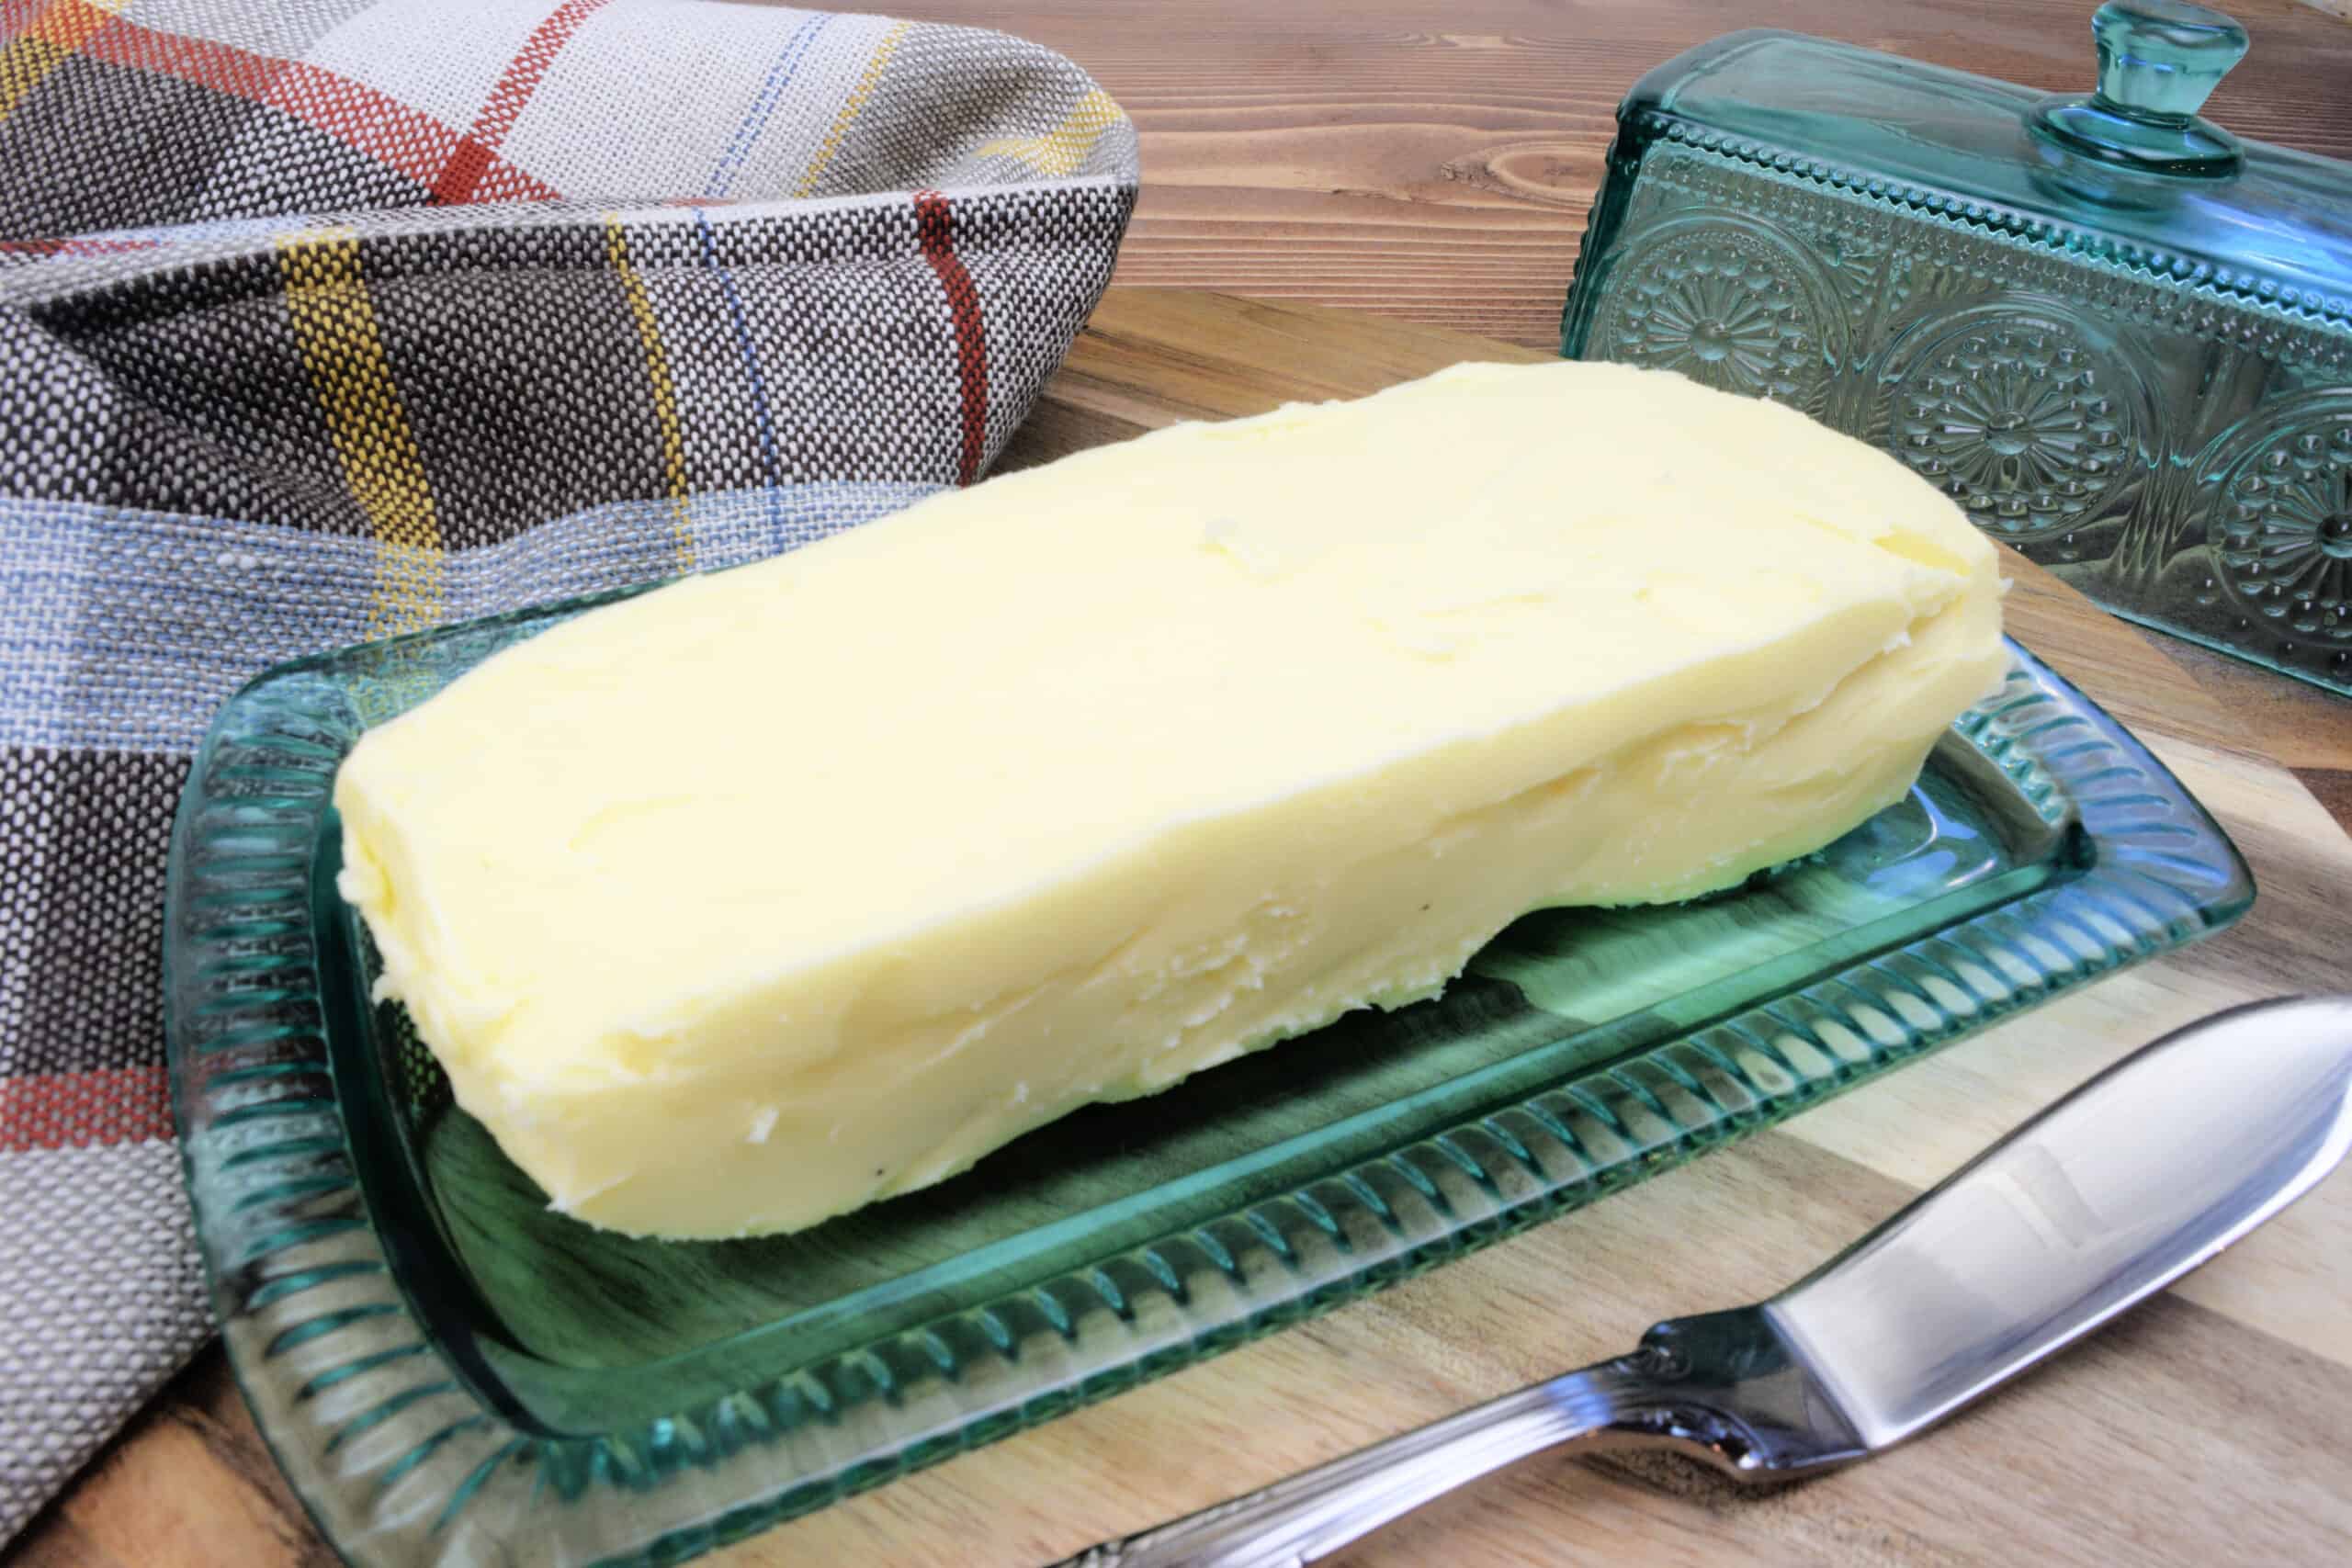
Shape and store the butter
- Shape the butter by hand, press it into a small bowl, or use a butter mold.
- Store homemade butter in the refrigerator for short-term use or wrap it tightly and freeze it for longer storage.