There’s nothing quite like the taste of homemade classic strawberry jam, especially when it’s made the old-fashioned way without store-bought pectin. Simple ingredients and a bit of patience, makes this nostalgic spread perfect for any occasion. This homemade strawberry jam lets the natural pectin in the berries do all the work, resulting in a sweet, glossy preserve that’s bursting with a bright strawberry flavor.
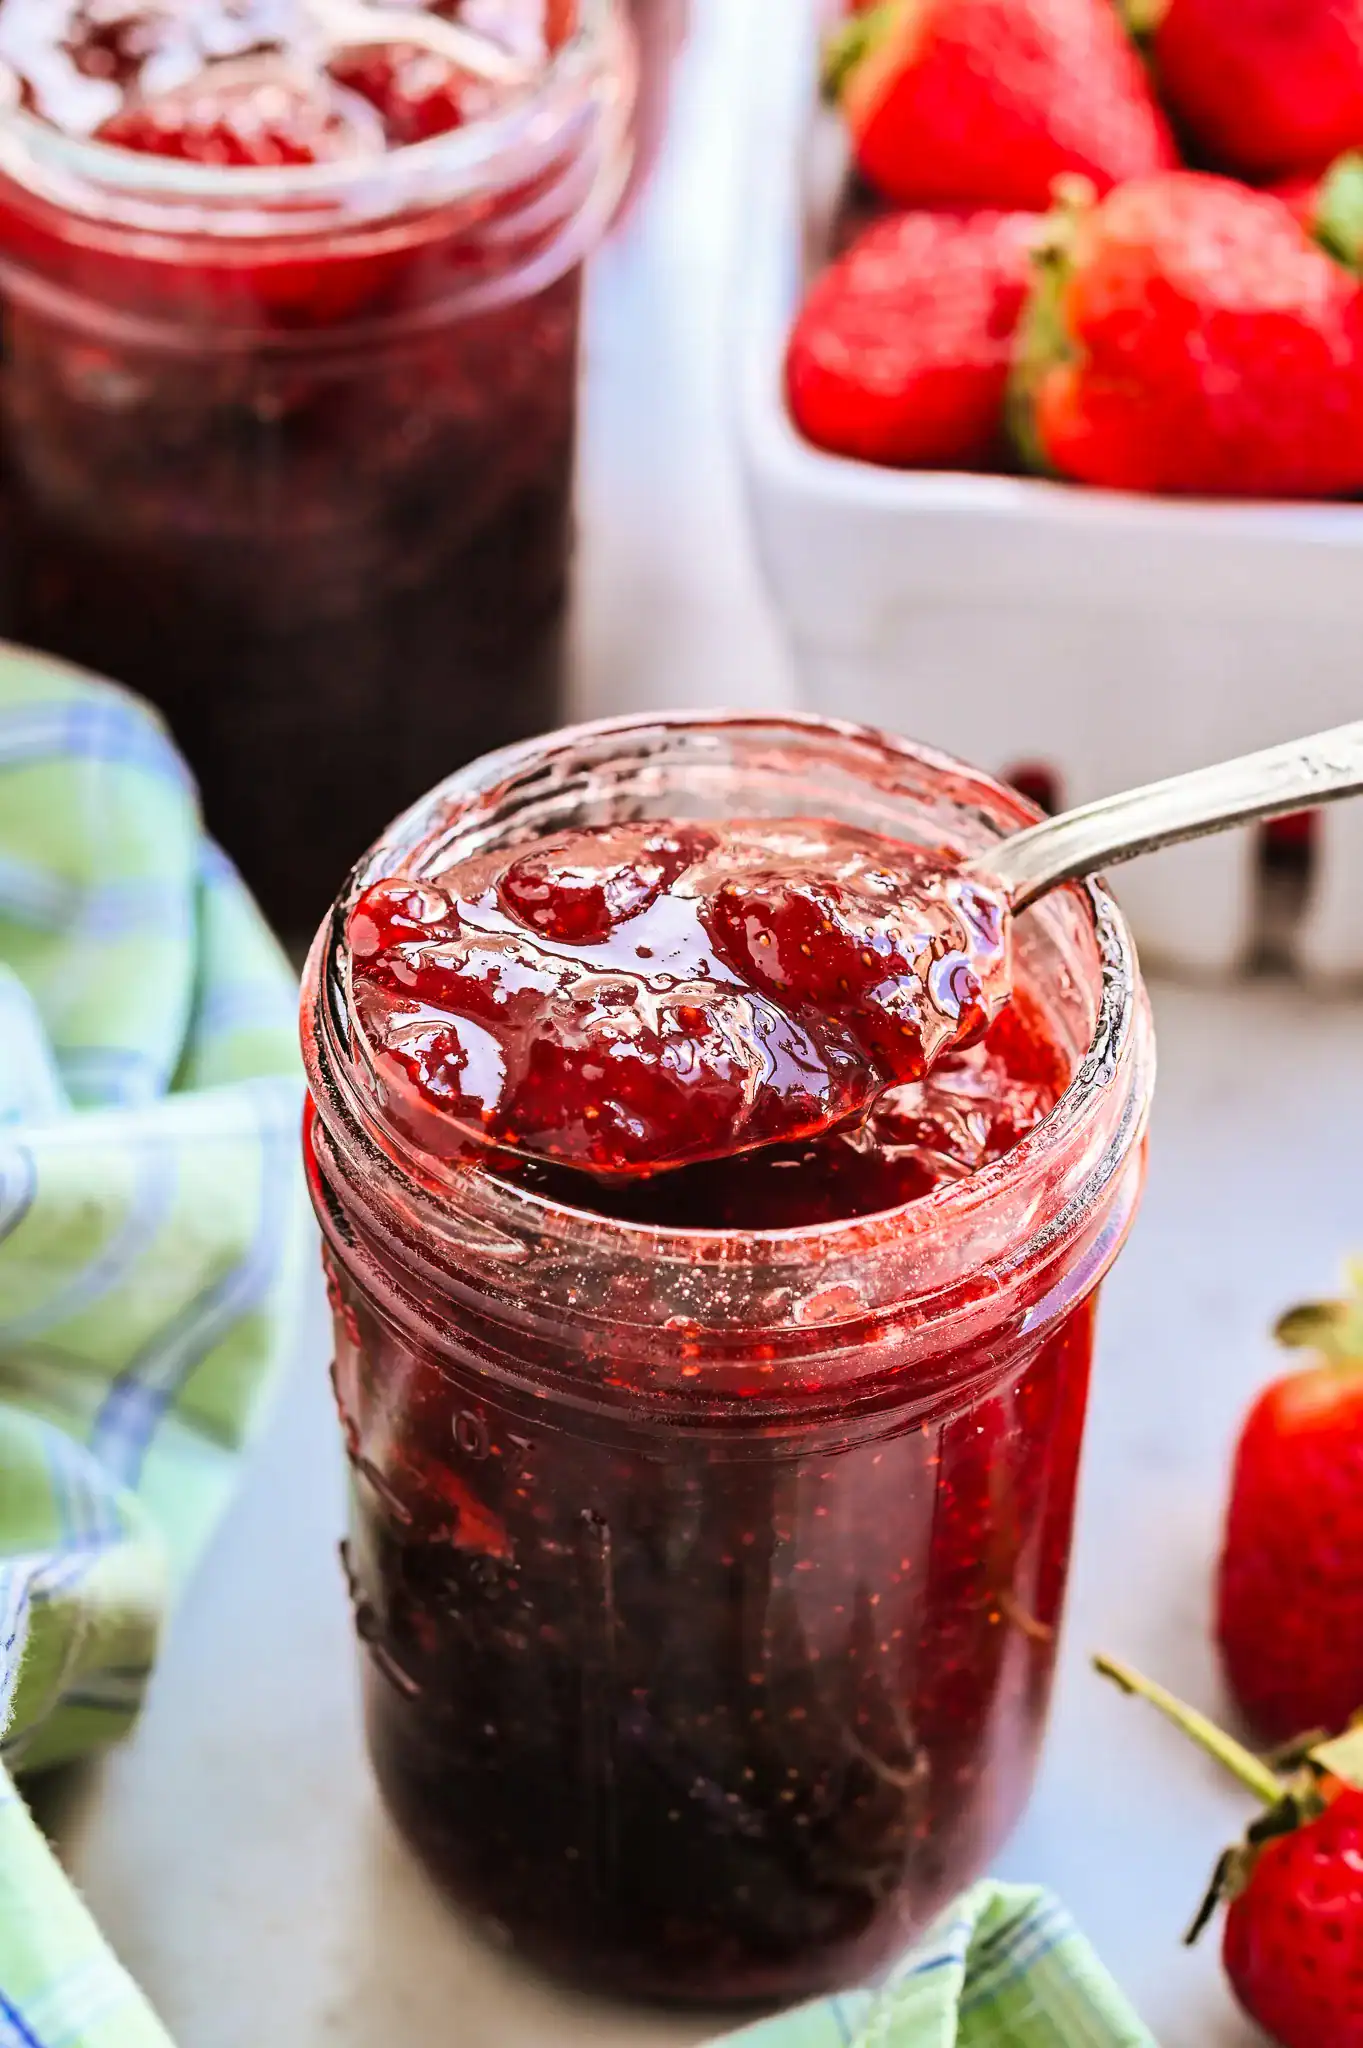
Table of Contents
This post contains affiliate links, which means I make a small commission at no extra cost to you. See my full disclosure here.
Why you will love this recipe
This recipe is a delicious way to savor strawberry season all year long! Making your own jam bursting with fresh berry flavor is not only rewarding—it’s a joy to create. Plus, it's so fun to dream up all the ways you'll enjoy it, from morning toast to sweet little gifts! We also find it delicious in a peanut butter and jelly sandwich, on homemade French vanilla ice cream, or layering in desserts such as sourdough pop tarts. With just three ingredients and no added thickeners, preservatives, or artificial sweeteners, this simple, foolproof homemade jam is something you can feel good about serving your family or handing out as little gift to friends and neighbors.

Can homemade strawberry jam be made without pectin
This is a common question I hear often, and I am happy to report that--yes! homemade jams can be made without pectin! I have successfully made our homemade jams throughout the years without having to add fruit pectin, and they've been delicious. The longer and slower you cook the jam (without burning it), the thicker it will become. Just keep an eye on it and test it using the cold plate test to know when it’s ready!
How to tell when the homemade strawberry preserves are ready
Ideally you would want to use a candy thermometer to cook your jam. Once it reaches 220 degrees, then you will know that you have reached the proper temperature to activate the pectin. Alternately, if you don't have a candy thermometer you can do the cold plate test.
How to perform the cold plate wrinkle test
- Put a small plate in the freezer before you start cooking your jam.
- When the jam looks thick and glossy, drop a small spoonful on the cold plate.
- Wait about 30 seconds, then push it gently with your finger.
- If it wrinkles, your jam is ready!
- If it’s still runny, cook a little longer and test again.

Ingredients for Homemade Strawberry Preserves
- 2 pounds fresh strawberries (about 6 cups, hulled and halved)
- 1 ¼ cups of sugar
- 2 tablespoons fresh lemon juice
- ½ teaspoon lemon zest
Instructions for Easy Strawberry Jam Recipe

STEP 1: Wash, hull, and halve your strawberries. If you like a smoother jam, you can mash them a bit with a potato masher or fork before cooking. You can also pulse them in a food processor.

STEP 2: In a large pot, combine the fresh berries, sugar, lemon juice, and lemon zest. Stir to coat the fruit evenly.
STEP 3: Place the saucepan over medium heat and bring the mixture to a full rolling boil, stirring frequently throughout the cooking process to prevent sticking. Continue cooking for about 40-50 minutes, or until the jam thickens and reaches the gel stage or a candy thermometer reaches 220 degrees. You’ll notice that it darkens slightly and bubbles more slowly as it thickens.

TIPS for the Best Homemade Strawberry Jam
- Honey or brown sugar are wonderful substitutions for organic white sugar.
- Lemon zest or orange zest can also be added to brighten the flavor even more!
- Refrain from cooking the strawberry jam on high heat as it can scold the bottom of the pan and result in an off tasting jam.
- Because this is a small batch strawberry jam recipe, you may not be interested in canning it, but if you did decide to do a large batch of jam and need to do long term storage, do not skip the lemon juice. The lemon juice will help keep the jam from going bad by creating an acidic environment that prevents bacteria and mold from growing.
- (Optional--Canning Process) To can, carefully ladle the hot jam into sterilized jars using a canning funnel, leaving ¼-inch headspace. Wipe the rim of the jar clean to insure that it can get a good seal. Seal the jelly jars with the lid, and keep them completely submerged in a boiling water bath for 10 minutes (for canning). It's a good idea to follow the instructions of the canning jar manufacturer on how to properly process and seal your jars.
- Let the jars cool completely. Store unopened jars in a cool, dry place for several months. Opened jars should be refrigerated and used within 3–4 weeks.
More Easy Dessert Recipes
Homemade Chewy Caramel Candy Without Corn Syrup
Homemade Soft Caramel Recipe (Without Corn Syrup)
How to Make the Best Homemade TEXAS Size Marshmallows
Simple New York Style Cheesecake Recipe (No Springform Pan)

Tried this recipe?
I would love to see it! Tag me on Instagram @idiesfarm and #idiesfarm so I can share your beautiful creation!
Classic Homemade Strawberry Jam Without Pectin
Ingredients
- 2 pounds fresh strawberries about 6 cups, hulled and halved
- 1 ¼ cups of sugar
- 2 tablespoons fresh lemon juice
- ½ teaspoon lemon zest
Instructions
Prep the strawberries
- Wash, hull, and halve your strawberries. If you like a smoother jam, you can mash them a bit with a potato masher or fork before cooking. You can also pulse them in a food processor.
Combine ingredients
- In a large pot, combine the fresh berries, sugar, lemon juice, and lemon zest. Stir to coat the fruit evenly.
Cook the jam
- Place the saucepan over medium heat and bring the mixture to a full rolling boil, stirring frequently throughout the cooking process to prevent sticking. Continue cooking for about 40-50 minutes, or until the jam thickens and reaches the gel stage or a candy thermometer reaches 220 degrees. You’ll notice that it darkens slightly and bubbles more slowly as it thickens.
Notes
- Honey or brown sugar are wonderful substitutions for organic white sugar.
- Lemon zest or orange zest can also be added to brighten the flavor even more!
- Refrain from cooking the strawberry jam on high heat as it can scold the bottom of the pan and result in an off tasting jam.
- Because this is a small batch strawberry jam recipe, you may not be interested in canning it, but if you did decide to do a large batch of jam and need to do long term storage, do not skip the lemon juice. The lemon juice will help keep the jam from going bad by creating an acidic environment that prevents bacteria and mold from growing.
- (Optional--Canning Process) To can, carefully ladle the hot jam into sterilized jars using a canning funnel, leaving ¼-inch headspace. Wipe the rim of the jar clean to insure that it can get a good seal. Seal the jelly jars with the lid, and keep them completely submerged in a boiling water bath for 10 minutes (for canning). It's a good idea to follow the instructions of the canning jar manufacturer on how to properly process and seal your jars.
- Let the jars cool completely. Store unopened jars in a cool, dry place for several months. Opened jars should be refrigerated and used within 3–4 weeks.