Nowadays it seems as though there is always talk about the importance of gut health, or healing the gut. And in most cases, this is usually followed up with some type of recommendation of healthy probiotics in a pill form, even in homeopathy, or shall I say ALWAYS in homeopathy. Why is that? Sounds like a big money scheme to me. How did people do it in the past? I can just see it. “Before you wolf down that steak Ma, take this here pill. Guaranteed to make it to the gut and digest that meat for you!” Huh? Now there’s an interesting thought, do they actually make it to the gut? There is a debate about it. Instead of breaking the bank and popping another pill, why not look into real food fermentation with homemade sauerkraut? The way it was done in the past.

This post contains affiliate links, which means I make a small commission at no extra cost to you. See my full disclosure here.

This easy recipe is my favorite way to support my family's gut health. The best thing is that you don’t have to scour amazon trying to find the best pill for under $30. Cabbages cost under $5! And just a fork full of this basic slaw recipe will give you more than what a whole bottle of probiotics can give you! Not to mention it’s such a great way to add a side dish when you are in a rush! You can always use it as a base and add it to your favorite coleslaw recipe. Keep in mind you are not limited to just green cabbage! You can experiment with red cabbage and add some of your favorite seasonings such as black pepper and turn it into your very own favorite cabbage salad.
Tips For The Fermentation Process
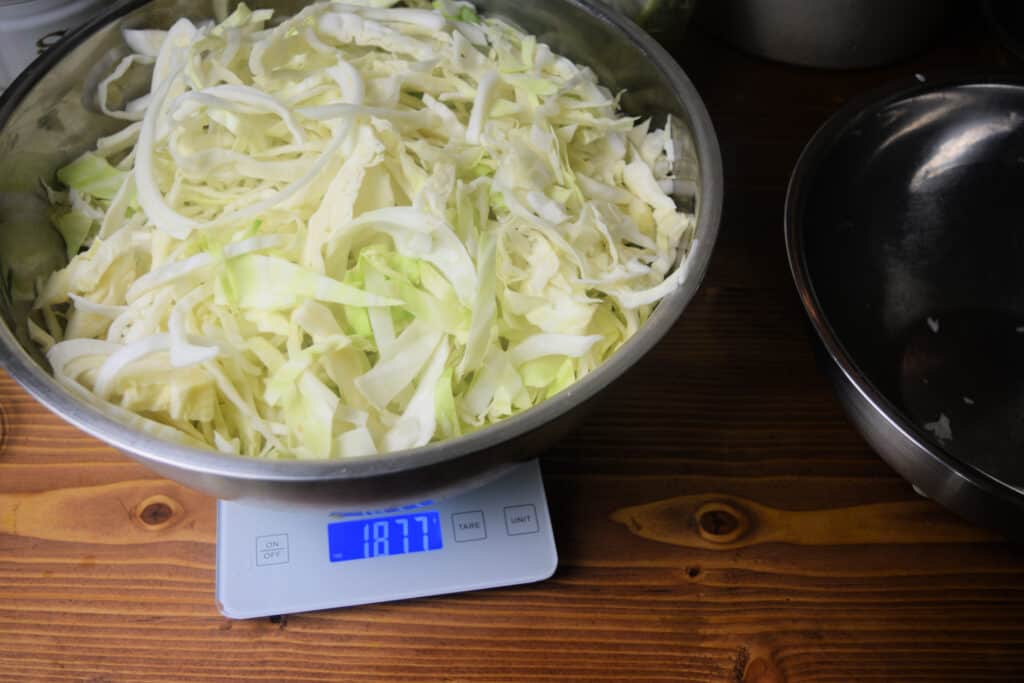
- You want a 2% salt to cabbage ratio. Weigh your raw cabbage in grams then multiply the total weight by .02. This is the amount of sea salt you want to add to your shredded cabbage to make the perfect salt water (the cabbage will render it's own juices, don't add water). I prefer to do this method as it keeps the guesswork out of it and your sauerkraut consistent in taste. Nobody likes to walk away from the dinner table with sausage legs!

- All the vegetables need to stay submerged under the brine which will help to get rid of the presence of oxygen and provide a healthy and safe environment for the good bacteria to thrive.
- I like to ferment using a wide-mouth quart mason jar with a glass weight to place on top of the cabbage to make sure the food stays submerged under the brine.
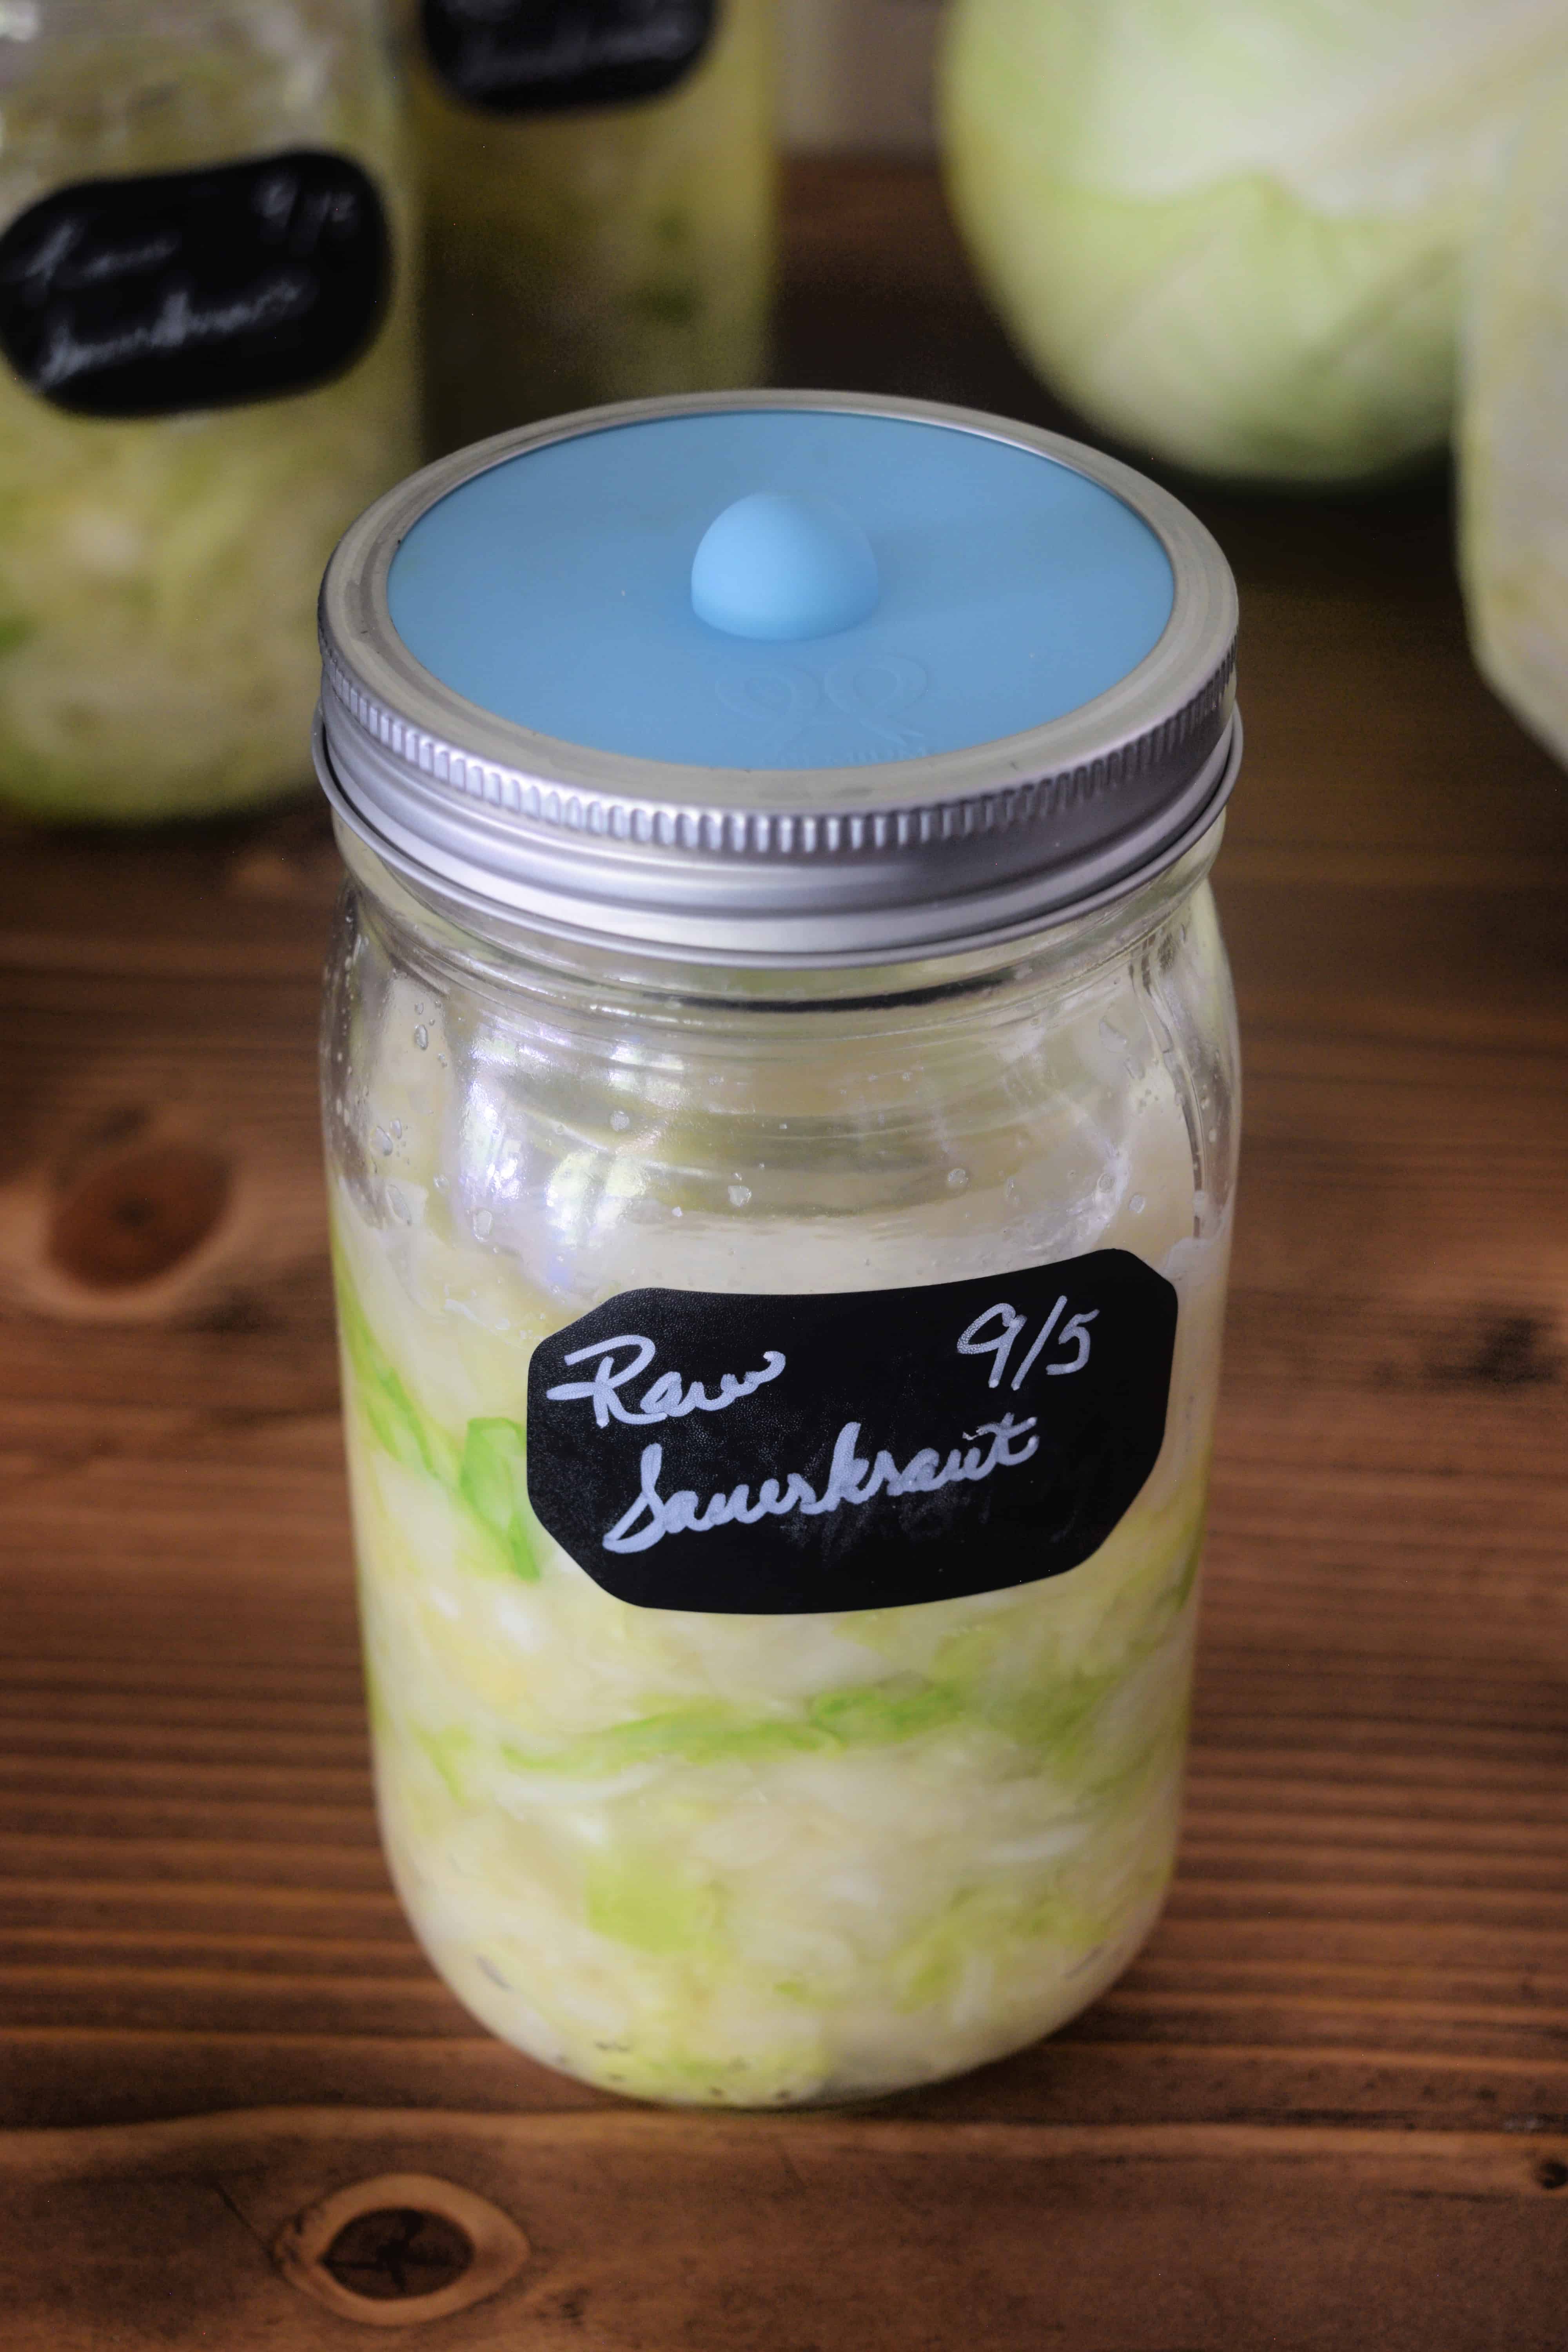
- After about 24 hours (or the next day) you’ll need to “burp” the jar. This is where you will unscrew the top just a little bit to let out the excess gasses that have built up from the fermentation process. Then, you will quickly close the lid to keep from letting oxygen in. If you don’t do this at least once a day, then the gasses can build up creating pressure and cause your jar to explode! I have a tendency to get very busy and completely forget, so I have invested in easy fermentation lids that continually let out the gasses for me, so I am able to set it aside and forget about it until it’s ready to enjoy!

- Green or black mold found on the top and throughout would be my biggest concern, which would mean not enough salt was added and oxygen got in. At that point I would compost it. If I see a white layer on top, I will usually skim it off as this is just yeast. This should smell like cabbage upon opening and should NOT smell bad, and if it does, then throw it in the compost pile! I have found google pictures to be very helpful when I am seeing something questionable in my ferments, but for the most part, if I’m questioning it, it goes to my chickens. It’s not worth it for me!

- I like to let my ferments sit in a dark place at room temperature, away from direct sunlight, like a pantry, to allow the fermentation process to take place. If for some reason I need to ferment at a slower rate, I will place it in a cool place like a cold storage.

- If you are new to fermented coleslaw, then I would start with small quantities to give your digestive tract time to adjust to all of the good bacteria you are about to devour, otherwise it may give you an embarrassing digestive upset!
- Do not fill to the top of the jar! This will cause your ferment to bubble over during the fermenting process! Instead fill only to, what I like to call, the “hips” of the mason jar. The point where it starts to curve inward at the top.
- Fermentation time is about 2-3 weeks.

What You'll Need:
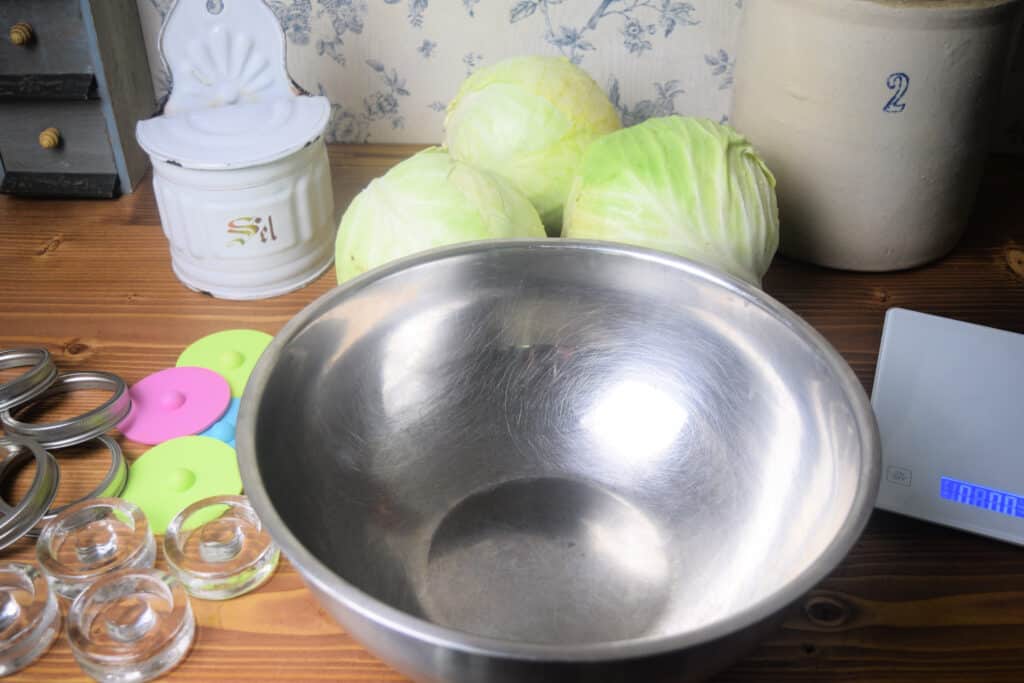
- Large bowl and possibly a separate bowl
- Cutting board and a sharp knife. You could also use a food processor.
- 1 cabbage
- Sea salt, or himalayan salt (preferred over kosher salt)
- Quart jar
- Glass weights
- Burping lids found
- Tamper (I used my vitamix tamper, some people use a wood spoon.)


Directions On How To Make Fermented Sauerkraut
Cut cabbage into quarters. Cut the stem off and discard. Slice cabbage into thin slices. Place into a large mixing bowl. Weigh cabbage in grams, then multiply the total weight by .02. Add this amount of salt on top of cabbage. With your hands, scrunch the cabbage until it breaks down and water releases. Depending on your strength, this can take up to 5 minutes. Once its natural juices are rendered, place cabbage in a mason jar. Use your tamper or spoon to press the cabbage again until the cabbage is fully submerged in its liquid, and both liquid and cabbage are beneath the “hips” of the jar. Add fermentation glass weights, then add a burping lid to the top of the jar. Store your sauerkraut in a dark place for about 2 to 3 weeks. You can open it in two weeks and see if it’s the desired crunch for you. If it is, then great–enjoy! If not, reseal it and try it in a few days. Once it’s to your liking, serve it as is or dress it up with apple cider vinegar, olive oil, and your favorite seasonings!
Ingredients
- 1 Cabbage
- Sea Salt
Instructions
- Cut cabbage into quarters. Cut the stem off and discard. Slice cabbage into thin slices. Place into a large mixing bowl. Weigh cabbage in grams, then multiply total weight by .02. Add this amount of salt on top of cabbage. With your hands, scrunch the cabbage until it breaks down and water releases. Depending on your strength, this can take up to 5 minutes. Once its natural juices are rendered, place cabbage in a mason jar. Use your tamper or spoon to press the cabbage again until the cabbage is fully submerged in its liquid, and both liquid and cabbage are beneath the “hips” of the jar. Add fermentation glass weights, then add a burping lid to the top of the jar. Store your sauerkraut in a dark place for about 2 to 3 weeks.
Notes
Interested in more gut healthy recipes? Check out my fermented Pico de Gallo recipe here! Or my How To Make Homemade Clabber here!


