This complete guide on how to reactivate a dried sourdough starter involves a few simple steps. You will find that with just a little bit of patience, just a couple minutes a day, and only a few days worth of effort, you should have a very active sourdough starter!

Table of Contents
Don't have a dry sourdough starter? Check out this post: How to Make Dried Sourdough Starter From Scratch
This post contains affiliate links, which means I make a small commission at no extra cost to you. See my full disclosure here.

How long does it take to revive a dehydrated sourdough starter?
Rehydrating a dehydrated sourdough starter can take 2-3 days to possibly a week, depending on the starter's strength and the temperature of the room. You might consider using a sourdough home or a sourdough proofer, which maintains the perfect temperature to revive your starter until it becomes bubbly and active. This tool is not only excellent for reviving a dried sourdough starter but also for starting a new one and maintaining it afterward. It's particularly useful during the winter months, especially if you live in a colder environment like I do! You can find a sourdough home or a sourdough proofer here.

When do you start discarding it before feeding it?
You will begin to discard the sourdough after you have fed it for the first time. So, on the second feeding.

Does sourdough starter need to be warm?
Sourdough starter needs to be kept at a warm temperature for several reasons:
1. Optimal Fermentation: Yeast and bacteria, the microorganisms responsible for fermentation in sourdough starter, thrive in warmer temperatures. A warm environment (around 75-80°F or 24-27°C) promotes their growth and activity, leading to better fermentation.
2. Faster Activation: When rehydrating or activating a sourdough starter, warmth speeds up the process. Yeast and bacteria become more active at higher temperatures, making the starter bubbly and ready for baking more quickly.
3. Consistent Results: A stable, warm temperature helps maintain consistent fermentation rates. This consistency is crucial for achieving predictable and reliable results in your sourdough baking.
4. Prevention of Unwanted Microorganisms: Warmer temperatures favor the growth of desirable yeast and bacteria over unwanted microorganisms. This helps maintain the health and stability of your sourdough starter.
5. Efficient Metabolism: Yeast and lactic acid bacteria in the starter metabolize sugars more efficiently at warm temperatures, which enhances the development of flavors and textures in the final bread.
In summary, maintaining a warm temperature ensures that your sourdough starter stays active, healthy, and productive, resulting in better fermentation and baking results.

Tips to Rehydrate a Sourdough Starter
Warm Environment: A warm location (around 75-80°F or 24-27°C) can speed up the reactivation process. For best results, make sure that the your starter is placed in a draft free area. You can always opt for a sourdough home or a sourdough proofer such as this one here. This will help keep the temperature consistent.
Patience: If the starter is slow to reactivate, don't be discouraged. Keep feeding it regularly, and it will eventually come back to life. All lot of this will depend on how strong the sourdough starter was prior to being placed in dormancy and the temperature of the environment as stated above.
Use Unbleached Flour: Unbleached, all-purpose, or whole wheat flour is ideal for feeding the starter.
Discard: Follow a typical discard recipe of daily feedings until the starter doubles in size. (The instructions are at the end of this post.)

Materials Needed
- Small mixing bowl
- Measuring spoons
- Spoon or offset spatula (found here)
- Mason jar, clean jar, or airtight container
- Bowl scraper (optional)
- Sourdough home or a sourdough proofer such as this one here. (optional)
Ingredients to Revive Sourdough Starter
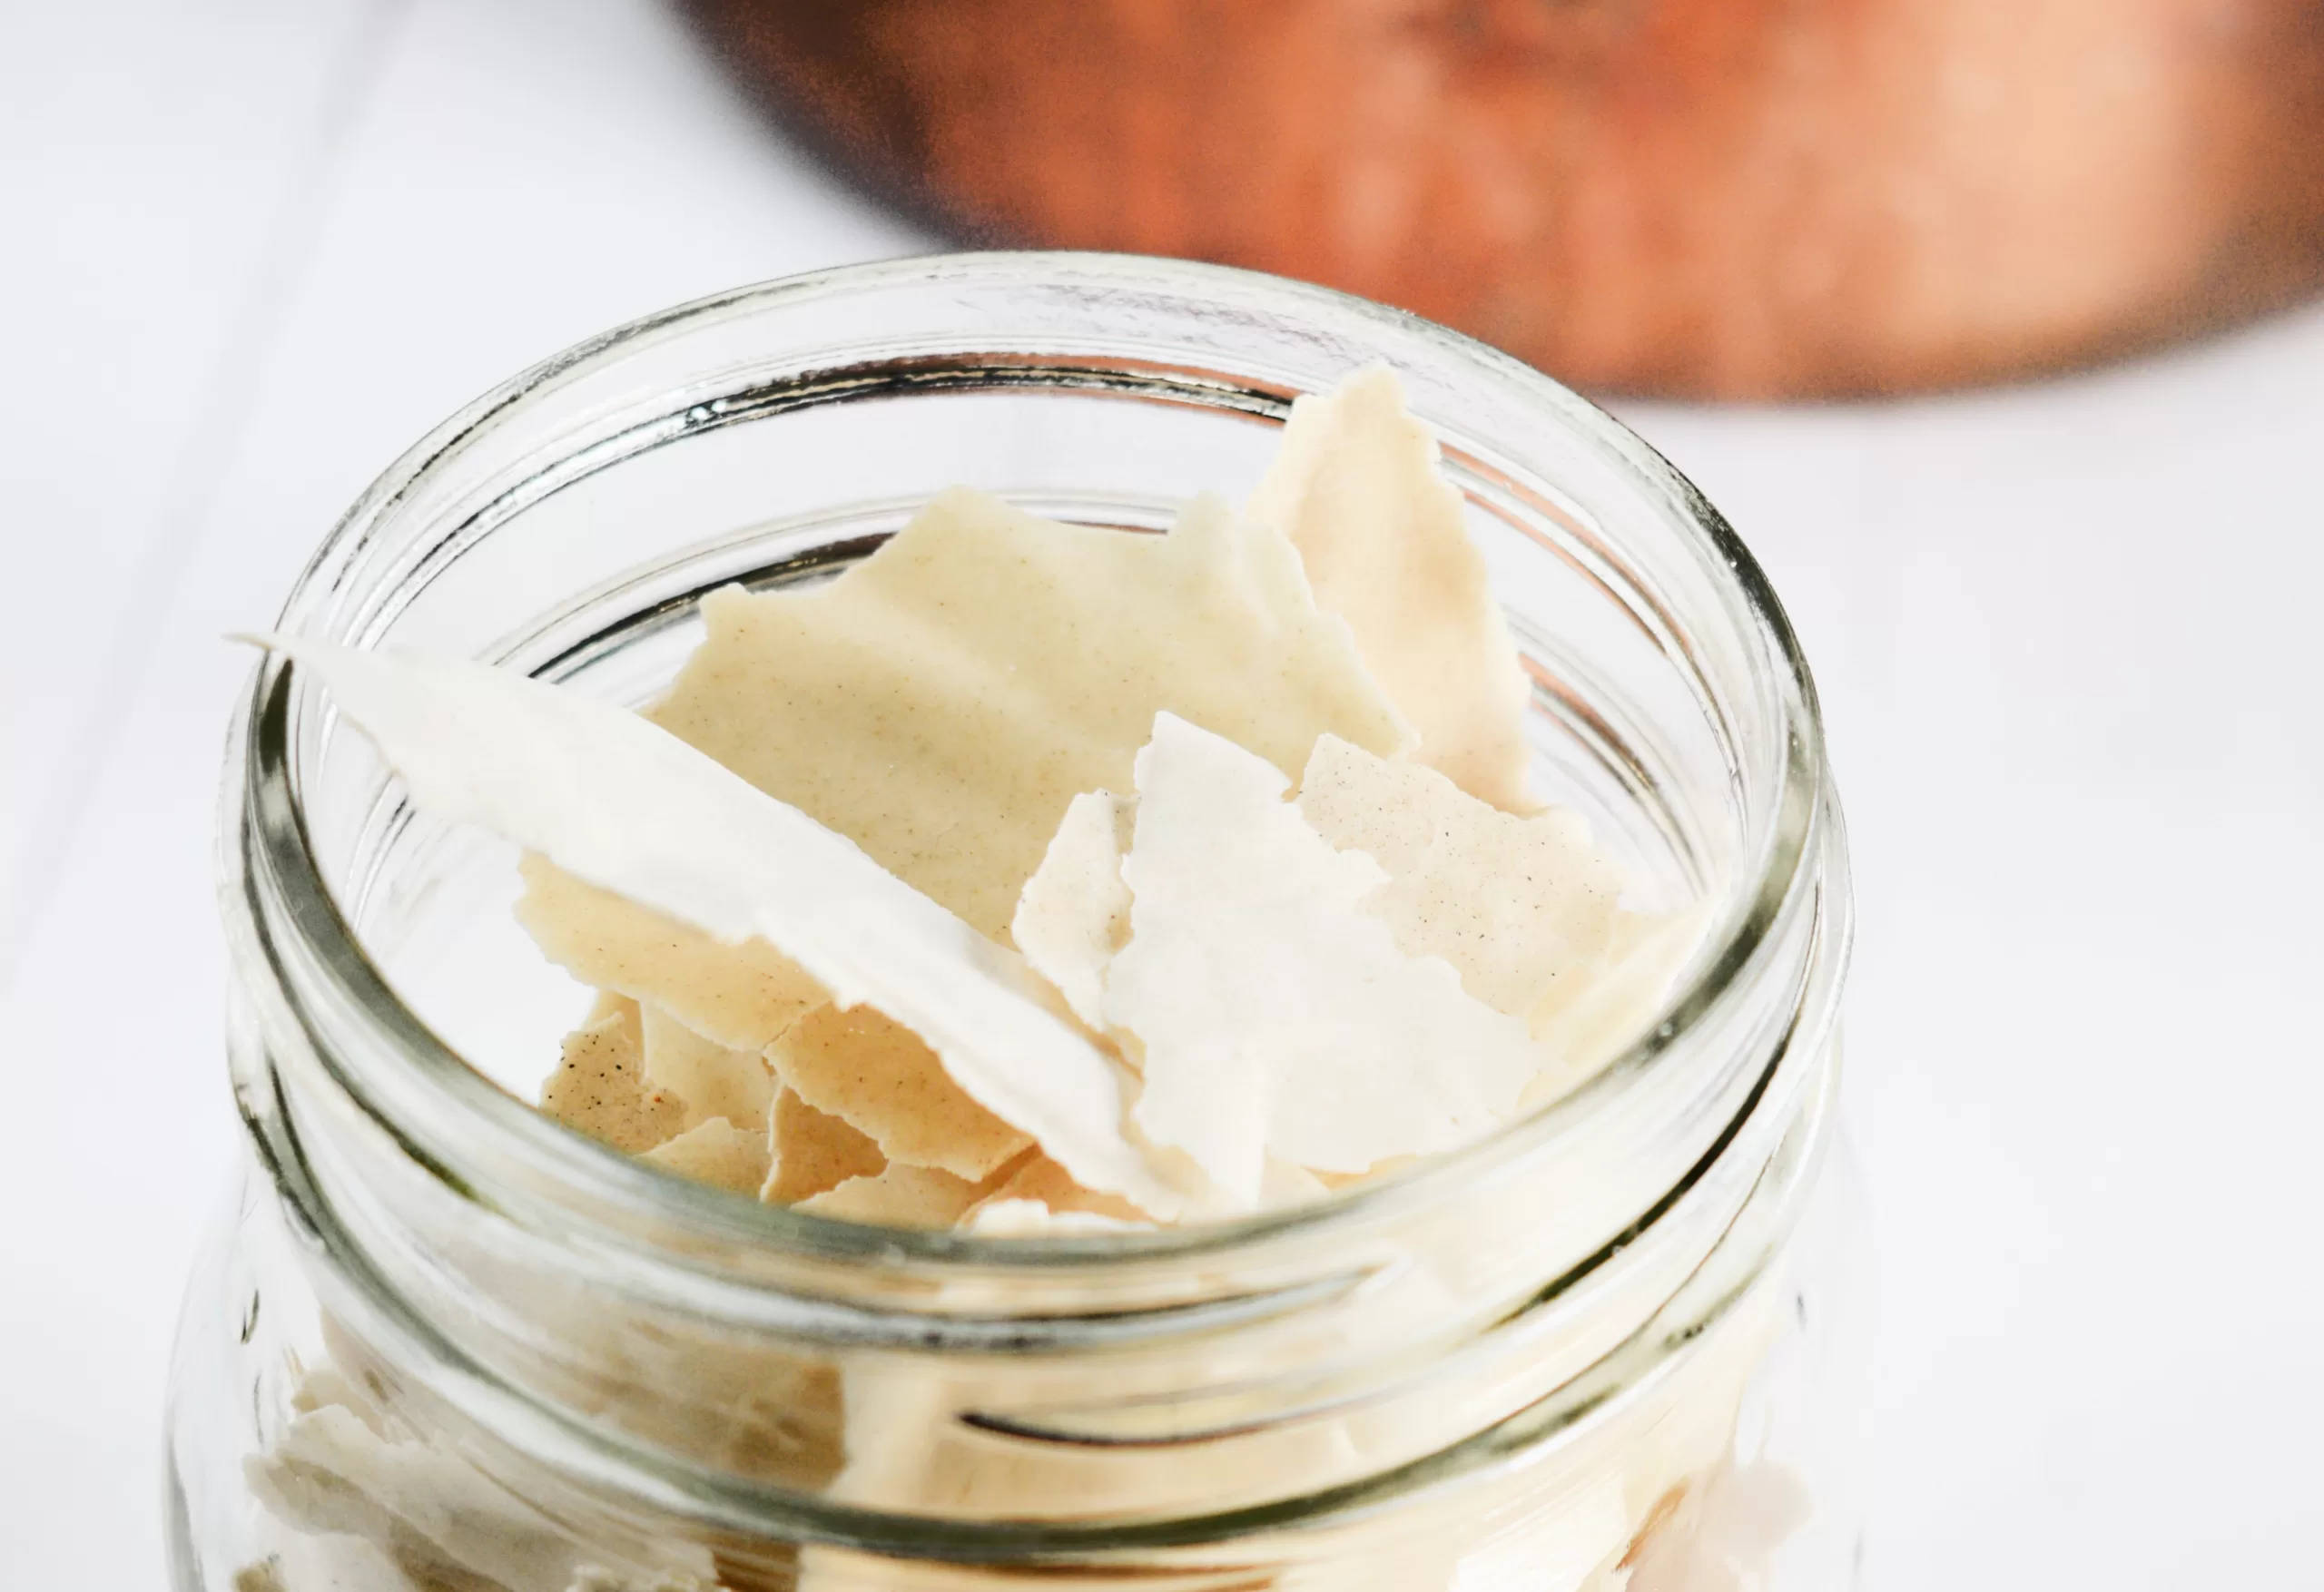
- Dried sourdough starter (in small pieces or powdered)
- Lukewarm water (bottled water, or purified water from a berkey water filter)
- All purpose flour

How to Reactivate a Dehydrated Sourdough Starter
- Measure the Dried Starter: Place about 1 tablespoon of the dried sourdough starter in a small mixing bowl or a wide-mouth jar.
- Add Water: Add an equal amount of warm filtered water (1 tablespoon) to the dried starter. Give it a good stir to combine and let it sit for about 1-2 hours, allowing the starter to soften and begin to dissolve. (If using a powdered dry sourdough starter, skip this step and proceed to step 3.)
- First Feeding: After the starter has softened, add 1 tablespoon of flour and 1 tablespoon of water. Mix well until you have a smooth paste. Cover loosely and let it sit at room temperature for 12-24 hours.
- Monitor Activity: After the initial 12-24 hours, check the starter for any signs of bubbles or fermentation. It might not be very active yet, but some signs of life are a good indication.
- Second Feeding: Add another 1 tablespoon of flour and 1 tablespoon of water to the starter. Mix thoroughly, cover loosely, and let it sit for another 12-24 hours.
- Continue Feeding: Continue feeding the starter every 12 hours, gradually increasing the amount of flour and water to 2 tablespoons each as the starter becomes more active. You may need to do this for 3-7 days, depending on the strength of the starter and the room temperature.
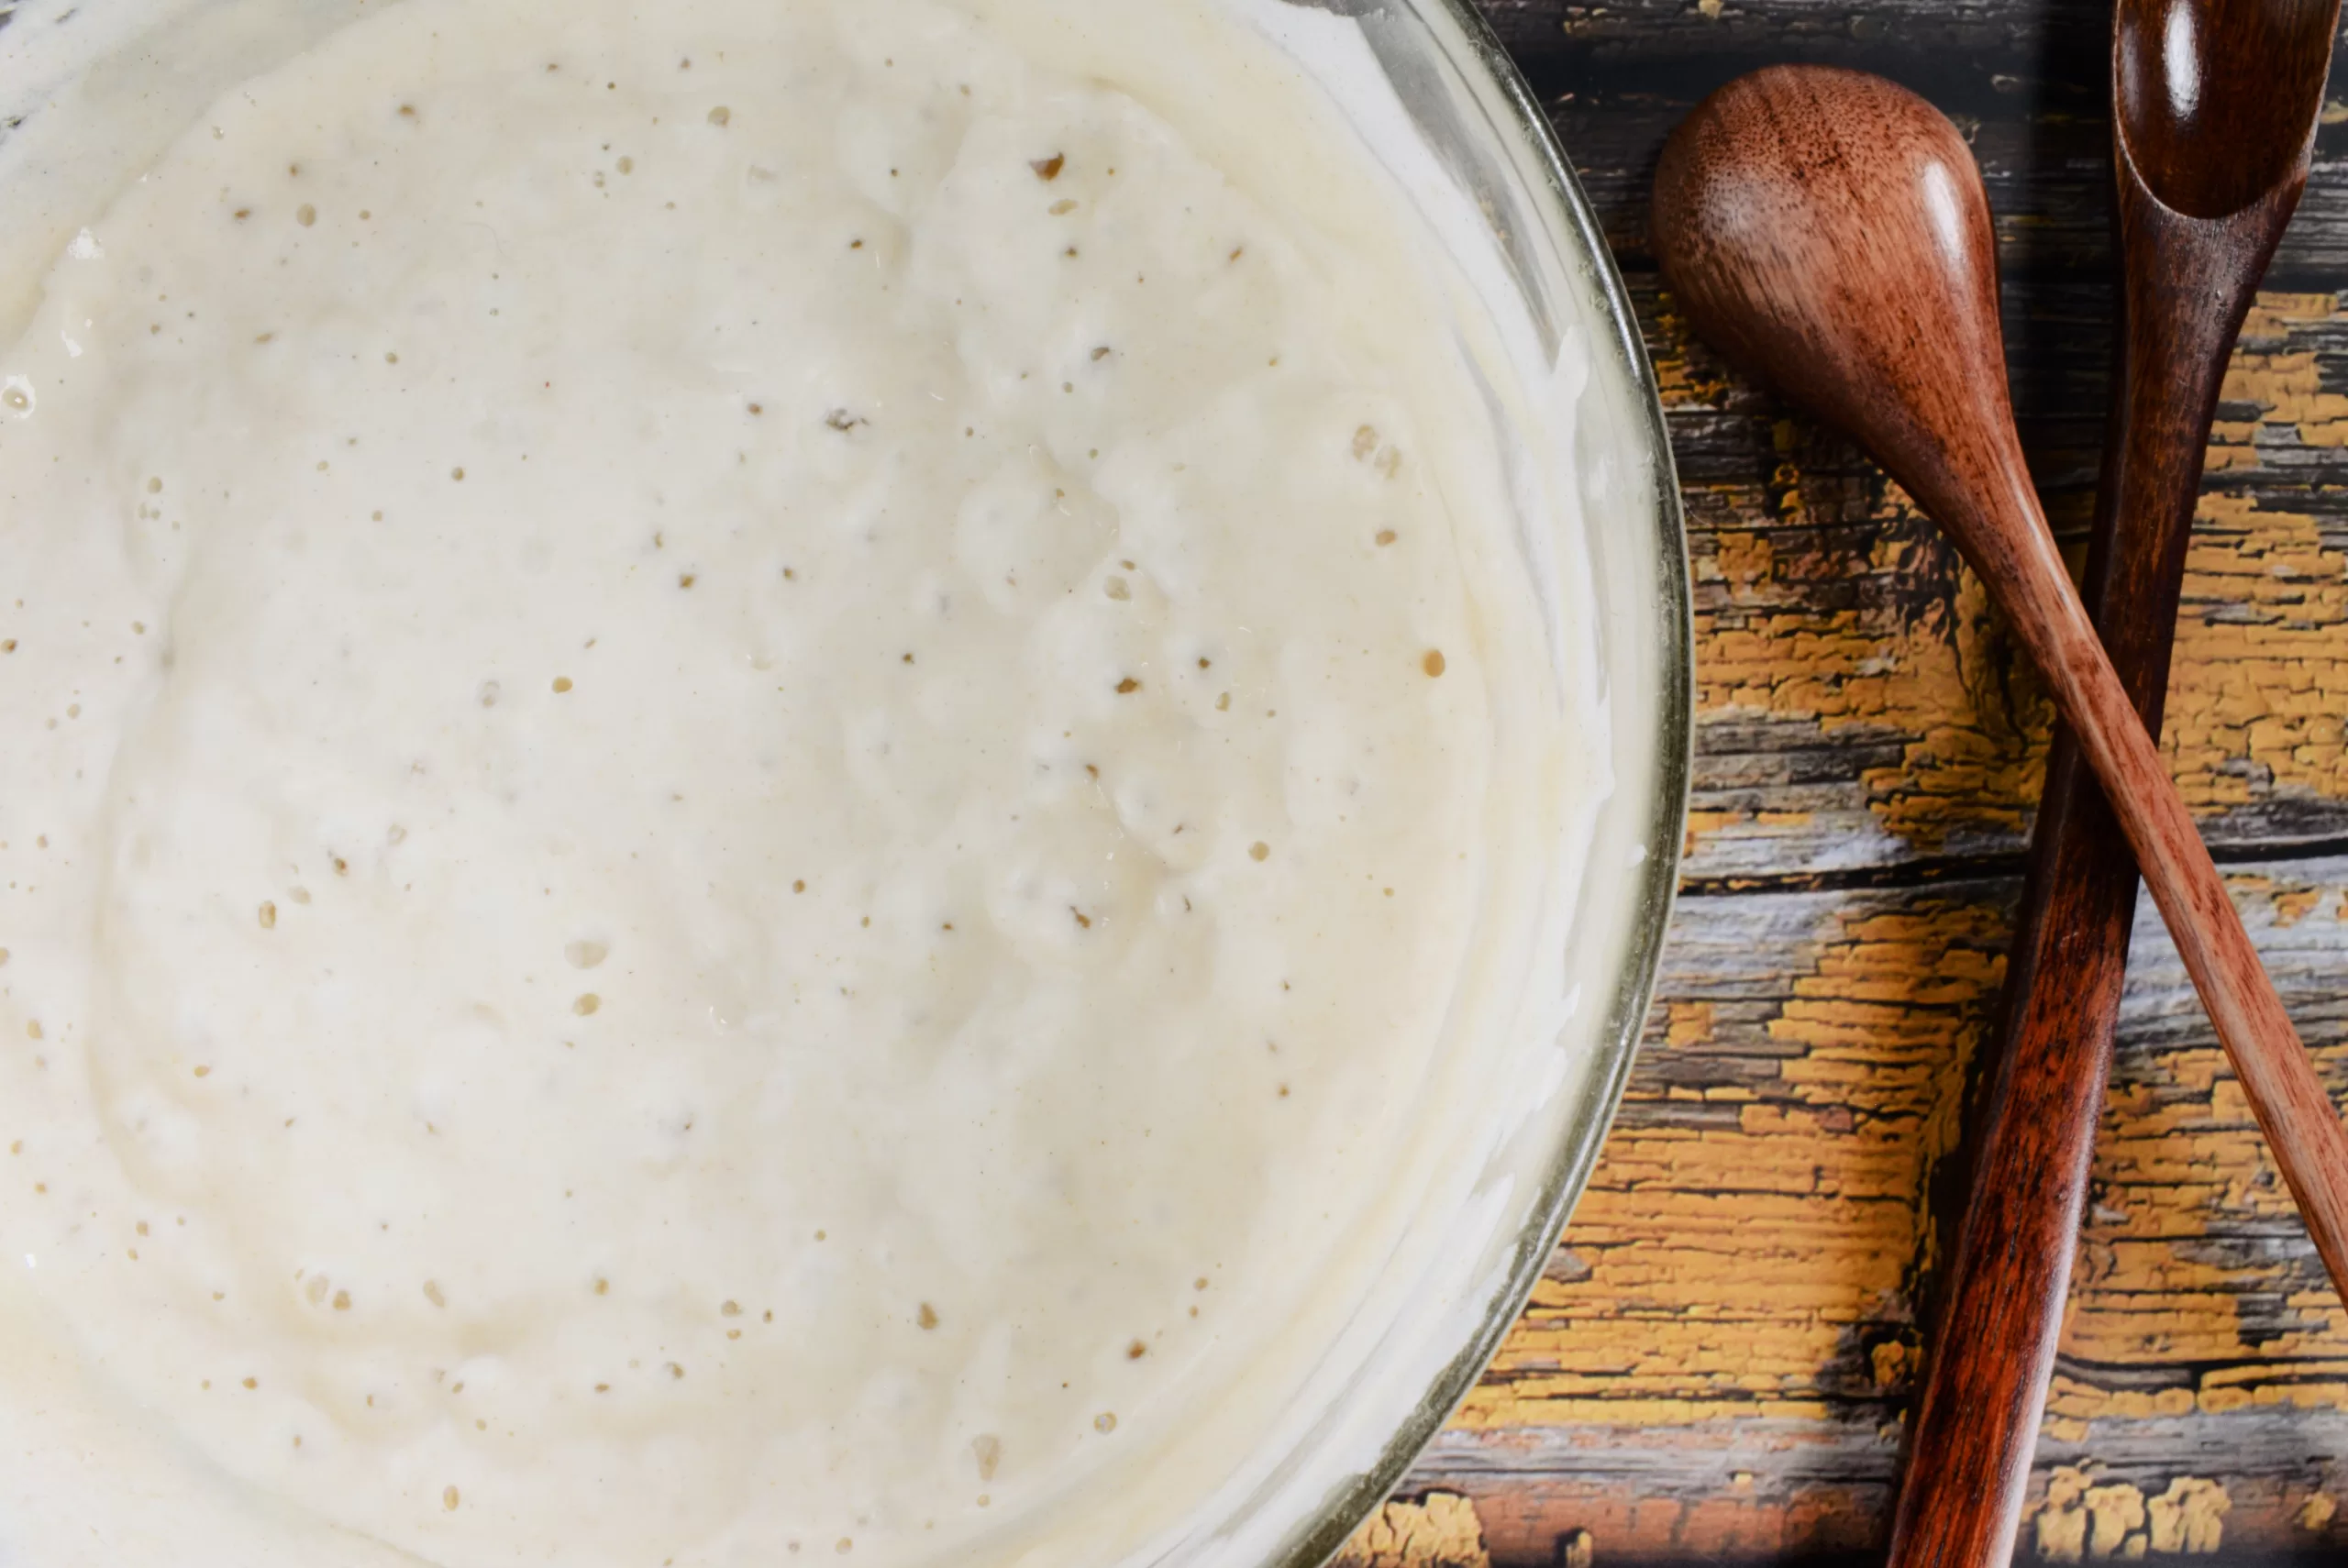
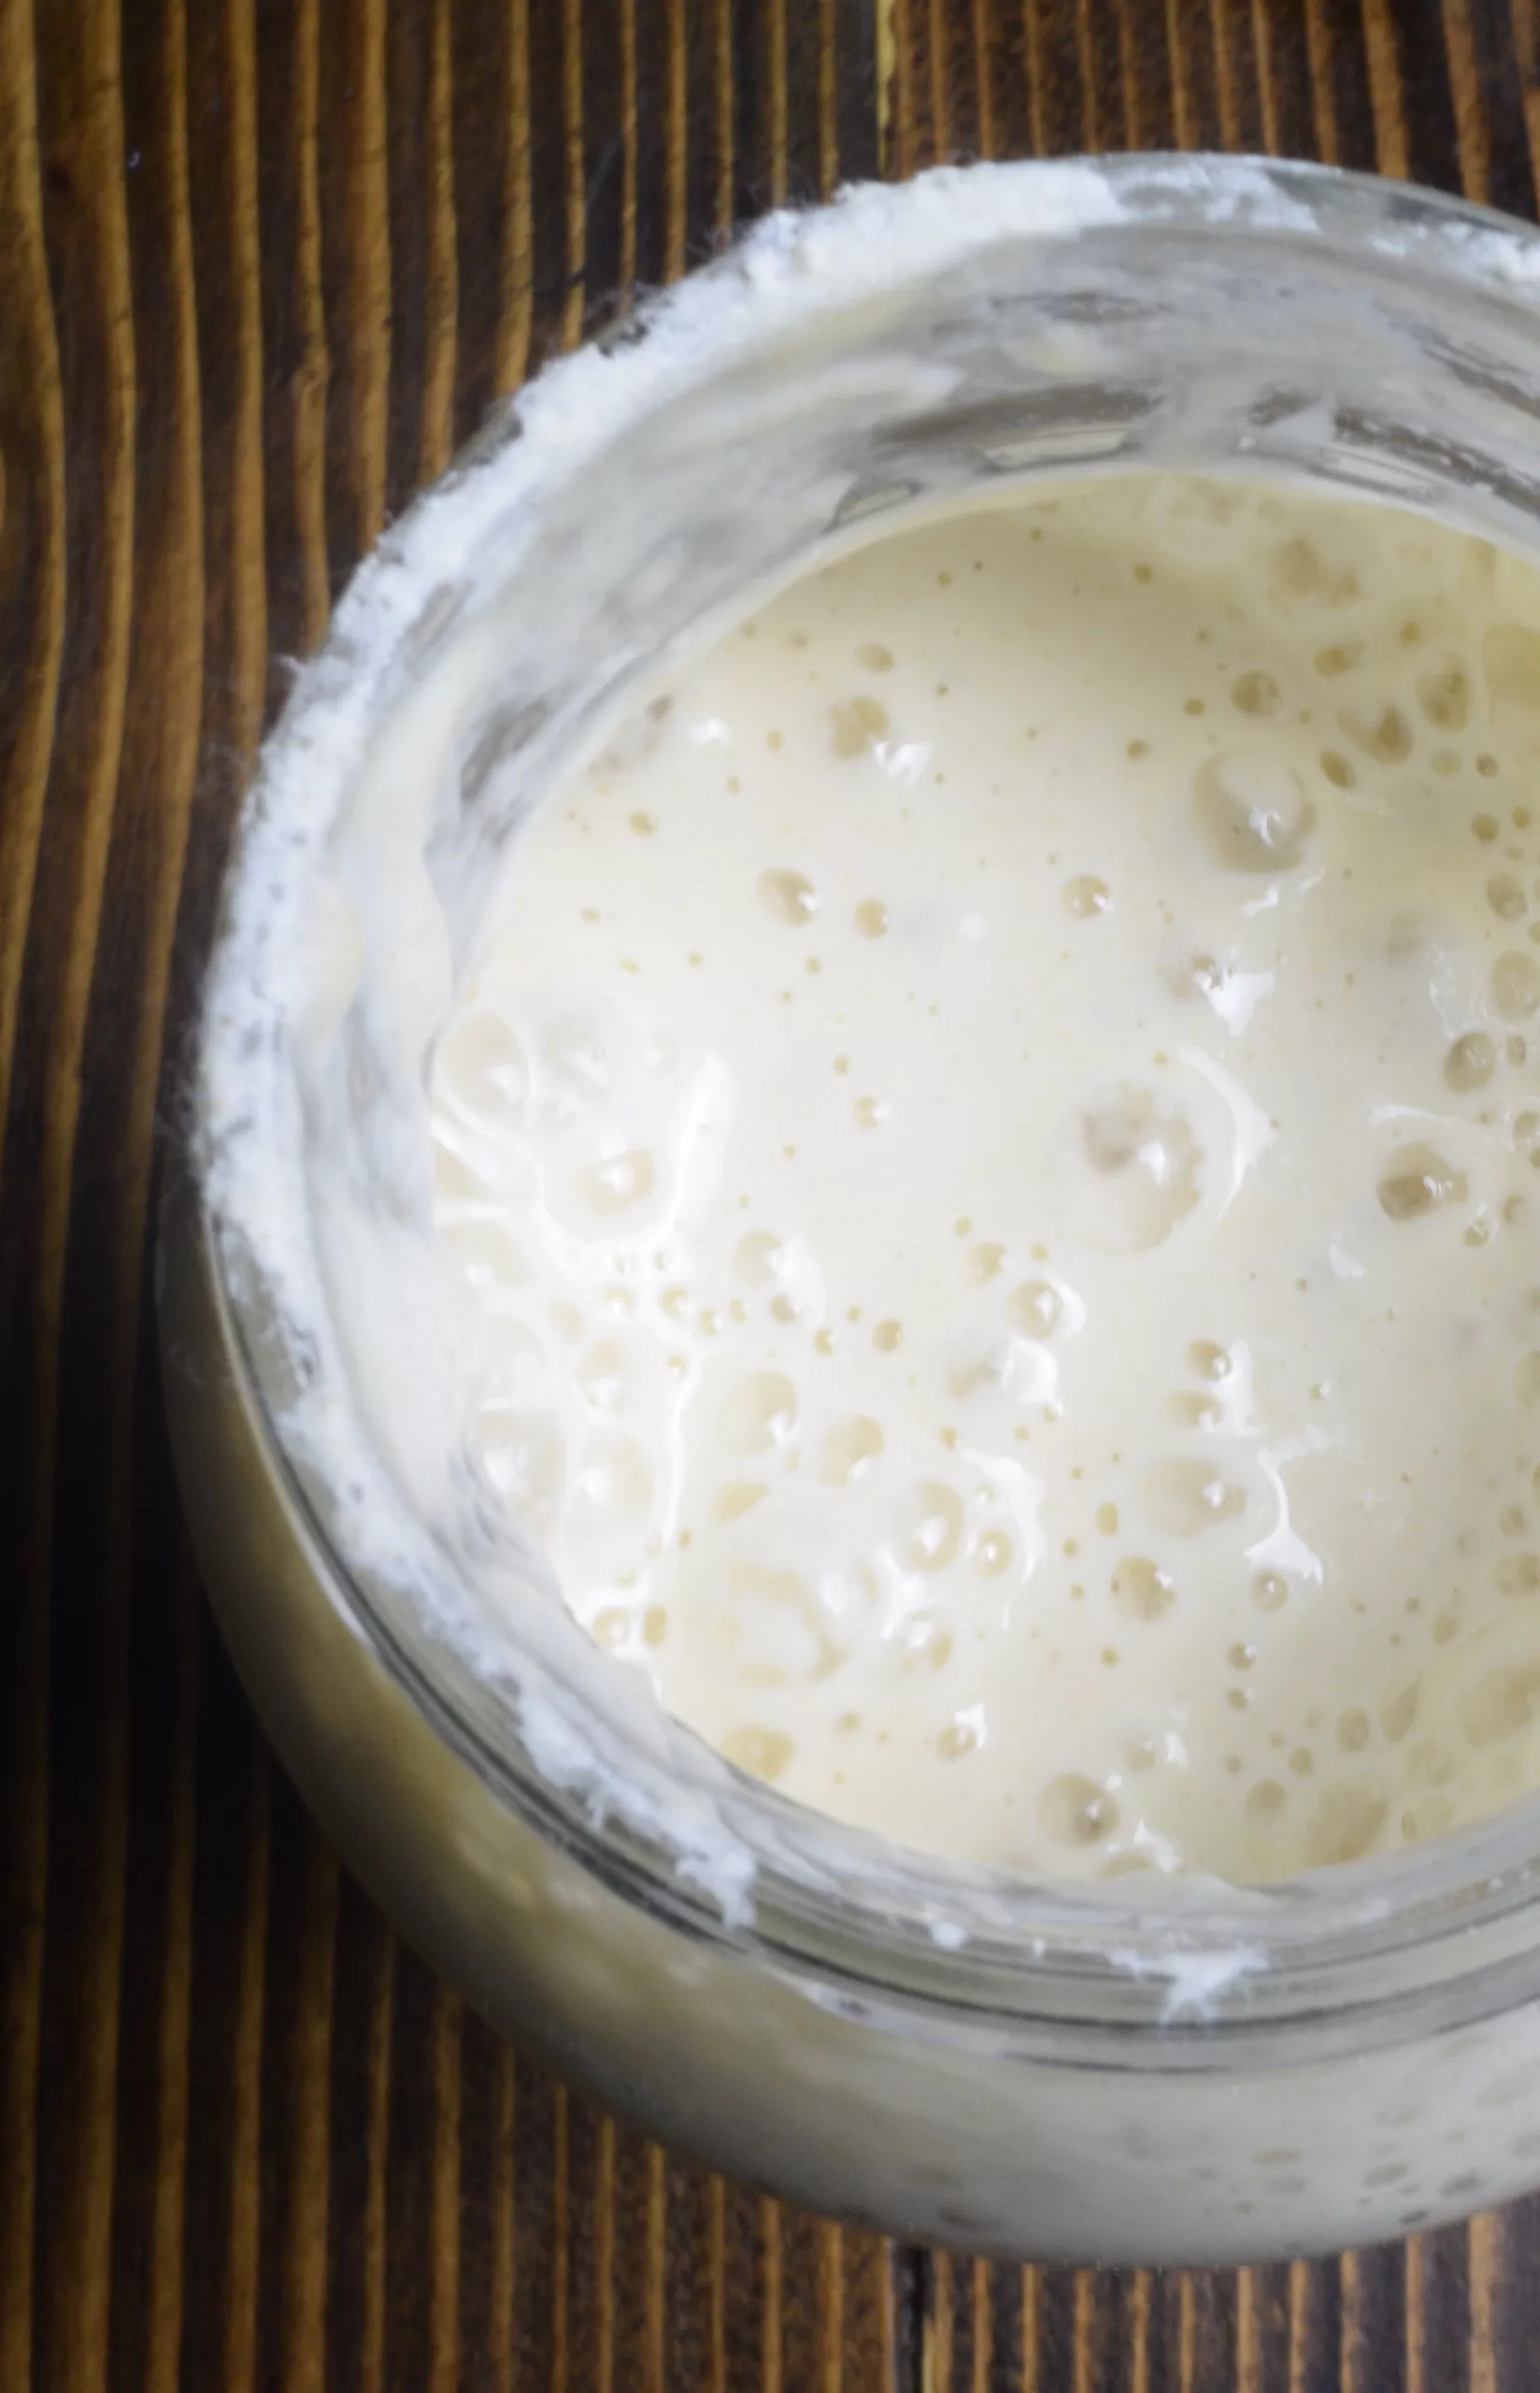
- Observe and Adjust: As the starter becomes more active, it will start to bubble and rise more consistently. If it seems sluggish, continue with regular feedings and keep it in a warm spot to encourage activity.
- Transition to Regular Maintenance: Once the starter is consistently bubbling and doubling in size within 4-6 hours of feeding, it’s ready for regular maintenance. You can now feed it with a ratio of 1:1:1 (starter, flour, water: by weight using a scale or by volume using measuring cups) and use it for baking.
By following these steps, you can successfully reactivate your dried sourdough starter and get back to baking delicious sourdough bread.

More Sourdough Recipes
The Best Cinnamon Raisin Sweet Sourdough Bread Recipe
Peanut Butter with Chocolate Sourdough Bread Recipe
Best Sourdough Bread Recipe with Almond and Raisins
Easy Sourdough Bread Recipe Without A Dutch Oven
Easy Italian Sourdough Flatbread Discard Recipe
Easy Same Day Sourdough Bread (Beginner’s Recipe)

Equipment
- Small mixing bowl
- Measuring spoons
- Spoon or offset spatula
- Mason jar, clean jar, or airtight container
- Sourdough home or a sourdough proofer
- Bowl scraper (optional)
Ingredients
- Dried sourdough starter in small pieces or powdered
- Lukewarm water bottled water, or purified water from a berkey water filter
- All purpose flour
Instructions
- Measure the Dried Starter: Place about 1 tablespoon of the dried sourdough starter in a small mixing bowl or a wide-mouth jar.
- Add Water: Add an equal amount of warm filtered water (1 tablespoon) to the dried starter. Give it a good stir to combine and let it sit for about 1-2 hours, allowing the starter to soften and begin to dissolve. (If using a powdered dry sourdough starter, skip this step and proceed to step 3.)
- First Feeding: After the starter has softened, add 1 tablespoon of flour and 1 tablespoon of water. Mix well until you have a smooth paste. Cover loosely and let it sit at room temperature for 12-24 hours.
- Monitor Activity: After the initial 12-24 hours, check the starter for any signs of bubbles or fermentation. It might not be very active yet, but some signs of life are a good indication.
- Second Feeding: Add another 1 tablespoon of flour and 1 tablespoon of water to the starter. Mix thoroughly, cover loosely, and let it sit for another 12-24 hours.
- Continue Feeding: Continue feeding the starter every 12 hours, gradually increasing the amount of flour and water to 2 tablespoons each as the starter becomes more active. You may need to do this for 3-7 days, depending on the strength of the starter and the room temperature.
- Observe and Adjust: As the starter becomes more active, it will start to bubble and rise more consistently. If it seems sluggish, continue with regular feedings and keep it in a warm spot to encourage activity.
- Transition to Regular Maintenance: Once the starter is consistently bubbling and doubling in size within 4-6 hours of feeding, it’s ready for regular maintenance. You can now feed it with a ratio of 1:1:1 (starter, flour, water: by weight using a scale or by volume using measuring cups) and use it for baking.


