Homemade ghee is one of those old-world staples that feels like liquid gold in the kitchen. Whether you're into Indian cooking, trying to avoid dairy sensitivities, or just want a healthier, flavorful alternative to regular cooking oil, learning how to make your own ghee is a simple and rewarding process.

Table of Contents
This post contains affiliate links, which means I make a small commission at no extra cost to you. See my full disclosure here.
Why I Use Ghee in My Kitchen
I started my own health journey about 15 years ago (you can read more about that here), and along the way, I discovered the importance of real butter and other healthy fats—especially when it comes to supporting hormonal health. That shift led me to embrace whole, nutrient-dense foods, including a generous amount of grass-fed butter. I actually prefer it over coconut oil, which is one of the reasons we now keep a few dairy cows here on the farm.
For my deep love of homemade butter, I use it in different ways depending on the dish: ghee is my go-to for cooking at high temperatures thanks to its high smoke point, while I save the butter in its whole, unaltered form for spreading over homemade sourdough bread and stirring into a warm bowl of homemade porridge.
Benefits of Ghee
Ghee has been used in ancient traditions for centuries, especially in Indian desserts and medicinal practices. It contains vitamin K, linoleic acid, and healthy fatty acids, making it a great alternative to olive oil, coconut oil, or butter oil in high-heat cooking.
Because the milk proteins are removed during the process, ghee is often tolerated by people with dairy sensitivities. It also has a high smoke point (around 485°F), making it perfect for high temperatures and frying.

Why Make Ghee at Home?
While store-bought ghee is convenient, nothing compares to the aroma, taste, and health benefits of homemade ghee—especially when made the traditional way from grass-fed butter. When made properly, ghee has a higher smoke point, longer shelf life, and a beautifully nutty flavor that works in everything from Indian food to eggs and roasted vegetables.
Key Ingredients and Tools
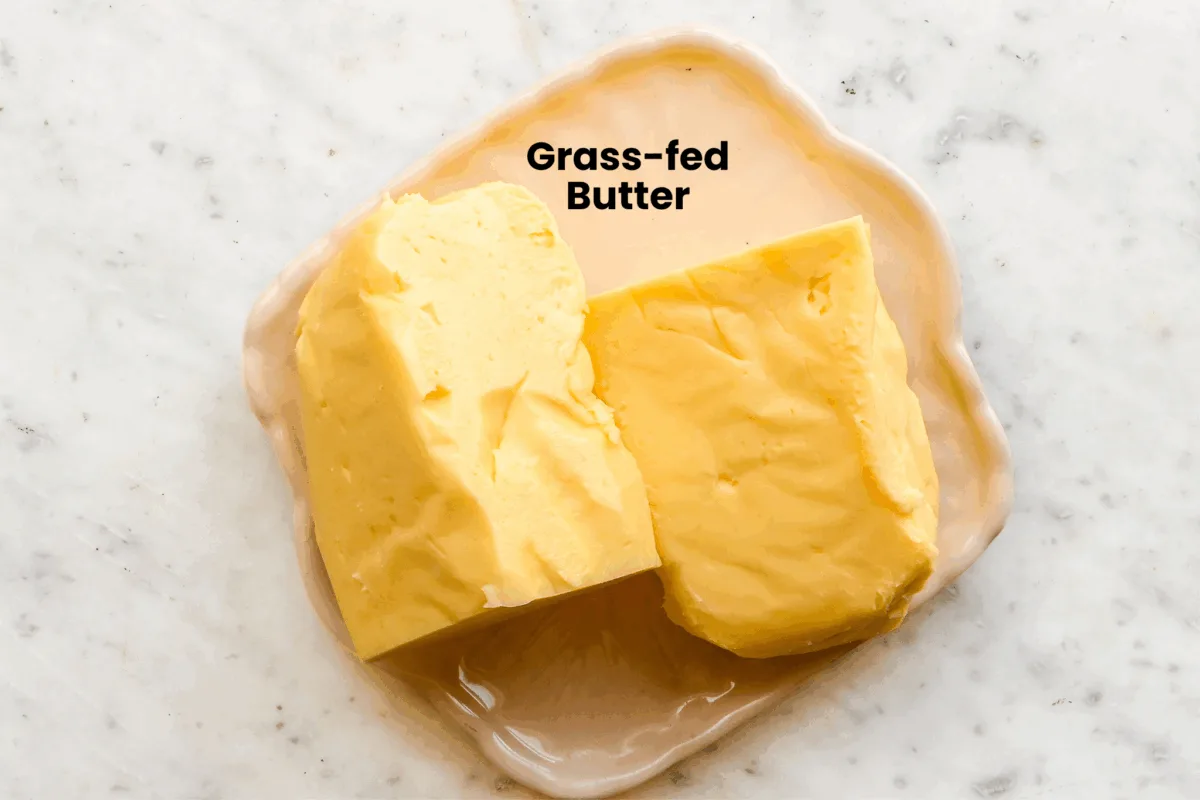
- 1 pound of unsalted butter (preferably organic or grass-fed butter from grass-fed cows)
- A heavy-bottomed pot or inner pot of your Instant Pot
- A fine-mesh strainer, coffee filter, or paper towel
- A clean glass jar or dry glass container for storing
Step-by-Step Instructions

STEP 1: Let your unsalted butter sit at room temperature for a few minutes to soften. This helps it melt evenly without scorching. Place your butter in a heavy-bottomed pan or Instant Pot on normal mode or medium heat. Stir gently as the butter melts, being careful not to increase the temperature of the butter too quickly.
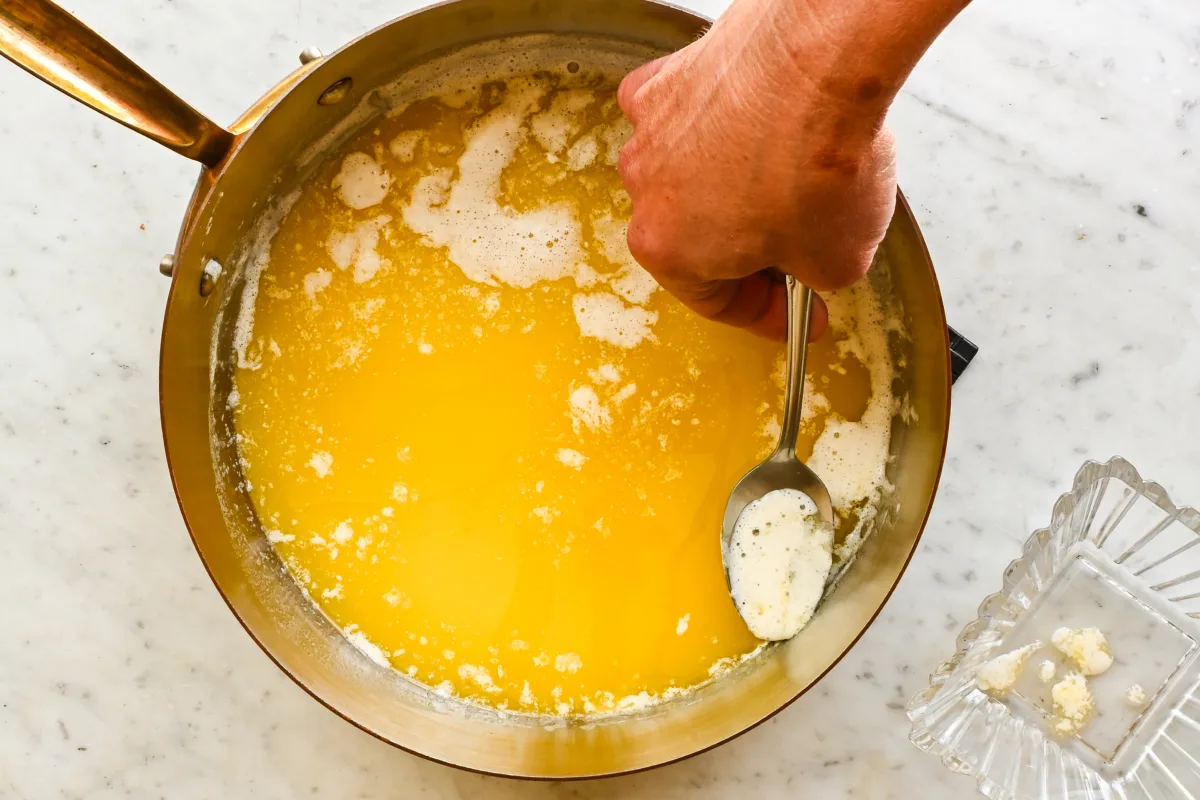
STEP 2: As the butter melts, you’ll see it separate into three layers:
- Foam on top (mostly whey proteins)
- Clear golden liquid in the middle (this is your clarified butter)
- White solids or browned milk solids at the bottom of the pot
Use a spoon to gently skim off the foam as needed. Continue simmering over very low heat, watching for tiny bubbles and a nutty aroma. After about 2–3 minutes, the dairy solids will sink and begin to brown slightly at the bottom of the pan.
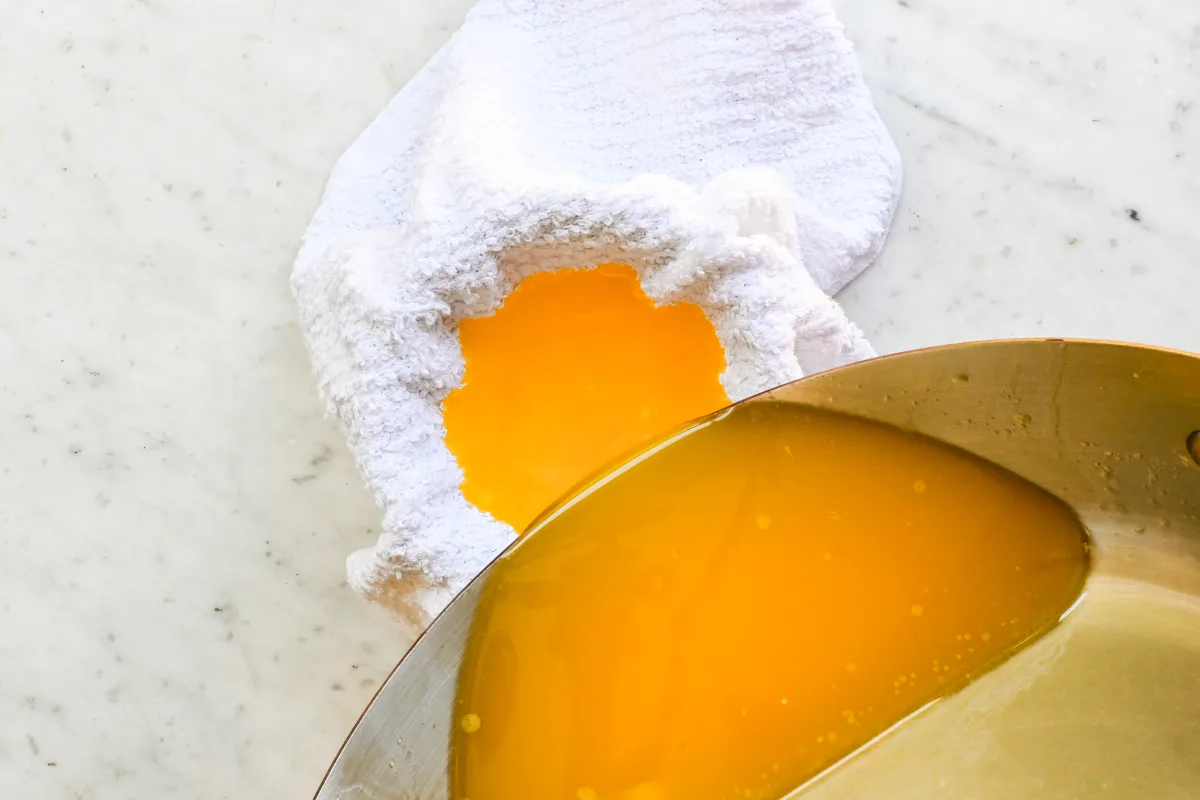
STEP 3: Once the solids have browned and the liquid is clear and aromatic, remove from heat. Let it cool just slightly, then carefully strain through a coffee filter, fine-mesh strainer, or paper towel into a glass container. (If your cheesecloth or strainer isn’t quite doing the trick, you can use a ladle instead. Once the ghee has cooled a bit, gently tilt the pan so the milk solids settle to one side. Then, just ladle the clear golden ghee off the top, being careful not to scoop up any of the solids at the bottom. Pour it into a clean, dry jar. This method is especially handy for thicker batches or if you’d rather not risk disturbing the settled bits by pouring.)
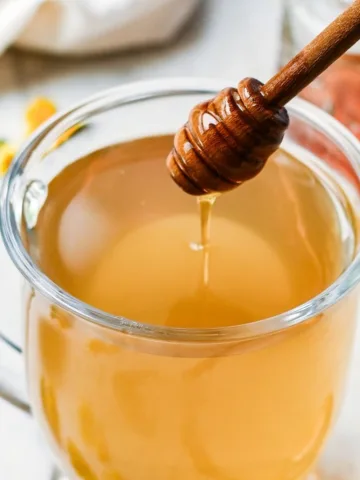
STEP 4: Allow the ghee to cool completely before sealing your jar of ghee. Store in a clean glass jar at room temperature or in the fridge, depending on how quickly you'll use it.
Tips for Perfect Homemade Ghee
- Use good quality butter. The better the butter, the better the ghee. Grass-fed or organic unsalted butter gives the best flavor and nutrient profile.
- Start with room temperature butter. This helps it melt evenly and prevents scorching.
- Keep the heat low. Ghee should be cooked over very low heat to avoid burning the milk solids at the bottom of the pot. Patience is key!
- Watch for the nutty aroma. When the ghee is done, it will smell toasty and rich, and the milk proteins will have sunk and browned slightly.
- Use a clean, dry glass jar. Moisture can cause spoilage, so always store your ghee in a dry container once fully cooled.
- Don’t stir once the butter separates. Let the layers naturally settle—stirring can cloud the final result.
- Strain carefully. For the clearest ghee, use a fine-mesh strainer, coffee filter, or paper towel to catch all the white solids and bits.
- Add curry leaves or spices (optional). For a more traditional desi ghee flavor, you can add curry leaves or even a pinch of salt before straining.
- Use your senses. Look for a golden hue, tiny bubbles, and listen for the change in sound (it’ll quiet down when nearly done).
FAQ'S
Can I make ghee in an Instant Pot?
Yes! Use the normal mode for melting and then switch to low or sauté to finish off the process—just be careful not to burn the bottom of the pot.
How do I know when the ghee is done?
You'll notice a rich golden color, a nutty aroma, and browned bits at the bottom of the pan. The top should be clear, not cloudy.
Is ghee better than butter?
It depends on your needs. Ghee is more shelf-stable, lactose-free, and better for high heat cooking. Plus, it adds a deep, nutty flavor to dishes where butter or olive oil might fall flat.
Can I use salted butter?
Technically yes, but it’s not recommended—it alters the flavor and increases the chance of burning the dairy solids.


Tried this recipe?
I would love to see it! Tag me on Instagram @idiesfarm and #idiesfarm so I can share your beautiful creation!

How to Make Ghee from Butter (Easy Traditional Method)
Ingredients
- 1 pound of unsalted butter preferably organic or grass-fed butter from grass-fed cows
Instructions
- Let your unsalted butter sit at room temperature for a few minutes to soften. This helps it melt evenly without scorching. Place your butter in a heavy-bottomed pan or Instant Pot on normal mode or medium heat. Stir gently as the butter melts, being careful not to increase the temperature of the butter too quickly.
- As the butter melts, you’ll see it separate into three layers: Foam on top (mostly whey proteins), clear golden liquid in the middle (this is your clarified butter), and white solids or browned milk solids at the bottom of the pot
- Use a spoon to gently skim off the foam as needed. Continue simmering over very low heat, watching for tiny bubbles and a nutty aroma. After about 2–3 minutes, the dairy solids will sink and begin to brown slightly at the bottom of the pan.
- Once the solids have browned and the liquid is clear and aromatic, remove from heat. Let it cool just slightly, then carefully strain through a coffee filter, fine-mesh strainer, or paper towel into a glass container. (If your cheesecloth or strainer isn’t quite doing the trick, you can use a ladle instead. Once the ghee has cooled a bit, gently tilt the pan so the milk solids settle to one side. Then, just ladle the clear golden ghee off the top, being careful not to scoop up any of the solids at the bottom. Pour it into a clean, dry jar. This method is especially handy for thicker batches or if you’d rather not risk disturbing the settled bits by pouring.)
- Allow the ghee to cool completely before sealing your jar of ghee. Store in a clean glass jar at room temperature or in the fridge, depending on how quickly you'll use it.
Notes
-
- Use good quality butter. The better the butter, the better the ghee. Grass-fed or organic unsalted butter gives the best flavor and nutrient profile.
-
- Start with room temperature butter. This helps it melt evenly and prevents scorching.
-
- Keep the heat low. Ghee should be cooked over very low heat to avoid burning the milk solids at the bottom of the pot. Patience is key!
-
- Watch for the nutty aroma. When the ghee is done, it will smell toasty and rich, and the milk proteins will have sunk and browned slightly.
-
- Use a clean, dry glass jar. Moisture can cause spoilage, so always store your ghee in a dry container once fully cooled.
-
- Don’t stir once the butter separates. Let the layers naturally settle—stirring can cloud the final result.
-
- Strain carefully. For the clearest ghee, use a fine-mesh strainer, coffee filter, or paper towel to catch all the white solids and bits.
-
- Add curry leaves or spices (optional). For a more traditional desi ghee flavor, you can add curry leaves or even a pinch of salt before straining.
-
- Use your senses. Look for a golden hue, tiny bubbles, and listen for the change in sound (it’ll quiet down when nearly done).

Welcome!
Hi! I’m Stephanie, also known as Idie. Follow me as I tap into the methods of the past and learn how to make my world a little smaller.