
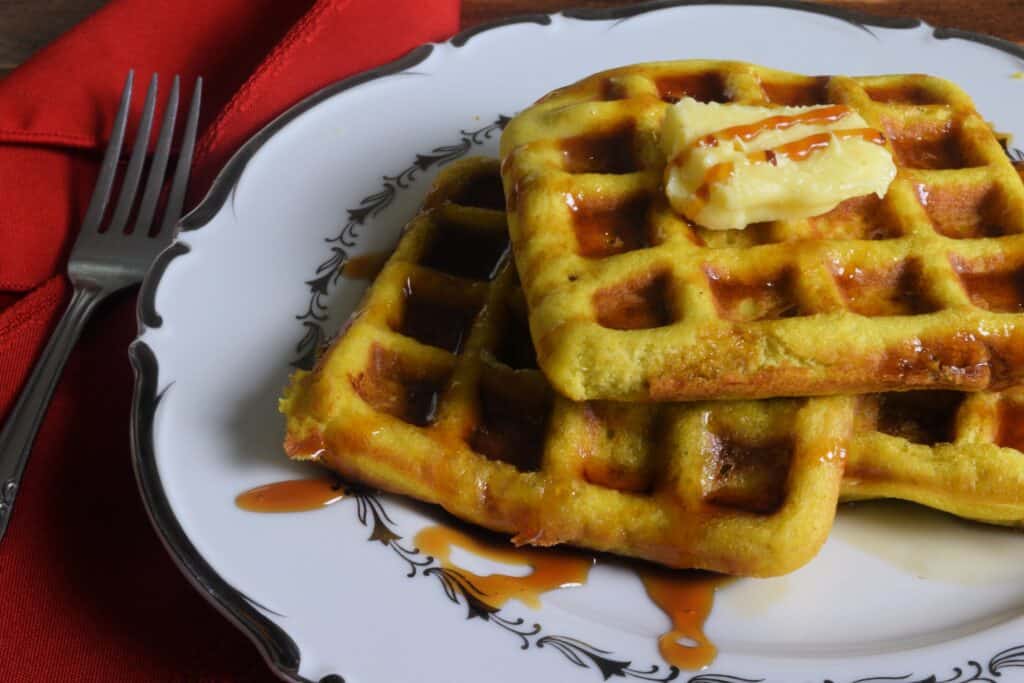
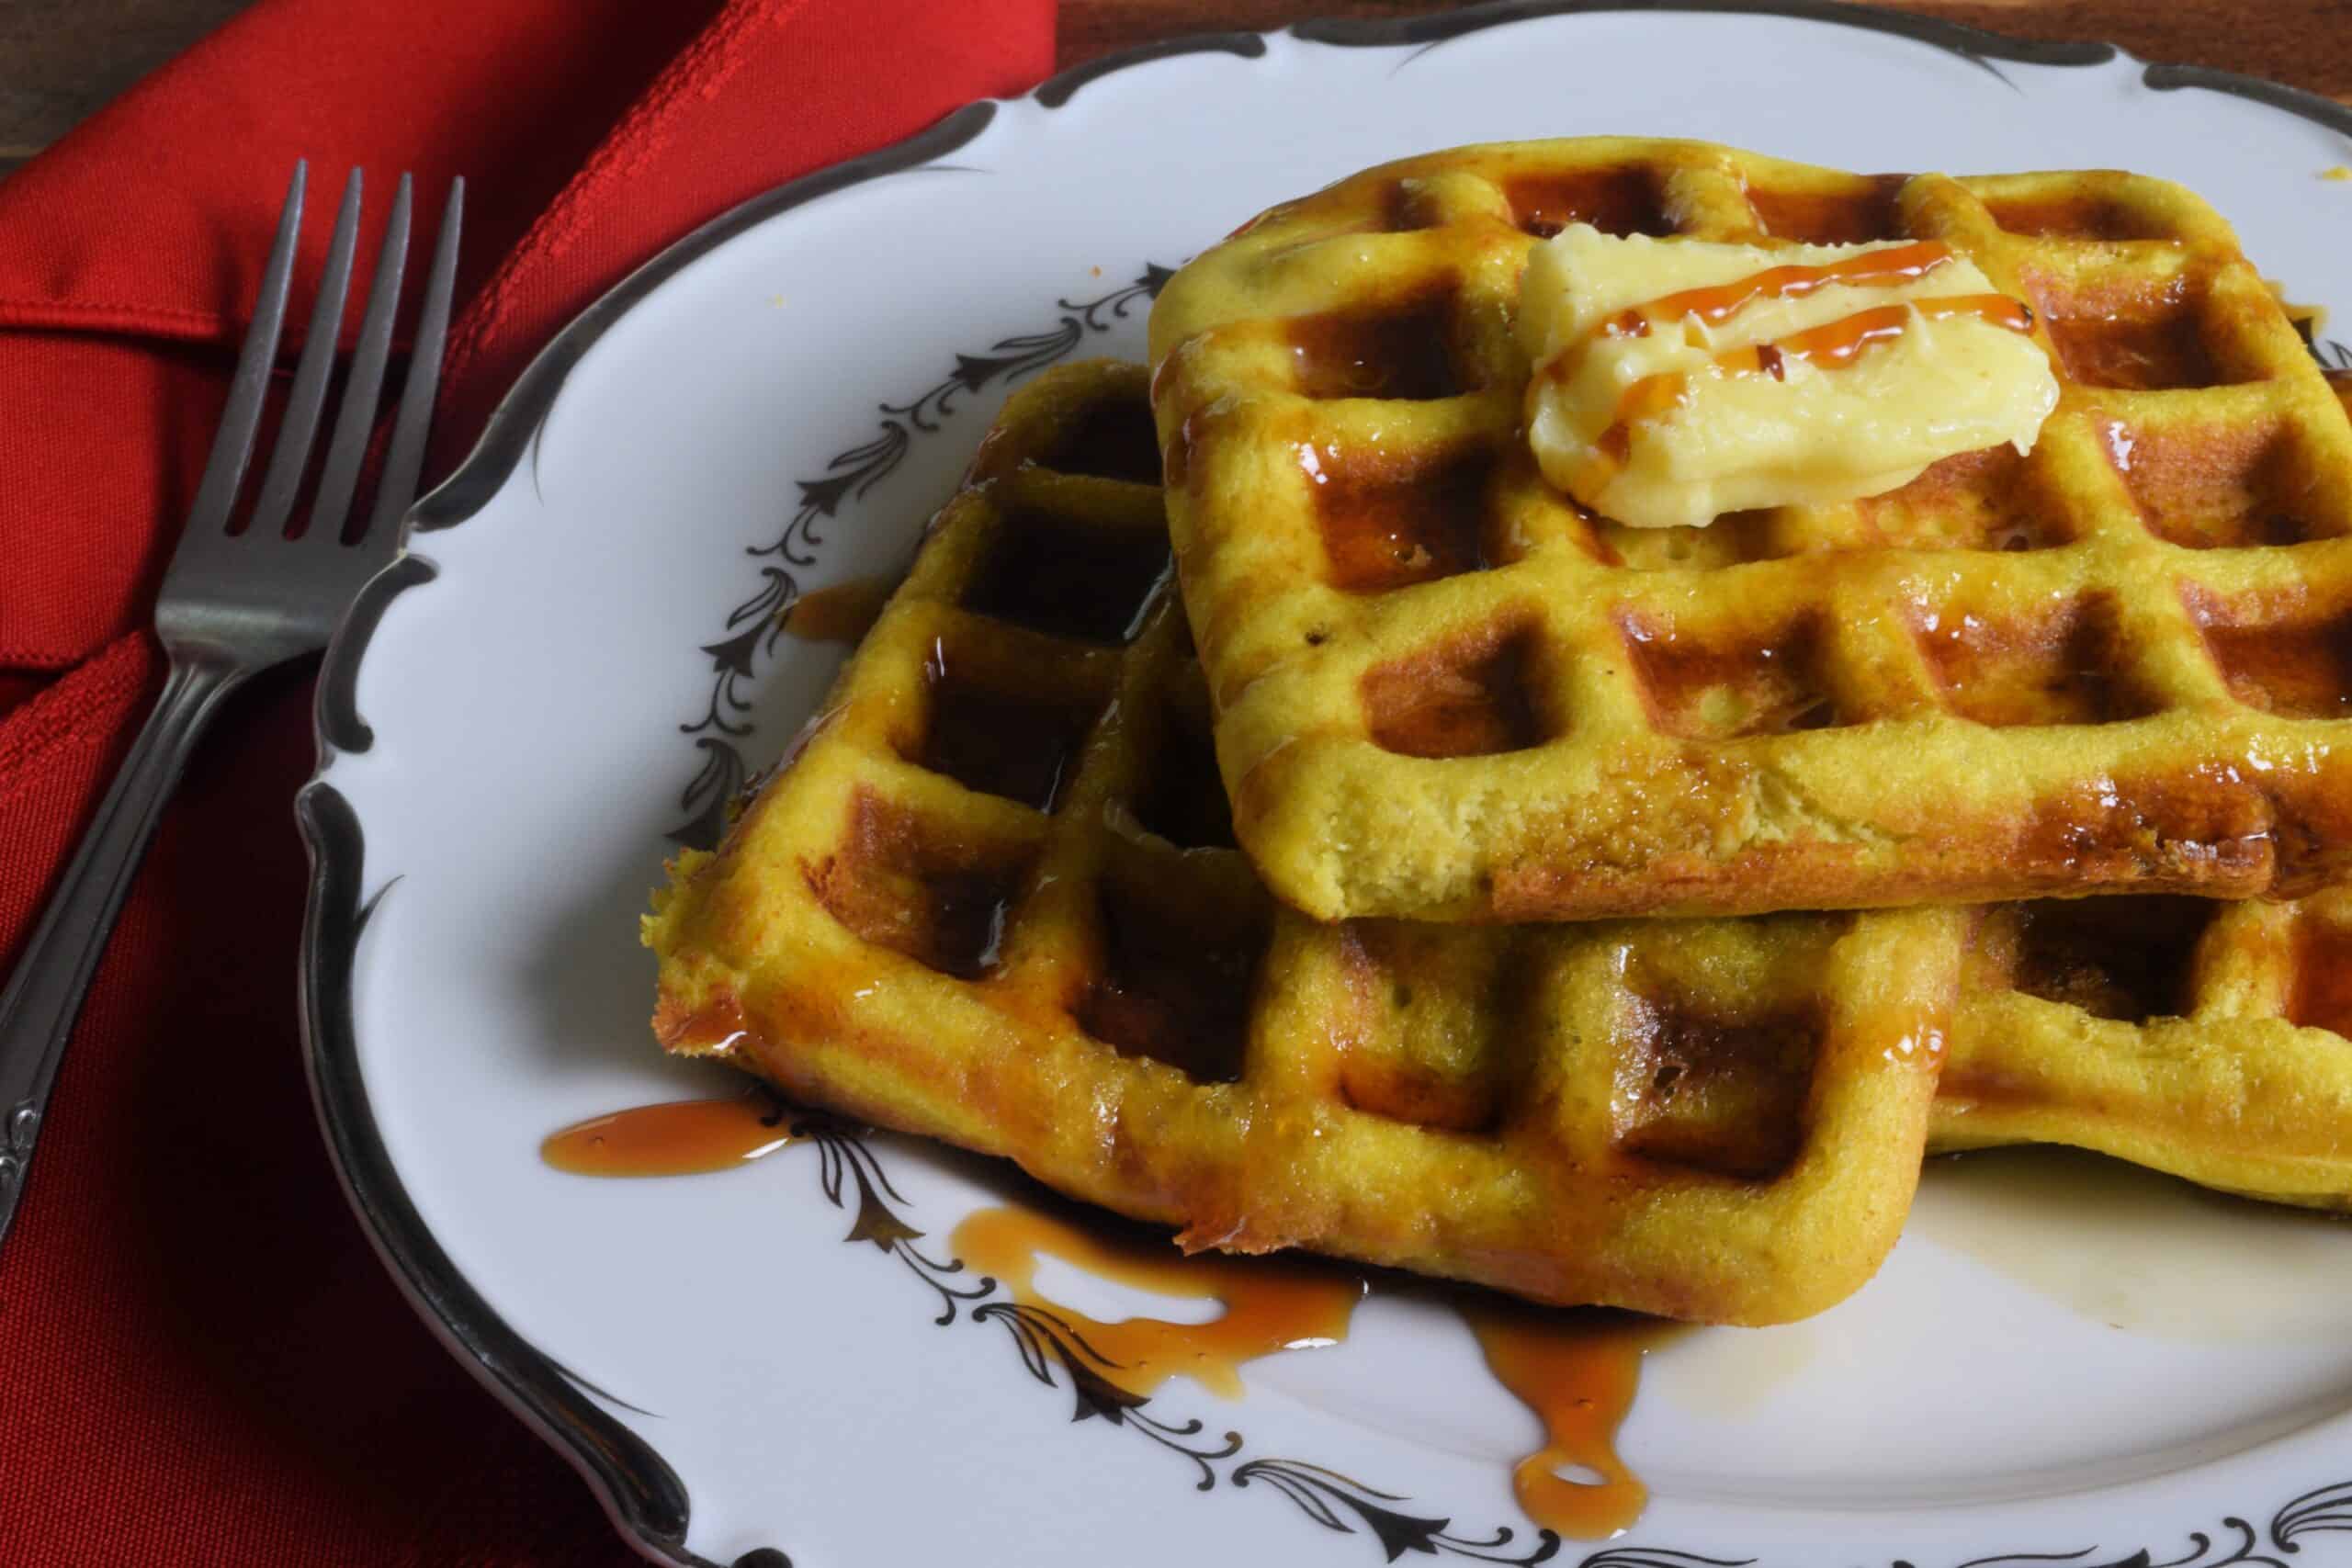
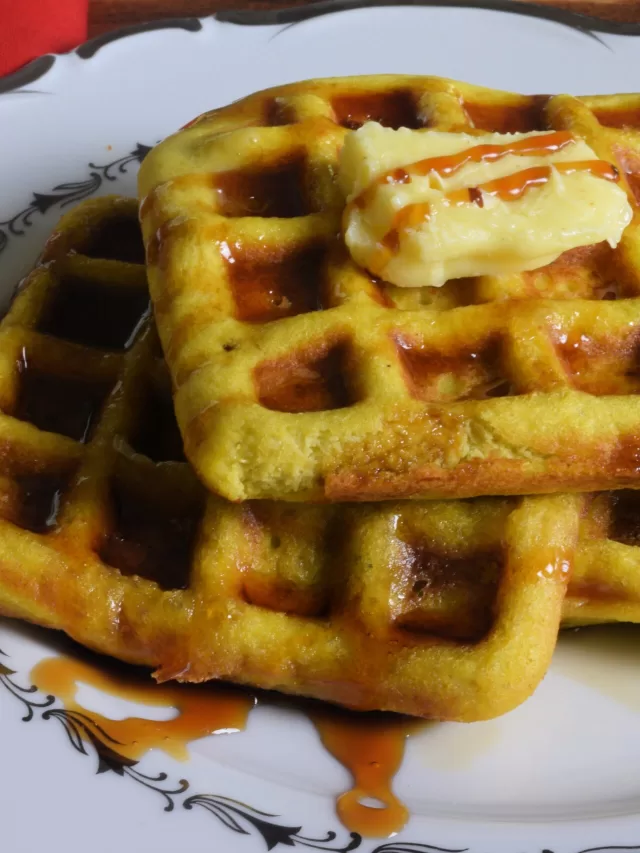
The Best Gluten Free Waffle Recipe For Fluffy Waffles
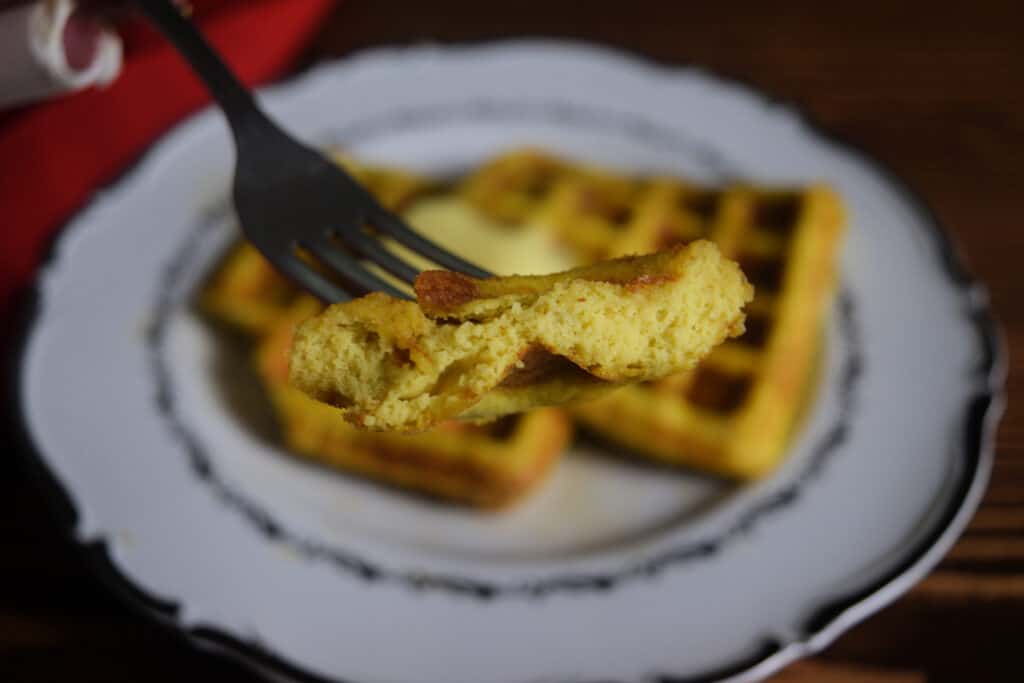
If you are following a gluten free diet or a keto or low carb diet and miss having crispy homemade waffles, then the best gluten free waffle recipe for fluffy waffles is your solution! This easy waffle recipe is the best way to start enjoying gluten free breakfasts again. These cooked waffles are a perfect combination of a soft fluffy center with a a crispy exterior, that will remind you of a regular waffle. Just add your favorite toppings and you will have yourself a delicious waffle!
Have you been scouring the internet trying to find the best gluten-free waffle recipe that will pass the fluff test? What about fluffy waffles that don’t require some strange gluten-free flour blend that leaves you a hot bloated mess with stomach cramps all day long? These are the best gluten free waffles that will not fall flat (no pun intended) and are completely kid approved! Whether you are following a gluten free diet or just want to give your digestion a break from wheat flour or whole grain, no matter your reason, the simple ingredients for these are easy to find and most likely in your pantry or fridge. No more head scratching ingredients like xanthan gum. What is that anyway? If you have to ask Siri to find out what an ingredient is, then maybe it should go into the trash! You won’t find that in my pantry!
This post contains affiliate links, which means I make a small commission at no extra cost to you. See my full disclosure here.
This is a nutrient packed dish that will give your family happy bellies and you peace of mind all while feeding it to them. It takes a number of eggs, so you’ll be happy to find that with all the protein found in the egg whites and the nutritious fat from the egg yolks, your sugar won’t crash, leaving you fuller for longer. No more “I’m hungry” complaints an hour after eating! (Want to learn more about the benefits of eggs? Check out this post!)
How this recipe works:
The coconut flour, along with half of the eggs being hard-boiled, will keep it from being an “eggy” texture. Instead, it will give you a bread-like consistency that is delicious! Trust me on this, it won’t taste like eggs either! To be honest, we (kids included) cannot tell a difference. Although we do eat baked goods made with flour, I personally prefer them over traditional waffles made of flour because they are so nutrient dense and fill you up! They also freeze beautifully and can be reheated on busy mornings simply by placing the frozen waffle in a toaster oven.
Some Tips For The Perfect Waffles:
Make sure you hard boil your eggs right. Too runny of eggs will leave you a terribly thin batter and pathetic looking waffles! When hard boiling eggs, I will place a pot on the stove filled with water about 3/4 of the way up. I bring my water to a rolling boil using high heat. Then, I turn the stove down to a medium high heat so the bubbles don’t cause the eggs to bounce around and crack. I use a large spoon to gently place my room temperature eggs into the boiling water and then I set the timer for 9 minutes, 10 if they are straight from the fridge and cold.
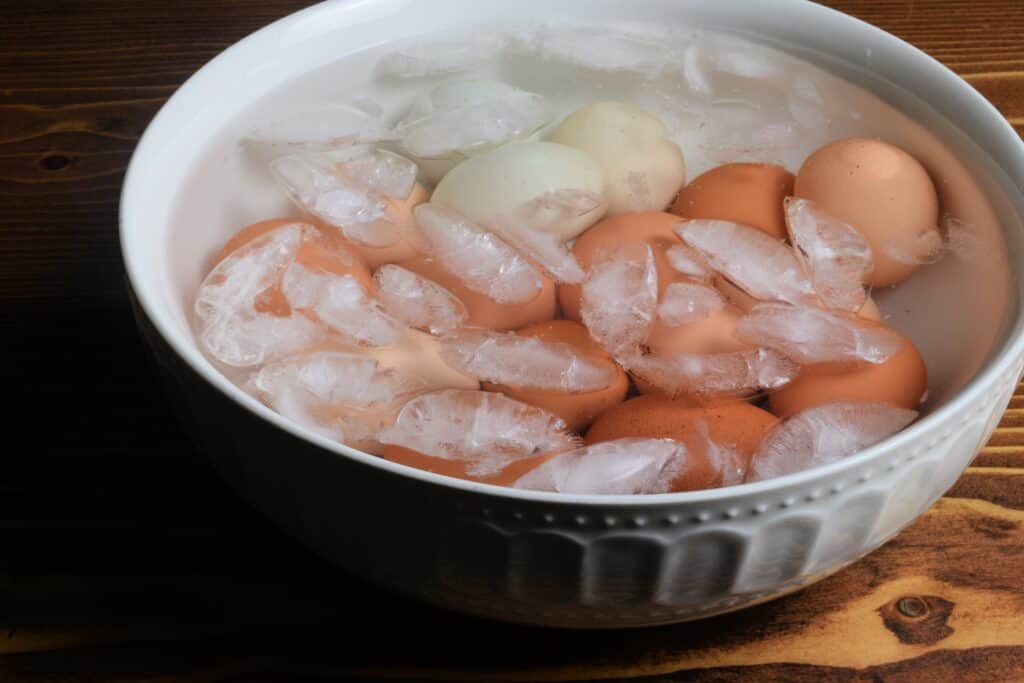
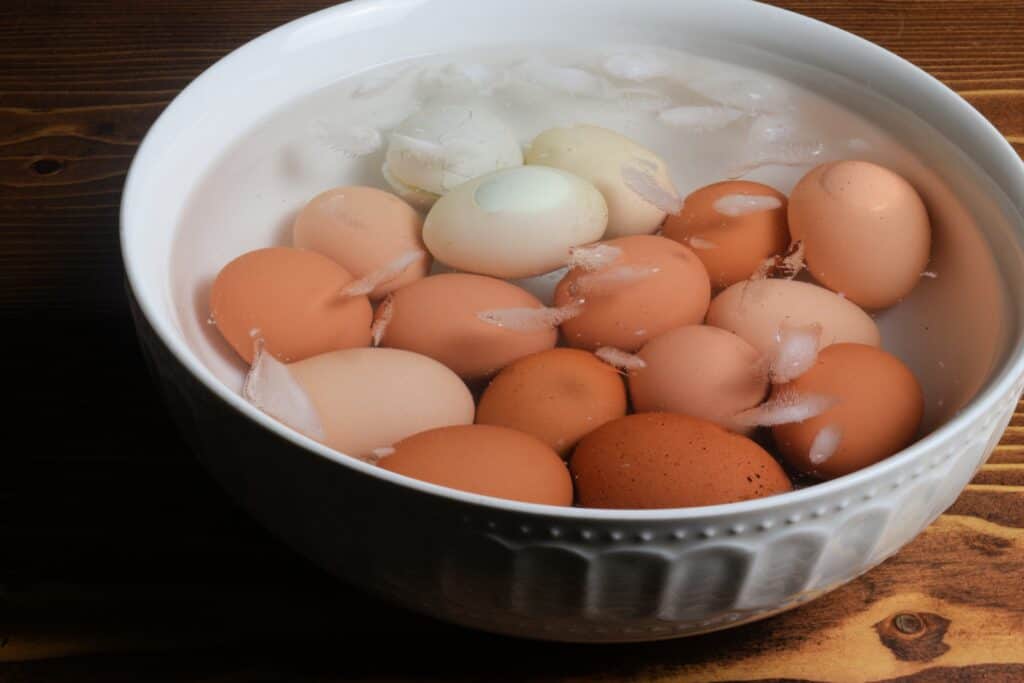
Once they are ready, I carefully remove the eggs and place them into an ice water bath, where I allow them to cool down completely before I try to peel the shell off. I find that not only are the eggs easier to handle, but the shells seem to remove a lot easier. Of course the fresher the egg the harder it is to remove the shell. This is my ongoing challenge because we only eat eggs that are produced on our farm. As far as working with coconut flour, I find that when I make the batter and just let if rest for a about 5 minutes, it gives the coconut flour a chance to absorb the liquid, and then the batter thickens up nicely.
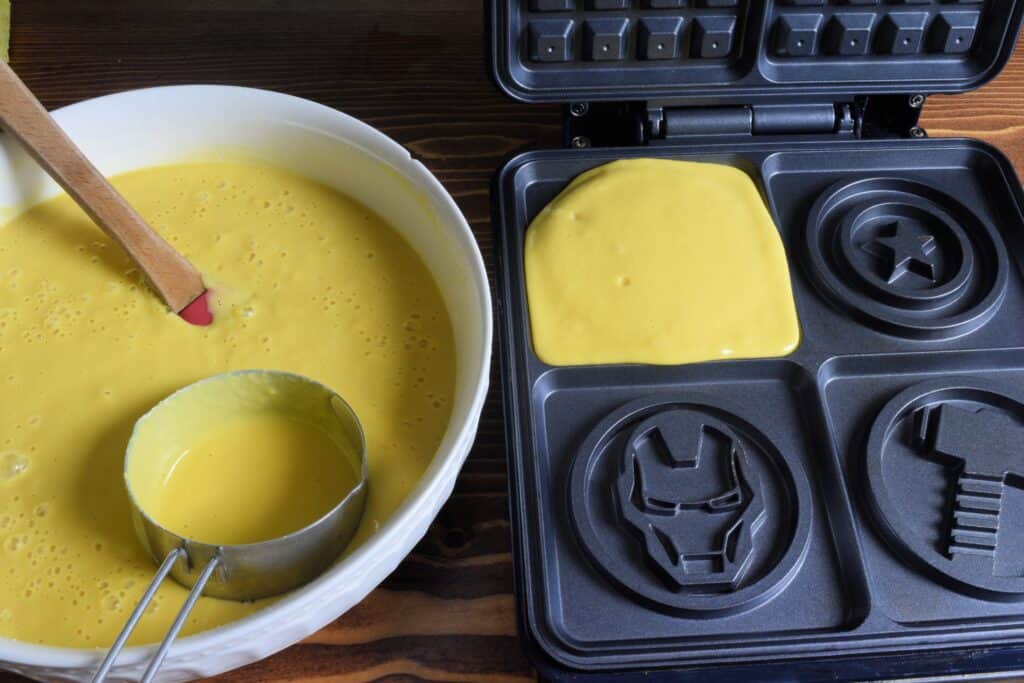
I also try to be pretty consistent with measuring out the batter for each waffle tray, that way they all look uniform. The size of the measuring cup to use will vary based on the size of the waffle maker you have, so you’ll have to play with it to see what amount measured makes the perfect waffle. With mine I measure out a 1/4 cup size and this fits perfectly to where they are not under filled or spewing out of the sides.
Adding Your Touch:
I’m very big on adding flavors based on the seasons. Everyone seems to look forward to the new spin on their favorite dish and it really keeps a recipe from getting worn out. When spring starts to approach, I like to add about a tablespoon of lemon zest and a cup of blueberries. I just make sure to gently stir in the blueberries so we don’t have blue waffles, although the kids might get a kick out of that! I also will do the recipe as indicated and just cook down some strawberries with a splash of water and maple syrup to taste. Then I will drizzle that on the waffles. That’s usually a hit around Valentine’s Day!
For a real treat, I’ll put about half a cup of dark chocolate chips in the batter. Of course that’s perfect for anytime of year! During the fall season I usually add either a tablespoon of cinnamon or a tablespoon of pumpkin spice to the batter or, my favorite way to eat them is to cook down sliced apples with a splash of water, splash of lemon juice, a sprinkle of cinnamon, and maple syrup to taste. I top the basic waffle recipe with the cooked apples and it becomes the best fall breakfast!
This can be made keto or low carb!
This can be made into gluten free keto waffles or low carb gluten free waffles too! Simply replace the sugar with your favorite sugar substitute! I like to use a monk fruit sweetener, which I do a 1:1 ratio. Some replacement sugars are a bit sweeter, so make sure you read the suggested sugar substitution ratio on the label of your sugar substitute.
What you’ll need:
Waffle iron
Rubber spatula
Blender or immersion blender (Which I prefer, found here.)
Measuring cups
Measuring spoons
A large bowl
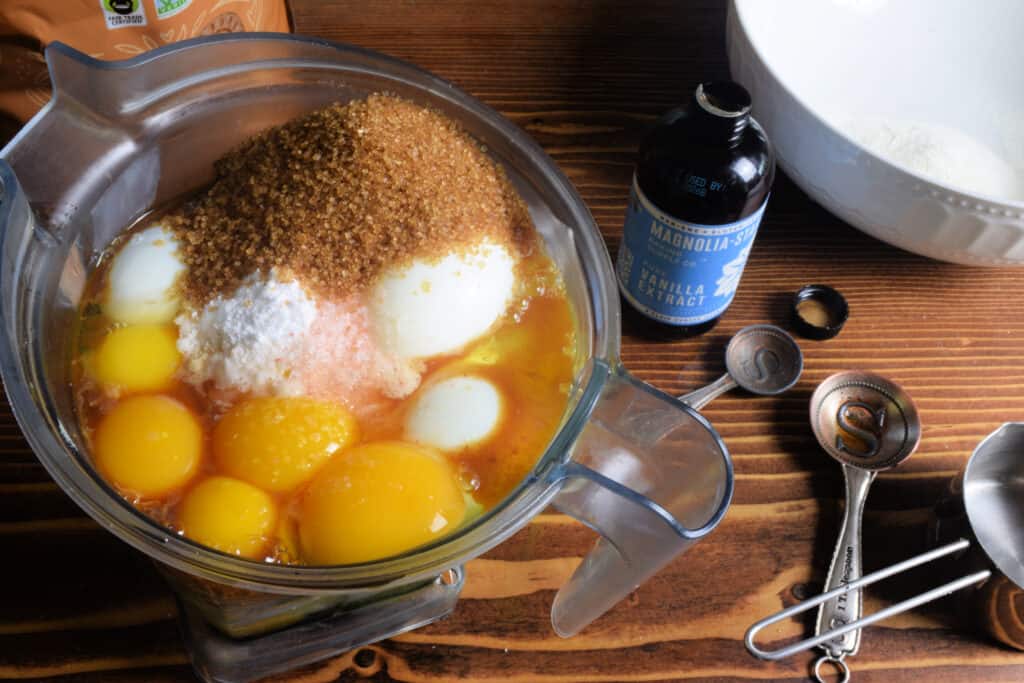
Ingredients:
12 hard boiled eggs shelled
12 raw eggs
½ cup coconut flour
½ cup sugar (this also works with honey or monk fruit sweetener)
2 teaspoon baking powder
1 Tablespoon Vanilla Extract
1 teaspoon sea salt
Butter, coconut oil, or olive oil for the skillet
Directions:
Preheat waffle iron.
Allow hard boiled eggs to come to room temperature.
Remove the shells.
Mix all the dry ingredients together.
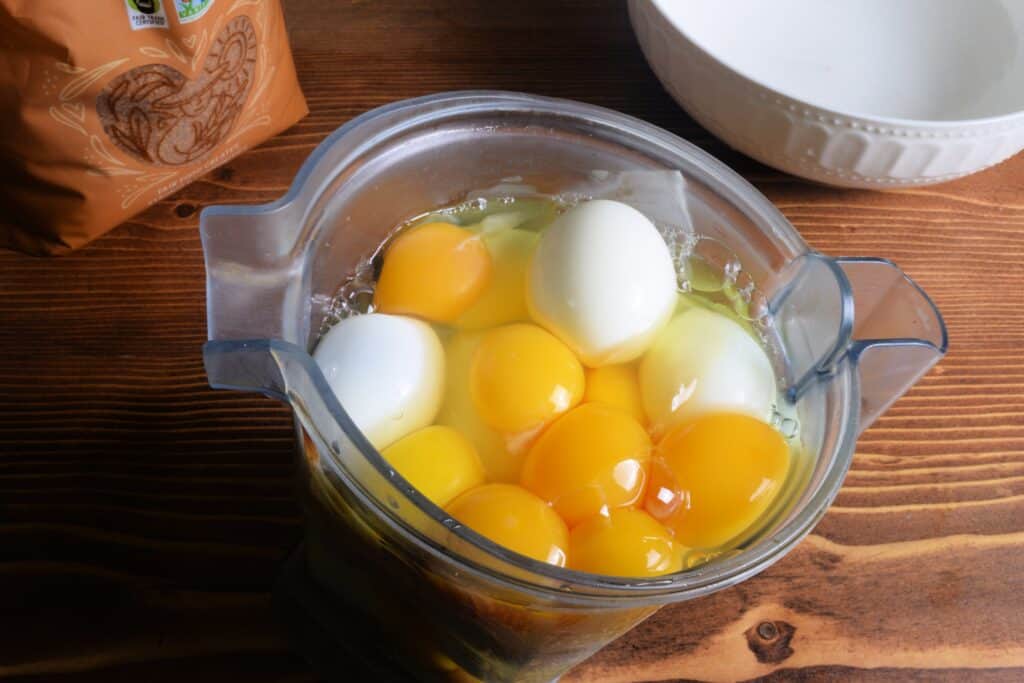
Place wet ingredients: shelled hard boil eggs, raw hard boiled eggs, and vanilla in a blender or use an immersion blender to mix until smooth.
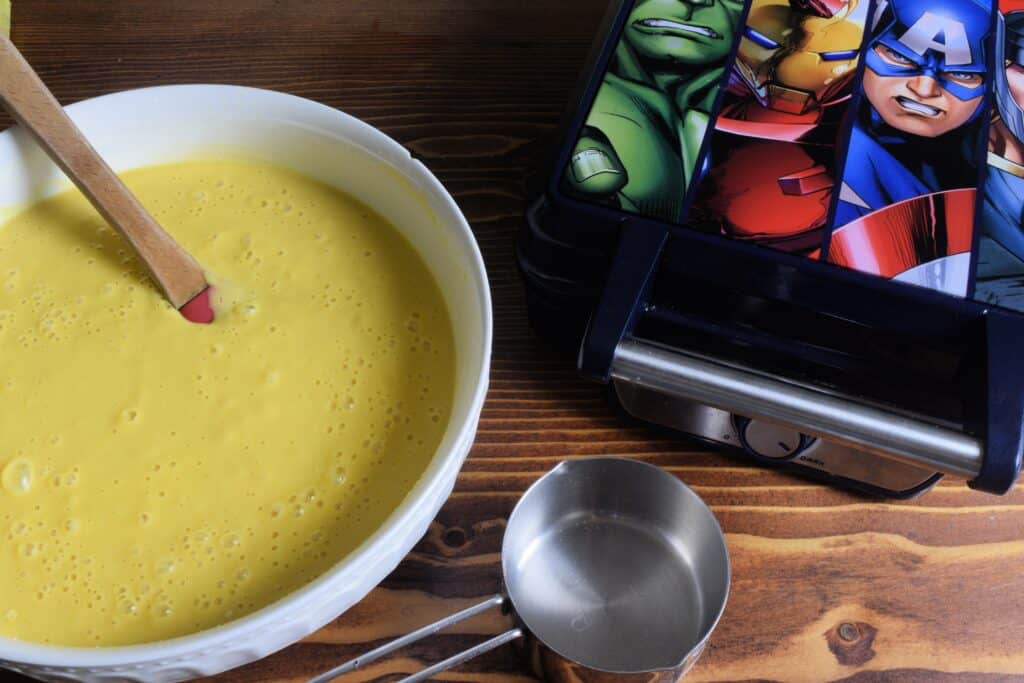
Next, add the dry ingredients to the wet and blend at high speed until completely smooth.
For best results, let the batter rest for about 5 minutes.
This will give the coconut flour a chance to absorb the liquid and thicken up.
Use coconut oil or melted butter to grease the iron so the batter will not stick.
Careful not to burn your fingers!
Place batter in the waffle maker and allow it to cook until desired darkness is achieved.
I sometimes will leave them in a little longer for crispy waffles.
Place on a plate and serve with maple syrup!
Enjoy!
This can be stored in an airtight container in the fridge for up to four days. For leftover waffles, place on a baking sheet to reheat on a low temperature in the oven.
The Best Gluten Free Waffle Recipe For Fluffy Waffles
Ingredients
- 12 hard boiled eggs shelled
- 12 raw eggs
- ½ cup coconut flour
- ½ cup sugar this also works with honey
- 2 teaspoon baking powder
- 1 Tablespoon Vanilla Extract
- 1 teaspoon sea salt
- butter coconut oil, or olive oil for the skillet
Instructions
- Preheat waffle iron.
- Allow hard boiled eggs to come to room temperature.
- Remove the shells.
- Mix all dry the ingredients together.
- Place wet ingredients: shelled hard boil eggs, raw hard boiled eggs, and vanilla in a blender or use an immersion blender to mix until smooth.
- Next, add the dry ingredients to the wet and blend at high speed until completely smooth.
- For best results, let the batter rest for about 5 minutes.
- This will give the coconut flour a chance to absorb the liquid and thicken up.
- Use coconut oil or melted butter to grease the iron so the batter will not stick.
- Careful not to burn your fingers!
- Place batter in the waffle maker and allow it to cook until desired darkness is achieved.
- I sometimes will leave them in a little longer for crispy waffles.
- Place on a plate and serve with maple syrup!
- Enjoy!
Notes
Want to top this dish with homemade butter? Check out this post on how to make your own butter!
One Comment
Comments are closed.