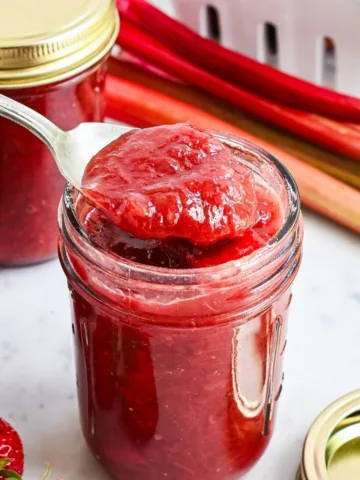
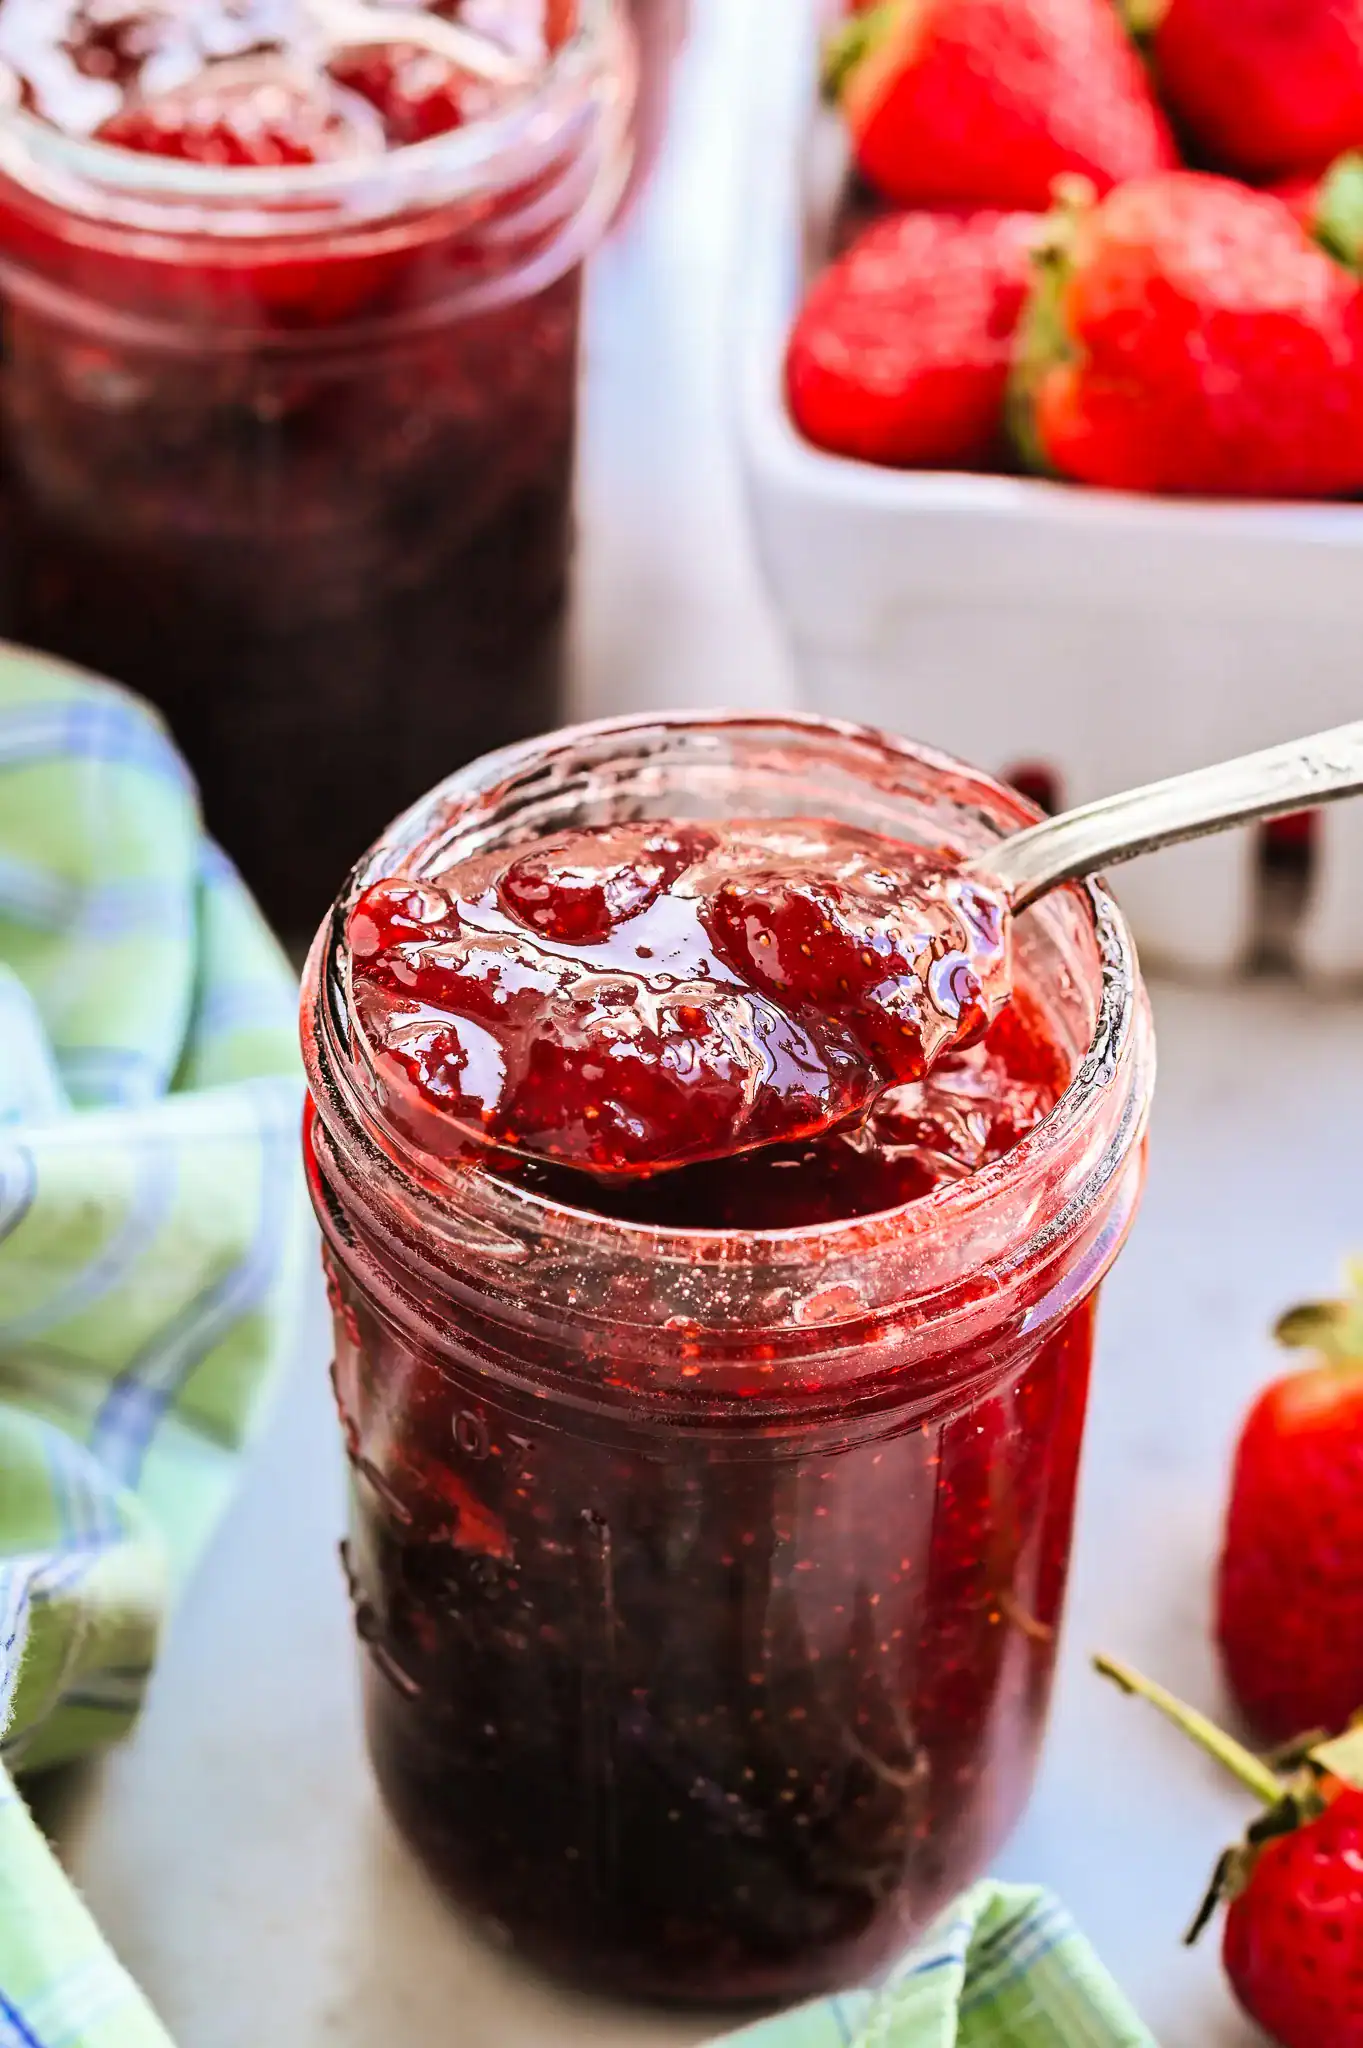
There’s nothing quite like a spoonful of homemade jam spread over warm toast or tucked into homemade thumbprint cookies. This easy raspberry jam recipe is made without added pectin—just fresh raspberries, sugar, and lemon juice. If you love this style of canning, you’ll also want to try my Classic Homemade Strawberry Jam Without Pectin and Low Sugar Peach Jam (Easy Canning Recipe – No Pectin). It’s a simple, small batch of raspberry jam that’s perfect for beginners or anyone who wants to enjoy the vibrant color and sweetness of the raspberries any time of year.
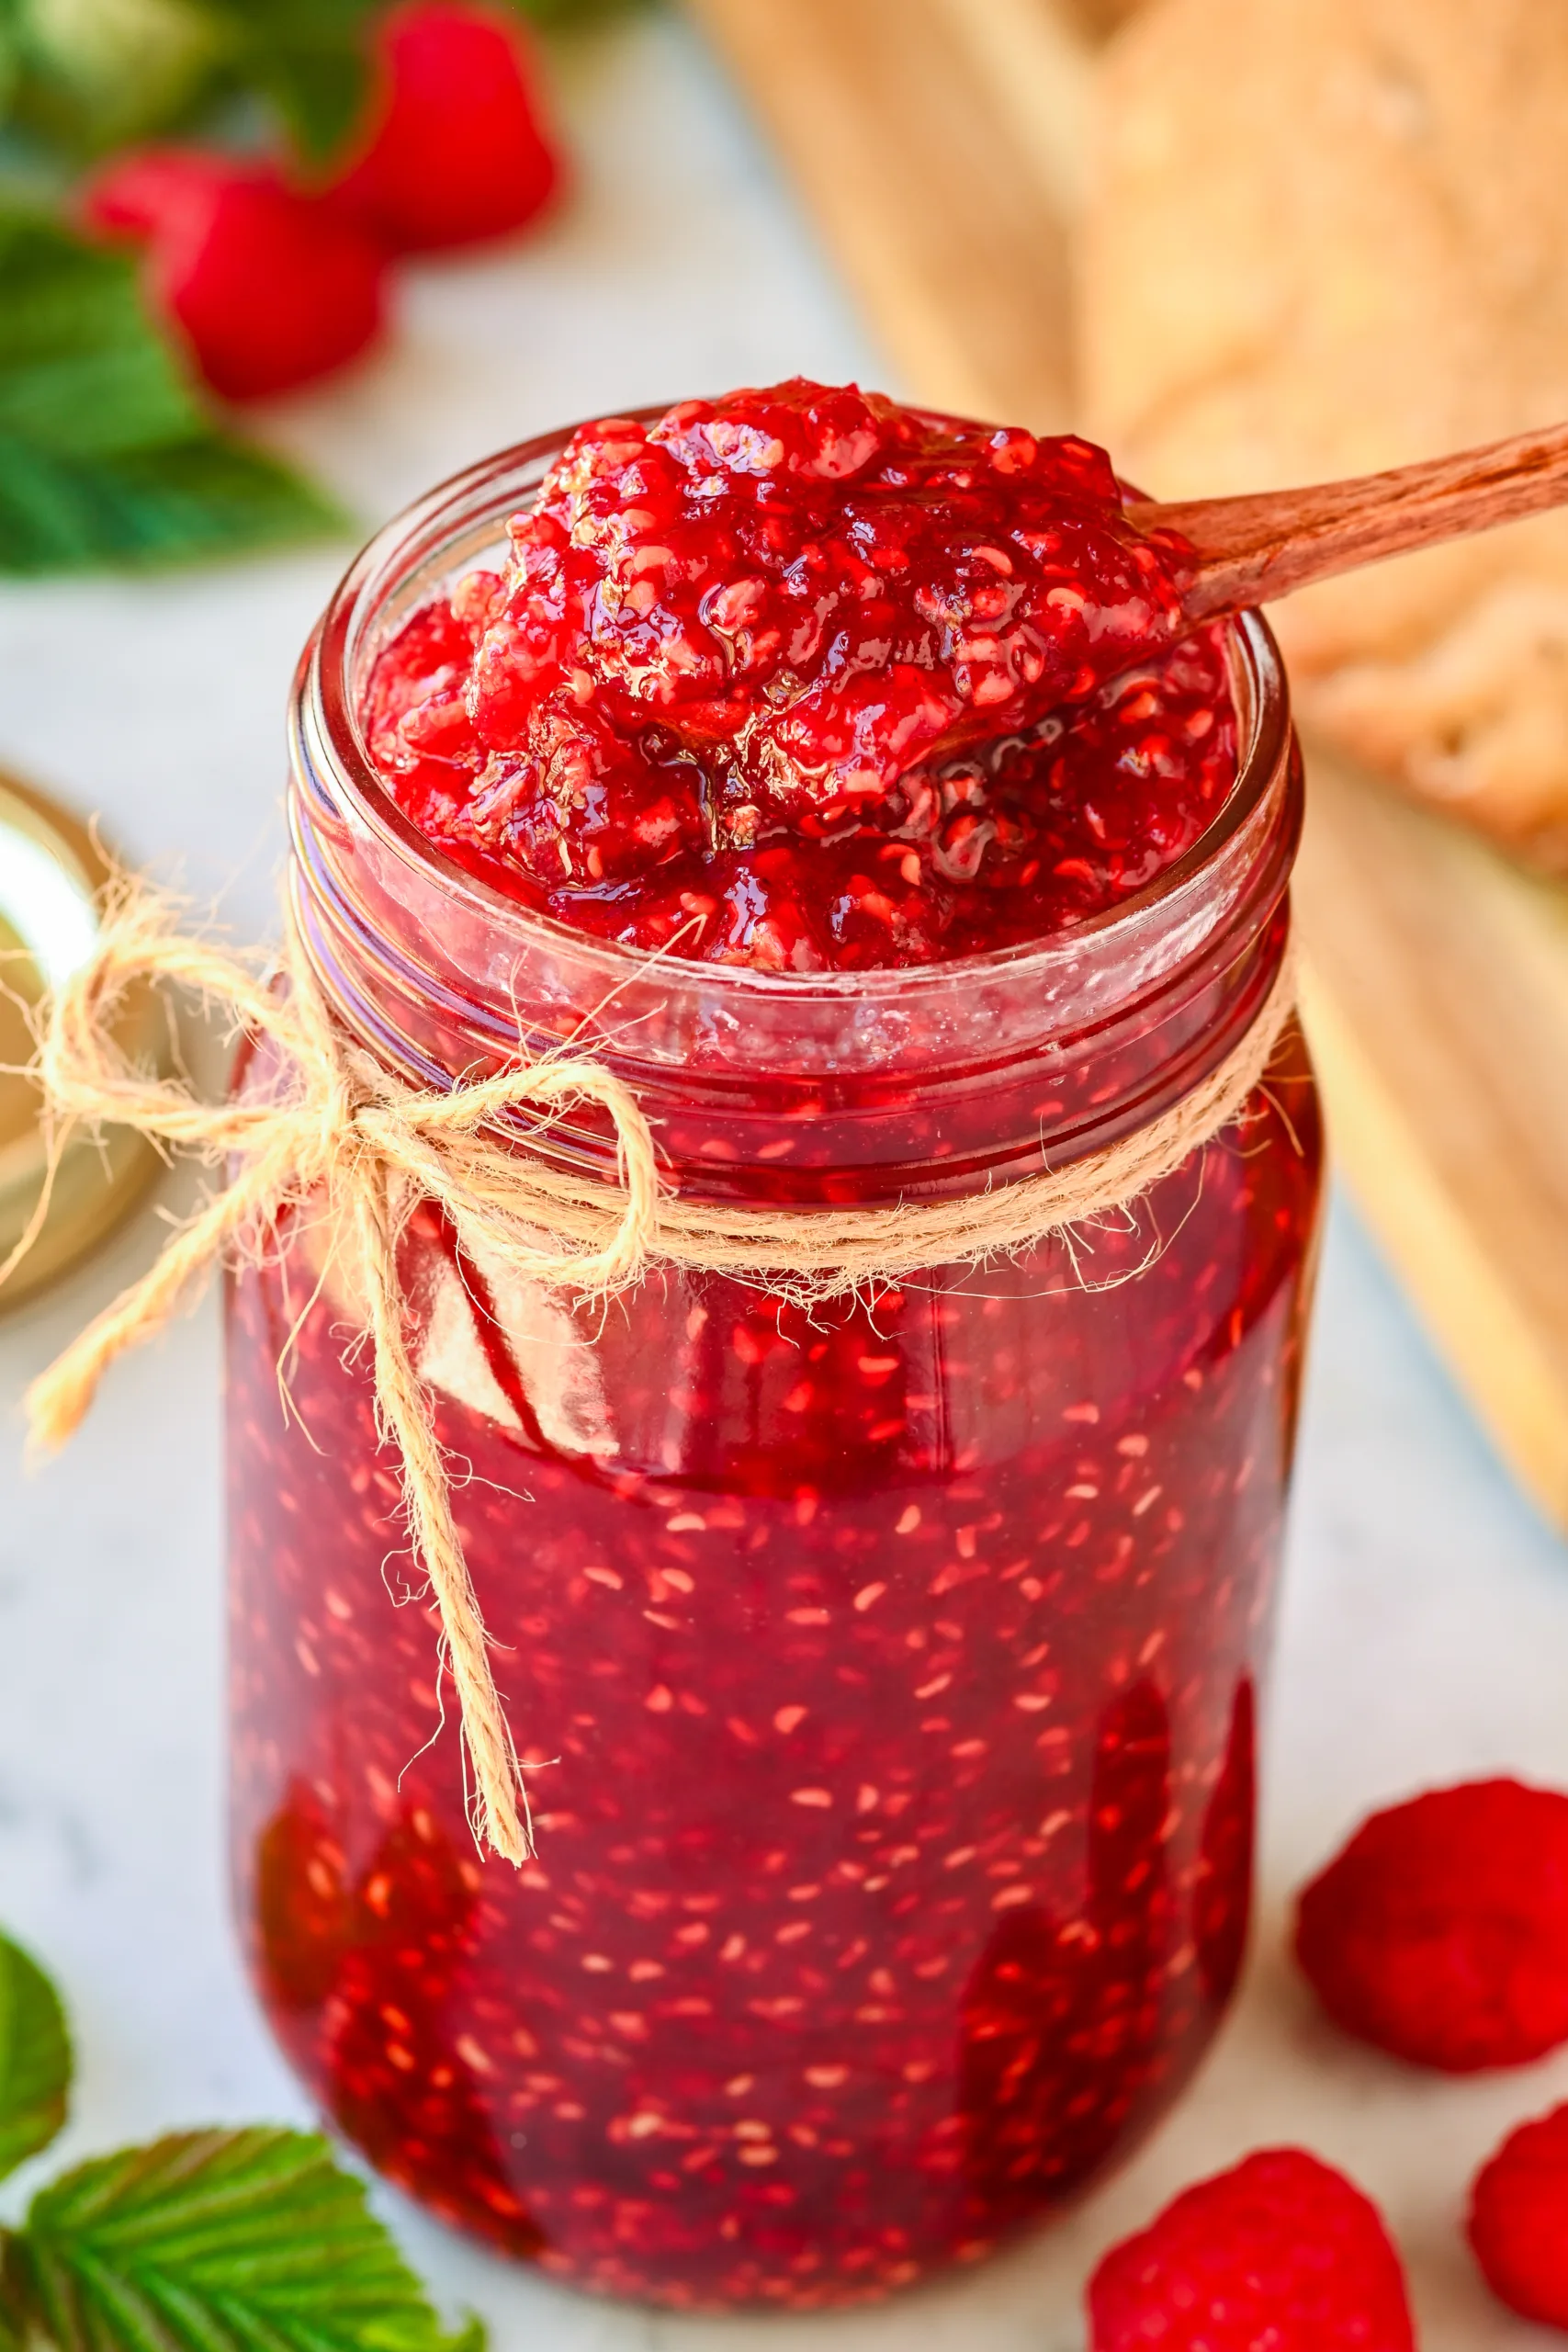
Table of Contents
This post contains affiliate links, which means I make a small commission at no extra cost to you. See my full disclosure here.
Why This Raspberry Jam Recipe Works
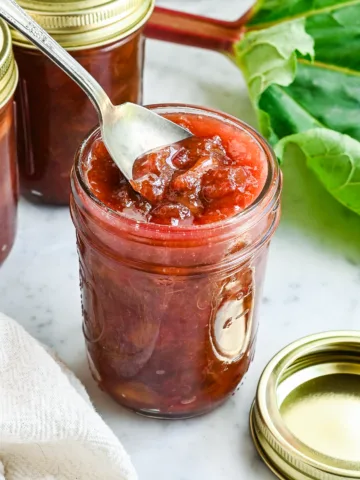
Whether you’re making jam for the first time or you’ve been canning recipes for years, this method uses a rolling boil to set the jam naturally. Here at Idie’s Farm, we grow raspberries and look forward to this jam all year, but before that we were lucky enough to have a neighbor with a huge raspberry patch who always shared her bounty. If you don’t have your own canes, don’t worry—fresh raspberries from the grocery store (or even frozen if that’s what’s available) work just as well. The result is a delicious spread that captures the flavor of ripe berries and has a shelf life long enough to enjoy through the winter months.
Quick Look at This Recipe
- Type: Easy homemade raspberry jam recipe
- Batch Size: Yields 3–4 half-pint jars
- Skill Level: Beginner friendly – no added pectin required
- Best For: Toast, ice cream topping, thumbprint cookies, or swirled into yogurt
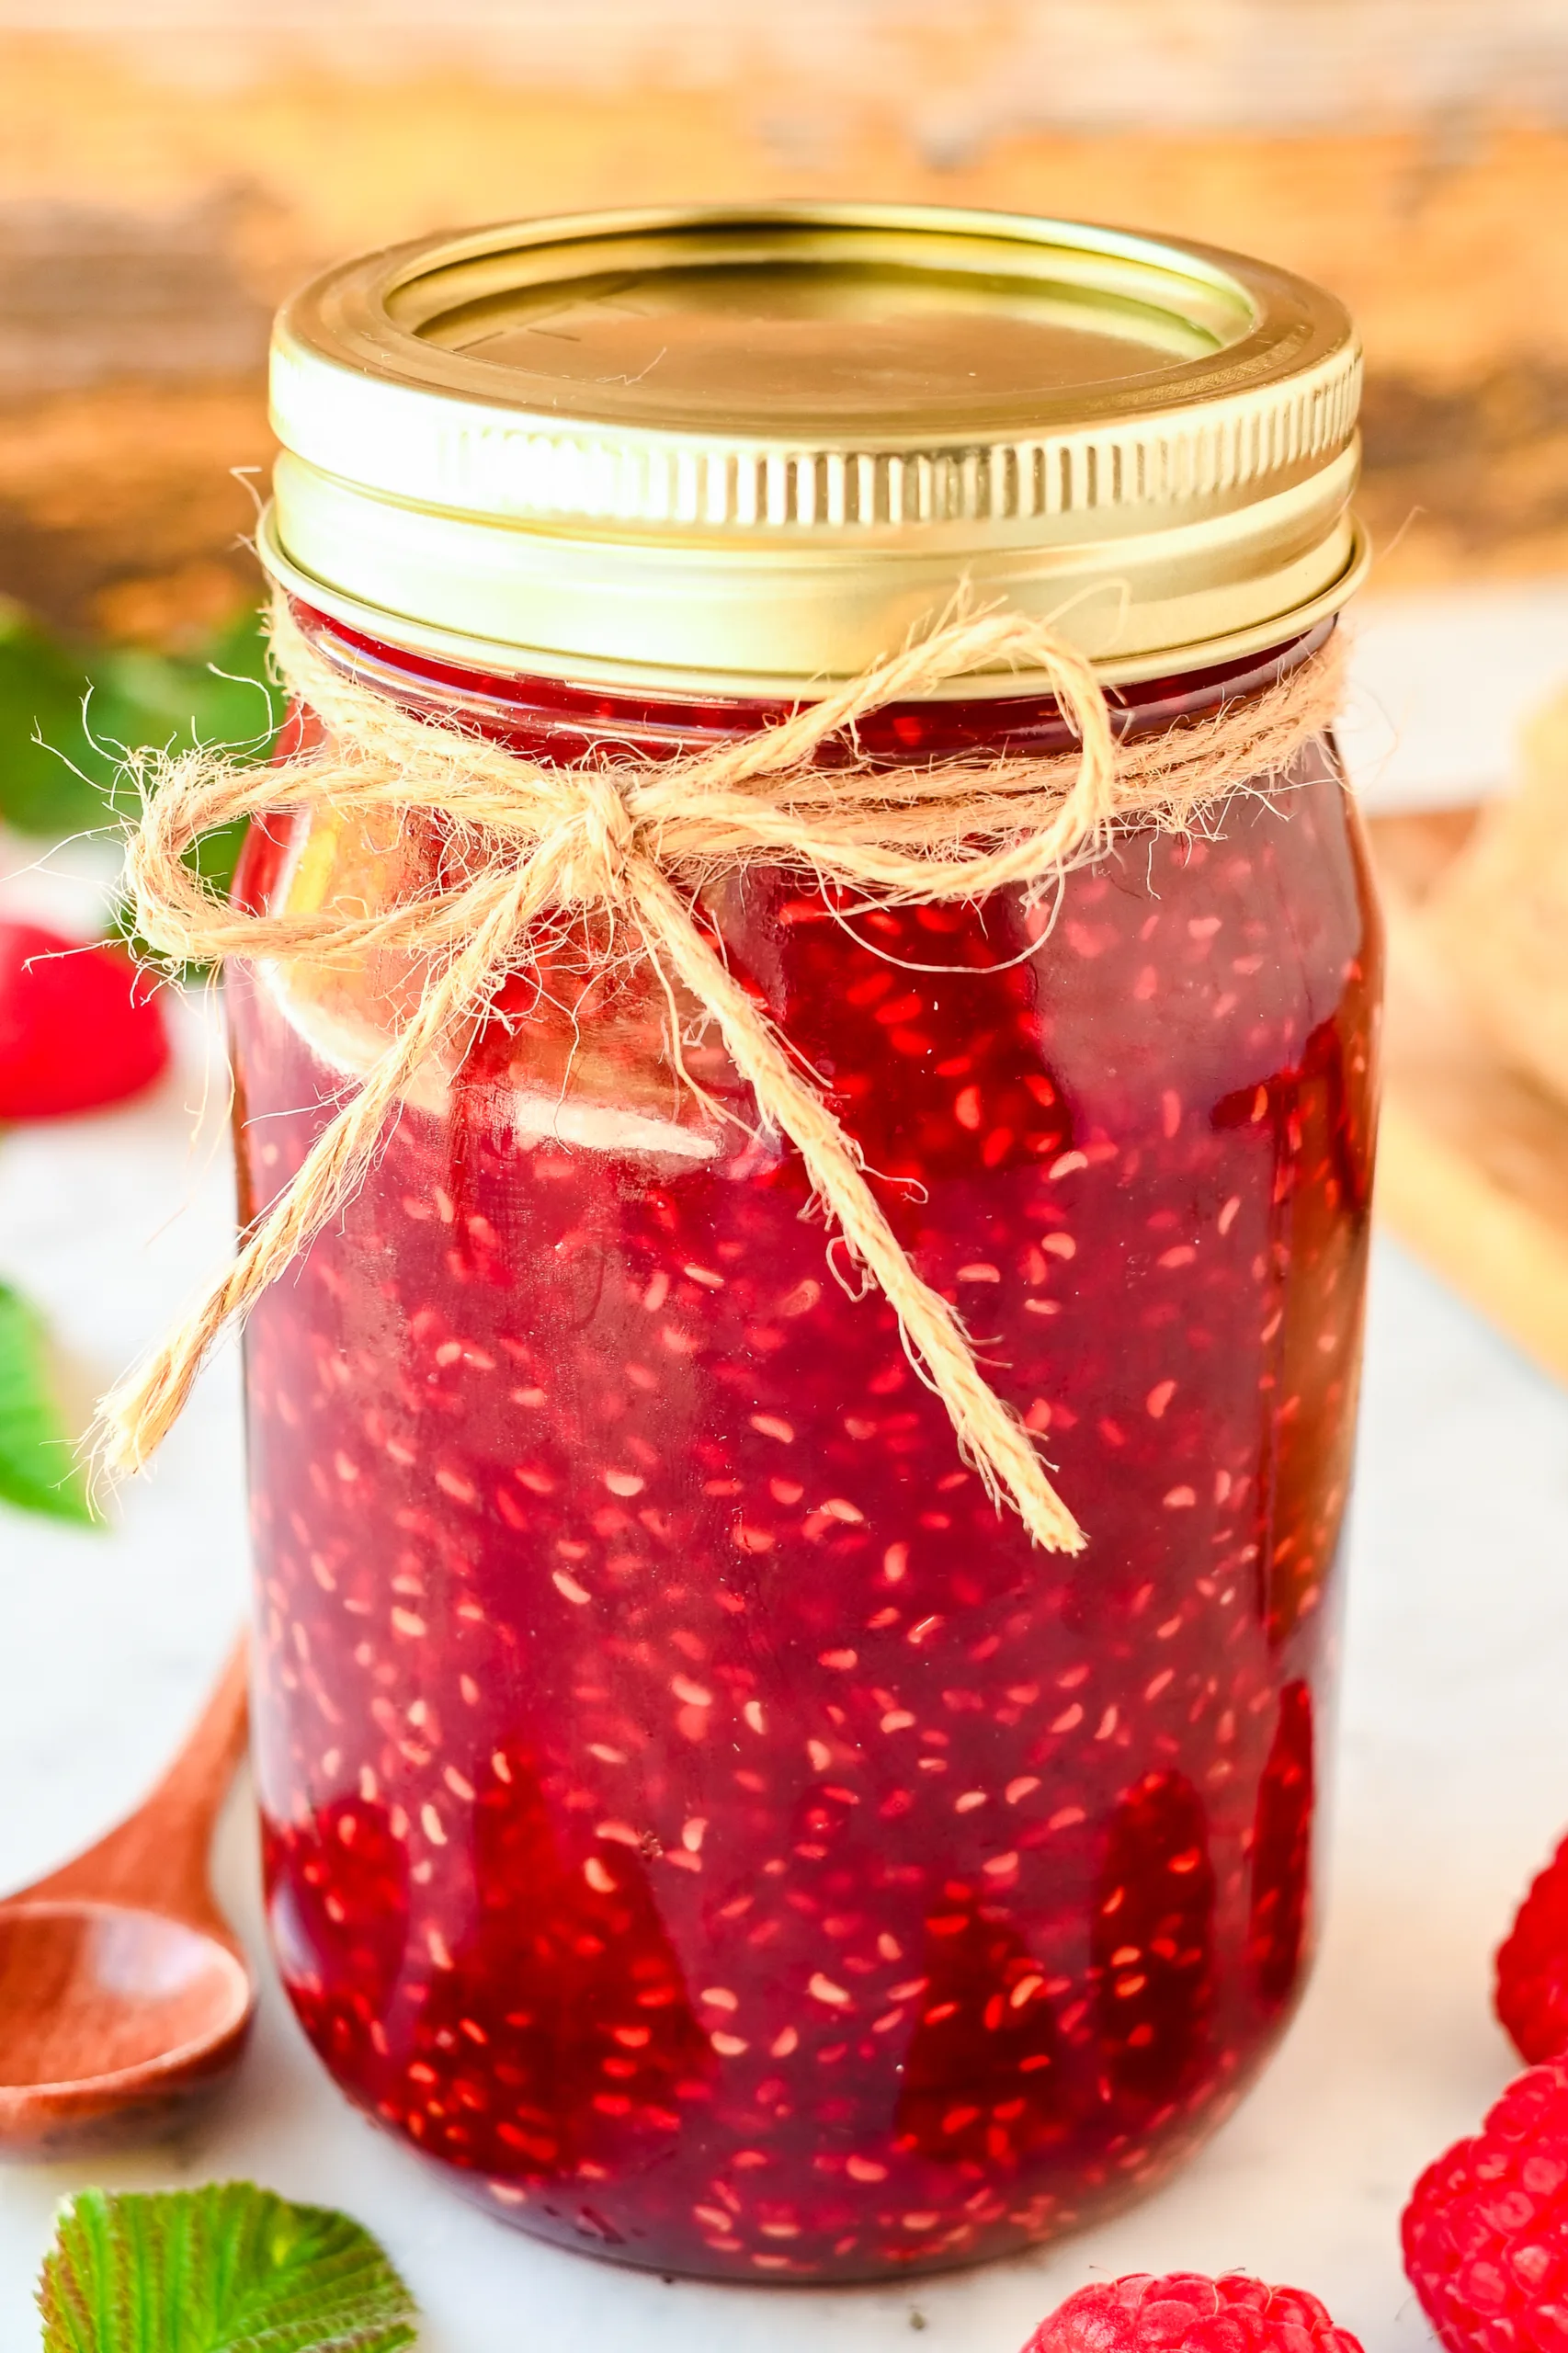
- Shelf Life: 12 months when processed in a hot water bath and stored in a cool, dark place
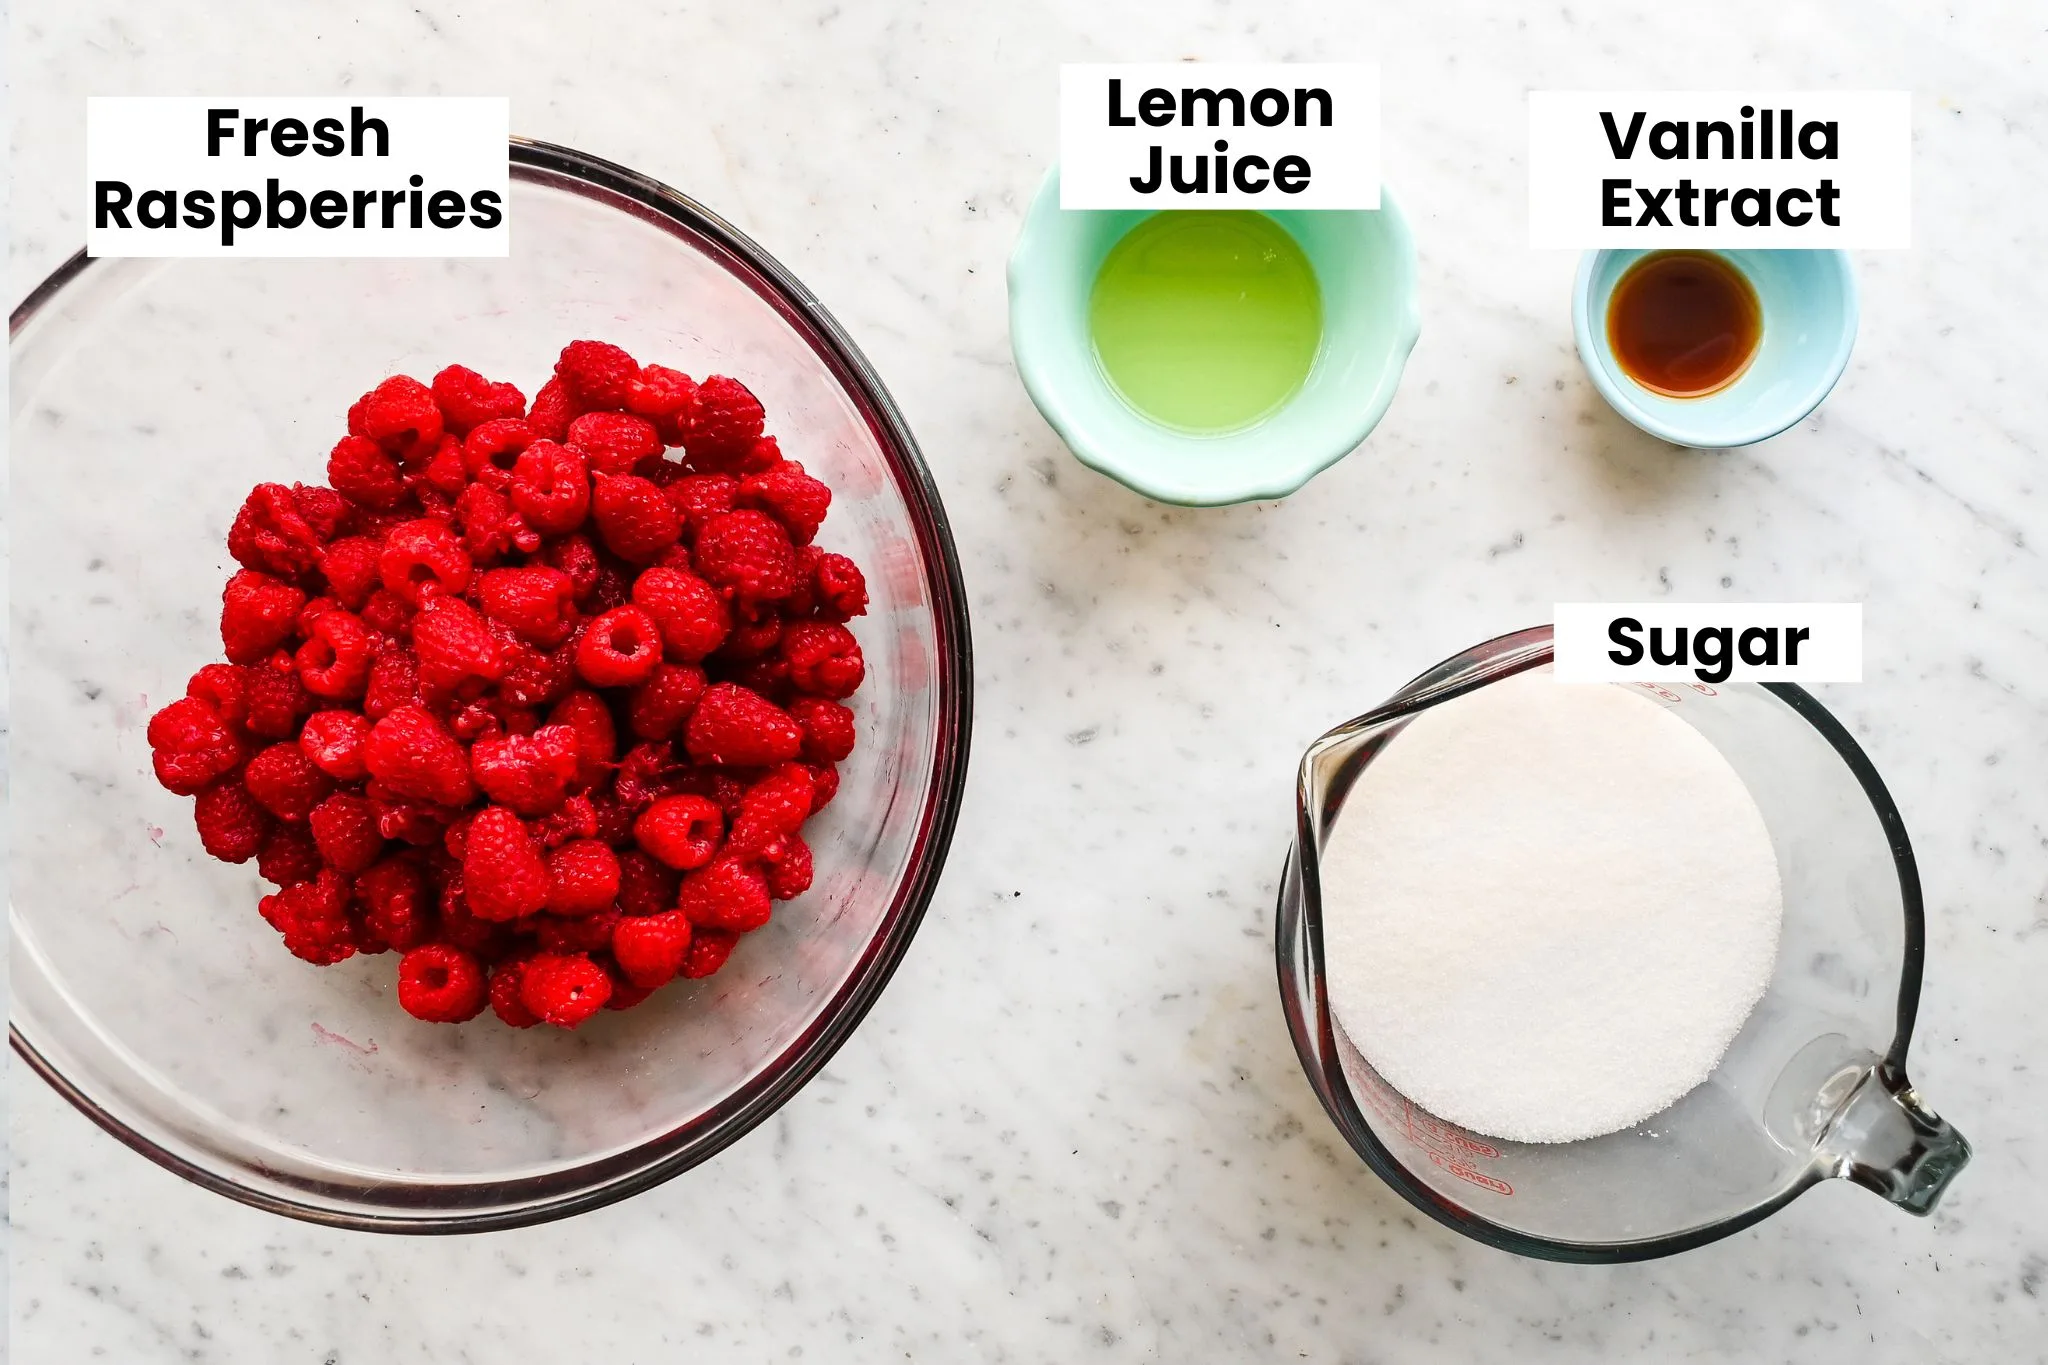
Ingredients You’ll Need
- 4 cups fresh raspberries (about 2 pints; golden raspberries also work)
- 2 cups white sugar (or adjust for a low sugar raspberry jam)
- 2 tablespoons fresh lemon juice (plus optional lemon rind for extra brightness)
- ¼ teaspoon of vanilla extract
Equipment
- Large pot or medium saucepan
- Wooden spoon
- Potato masher
- Candy thermometer (to check boiling point and cooking time)
- Jar funnel
- Hot jars (sterilized half-pint jars or jam jars)
- Jar lifter
- Water bath canner or large pot with enough water to cover filled jars
Step-by-Step Instructions
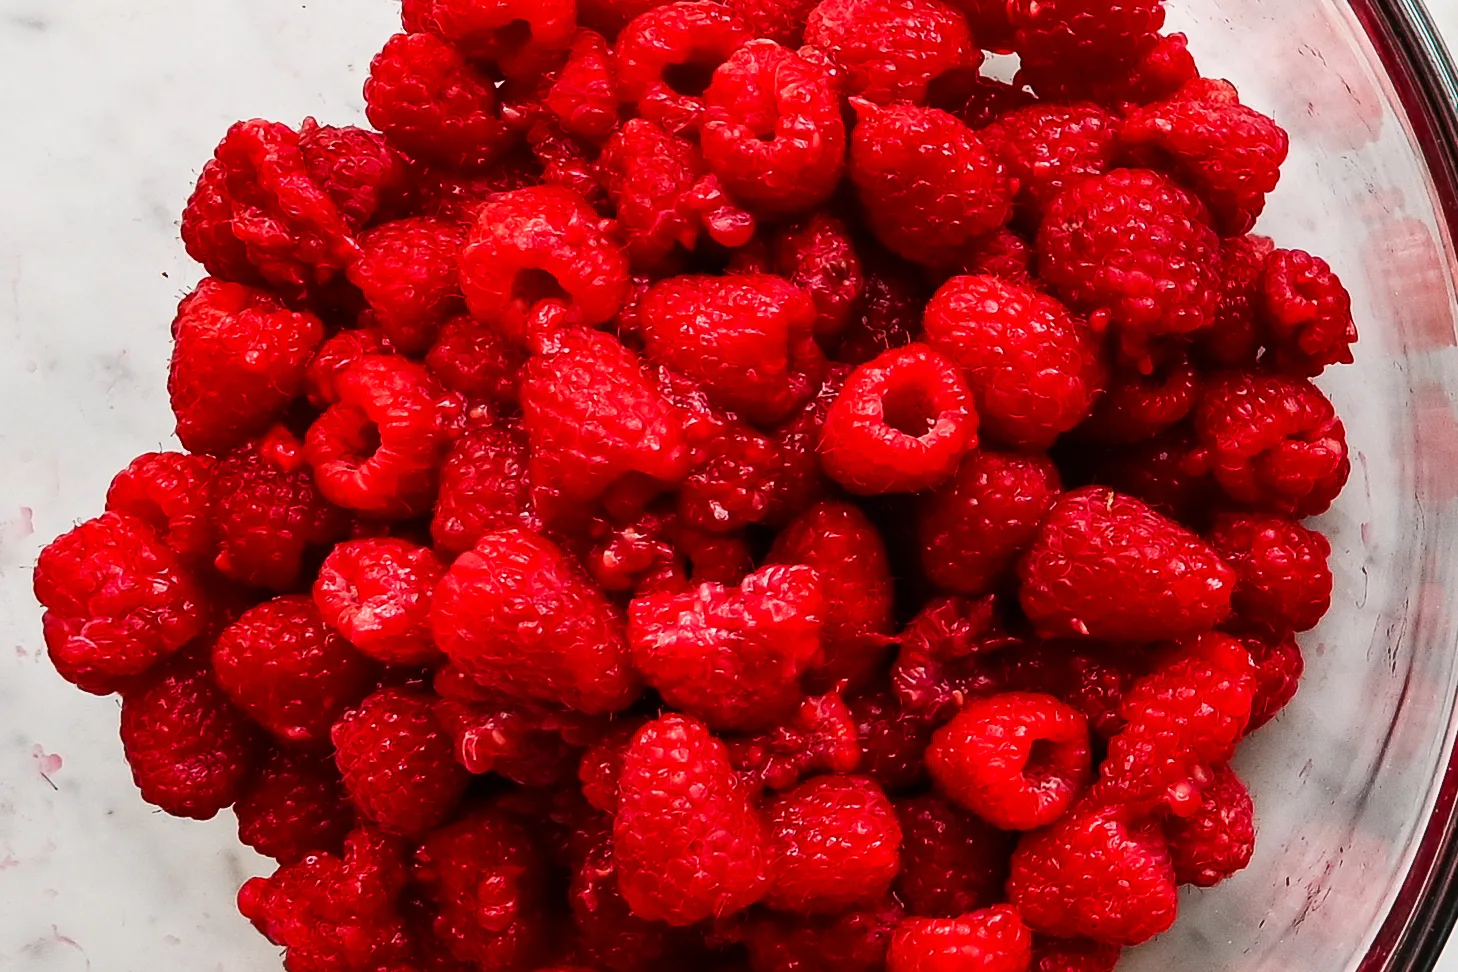
Wash jam jars in hot soapy water, rinse well, and keep hot until ready to fill. Place lids and rings at room temperature. Rinse raspberries well, removing any that look bruised or moldy.

Combine raspberries, sugar, and lemon juice in a large pot and bring to a boil, stirring occasionally. As the jam thickens and the berries soften, use a potato masher to mash to your desired texture. (Tip: If you like, you can mash the raspberries lightly before cooking for a smoother jam from the start.)
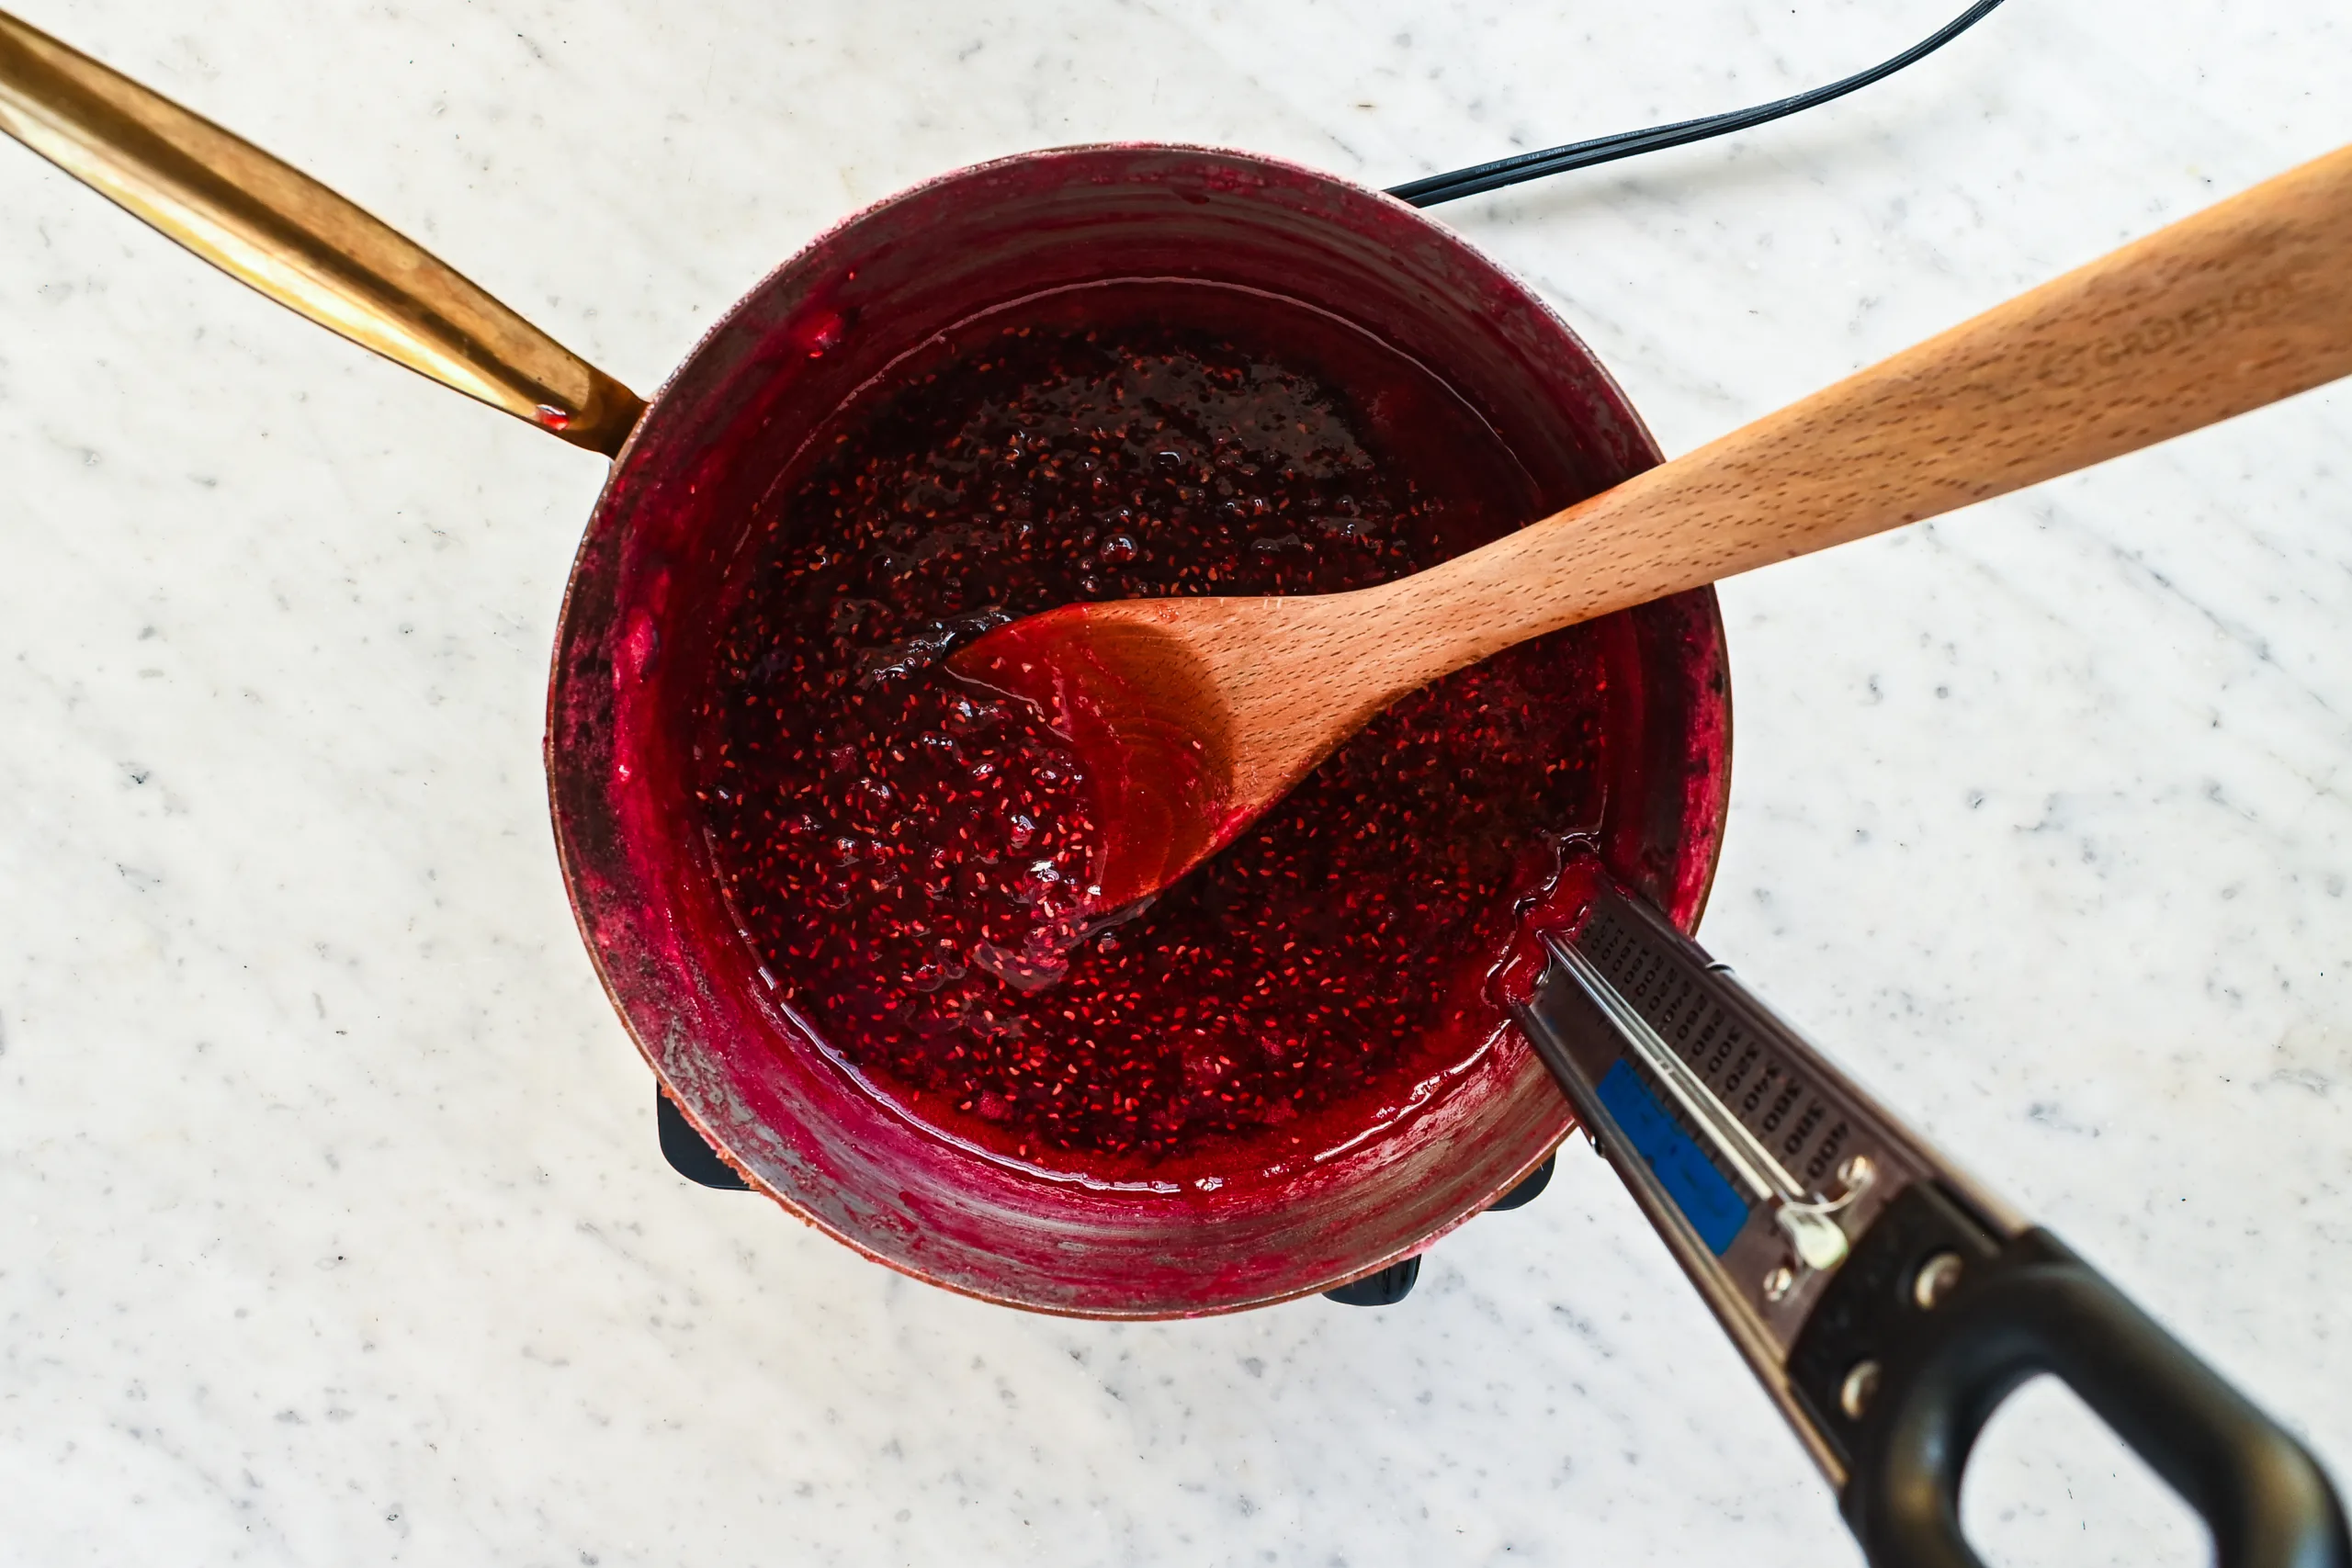
Cook the jam at a steady boil over medium heat for 15–25 minutes, or until it reaches 220°F on a candy thermometer or passes the wrinkle test on a chilled plate. See Tips

Ladle hot jam into hot jars using a jar funnel. Remove air bubbles with a clean utensil and wipe the rim. Leave ¼ inch headspace at the top of the jam. Place filled jars in a boiling water bath canner with enough water to cover them by 1 inch. Process for 10 minutes. Carefully remove with a jar lifter and let cool at room temperature.
After 12–24 hours, check that the tops of the jam jars are sealed. Store sealed jars in a cool, dark place. Refrigerate any unsealed jars and enjoy within 2–3 weeks.
Tips for Best Results
- Wrinkle Test: To check if your jam has reached the setting point without a thermometer, place a small plate in the freezer before you start cooking. When the jam looks thick, drop a spoonful onto the chilled plate and let it sit for about 30 seconds. Push the edge with your finger—if the surface wrinkles instead of flowing back, the jam is ready to jar. Use ripe berries for the best raspberry jam flavor.
- For a smaller batch of jam, halve the recipe and adjust cooking time slightly.
- If you like less sugar, experiment with jam sugar blends, but keep in mind that it may alter the setting point.
- Try mixing raspberries with other fruits—like blackberry or peach—for unique flavors.
Ways to Enjoy Raspberry Jam
- Spread over fresh sourdough rolls or sourdough biscuits.
- Swirl into homemade french vanilla ice cream or homemade yogurt for a fruity twist.
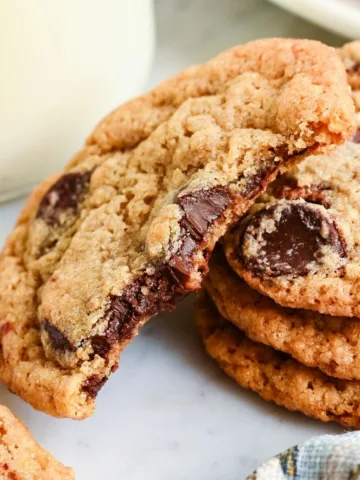
- Use as a filling in linzer cookies or raspberry thumbprint cookies.
- Pair with cream cheese on crackers for a simple appetizer.
Frequently Asked Questions
Can I make raspberry jam without pectin?
Yes! Raspberries are naturally high in pectin. With lemon juice and the right cooking time, you can make a delicious jam without added pectin.
How much sugar do I need?
This recipe uses 2 cups sugar to 4 cups raspberries. You can reduce it for a low sugar raspberry jam, but the shelf life and set may change.
How long is the shelf life?
When processed in a water bath and stored properly, your jam lasts up to 12 months in a cool, dark place. Open jars should be refrigerated and used within 2–3 weeks.
Can I freeze this jam instead of canning?
Yes! Simply ladle cooled jam into freezer-safe jars or containers, leaving space for expansion, and freeze for up to 6 months.


Tried this recipe?
I would love to see it! Tag me on Instagram @idiesfarm and #idiesfarm so I can share your beautiful creation!
Homemade Raspberry Jam (Easy, No Pectin Needed!)
Equipment
- Large pot or medium saucepan
- Wooden spoon
- Potato masher
- Candy thermometer (to check boiling point and cooking time)
- Jar funnel
- Hot jars (sterilized half-pint jars or jam jars)
- Jar lifter
- Water bath canner or large pot with enough water to cover filled jars
Ingredients
- 4 cups fresh raspberries about 2 pints; golden raspberries also work
- 2 cups white sugar or adjust for a low sugar raspberry jam
- 2 tablespoons fresh lemon juice plus optional lemon rind for extra brightness
- ¼ teaspoon of vanilla extract
Instructions
- Wash jam jars in hot soapy water, rinse well, and keep hot until ready to fill. Place lids and rings at room temperature. Rinse raspberries well, removing any that look bruised or moldy.
- Combine raspberries, sugar, and lemon juice in a large pot and bring to a boil, stirring occasionally. As the jam thickens and the berries soften, use a potato masher to mash to your desired texture. (Tip: If you like, you can mash the raspberries lightly before cooking for a smoother jam from the start.)
- Cook the jam at a steady boil over medium heat for 15–25 minutes, or until it reaches 220°F on a candy thermometer or passes the wrinkle test on a chilled plate. SEE TIPS
- Ladle hot jam into hot jars using a jar funnel. Remove air bubbles with a clean utensil and wipe the rim. Leave ¼ inch headspace at the top of the jam. Place filled jars in a boiling water bath canner with enough water to cover them by 1 inch. Process for 10 minutes. Carefully remove with a jar lifter and let cool at room temperature.
- After 12–24 hours, check that the tops of the jam jars are sealed. Store sealed jars in a cool, dark place. Refrigerate any unsealed jars and enjoy within 2–3 weeks.
Notes
- Wrinkle Test: To check if your jam has reached the setting point without a thermometer, place a small plate in the freezer before you start cooking. When the jam looks thick, drop a spoonful onto the chilled plate and let it sit for about 30 seconds. Push the edge with your finger—if the surface wrinkles instead of flowing back, the jam is ready to jar.
- Use ripe berries for the best raspberry jam flavor.
- For a smaller batch of jam, halve the recipe and adjust cooking time slightly.
- If you like less sugar, experiment with jam sugar blends, but keep in mind that it may alter the setting point.
- Try mixing raspberries with other fruits—like blackberry jam or peach jam—for unique flavors.