
How To Make Easy Homemade Clabber From Raw Milk
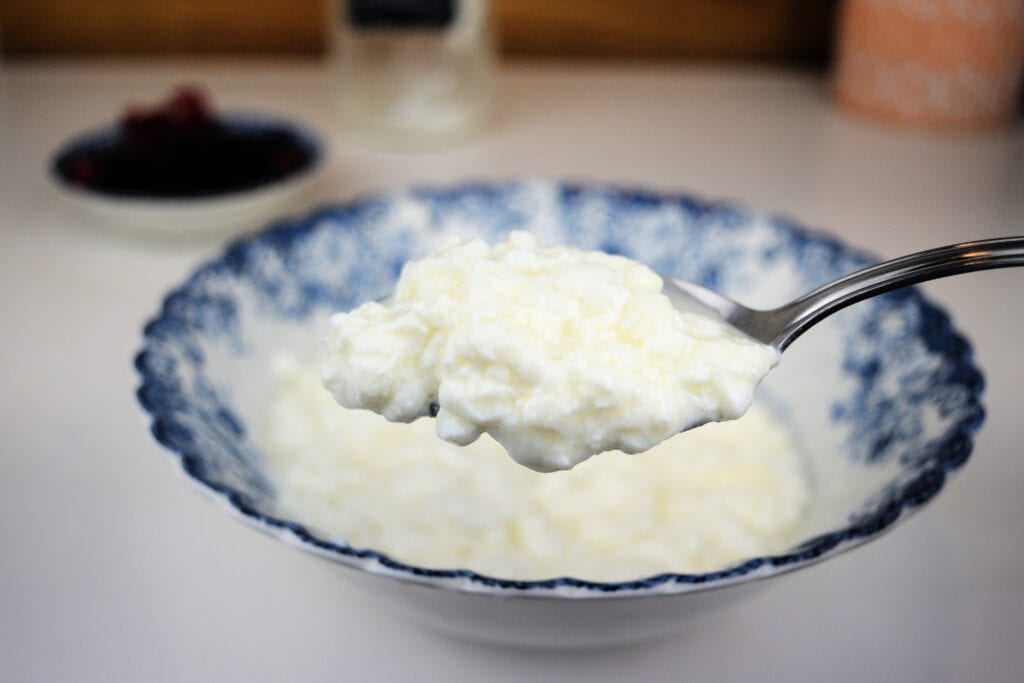
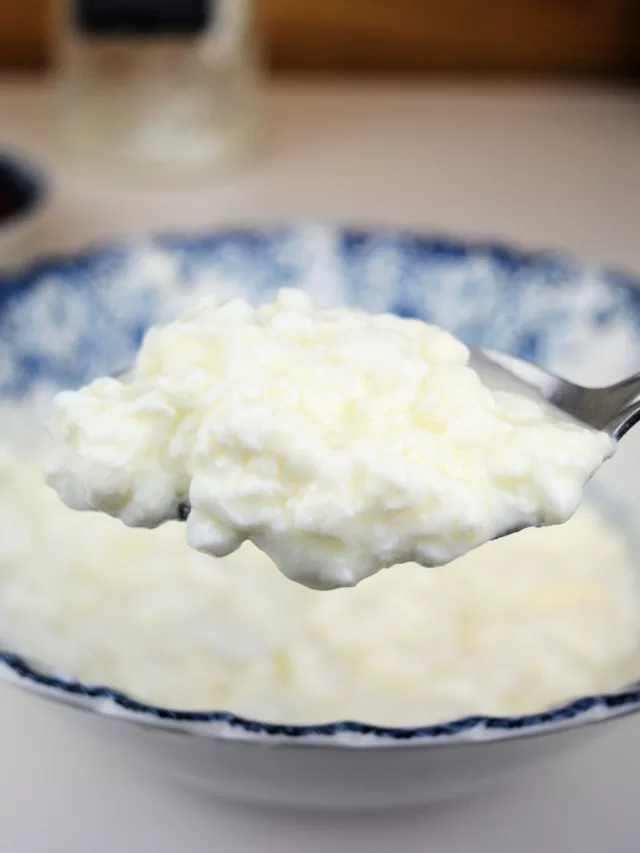
If you love yogurt then this how to make easy homemade clabber from raw milk recipe is for you! It is tangy yet slightly sweet, with a consistency of plain yogurts, but you are getting the extra health benefits of raw milk without having to use a yogurt maker!

Did you know that fresh whole raw milk, if left on the counter, doesn’t go bad? It merely changes forms! That’s right, fresh raw milk, if left on the counter for long enough, will eventually become soured milk, also known as clabber. Amazing, right? Not only will you get the beneficial enzymes from raw milk with this delicious recipe but also an ample amount of probiotics too! Clabber definitely beats out any store-bought yogurt. You may already know the benefits of raw milk and why it is one of our favorite dairy products by reading some of my previous posts, so I don’t mean to bore you with yet another reason, but hear me out.
This post contains affiliate links, which means I make a small commission at no extra cost to you. See my full disclosure here.

In the past, this amazing substance was used as a leavening agent or even as a whey starter for cheese making. If you are at least my age, you may have heard some clabber talk from a grandparent or great-grandparent, as I’m pretty sure they used it regularly to help preserve their food.
After getting our first dairy cow, Maple, I was so excited to make clabber for the first time. I had always made thermophilic yogurt, which is your typical yogurt made from heated milk, but I had never had a raw yogurt. Now I know that clabber is not yogurt, per say, but it does have similar qualities as far as taste and texture and can be used in the same manner. It was amazing how simple it is to make! With yogurt, I felt like I was always having to do math to figure out the timing of putting it in the machine and then remembering when to remove it and put it in the fridge, not to mention the added time of having to heat the milk prior to, then letting it cool down enough to add the culture to it. The process always seemed so long and drawn out. Making clabber was revolutionary for me! Putting milk in a jar and then forgetting about it until the next day, gave me mental freedom!
Why Can’t Store Bought Milk Be Used To Make Clabber?
The reason why you cannot clabber pasteurized fresh milk is because it is heated to such a high temperature (between 161 degrees and 280 degrees, maybe even higher for ultra-pasteurized!) that all the beneficial bacteria has been killed off, leaving nothing good to multiply (think probiotics), except for bad bacteria, which generally takes place after the expiration date, depending on the cleanliness of the milk practice.
Keep in mind that pasteurization not only kills off the good bacteria, but the vitamin content also takes a hit due to the high heat to help with “shelf life”, therefore synthetic vitamins are added back in. Since raw milk is not heated it still contains all the beneficial bacteria and it’s God given nutrients, so it embodies the perfect environment to multiply and become clabber, or soured milk, “Welcome, Health Benefits.” Don’t try that with your store bought pasteurized milk—it could kill you! Quite literally. Put that gallon of milk back on the grocery store shelf!
What Can I Make With Clabber?
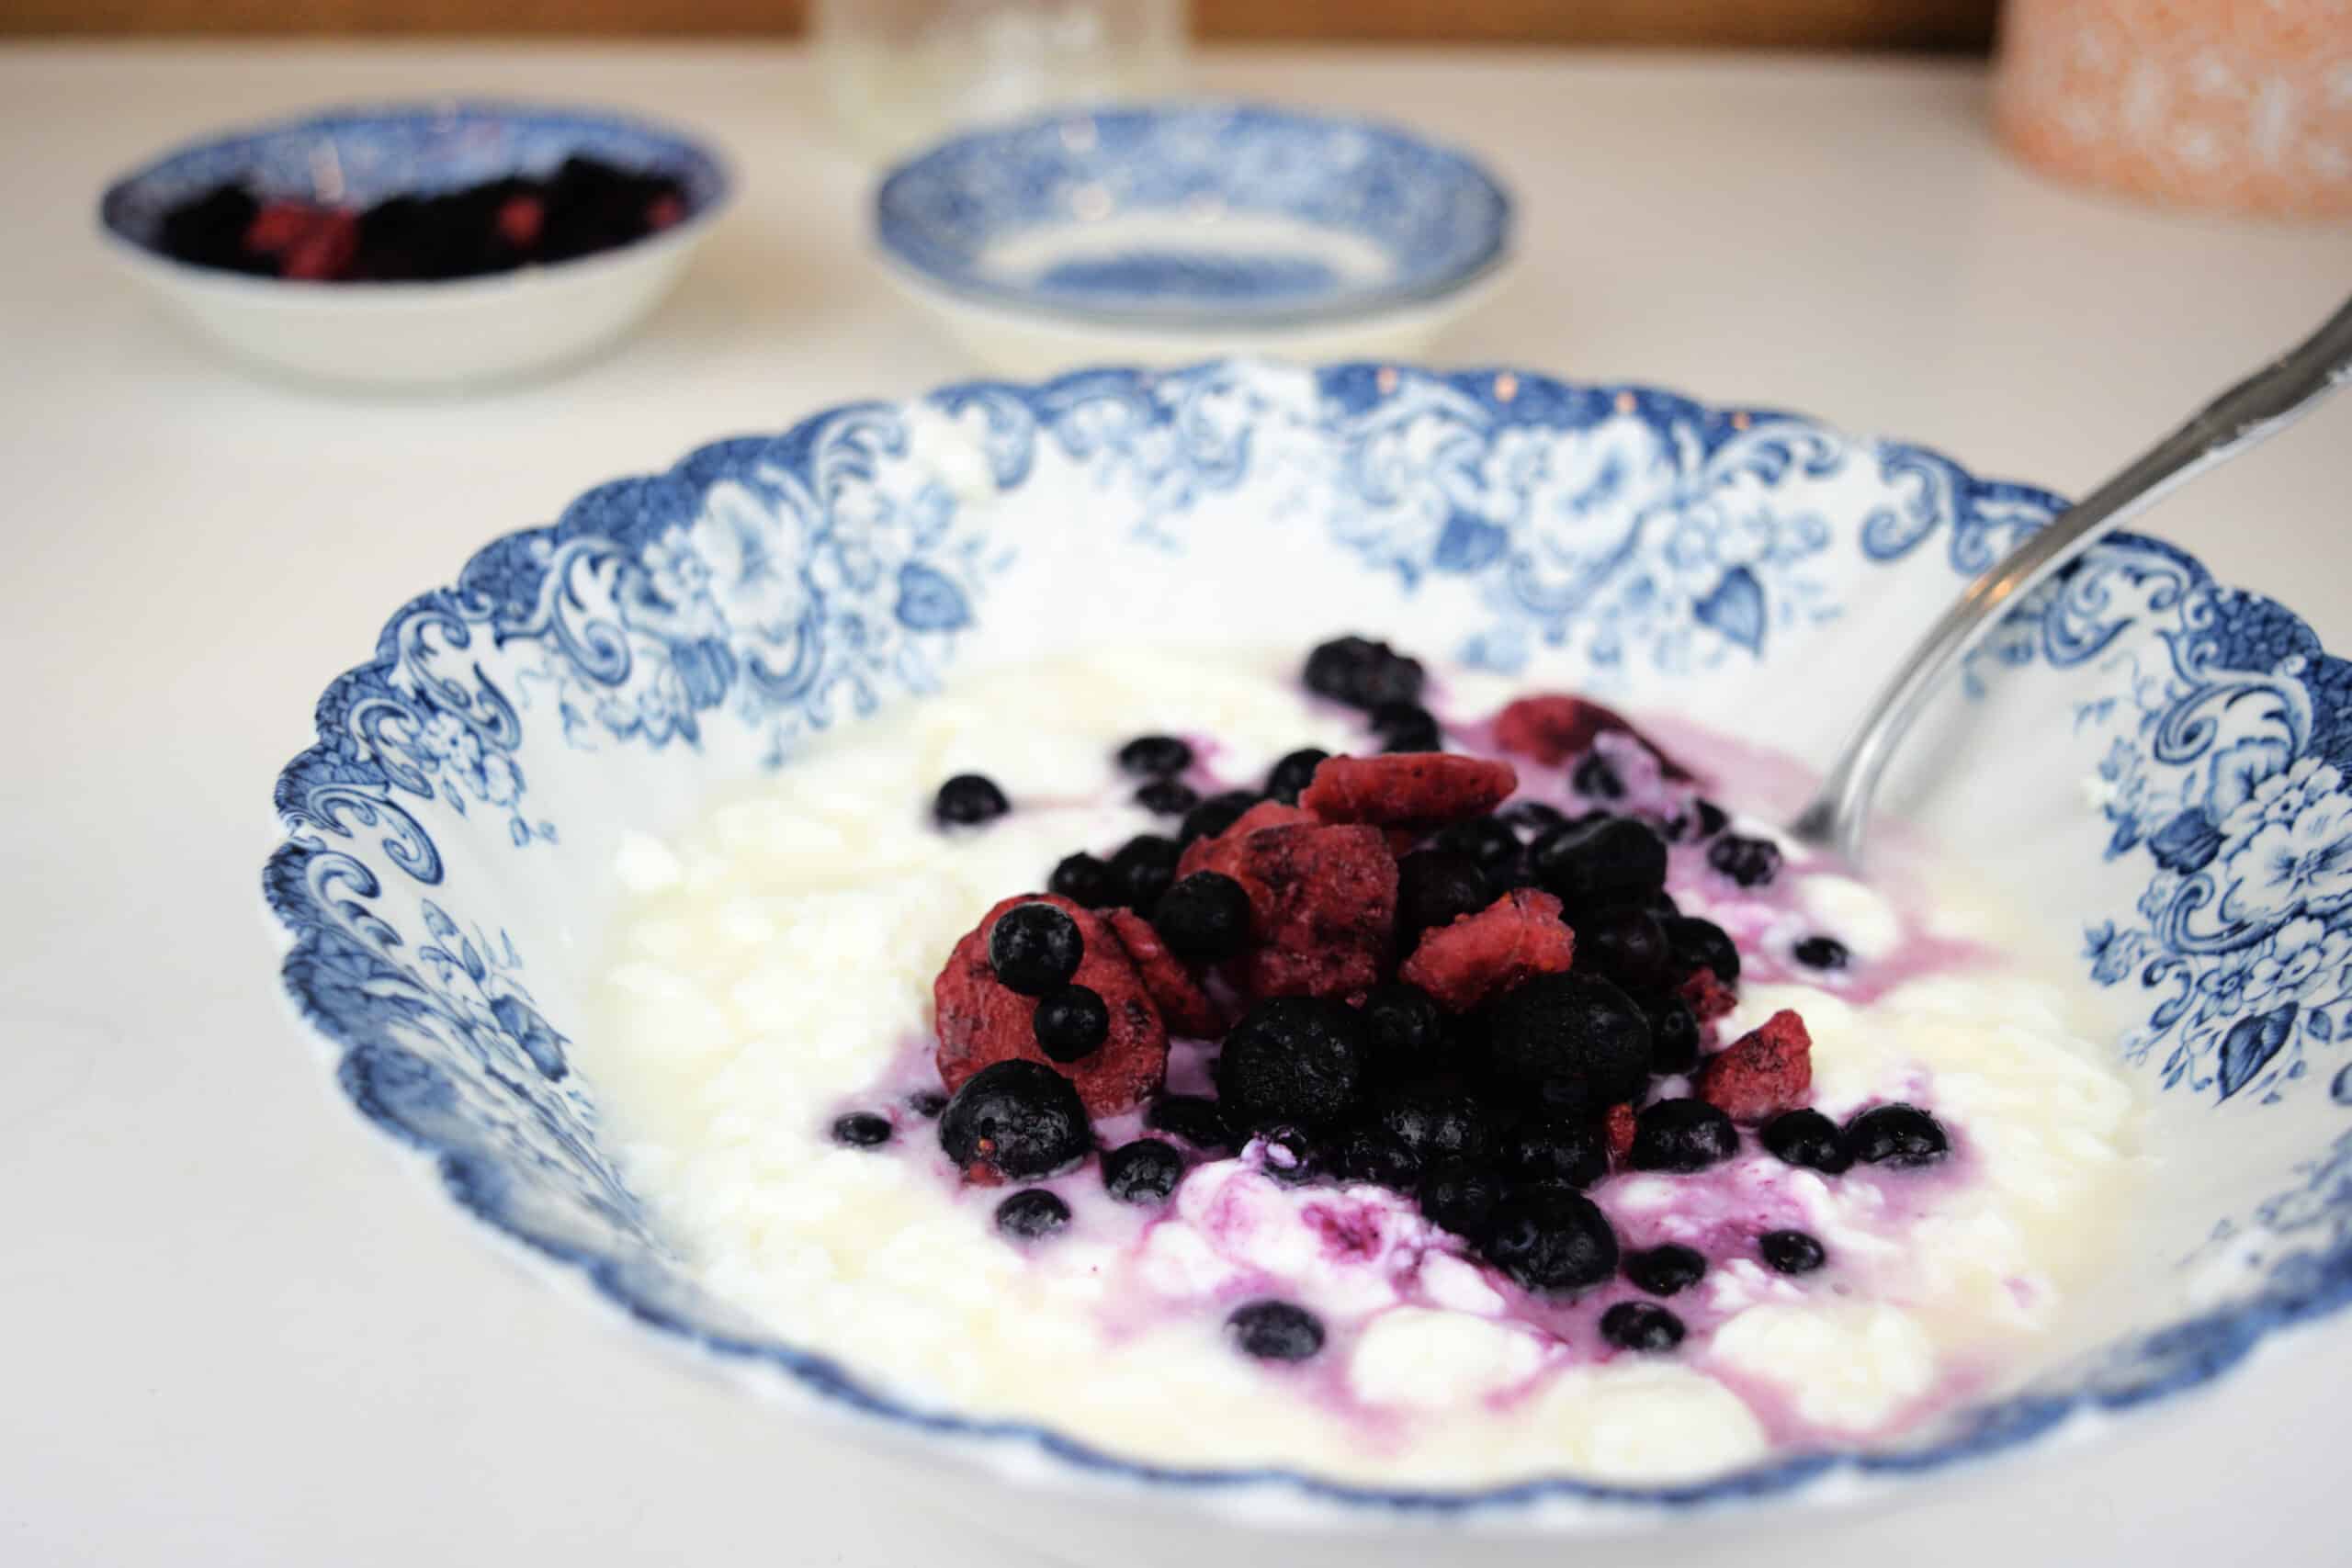
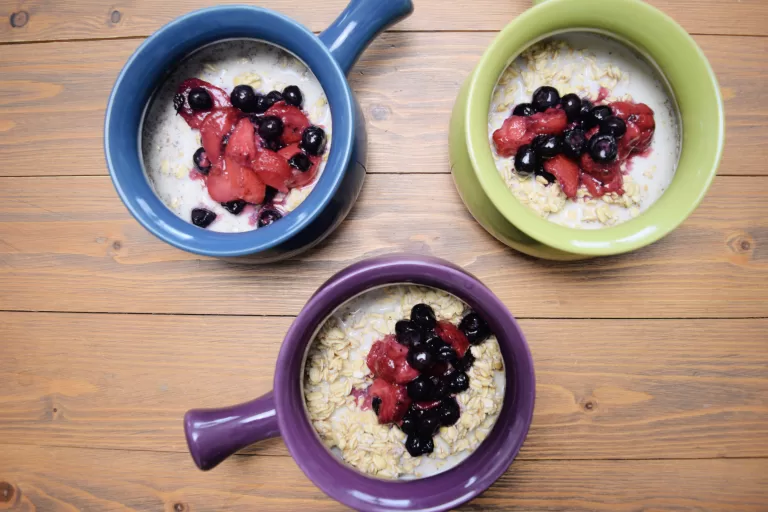
Well, lots of things! We love our daily clabber smoothie found here. It is my boys’ favorite way to have it. With a bit of maple syrup, some frozen fruit, and a splash of raw cream, these boys look forward to breakfast and since it is such an easy recipe, they enjoy making it themselves!
Making clabber really beats the work involved in making homemade yogurt and cleanup that takes place after. Don’t even get me started on cleaning that yogurt maker! Not to mention clabber tastes so similar to raw milk yogurt, you can even put some fresh fruit in it, granola with chocolate chips, and a bit of vanilla bean to get the yogurt experience with the same wonderful benefits! I would imagine more because it’s made with raw milk.
After mastering clabber and developing a strong strain, you may want to try some recipes leavening bread or use it to culture your next raw cheese! We like to use clabber for some of our favorite recipes. I’ve been known to take a tablespoon of the whey from it and add it to my fermented pico de gallo recipe (found here). I have found it’s the best way to help kickstart it.
Tips For Clabbering Milk
- Use only a small amount of whole raw milk, about a half cup. Raw milk is not cheap, so too much waste is not an option.
- It will take a few days to thicken, at room temperature. Placing it in too cool of an environment will lengthen this process.
- I would use a cloth that is secured to the top with a rubber-band or a top that fits the mason jar to make sure to keep away any gnats that fermented products tend to lure in.
- If using raw milk, use it straight from the dairy cow or if you are buying it from a local farm, have it come to room temperature to help it thicken faster.
- Once your culture has been established, if you choose to use a screw on top, try leaving the top unscrewed to see if it enhances the flavor. My boys say it does!

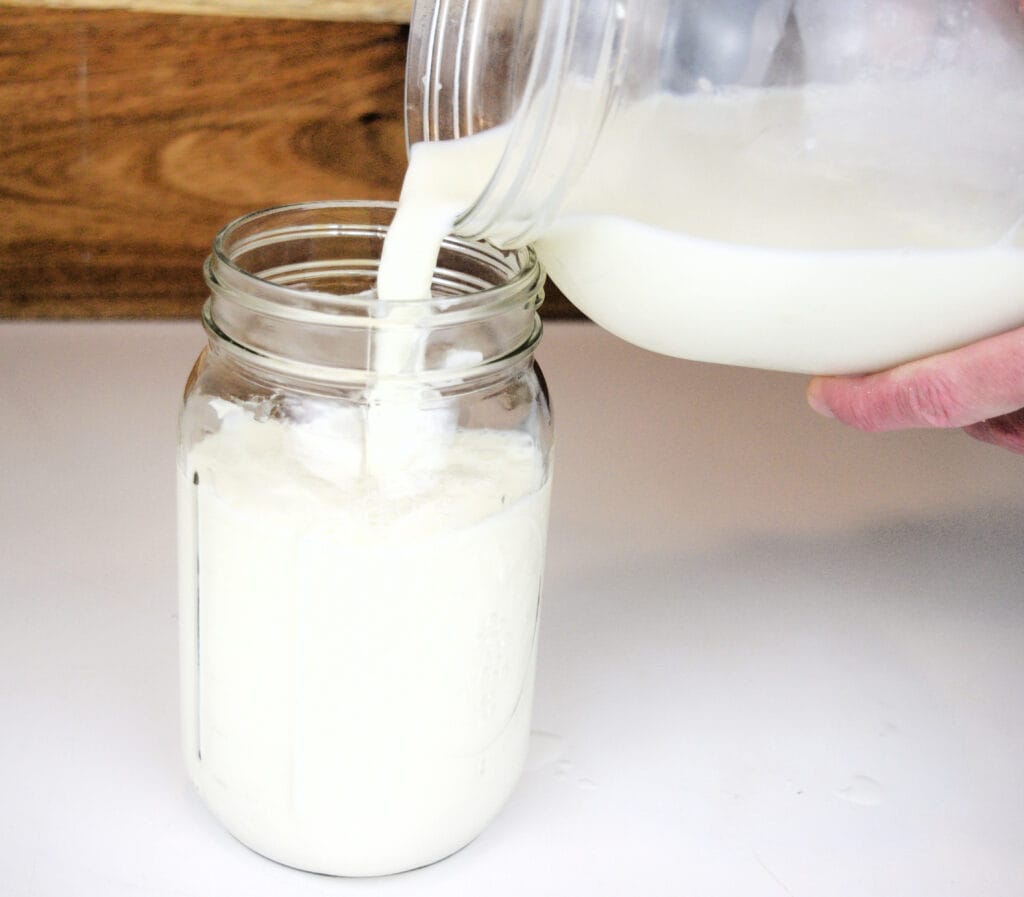
- Eventually your clabber culture will get very strong. This will be the point where you will need to just dump it out and what is left over on the walls of the jar is enough to thicken the fresh room temperature raw milk that you place in it. I just pour the cow milk in and give it a good shake!
- Clabber is flexible! Once established and strong, a little bit can go a very long way! For example, I keep a quart size going daily because my kids love breakfast smoothies. Because my clabber strain is so strong, the tiniest amount, about a ¼ teaspoon will thicken and sour another quart! So feel free to make as little or as much as you want!
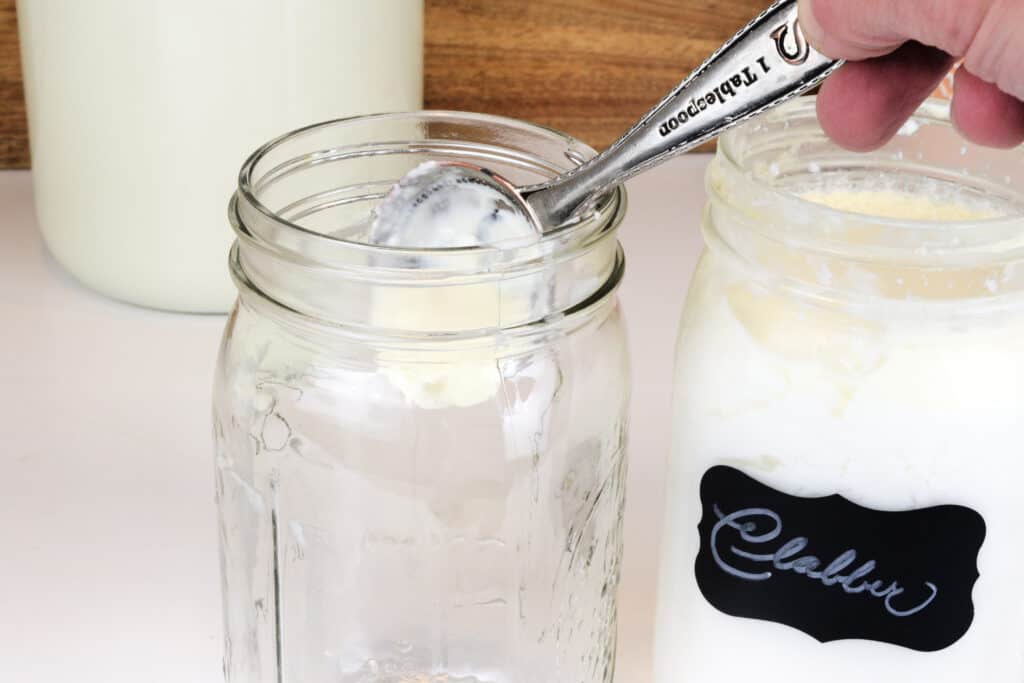
- Reserve a tablespoon of clabber before enjoying delicious recipes to start your next jar.
- If your now established clabber doesn’t set overnight, then it may not be strong enough or maybe the temperature is too cool in the area it is placed in. Give it another day out on the counter and it should set.

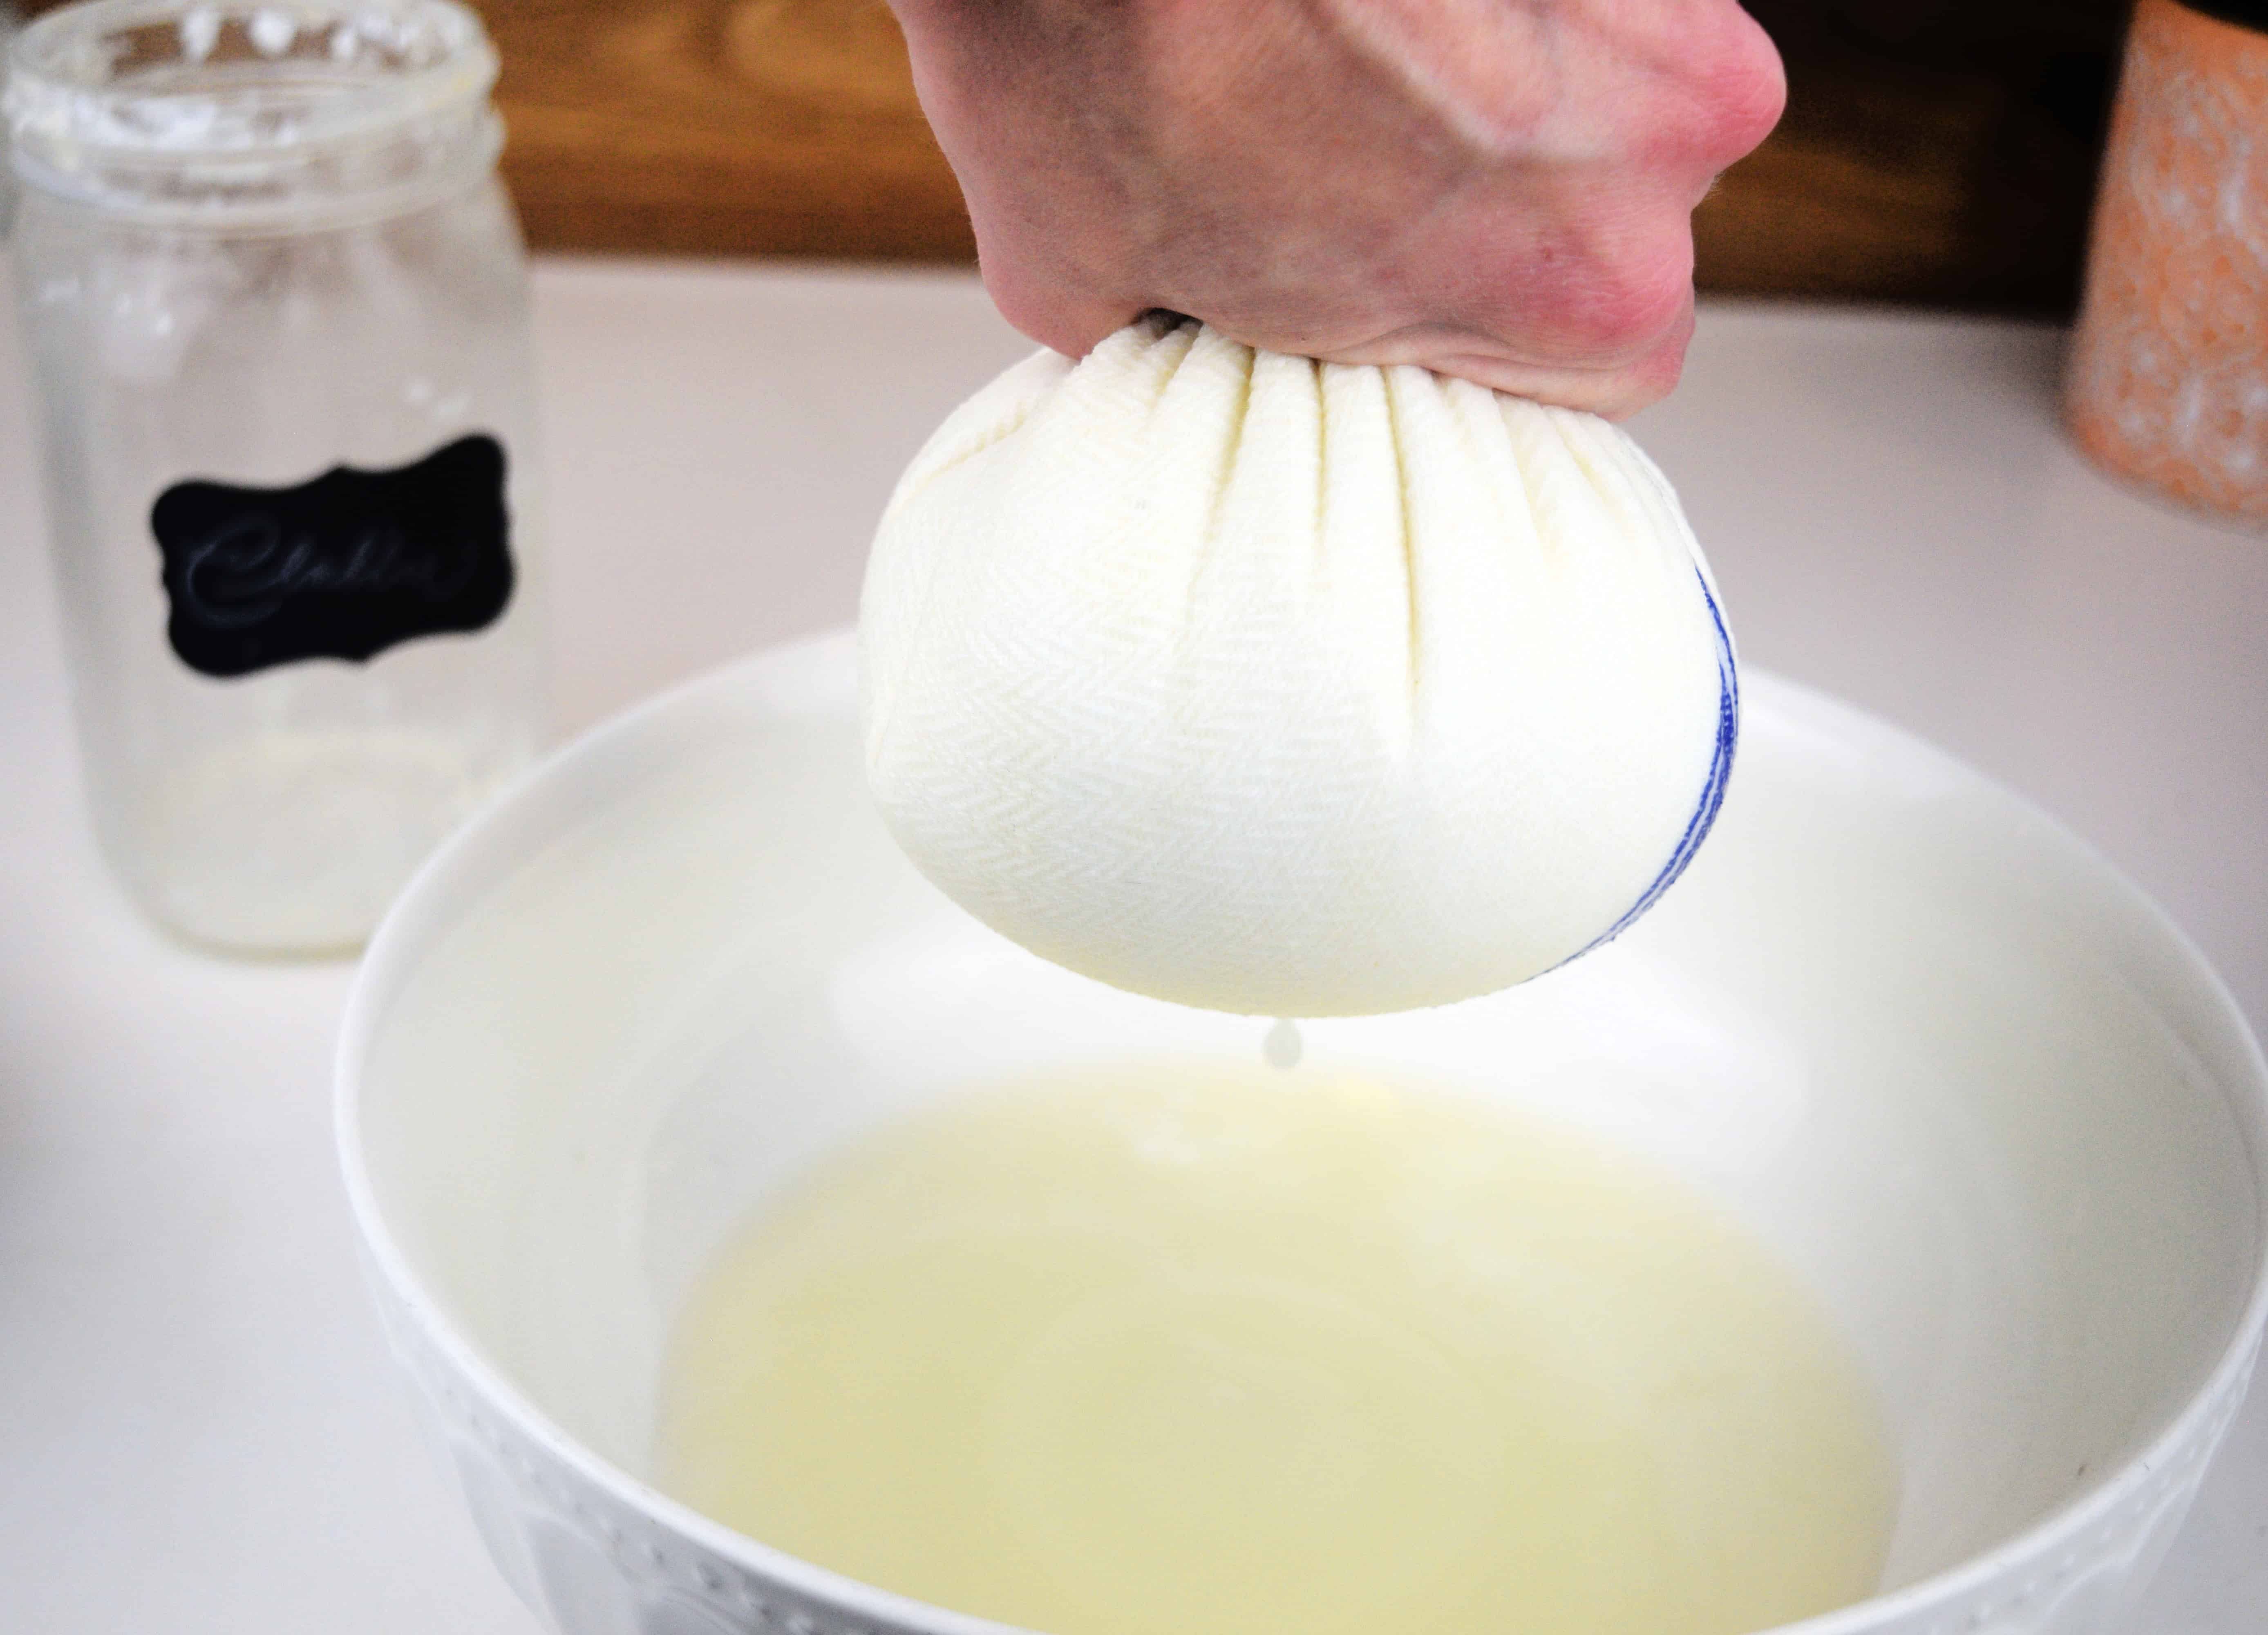
- You can strain out the whey by pouring the clabber into a tea towel, gently pull up the sides and allow the extra whey to strain. This is a great way you can get a thicker consistency, not as thick as a Greek yogurt but not as thin as plain yogurts. Try throwing it into an ice cream maker for a frozen yogurt! Or try replacing the milk in your homemade ice cream with it, and adding a bit of lemon juice to enhance the tanginess of it!
- It can be refrigerated to slow down the fermentation process should you decide not to use it for a couple of days.
- Clabber smells, well, like soured milk. If for some reason it smells putrid or like something foul, throw it out and start over!
- Which brings me to my final bullet: Do not try this with pasteurized whole milk! Clabber can only be made from fresh raw milk sourced from a clean environment, not store-bought milk! If you do not have your own dairy cow you check with local farmers or realmilk.com to find raw milk in your area.
How To Make Easy Homemade Clabber From Raw Milk
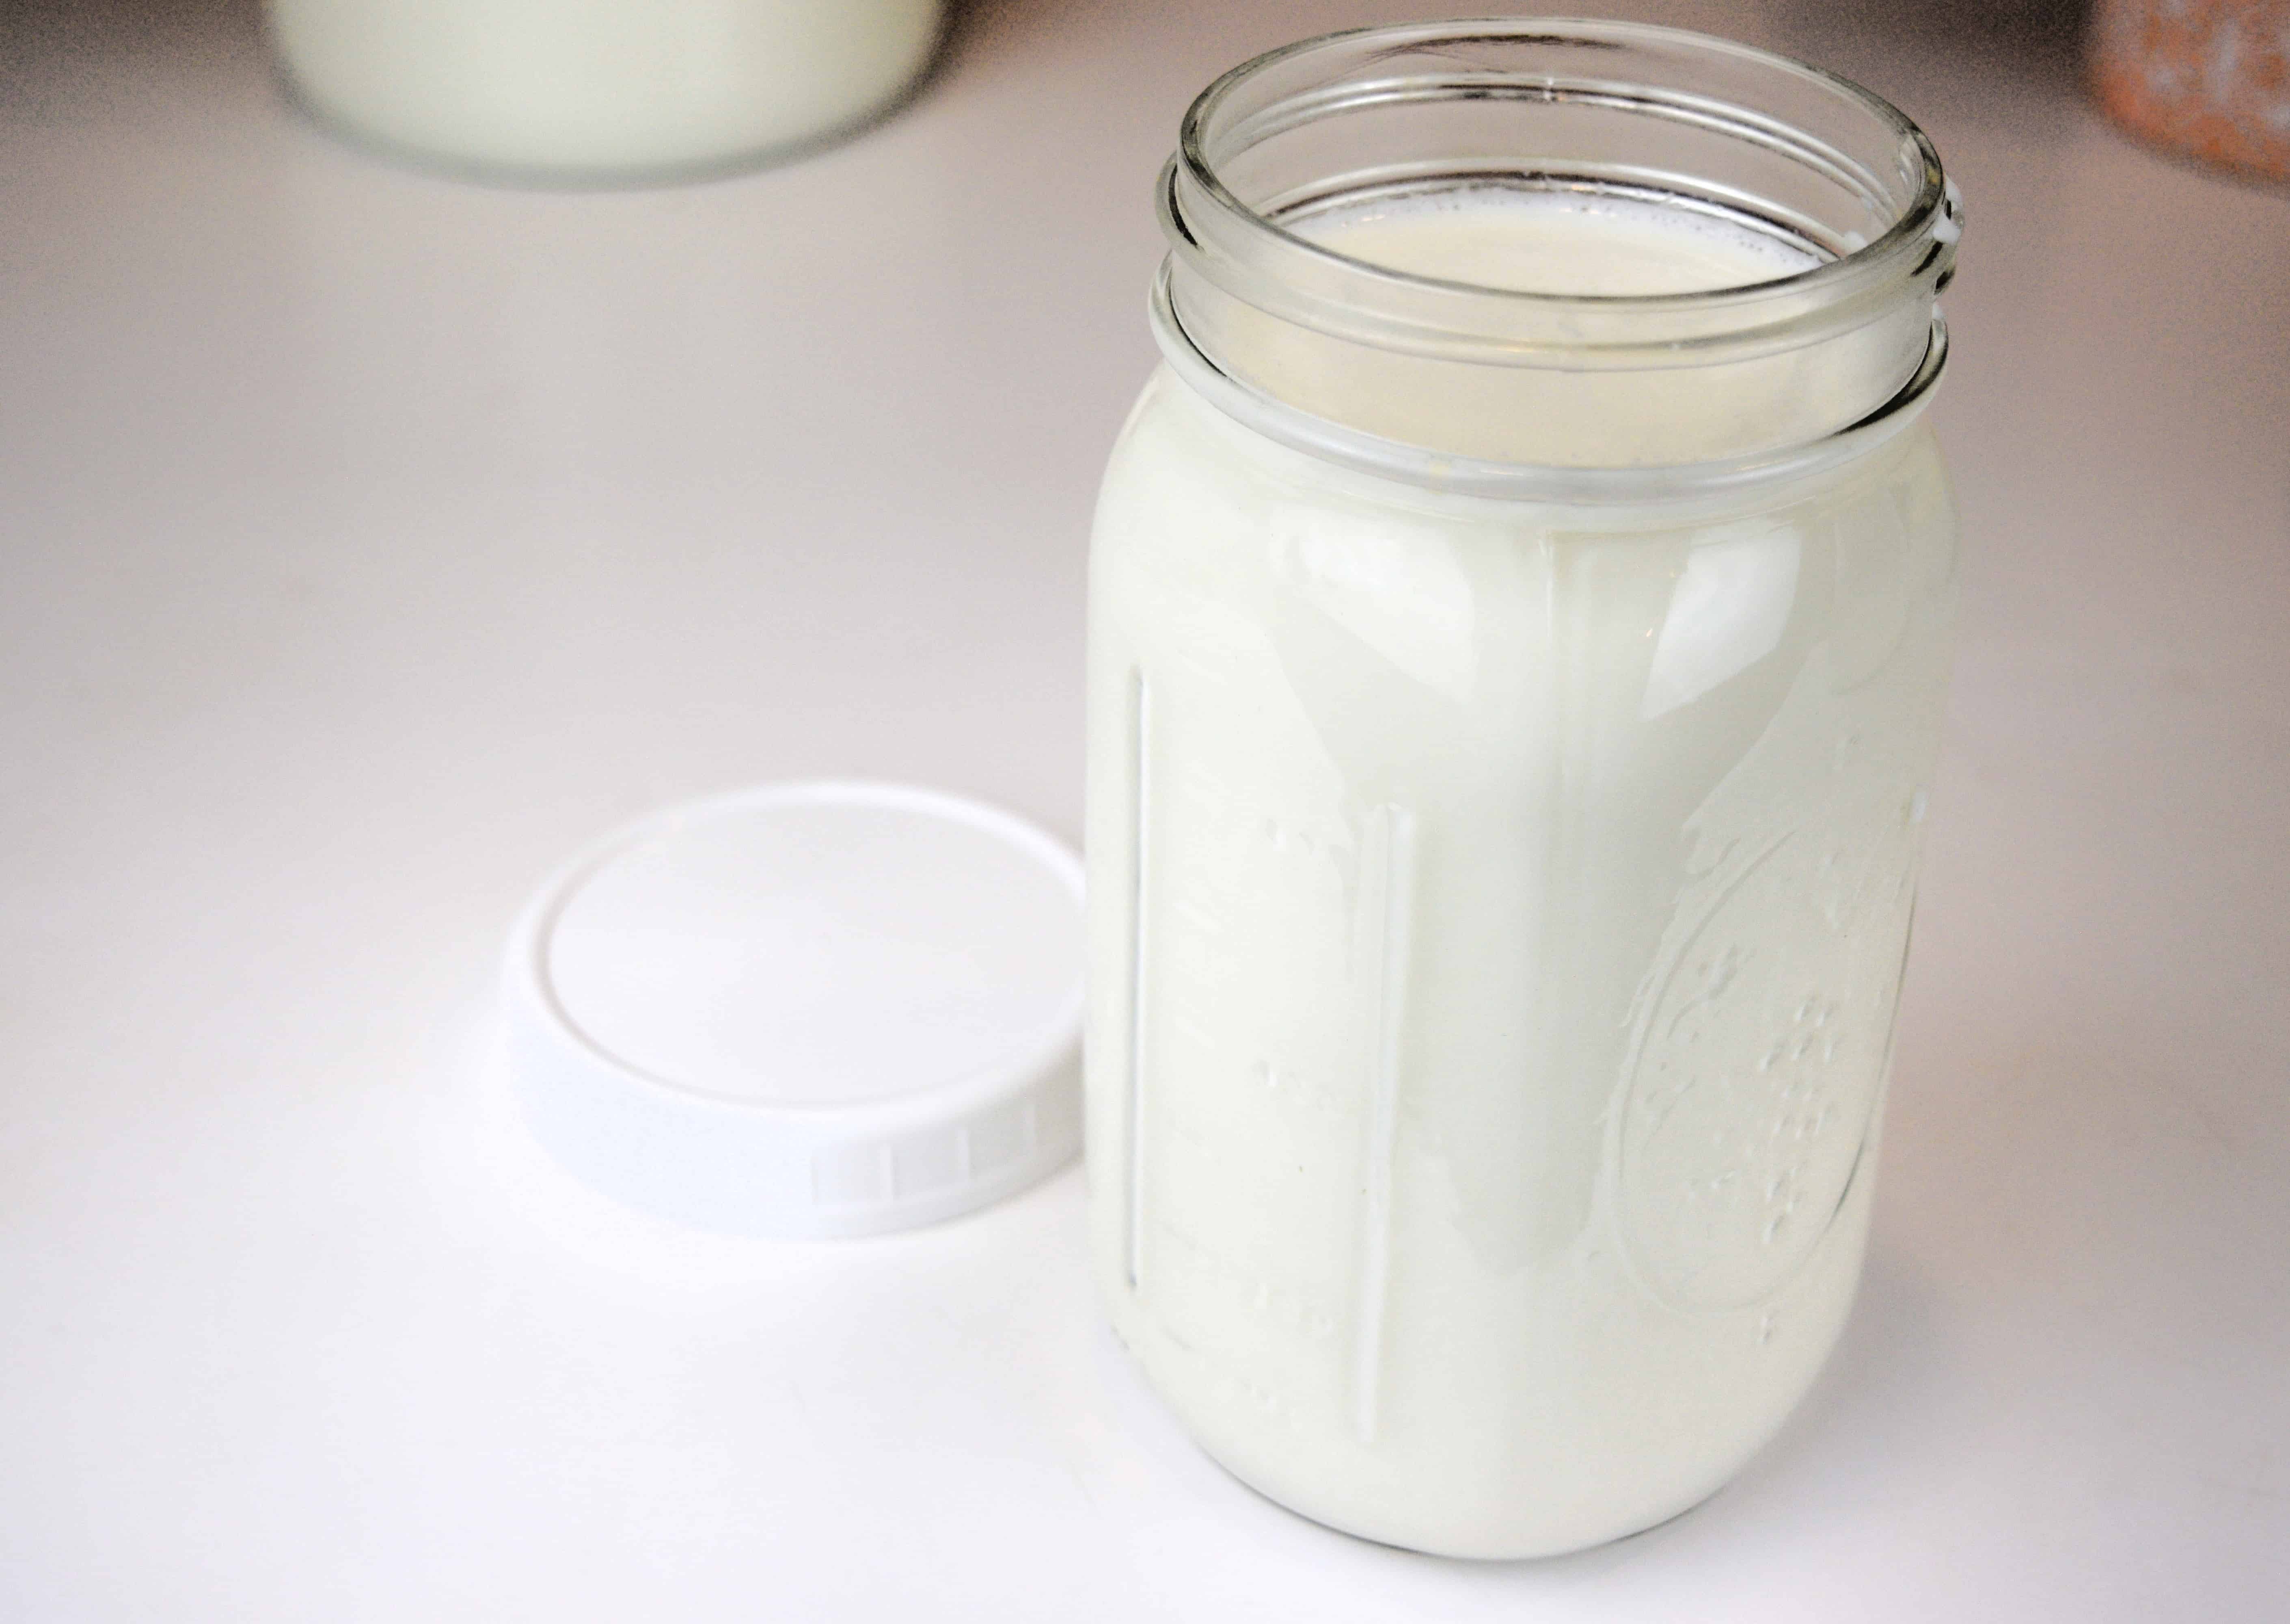
- Place a half cup of fresh raw milk at room temperature in a glass jar.
- Place a lid on or a tea towel with a rubber band to secure it.
- Let it sit for 24 to 48 hours in an environment of 68 degrees to 72 degrees.
- Once your starter is thickened, remove 1 tablespoon and place it into another jar with a half cup of milk and stir. Discard the previous milk from the original jar. This is called “feeding it”.
- Repeat step 4 about 3 more times.
- When clabber culture is strong and established, feed a tablespoon to a quart of room temperature raw milk, and leave it overnight and it will be ready for your breakfast yogurt, smoothie, baked goods, or cheese making adventure by morning!
- Enjoy!
- (Optional) Strain out the whey by pouring the clabber into a tea towel, gently pull up the sides and allow the extra whey to strain. This is a great way you can get a thicker consistency, not as thick as a Greek yogurt but not as thin as plain yogurts.
Note:
Don’t forget to separate a tablespoon of clabber to start your next batch for the next day before you serve it up! And remember it can be stored in the refrigerator to slow down the fermentation process if you aren’t quite ready to enjoy it.
How To Make Easy Homemade Clabber From Raw Milk
Ingredients
- 1 gallon raw milk
Instructions
- Place a half cup of fresh raw milk at room temperature in a glass jar.
- Place a lid on or a tea towel with a rubber band to secure it.
- Let it sit for 24 to 48 hours in an environment of 68 degrees to 72 degrees.
- Once your starter is thickened, remove 1 tablespoon and place it into another jar with a half cup of milk and stir. Discard the previous milk from the original jar. This is called "feeding it".
- Repeat step 4 about 3 more times.
- When clabber culture is strong and established, feed a tablespoon to a quart of room temperature raw milk, and leave it overnight and it will be ready for your breakfast yogurt, smoothie, baked goods, or cheese making adventure by morning!
- Enjoy!
- (Optional) Strain out the whey by pouring the clabber into a tea towel, gently pull up the sides and allow the extra whey to strain. This is a great way you can get a thicker consistency, not as thick as a Greek yogurt but not as thin as plain yogurts.
Notes
Have jersey cows and are swimming in heavy cream? Check out my homemade butter recipe here!
Want to know more about the benefits of raw milk? Check out my post on the 13 Health Benefits of Raw Dairy Milk Consumption. You may find it interesting about how raw milk became illegal to begin with! I sure was!
Find out why we drink raw milk here!
Need to source raw milk? Check out Realmilk.com!


One Comment
Comments are closed.