How to Make Easy Homemade Fermented Dill Pickles
Learn how to make easy homemade fermented dill pickles in only a few easy steps! These pickles are wonderfully crunchy and can be enjoyed in a number of ways. They are also great for gut health!

I never thought I’d be a fermentation expert. I was so intimidated by it, in fact that I avoided it all together and invested $50 a month in probiotics! I cringe when I actually admit that. Especially since yesterday I picked up a bag of fresh cucumbers at the grocery store for under $4! If you’ve seen my post on How to Make Fermented Sauerkraut and found it pretty easy, then this recipe on How to Make Easy Fermented Dill Pickles will not fall short of that. It’s actually easier!
This post contains affiliate links, which means I make a small commission at no extra cost to you. See my full disclosure here.
Why Do I like Making Lacto-Fermented Pickles More than Sauerkraut?
Don’t get me wrong, sauerkraut is my favorite of the two, however my fermented salsa (found here) is my absolute favorite! Making sauerkraut takes a bit extra work. When you are preparing cucumbers, you are simply slicing them and placing them in a mason jar, skipping the hand cramps you get when squeezing the shredded cabbage to render the juices. And the duration of pickle fermentation is a fraction of the time, only about 4 to 5 days vs sauerkraut taking, at the very least, a full week.

Why Eat Fermented Foods
This amazing process has been used to preserve food for thousands of years. But that’s not all, it carries with it amazing health benefits of living beneficial bacteria that puts the good guys back into your gut. Yeah, but what does that mean? That means that you’re going to want to eat these wonderful foods on a regular basis to help boost your immune system, especially when you are fighting an illness. Antibiotics are used to kill off any bad bacteria, but I bet you didn’t know that they also kill off good bacteria. This is why we want to re-establish the good bacteria in our guts by eating gut-healthy probiotics found in fermented foods!
Some Ideas to Dress up Your Recipe
I’m always thinking of creative ideas to switch old recipes up. It helps to keep us all excited about testing things out and trying something new, rather than reverting to the same old standbys. No matter how much we love a certain thing, having it once a week can get pretty mundane.
Some fun things I’ve added to my crispy pickles are: cloves of garlic, red pepper flakes, bell peppers, or even mustard seed, not to mention herbs, other than dill, such as: oregano and basil. It’s a lot of fun to play around with and an easy way to get the kids into the kitchen! I find that they love to make concoctions and will find this very fun and look forward to trying it! Getting them involved in the preparation of foods is a great way to get kids to eat their veggies!
Timing and Temperature For Crunchy Pickles
These lacto-fermented pickles have a fast turnaround time, usually about 4-5 days should do the trick. That’s what makes these so great! While the sauerkraut is in your pantry working it’s magic you can munch on these in the meantime for that gut revamp! I will usually ferment these cucumber’s in a cool place. Just to give you an idea, I made mine on Saturday afternoon and they sat on my counter (away from the stove) with an average house temperature of 67 degrees. Right now we are in the middle of January, so the temperature never gets warmer than that. They were ready the following Wednesday afternoon, so exactly 4 days later.

Placing your pickles in a warm or cold environment.
If you are making them in a warmer environment then it could cause them to ferment a bit faster as the heat will speed the whole process up (cold on the other hand will slow the fermentation process down). I had made about 4 bags of cucumbers, so as soon as I did the taste test to make sure they were done, I popped them all into my fridge so the fermentation process would slow way down.
I have made the mistake in the past of not doing this and /or forgetting about them, and they came out a bit too soft for my liking. Believe it or not, mushy pickles can still be eaten! The boys still enjoyed them but lessoned learned for me on this one. However, if they are just past the point to enjoy them by themselves, know that you have some options to still use them.
What to do with mushy pickles?
You can always dice them up and use them in your deviled egg recipe or your potato salad! You can always add them to any dish that you are cooking, although this will discount the probiotic quality they have because heating destroys all the beneficial bacteria, but at least they won’t go to waste. And if it happens to be just a definite “NO” for you, if you have chickens, you can feed them to as a treat and they will love them. Or maybe you have a dog, like mine, that actually likes a little veg and would not mind taking any extra off of your hands.
Tips For Crunchy Pickles
1. Add a bay leaf or a grape leaf to the jar. These leaves contain tannins which will help keep the vegetable crisp. In this recipe, I used a bay leaf because it’s readily available, works for me, and is found in most people’s cupboards. During the summer months, I will throw in a grape leaf instead. I find the flavor can be a bit more neutral than a bay leaf and I like to change things up whenever I can. I haven’t tried either of these particular methods, but I have heard of other people using about a half teaspoon of black tea leaves or even oak leaves.
2. Jar the cut cucumbers immediately! The fresher the cucumber, the better the pickle results! If growing cucumbers is your thing, then you might want to make sure that you set some time after you pick them to jar them. The longer that they go off of the vine, the more likely they are to lose their firmness. IF for some reason you can’t jar them as soon as they are picked, then place them in the fridge right away, don’t leave them on your counter.
3. Make sure that they are firm when buying! Buying them at a farmers market would be ideal if you are not growing them yourself, because more than likely, that farmer has just harvested them to sell at the market. Naturally, they will be a lot fresher than store bought, plus you will be supporting a local farm and business. A win win! If the grocery store is your only option, like mine here because it’s winter, then make sure you do your best to pick out the firmest ones possible and then can them right away.
4. An ice bath can help. A lot of people recommend this although I have never tried it myself. The idea is to place the cucumbers in an ice bath for about 30 minutes before you jar them. This is supposed to help firm them up and/or keep them firm. However, when they are too far gone, they’re too far gone! Nothing can bring back firmness.
How We Incorporate Pickles
How do we eat these amazing pickles, well, simply thrown on a plate! It has become the classic side in our house for many of our meals! If your children love pickles, then this will be your dream side dish. If you make these in bulk, as I do, you can store them in your fridge and divvy them up to be a quick healthy side dish to a protein for a quick meal, when in a rush. We love adding these to our burgers to add that refreshing burst of flavor and perfect crunch. They are also a staple in my deviled egg recipe! I find that they give the perfect balance in the texture.
Will heating the pickle kill the beneficial bacteria?
Fried pickles are a must try with these! However, because they are a living food having live beneficial bacteria in them, you want to only lightly fry them on your stovetop, not cooking them all the way through. This will help preserve the healthy qualities of the fermented pickle. I like to dredge them in flour and place them in a pan of hot bacon grease and do a quick fry on both sides to give that extra bit of flavor and crunch. Add a yogurt based dip and you have yourself a magic treat that gives you a double shot of beneficial probiotics!
The Best Method and Supplies on Lacto-Fermenting
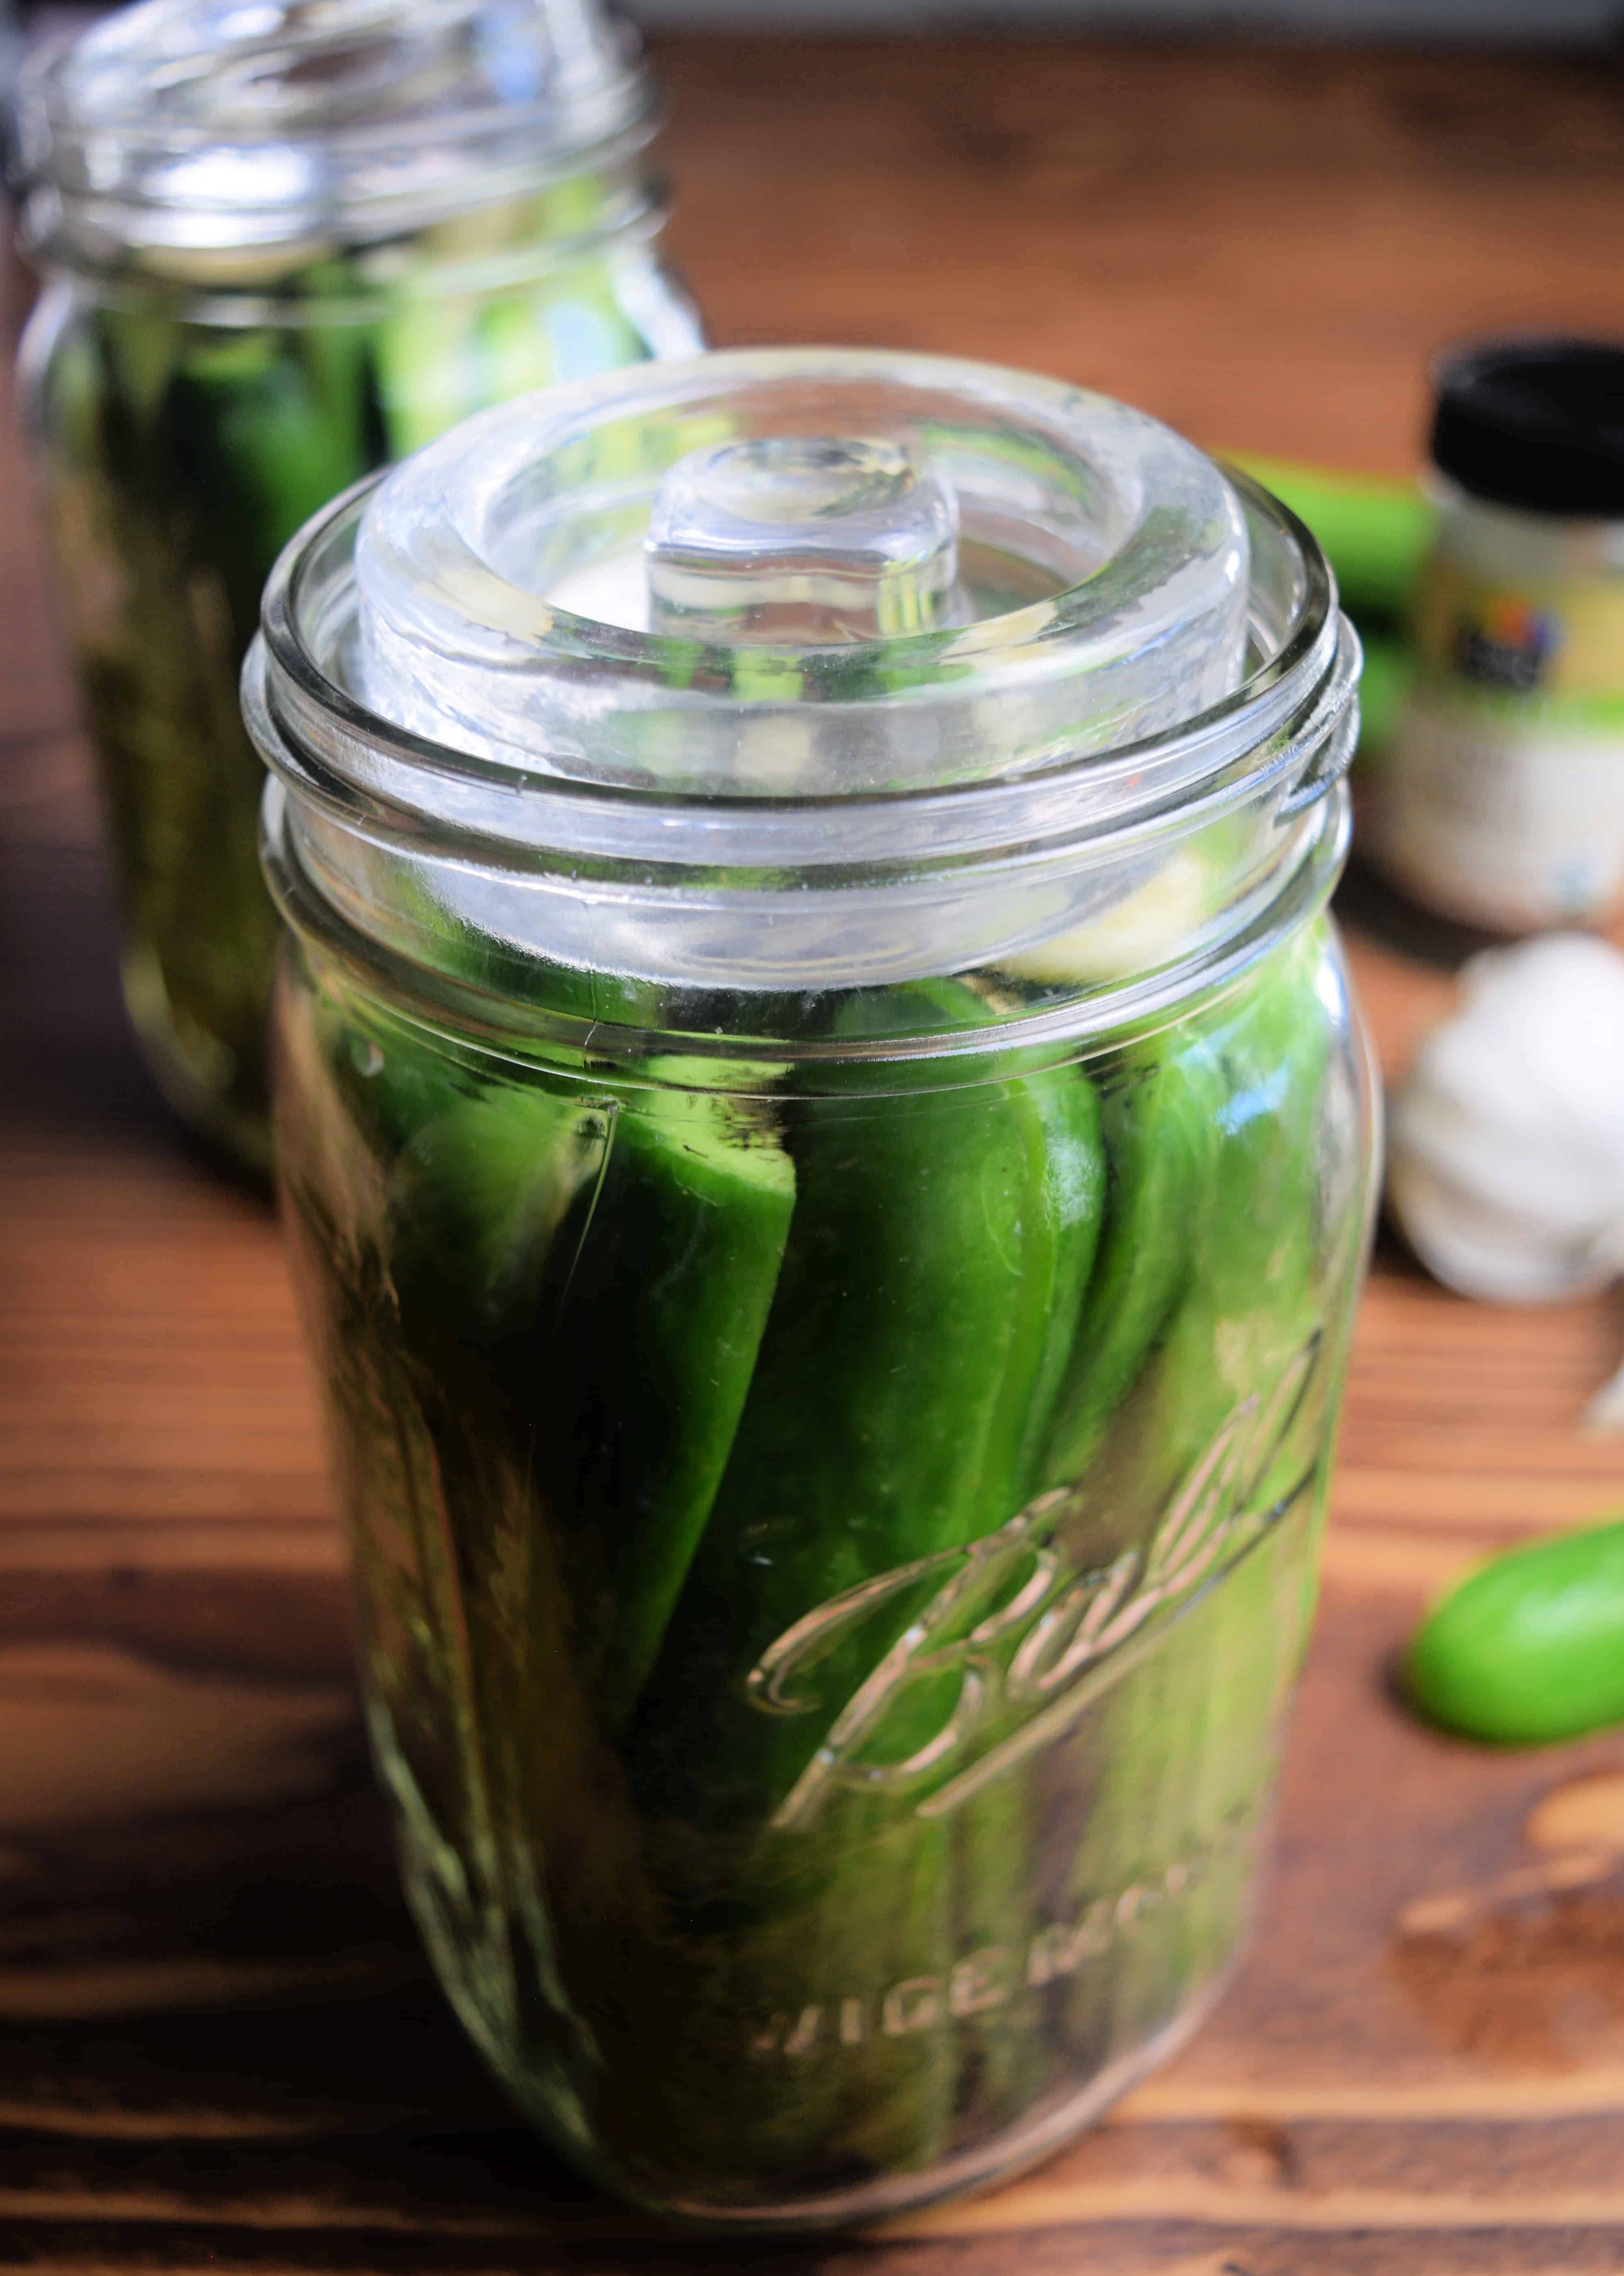
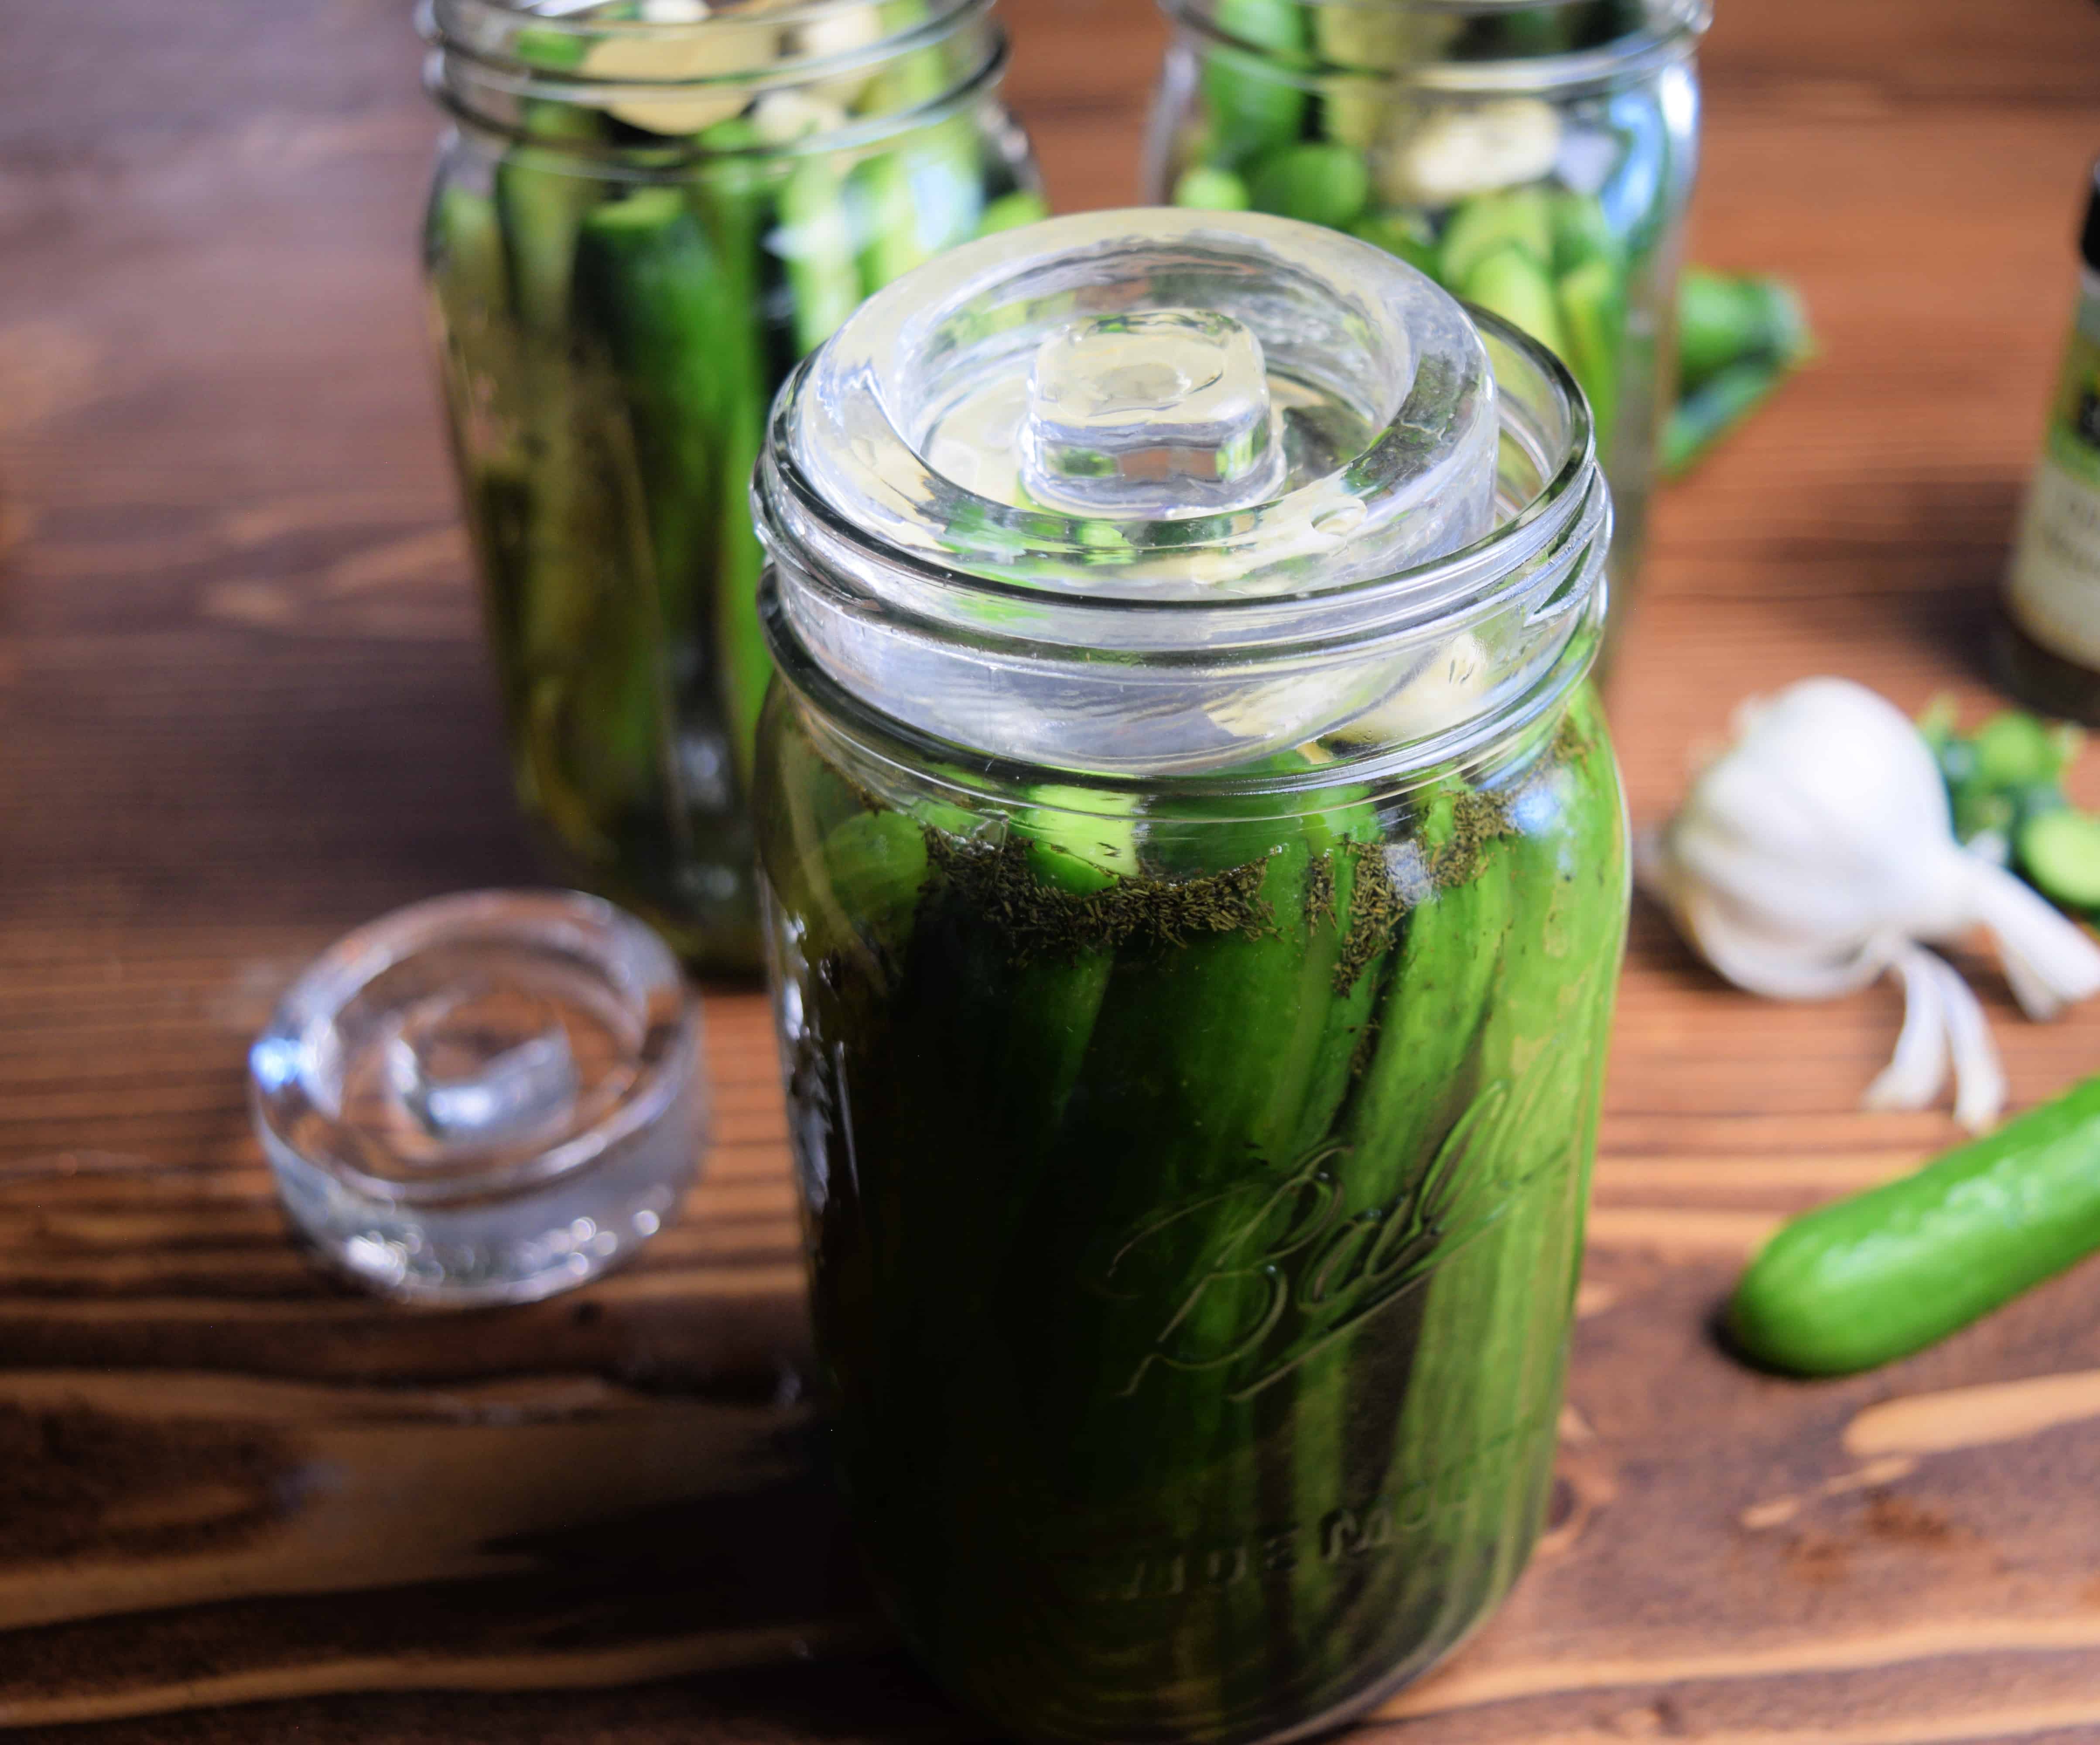
When fermenting, all the fruits and the vegetables need to stay submerged under the brine which will help to get rid of the presence of oxygen and provide a healthy and safe environment for the good bacteria to thrive. I like to ferment vegetables using a wide-mouth quart jar (here) with a glass weight (here) to make sure that the food stays submerged under the brine. After about 24 hours you’ll need to “burp” the jar. This is where you will slightly unscrew the top to let out all of the excess gasses that have built up from the fermentation process. Then, you will quickly close the lid to keep from letting oxygen in. If you do not do this at least once a day, then the gasses can build up which will create pressure and cause your jar to explode!
Don’t have time to burp your ferments?
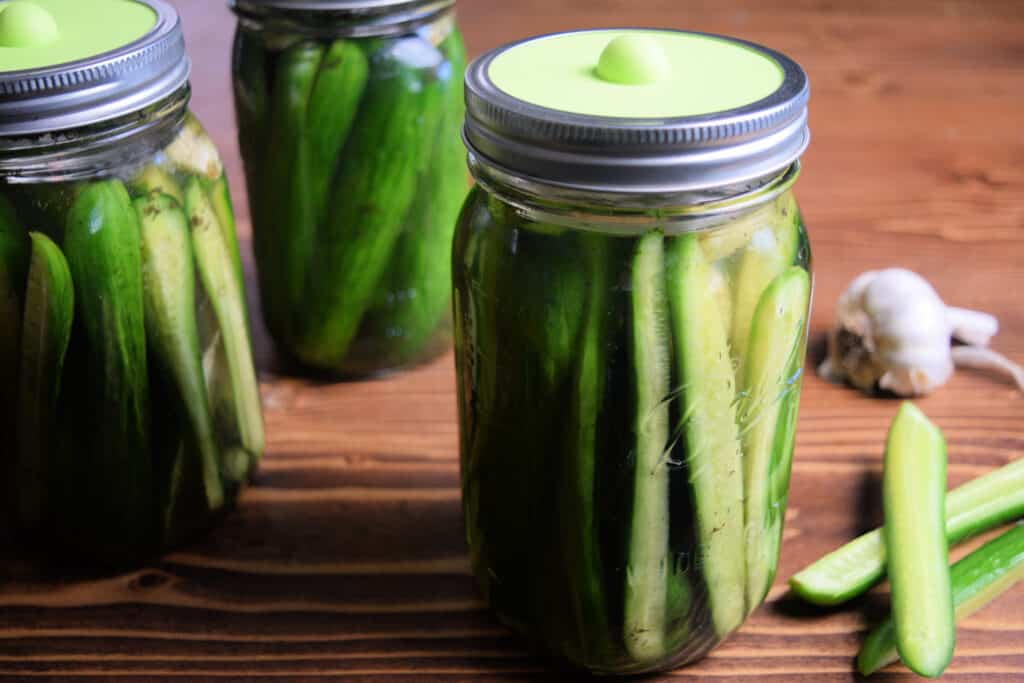
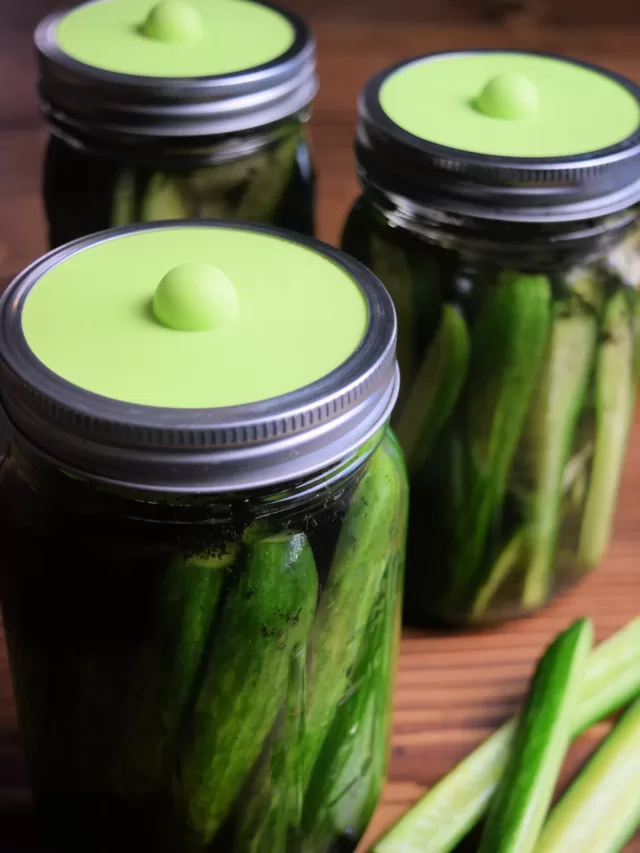
I have a tendency to get very busy and completely forget, so I have invested in burping lids (here) that continually let out the gasses for me, so I am able to set it aside and forget about it until it’s ready to enjoy! Green or black mold found on the top and throughout would be my biggest concern, which would mean that not enough salt was added and oxygen got in. At that point I would compost it. If I see a white layer on top, I will usually skim it off as this is just yeast.
These pickles should not have a disagreeable odor, and if they do, then throw them in the compost pile! I have found google pictures to be very helpful when I am seeing something questionable in my ferments, but for the most part, if I’m questioning it, it goes to my chickens. It’s not worth it for me! I like to let my ferments sit in a dark place at room temperature, away from direct sunlight, like a pantry. If for some reason I need to ferment at a slower rate, I will place it in a cool place like a cold storage.
Pickle Recipe Ingredients:
A package of cucumbers
Salt brine (made of hot water and sea salt, table salt, or whatever salt you choose–I used Himalayan salt)
1/2 tsp Dill or other seasoning (per qt. jar)
1 cloves of garlic (optional)
1 qt. Mason jars, glass Jar, or fermenting crock
1 Bay leaf (grape leaves can also be used, although I prefer bay leaves because I always have them on hand. Either are optional- the tannins in these leaves will help the pickles stay crunchy)
Instructions:
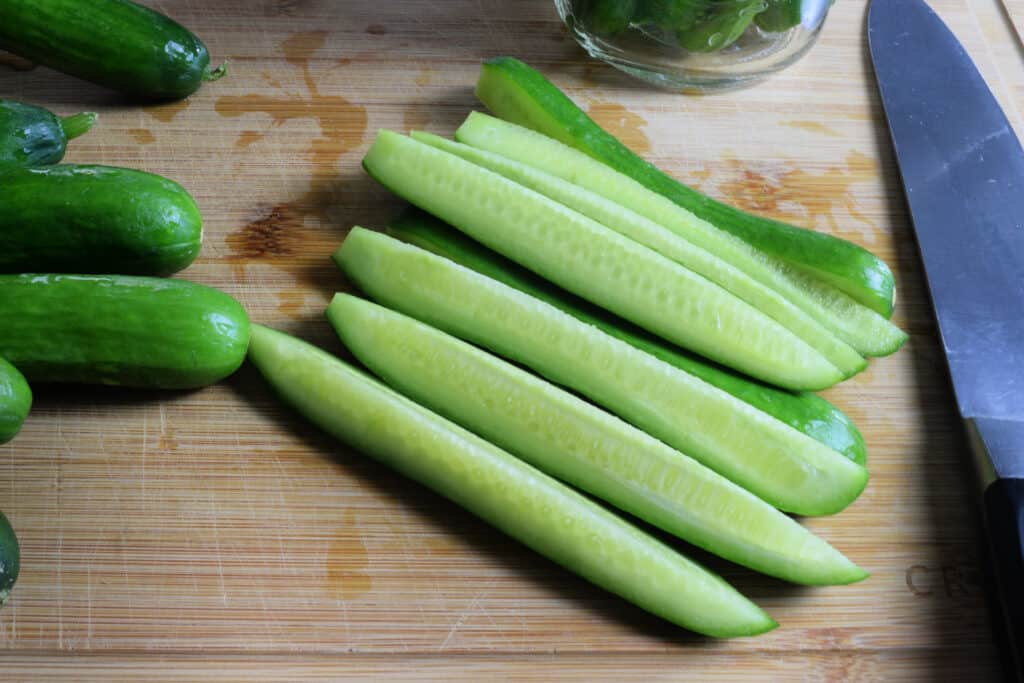
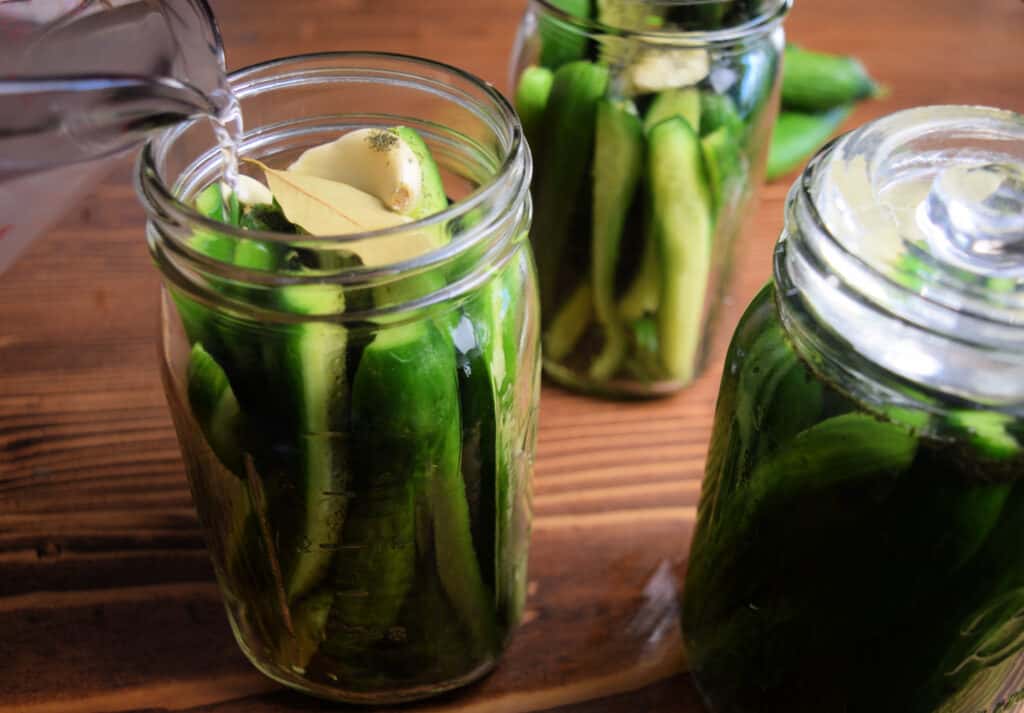
First make a salt water brine by warming a ratio of 2 tablespoons of kosher salt to 1 quart of purified water. You can filter the brine with paper coffee filters should you choose to, just make sure the salt is fully dissolved before doing so. This does not need to be brought to a boil, just heat it enough to dissolve the salt. Place the hot brine to the side and allow it to come to room temperature. Next, wash cucumbers and cut the blossom end off. Depending on the size of the cucumber, cut them in half or in quarters, length wise.
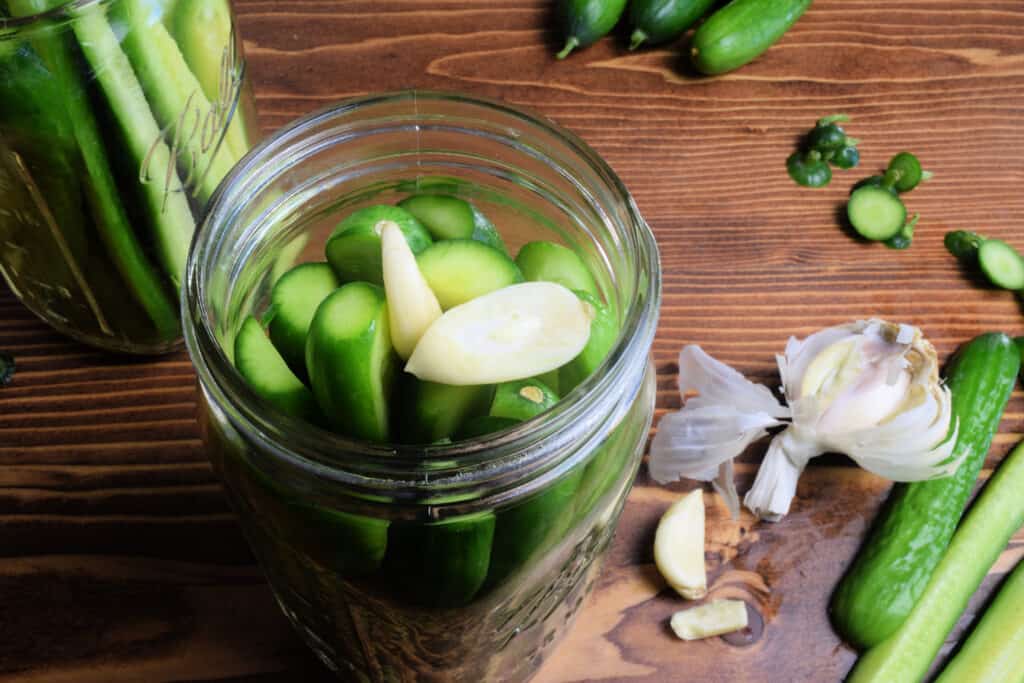
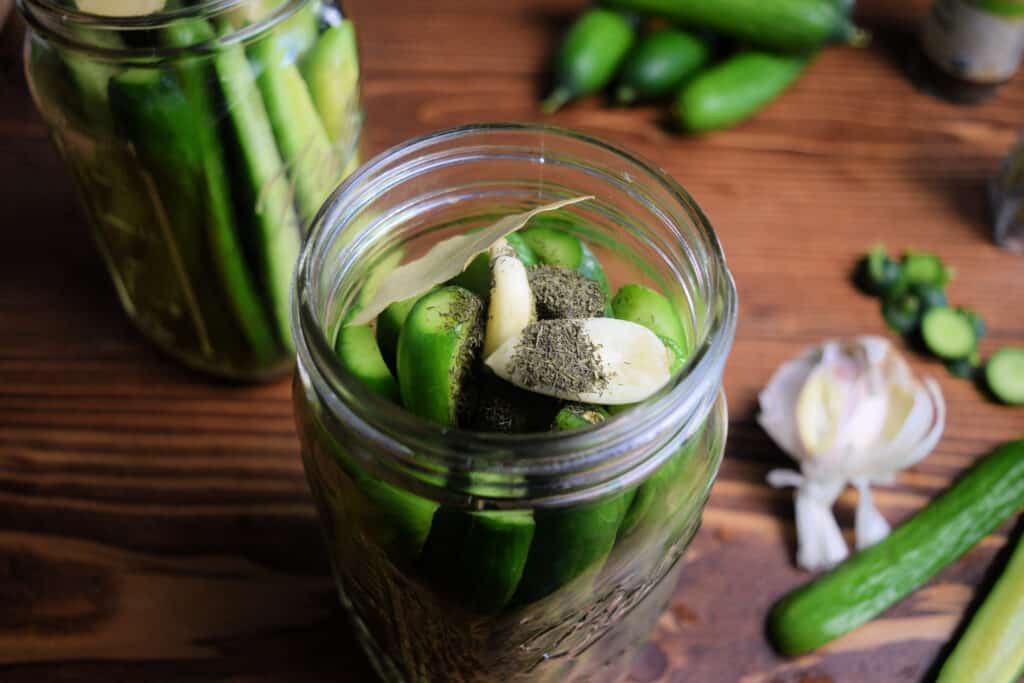
Place cucumbers in glass jars along with whatever seasoning, fresh vegetables, and a grape leaf or a bay leaf (if using). Fill your glass jars a little bit beneath the hips (this is the point where your mason jar curves in), making sure all air bubbles come to the surface. Place a fermentation weight on top of the cucumbers to weigh down the fruit under the brine.
Place burping lid on top. Squeeze burping lid to ensure slit is open. Place jars on top of a glass dish or cookie sheet in case the liquid spews out during the fermentation process. Check fermented cucumber pickles in 3-5 days. Remove any surface scum if needed. If it still tastes cucumbery, then place the weight back on top of the pickles and give it another day of fermentation. Once your desired taste is achieved then add to your favorite dish! Store in the fridge for several weeks.
Looking for more recipes that will help improve your gut? My How To Make Easy Fermented Pico De Gallo Salsa is one of our family’s favorite recipes that can be used in countless ways! Not just the fan favorite to put on tacos but also brings amazing flavor to your everyday scrambled eggs!
Looking for another quick and healthy side dish? My How to Make Fermented Sauerkraut! is perfect to make in bulk and serve on the go! Perfect to put on hotdogs, or any type of wrap for those days when you have to leave the house in a hurry!. I personally love pairing this with a steak or a roast.

Ingredients
- A package of cucumbers
- Salt brine made of hot water and sea salt, table salt, or whatever salt you choose–I used Himalayan salt
- 1/2 tsp Dill or other seasoning per qt. jar
- 1-2 cloves of garlic optional
- 1 qt. Mason jars glass Jar, or fermenting crock
- 1 Bay leaf grape leaves can also be used, although I prefer bay leaves because I always have them on hand. Either are optional- the tannins in these leaves will help the pickles stay crunchy
Instructions
- First make a salt water brine by warming a ratio of 2 tablespoons of kosher salt to 1 quart of purified water. You can filter brine with paper coffee filters should you choose to, just make sure the salt is fully dissolved before doing so. This does not need to be brought to a boil, just heat it enough to dissolve the salt. Place the hot brine to the side and allow it to come to room temperature. Next, wash cucumbers and cut the blossom end off. Depending on the size of the cucumber, cut them in half or in quarters, length wise. Place cucumbers in glass jars along with whatever seasoning, fresh vegetables, and a grape leaf or a bay leaf (if using). Fill your glass jars a little bit beneath the hips (this is the point where your mason jar curves in), making sure all air bubbles come to the surface. Place a fermentation weight on top of the cucumbers to weigh down the fruit under the brine. Place burping lid on top. Squeeze burping lid to ensure slit is open. Place jars on top of a glass dish or cookie sheet in case the liquid spews out during the fermentation process. Check fermented cucumber pickles in 3-5 days. Remove any surface scum if needed. If it still tastes cucumbery, then place weight back on top of the pickles and give it another day of fermentation. Once desired taste is achieved then add to your favorite dish! Store in the fridge for several weeks.
2 Comments
Comments are closed.